目录
- React
- Step 1:安装
- Step 2:Store 初始化
- Step3:Store 绑定组件,就完成了!
- 效果图
- Vue
- Step 1: 安装
- Step 2: Store 初始化
- Step 3: Store 绑定组件,就完成了!
- 效果图
- 微前端
- 为什么你需要 zustand-pub ?
- 安装
- step1:初始化状态隔离容器 pubStore (场景 A)
- Step 2: 往隔离容器 pubStore 内填装数据 platformStore (场景 A)
- Step 3: 获取隔离容器 pubStore 下的数据 platformStore 并绑定组件 (场景 B)
React
Step 1:安装
npm install zustand # or yarn add zustand
Step 2:Store 初始化
创建的 store 是一个 hook,你可以放任何东西到里面:基础变量,对象、函数,状态必须不可改变地更新,set 函数合并状态以实现状态更新。
// store.ts
import { create } from 'zustand'

const useStore:any = create((set:any) => ({
  count: 1,
  inc: () => set((state:any) => ({ count: state.count + 1 })),
  dec: () => set((state:any) => ({ count: state.count - 1 }))
}))


export { useStore };
Step3:Store 绑定组件,就完成了!
<!--app.tsx-->
<Counter></Counter>
<!--count-->
<div style={{ display: "flex", gap: "10px" }}>
  <Incer></Incer>
  <Decer></Decer>
</div>
// dec.tsx
import "./dec.css";
import { useStore } from "../../store.ts";

function Counter() {
  const { count, dec } = useStore();
  return (
    <>
      <button onClick={() => dec()}>decrease: count is {count}</button>
    </>
  );
}

export default Counter;
// inc.tsx
import "./dec.css";
import { useStore } from "../../store.ts";

function Counter() {
  const { count, dec } = useStore();
  return (
    <>
      <button onClick={() => dec()}>decrease: count is {count}</button>
    </>
  );
}

export default Counter;
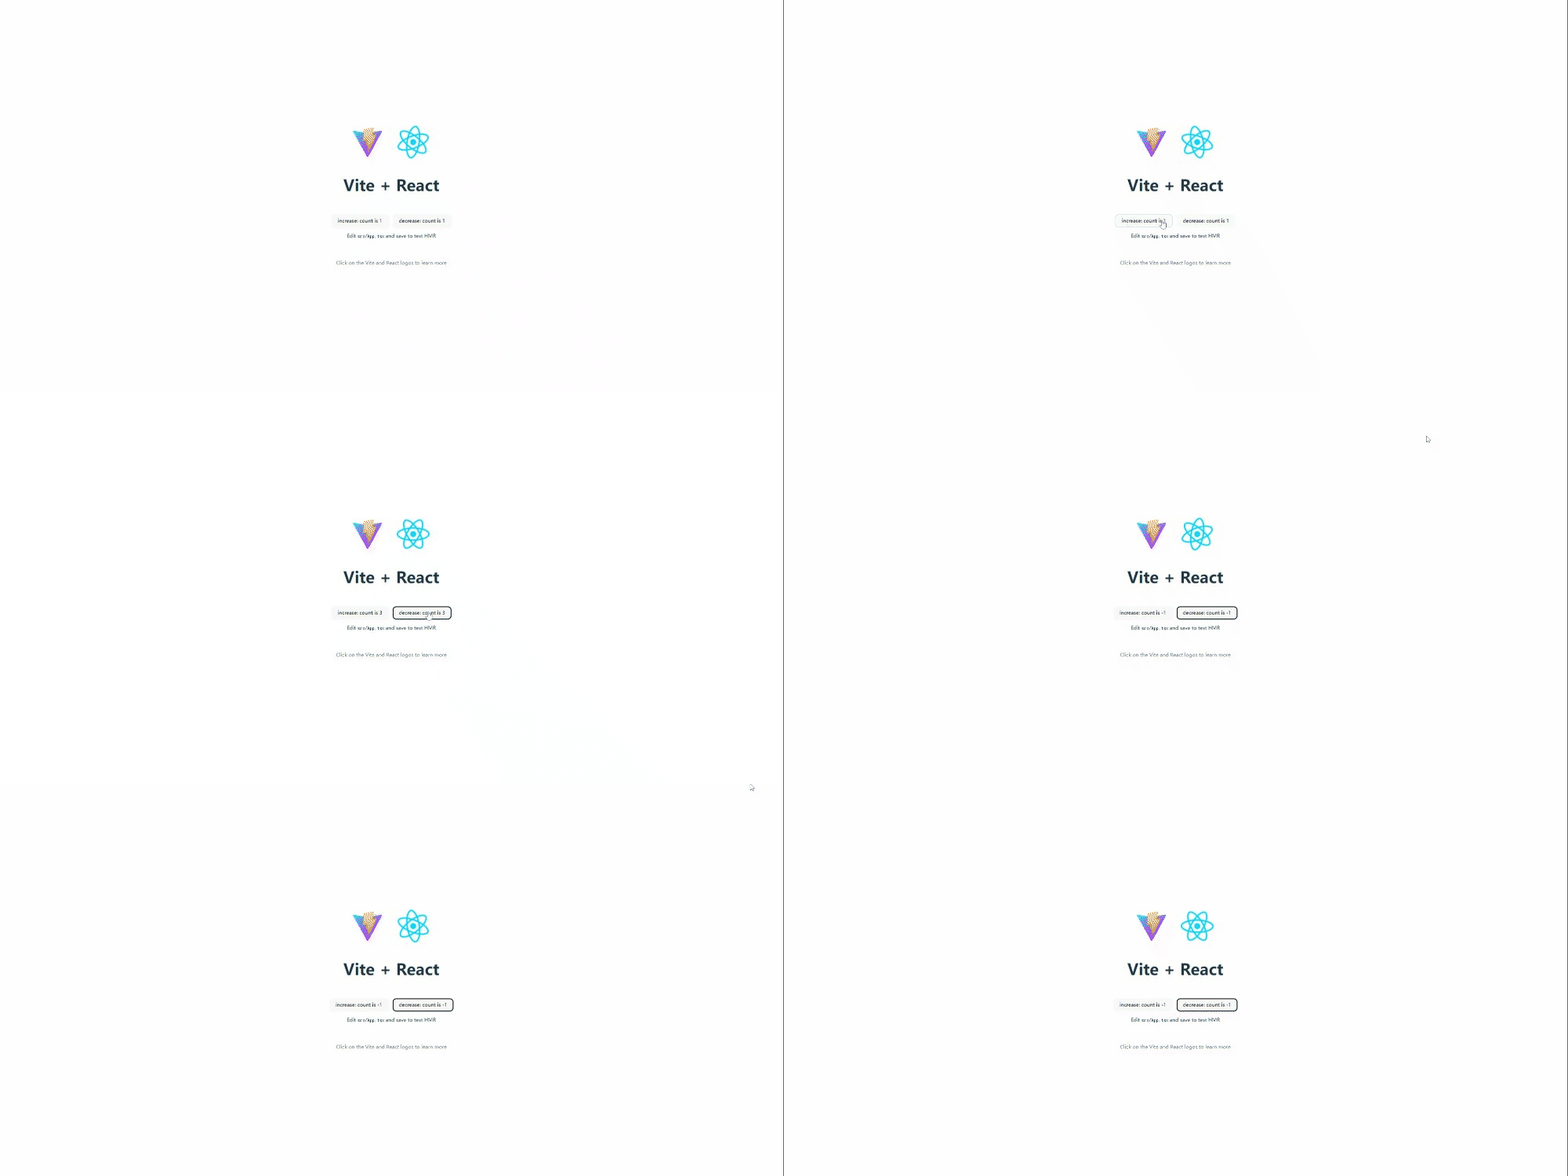
效果图
Vue
Step 1: 安装
npm install zustand-vue # or yarn add zustand-vue
Step 2: Store 初始化
//store.ts
import create from "zustand-vue";

const useStore:any = create((set:any) => ({
  count: 1,
  inc: () => set((state:any) => ({ count: state.count + 1 })),
  dec: () => set((state:any) => ({ count: state.count - 1 }))
}))


export { useStore };
Step 3: Store 绑定组件,就完成了!
<!--app.vue-->
<Counter />
<!--counter.vue-->
<div style="display: flex;gap: 10px;">
    <Incer></Incer>
    <Decer></Decer>
</div>
<!--Dec.vue-->
<script setup lang="ts">
	import { useStore } from '../store';

	const count = useStore((state: any) => state.count);
	const dec = useStore((state: any) => state.dec);
</script>

<template>
  <button @click="dec()">decrease: count is {{ count }}</button>
</template>
<!--Inc.vue-->
<script setup lang="ts">
	import { useStore } from '../store';

	const count = useStore((state:any) => state.count)
	const inc = useStore((state:any) => state.inc);
</script>

<template>
  <button @click="inc()">increase: count is {{ count }}</button>
</template>
效果图

微前端
zustand也可用于微前端:zustand-pub
zustand-pub 为 Iframe、微前端、Module Fedetation、模块化、组件化 等业务场景,提供跨应用、跨框架的状态管理及状态共享能力。
为什么你需要 zustand-pub ?
1、跨组件、跨应用通信的另一种方案:应用/组件(也可以理解为支持跨应用场景) 间可以相互调用/修改 state,并触发组件渲染,
如果你是iframe,则可以抛弃掉难维护的postMessage + addeventlistener + action了,
如果你是微前端,也不再需要eventCenter + action了,直接通过状态管理中的 action 行为修改 state 即可。
2、应用/组件间状态可以被缓存:包括 iframe、微前端等场景,当你的应用被内嵌时,不再需要重新请求/处理状态。
3、提升组件库中直接引用全局状态管理的可行性: 平时我们在业务组件引用全局 store 时会导致该组件换一个应用无法复用的问题,降低了组件的可复用性,而基于zustand-pub则不会再存在此类问题,复用性与开发效率并存。
4、提升 store 模块化管理的可行性,减少重复代码:以往模块化管理的 store,在不同仓库(应用)下复用时,状态无法同步更新,而基于zustand-pub 模块化管理的 store,状态将能够同步更新,提升了研发过程中 store 逻辑复用的可行性及研发效率。
5、预请求:某些 iframe / 微前端 场景因为接口请求过多导致页面渲染慢的,可以基于该方案进行子应用状态预请求,优化用户体验
6、调试体验好:基于 devtools 可以 同时调试/追踪多个应用间的 store,能够极大地降低应用间通信时的调试难度。
7、迁移成本低:如果你正在使用 zustand 或 zustand-vue,那么使用 zustand-pub 将很简单。
安装
npm install zustand-pub # or yarn add zustand-pub
step1:初始化状态隔离容器 pubStore (场景 A)
//index,js
import PubStore from 'zustand-pub'

const pubStore = new PubStore('key')
Step 2: 往隔离容器 pubStore 内填装数据 platformStore (场景 A)
// vue
import create from "zustand-vue";

//react
// import create from "zustand";

interface IState {
  appInfo: {
    name: string
  }
}

interface IAction {
  setAppName: (val: string) => void
}

const platformStore = pubStore.defineStore<IState & IAction>('platformStore', (set) => ({
  appInfo: { name: '' },
  setAppName(val: string) {
    set({
      appInfo: {
        name: val
      }
    })
  }
}))

const usePlatformStore = create(platformStore)
返回值 usePlatformStore 为 hook,场景 A 下,可通过状态 selector 获取对应状态
// vue3
<template>
  <div>{name}</div>
</template>

<script>
const name = usePlatformStore((state) => state.appInfo.name);
const setAppName = usePlatformStore((state) => state.setAppName);

export default {
  name: "AppA",
  data(){
    return {
      name
    }
  },
  methods:{
    setAppName
  }
}
</script>


// react
// function AppA() {
//   const name = usePlatformStore((state) => state.appInfo.name);
//   const setAppName = usePlatformStore((state) => state.setAppName);
//   return <div>{name}</div>
// }
Step 3: 获取隔离容器 pubStore 下的数据 platformStore 并绑定组件 (场景 B)
// vue3
<template>
  <div>{name}</div>
</template>

<script setup lang="ts">

interface IState {
  appInfo: {
    name: string
  }
}

interface IAction {
  setAppName: (val: string) => void
}

import PubStore from "zustand-pub";
import create from "zustand-vue";

const pubStore = new PubStore('key')
const store = pubStore.getStore<IState & IAction>("platformStore");
const usePlatformStore = create(store || {});

const name = usePlatformStore((state) => state.appInfo.name);
const setAppName = usePlatformStore((state) => state.setAppName);

</script>

// react
// import PubStore from "zustand-pub";
// import create from "zustand";

// const pubStore = new PubStore('key')
// const store = pubStore.getStore<IState & IAction>("platformStore");
// const usePlatformStore = create(store || {});

// function AppB() {
//  const name = usePlatformStore((state) => state.appInfo.name);
//  const setAppName = usePlatformStore((state) => state.setAppName);
//  return <div>{name}</div>
// }

