目录
- 1、布局样式
- 2、使用uniappAPI(uni.chooseImage)
- 3、解决bug和添加功能
- 3.1 bug1
- 3.2 bug2
- 3.3 bug3
- 3.4 点击图片进行预览
- 3.5 删除图片
- 4、云函数上传到云存储
1、布局样式
在正式自定义上传前我们先将静态页面搭建好。
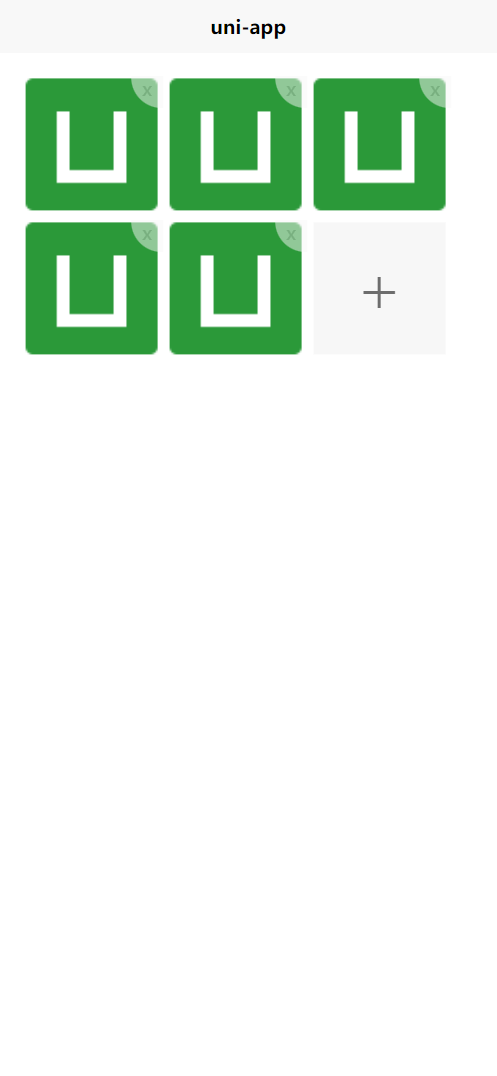
样式代码:
<template>
	<view>
		<view class="content">
			<view class="images" v-for="(item,index) in 5" :key="index">
				<image class="img" src="../../static/logo.png" mode="aspectFill"></image>
				<view class="remove">x</view>
			</view>
			<view class="files" @click="addFiles">
				<view class="add">+</view>
			</view>
		</view>
	</view>
</template>

<script>
	export default {
		data() {
			return {
				title: 'Hello'
			}
		},
		onLoad() {

		},
		methods: {

		}
	}
</script>

<style lang="scss" scoped>
	.content {
		padding: 30rpx;
		display: flex;
		flex-wrap: wrap;

		.files {
			width: 200rpx;
			height: 200rpx;
			background-color: #f7f7f7;
			color: #6d6d6d;
			font-size: 100rpx;
			font-weight: 100;
			display: flex;
			justify-content: center;
			align-items: center;
			margin: 10rpx;
		}

		.images {
			width: 200rpx;
			height: 200rpx;
			margin: 10rpx;
			position: relative;

			.img {
				width: 100%;
				height: 100%;
			}

			.remove {
				width: 50rpx;
				height: 50rpx;
				background-color: #f7f7f7;
				position: absolute;
				top: -5rpx;
				right: -10rpx;
				text-align: center;
				opacity: .5;
				border-radius: 0 0 0 50rpx;
				color: #c5c5c5;
			}
		}
	}
</style>
2、使用uniappAPI(uni.chooseImage)
通过uniapp的uni.chooseImage从本地相册选择图片或使用相机拍照。
在data中定义一个响应式数据来接收我们选择的图片,然后通过v-for渲染到我们的页面,达到缩略图的效果。
代码:
<template>
	<view>
		<view class="content">
			<view class="images" v-for="(item,index) in tempFiles" :key="index">
				<image class="img" :src="item.path" mode="aspectFill"></image>
				<view class="remove">x</view>
			</view>
			<view class="files" @click="addFiles">
				<view class="add">+</view>
			</view>
		</view>
	</view>
</template>
<script>
	export default {
		data() {
			return {
				tempFiles:[]
			}
		},
		onLoad() {

		},
		methods: {
			addFiles() {
				uni.chooseImage({
					count: 9, // 最大选择的张数,默认是九张,可以不写
					success:res=>{
						console.log(res);
						// 接受选择的图片数组
						this.tempFiles= res.tempFiles
					}
				})
			}
		}
	}
</script>
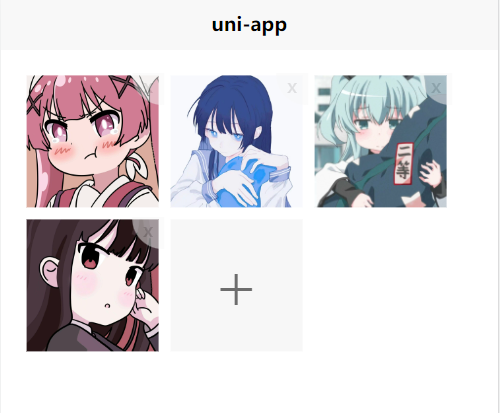
效果:
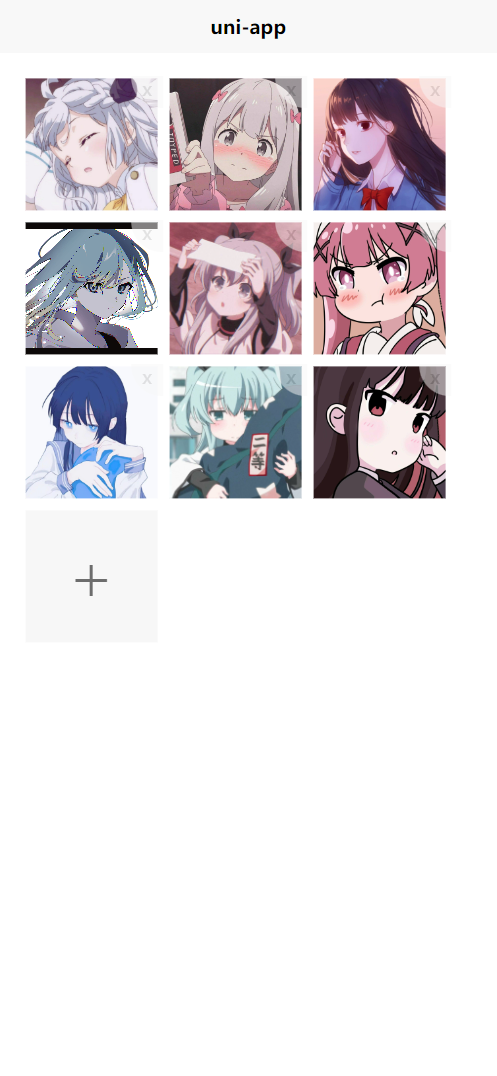
3、解决bug和添加功能
3.1 bug1
最初我们定义了只能选择九张图片,然而这个时候上图中的+(选择图片)还在,我们应该在选择了九张图片之后将它隐藏。
我们只需要加个判断即可
	<view class="files" @click="addFiles" v-if="tempFiles.length < 9">
				<view class="add">+</view>
			</view>
3.2 bug2
在我们选择了五张,在想多加几张图片时会发现之后选择的图片会将之前的图片覆盖,所有我们要将图片进行拼接。
uni.chooseImage({
	count: 9, // 最大选择的张数,默认是九张,可以不写
	success: res => {
		console.log(res);
		// 接受选择的图片数组
		this.tempFiles = [...this.tempFiles, ...res.tempFiles]
})
3.3 bug3
如果第一次选择八张,然后在选择图片,会超过原本我们只想要的九张照片,所有我们要对它进行截取。
			uni.chooseImage({
					count: 9, // 最大选择的张数,默认是九张,可以不写
					success: res => {
						console.log(res);
						// 接受选择的图片数组
						let oldImg = [...this.tempFiles, ...res.tempFiles]
						// console.log(oldImg);
						let newImg = oldImg.slice(0, 9)
						// console.log(newImg);
						// 在赋值前进行截取
						this.tempFiles = newImg
					}
				})
3.4 点击图片进行预览
通过uniapp的API(uni.previewImage)我们来完成预览图片这个功能。
<image @click="previewImg(index)" class="img" :src="item.path" mode="aspectFill"></image>
给每张图片添加一个点击事件,将自身的索引值传递过去。
// 预览图片
			previewImg(index) {
				// console.log(this.tempFiles);
				// 过滤
				let imgUrl = this.tempFiles.map(item => item.path)
				// console.log(imgUrl);
				uni.previewImage({
					current: index, //点击的索引值
					urls: imgUrl,
				})
			}
由于我们的数据是这样的数组对象,所以要对其进行过滤,得到一个只有地址的数组。
3.5 删除图片
给每个删除按钮添加点击事件,并将索引值传递过去。
<view class="remove" @click="removeImg(index)">x</view>
// 删除图片
removeImg(index) {
	this.tempFiles.splice(index, 1)
}
4、云函数上传到云存储
我们先来讲上传按钮的样式搭建一下。
<template>
	<view>
		<view class="content">
			<view class="images" v-for="(item,index) in tempFiles" :key="index">
				<image @click="previewImg(index)" class="img" :src="item.path" mode="aspectFill"></image>
				<view class="remove" @click="removeImg(index)">x</view>
			</view>
			<view class="files" @click="addFiles" v-if="tempFiles.length<9">
				<view class="add">+</view>
			</view>
		</view>
		<button class="upload" :disabled="tempFiles.length > 0 ? false : true">发表</button>
	</view>
</template>

<style lang="scss" scoped>
	.upload {
		position: absolute;
		top: -50rpx;
		right: 20rpx;
		width: 120rpx;
		height: 60rpx;
		line-height: 60rpx;
		background-color: #04c062;
		color: white;
		border-radius: 10rpx;
		text-align: center;
		font-size: 30rpx;
	}

	.content {
		padding: 30rpx;
		margin-top: 70rpx;
		display: flex;
		flex-wrap: wrap;

		.files {
			width: 200rpx;
			height: 200rpx;
			background-color: #f7f7f7;
			color: #6d6d6d;
			font-size: 100rpx;
			font-weight: 100;
			display: flex;
			justify-content: center;
			align-items: center;
			margin: 10rpx;
		}

		.images {
			width: 200rpx;
			height: 200rpx;
			margin: 10rpx;
			position: relative;

			.img {
				width: 100%;
				height: 100%;
			}

			.remove {
				width: 50rpx;
				height: 50rpx;
				background-color: #f7f7f7;
				position: absolute;
				top: -5rpx;
				right: -10rpx;
				text-align: center;
				opacity: .5;
				border-radius: 0 0 0 50rpx;
				color: #c5c5c5;
			}
		}
	}
</style>
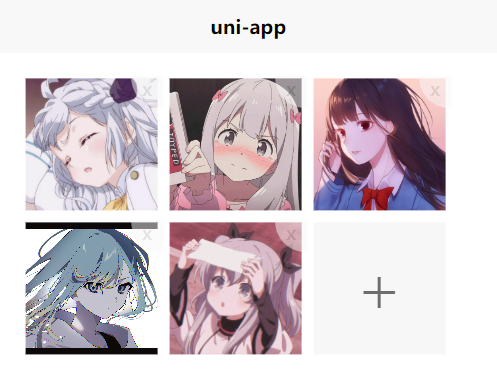
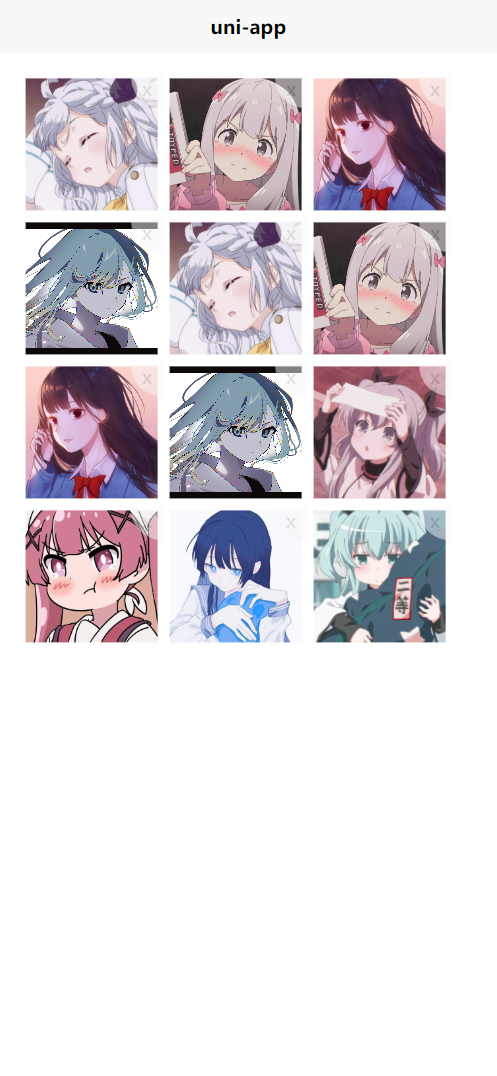
效果:

客户端上传文件到云函数、云函数再上传文件到云存储,这样的过程会导致文件流量带宽耗费较大。
所以一般上传文件都是客户端直传。
添加点击事件
<button @click="uploadFn" class="upload" :disabled="tempFiles.length > 0 ? false : true">发表</button>
默认一次只能上传一个后面我们进行循环上传。
// 上传到云存储
uploadFn() {
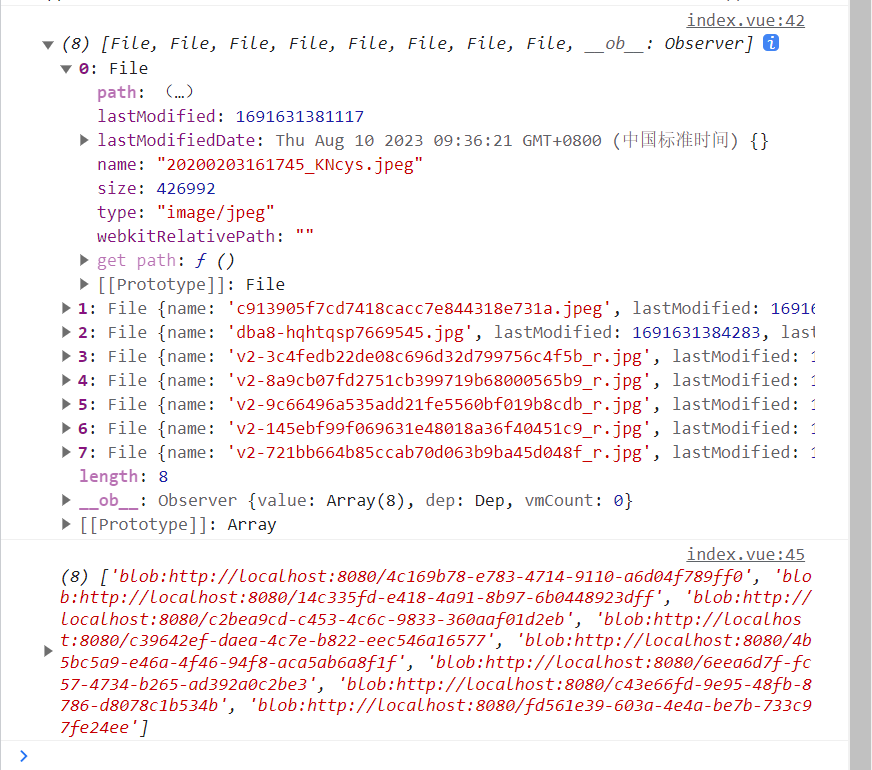
console.log(this.tempFiles);
uniCloud.uploadFile({
filePath: this.tempFiles[0].path,
cloudPathAsRealPath: true, //让cloudPath作为文件存储路径
cloudPath: "images/" + this.tempFiles[0].name //上传到images文件夹下
}).then(res => {
console.log(res);
})
}
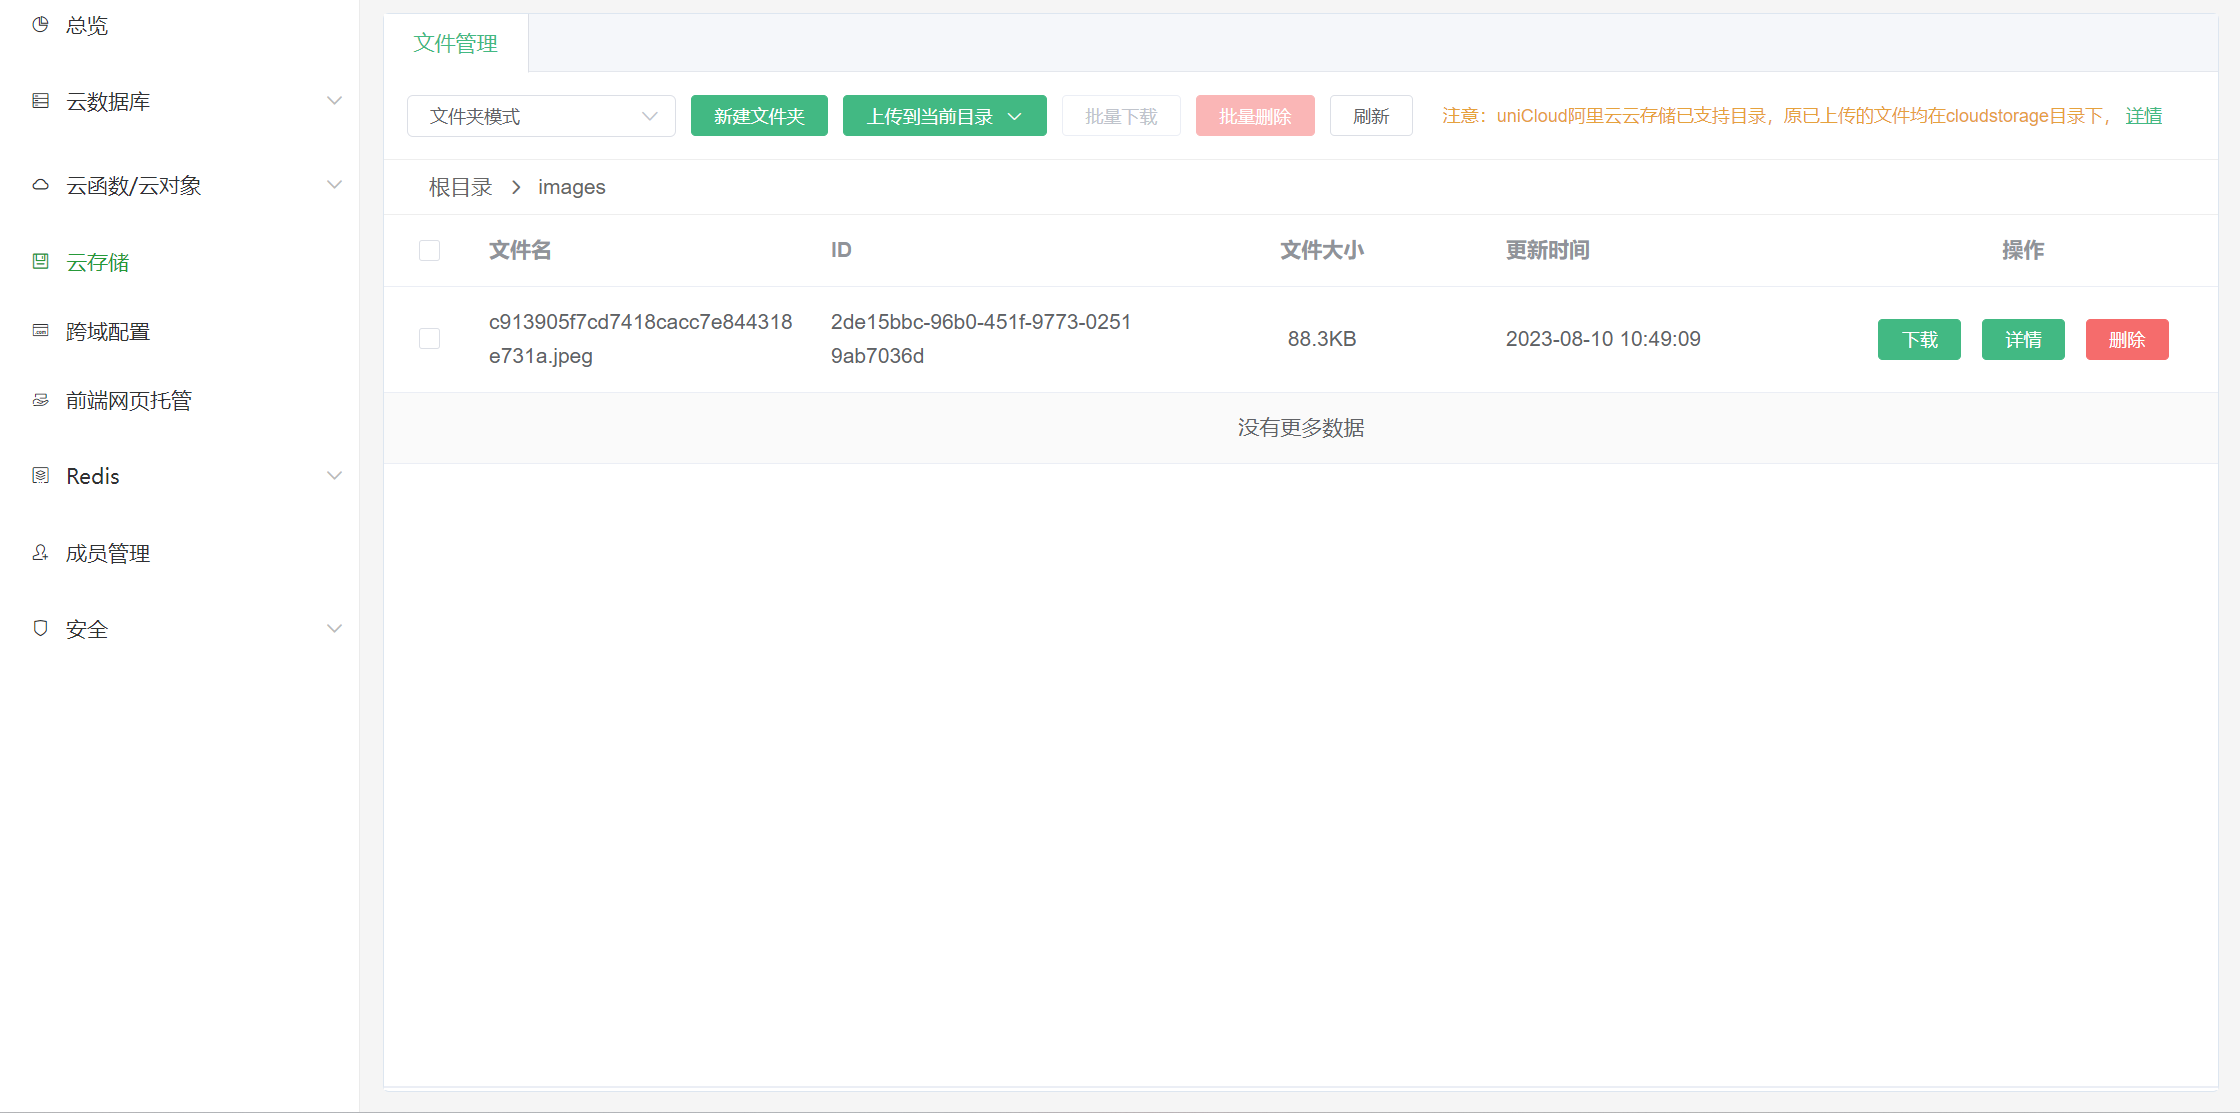
上传成功:
<button @click="goUpload" class="upload" :disabled="tempFiles.length > 0 ? false : true">发表</button>
		goUpload() {
				this.tempFiles.forEach(item=>{
					this.uploadFn(item)
				})
			},
			// 上传到云存储
			uploadFn(item) {
				uniCloud.uploadFile({
					filePath: item.path,
					cloudPathAsRealPath: true, //让cloudPath作为文件存储路径
					cloudPath: "images/" + item.name //上传到images文件夹下
				}).then(res => {
					console.log(res);
				})
			}
这样就完成了上传多张图片的功能,不过我们的图片地址后面还要存储到数据库中,所以我们将其改成promise的形式,监听全部上传完后,然后存储到数据库中。
			goUpload() {
				let promissState = this.tempFiles.map(async item => {
					return await this.uploadFn(item)
				})
				// console.log(promissState);
				Promise.all(promissState).then(res => {
					// console.log(res);
					let imgUrl = res.map(item => item.fileID)
					// console.log(imgUrl);
					const objImg = {...imgUrl}
					this.uploadDataBase(objImg)
				}).catch(e => {
					console.log(e);
				})
			},
			// 上传到云存储
			uploadFn(item) {
				return uniCloud.uploadFile({
					filePath: item.path,
					// cloudPathAsRealPath: true, //让cloudPath作为文件存储路径
					// cloudPath: "images/" + item.name //上传到images文件夹下
					cloudPath: item.name,
					//文件夹模式,不允许文件覆盖
				})
			},
			// 上传到数据库
			uploadDataBase(objImg) {
				uniCloud.callFunction({
					name: 'uploadDataBase',
					data: objImg
				}).then(res => {
					console.log(res);
				})
			}
云函数
'use strict';
const db = uniCloud.database()
exports.main = async (event, context) => {
	const data = await db.collection('images').add(event)
	return data
};
最终代码:
<template>
	<view>
		<view class="content">
			<view class="images" v-for="(item,index) in tempFiles" :key="index">
				<image @click="previewImg(index)" class="img" :src="item.path" mode="aspectFill"></image>
				<view class="remove" @click="removeImg(index)">x</view>
			</view>
			<view class="files" @click="addFiles" v-if="tempFiles.length<9">
				<view class="add">+</view>
			</view>
		</view>
		<button @click="goUpload" class="upload" :disabled="tempFiles.length > 0 ? false : true">发表</button>
	</view>
</template>

<script>
	export default {
		data() {
			return {
				tempFiles: [],
			}
		},
		onLoad() {

		},
		methods: {
			addFiles() {
				uni.chooseImage({
					count: 9, // 最大选择的张数,默认是九张,可以不写
					success: res => {
						// console.log(res);
						// 接受选择的图片数组
						let oldImg = [...this.tempFiles, ...res.tempFiles]
						// console.log(oldImg);
						let newImg = oldImg.slice(0, 9)
						// console.log(newImg);
						this.tempFiles = newImg
					}
				})
			},
			// 预览图片
			previewImg(index) {
				// console.log(this.tempFiles);
				// 过滤
				let imgUrl = this.tempFiles.map(item => item.path)
				// console.log(imgUrl);
				uni.previewImage({
					current: index, //点击的索引值
					urls: imgUrl,
				})
			},
			// 删除图片
			removeImg(index) {
				this.tempFiles.splice(index, 1)
			},
			goUpload() {
				let promissState = this.tempFiles.map(async item => {
					return await this.uploadFn(item)
				})
				// console.log(promissState);
				Promise.all(promissState).then(res => {
					// console.log(res);
					let imgUrl = res.map(item => item.fileID)
					// console.log(imgUrl);
					const objImg = {...imgUrl}
					this.uploadDataBase(objImg)
				}).catch(e => {
					console.log(e);
				})
			},
			// 上传到云存储
			uploadFn(item) {
				return uniCloud.uploadFile({
					filePath: item.path,
					// cloudPathAsRealPath: true, //让cloudPath作为文件存储路径
					// cloudPath: "images/" + item.name //上传到images文件夹下
					cloudPath: item.name,
					//文件夹模式,不允许文件覆盖
				})
			},
			// 上传到数据库
			uploadDataBase(objImg) {
				uniCloud.callFunction({
					name: 'uploadDataBase',
					data: objImg
				}).then(res => {
					console.log(res);
				})
			}

		}
	}
</script>

<style lang="scss" scoped>
	.upload {
		position: absolute;
		top: -50rpx;
		right: 20rpx;
		width: 120rpx;
		height: 60rpx;
		line-height: 60rpx;
		background-color: #04c062;
		color: white;
		border-radius: 10rpx;
		text-align: center;
		font-size: 30rpx;
	}

	.content {
		padding: 30rpx;
		margin-top: 70rpx;
		display: flex;
		flex-wrap: wrap;

		.files {
			width: 200rpx;
			height: 200rpx;
			background-color: #f7f7f7;
			color: #6d6d6d;
			font-size: 100rpx;
			font-weight: 100;
			display: flex;
			justify-content: center;
			align-items: center;
			margin: 10rpx;
		}

		.images {
			width: 200rpx;
			height: 200rpx;
			margin: 10rpx;
			position: relative;

			.img {
				width: 100%;
				height: 100%;
			}

			.remove {
				width: 50rpx;
				height: 50rpx;
				background-color: #f7f7f7;
				position: absolute;
				top: -5rpx;
				right: -10rpx;
				text-align: center;
				opacity: .5;
				border-radius: 0 0 0 50rpx;
				color: #c5c5c5;
			}
		}
	}
</style>