目录
1. 什么是webSocket
2. webSocket可以用来做什么?
3. webSocket协议
4. 服务器端
5. 客户端
6. 测试通讯
1. 什么是webSocket
WebSocket是一种在单个TCP连接上进行全双工通信的协议。WebSocket使得客户端和服务器之间的数据交换变得更加简单,允许服务端主动向客户端推送数据。在WebSocket API中,浏览器和服务器只需要完成一次握手,两者之间就直接可以创建持久性的连接,并进行双向数据传输。
2. webSocket可以用来做什么?
利用双向数据传输的特点可以用来完成很多功能,不需要前端轮询,浪费资源。例如:
-
实时聊天应用:WebSocket 可以实现实时聊天功能,使用户能够即时收发消息,实现快速、实时的交流。
-
实时数据更新:对于需要实时更新数据的应用,例如股票行情、天气预报等,WebSocket 可以提供实时推送机制,使得数据能够实时更新并及时展示给用户。
-
多人在线游戏:WebSocket 提供了双向通信的能力,适用于多人在线游戏的实时对战场景,例如实时卡牌游戏、棋类游戏等。
-
协作工具:利用 WebSocket,可以实现实时协作工具,例如团队任务管理工具、协同编辑工具等,使团队成员能够实时更新和同步工作内容。
-
实时地图交通监控:WebSocket 可以用于实时地图交通监控系统,使得用户能够实时获取道路状况、交通拥堵情况等信息。
-
在线客服和客户支持:通过 WebSocket,客服人员可以与客户实时进行交流,提供及时解答问题和支持的服务。
-
实时投票和调查:使用 WebSocket,可以实现实时投票和调查系统,实时展示投票结果,以及接收和统计用户的投票。等等......

3. webSocket协议
本协议有两部分:握手和数据传输。握手是基于http协议的。
- 来自客户端的握手看起来像如下形式:
GET ws://localhost/chat HTTP/1.1
Host: localhost
Upgrade: websocket
Connection: Upgrade
Sec-WebSocket-Key:dGhlIHNhbXBsZSBub25jZQ==
Sec-WebSocket-Protocol: chat,superchat
Sec-WebSocket-Version: 13
- 来自服务器的握手看起来像如下形式:
HTTP/1.1 101 Switching Protocols
Upgrade: websocket
Connection: Upgrade
Sec-WebSocket-Accept:s3pPLMBiTxaQ9kYGzzhZRbK+xOo=
Sec-WebSocket-Protocol: chat

4. 服务器端
- pom.xml依赖
<dependency>
   <groupId>org.springframework.boot</groupId>
   <artifactId>spring-boot-starter-websocket</artifactId>
</dependency>
- WebSocketConfig配置类(config包目录)
package com.jmh.demo03.websocket.config;

import org.springframework.context.annotation.Bean;
import org.springframework.context.annotation.Configuration;
import org.springframework.web.socket.server.standard.ServerEndpointExporter;

@Configuration
public class WebSocketConfig {
    /**
     * 	注入ServerEndpointExporter,
     * 	这个bean会自动注册使用了@ServerEndpoint注解声明的Websocket endpoint
     */
    @Bean
    public ServerEndpointExporter serverEndpointExporter() {
        return new ServerEndpointExporter();
    }

}
- WebSocket操作类(config包目录)
package com.jmh.demo03.websocket.config;

import java.io.IOException;
import java.util.HashMap;
import java.util.Map;
import java.util.concurrent.ConcurrentHashMap;
import java.util.concurrent.CopyOnWriteArraySet;

import javax.websocket.*;
import javax.websocket.server.PathParam;
import javax.websocket.server.ServerEndpoint;

import org.springframework.stereotype.Component;

import lombok.extern.slf4j.Slf4j;

@Component
@Slf4j
//接口路径 ws://localhost:8087/webSocket/userId;
@ServerEndpoint("/websocket/{userId}")

public class WebSocket {

    /**
     * 与某个客户端的连接会话,需要通过它来给客户端发送数据
     */
    private Session session;

    /**
     * 用户ID
     */
    private String userId;

    //concurrent包的线程安全Set,用来存放每个客户端对应的MyWebSocket对象。
    //虽然@Component默认是单例模式的,但springboot还是会为每个websocket连接初始化一个bean,所以可以用一个静态set保存起来。
    //  注:底下WebSocket是当前类名
    private static CopyOnWriteArraySet<WebSocket> webSockets =new CopyOnWriteArraySet<>();

    /**
     * 用来存在线连接用户信息
     */
    private static ConcurrentHashMap<String,Session> sessionPool = new ConcurrentHashMap<String,Session>();


    /**
     * 链接成功调用的方法
     */
    @OnOpen
    public void onOpen(Session session, @PathParam(value="userId")String userId) {
        try {
            this.session = session;
            this.userId = userId;
            webSockets.add(this);
            sessionPool.put(userId, session);
            log.info("【websocket消息】用户{}连接成功,在线人数为{}",userId,webSockets.size());
        } catch (Exception e) {
            e.printStackTrace();
        }
    }

    /**
     * 链接关闭调用的方法
     */
    @OnClose
    public void onClose() {
        try {
            webSockets.remove(this);
            sessionPool.remove(this.userId);
            log.info("【websocket消息】用户{}连接断开,在线人数为{}",userId,webSockets.size());
        } catch (Exception e) {
            e.printStackTrace();
        }
    }

    /**
     * 收到客户端消息后调用的方法
     * @param message 消息
     */
    @OnMessage
    public void onMessage(String message) {
        log.info("【websocket消息】收到客户端用户{},消息:{}",userId,message);
    }

    /**
     * 发送错误时的处理
     * @param session 会话
     * @param error 错误
     */
    @OnError
    public void onError(Session session, Throwable error) {

        log.error("用户错误,原因:"+error.getMessage());
        error.printStackTrace();
    }

    /**
     * 此为广播消息
     * @param message 消息内容
     */
    public void sendAllMessage(String message) {
        log.info("【websocket消息】广播消息:"+message);
        for(WebSocket webSocket : webSockets) {
            try {
                if(webSocket.session.isOpen()) {
                    webSocket.session.getAsyncRemote().sendText(message);
                }
            } catch (Exception e) {
                e.printStackTrace();
            }
        }
    }

    /**
     * 此为单点消息
     * @param userId 用户编号
     * @param message 消息内容
     */
    public void sendOneMessage(String userId, String message) {
        Session session = sessionPool.get(userId);
        if (session != null&&session.isOpen()) {
            try {
                log.info("【websocket消息】 单点消息:"+message);
                session.getAsyncRemote().sendText(message);
            } catch (Exception e) {
                e.printStackTrace();
            }
        }
    }

    /**
     * 此为单点消息(多人)
     * @param userIds 用户编号组
     * @param message 消息内容
     */
    public void sendMoreMessage(String[] userIds, String message) {
        for(String userId:userIds) {
            Session session = sessionPool.get(userId);
            if (session != null&&session.isOpen()) {
                try {
                    log.info("【websocket消息】 单点消息:"+message);
                    session.getAsyncRemote().sendText(message);
                } catch (Exception e) {
                    e.printStackTrace();
                }
            }
        }

    }

}
- SendMessageController调用实例类(controller包目录)
package com.jmh.demo03.websocket.controller;

import com.alibaba.fastjson2.JSONObject;
import com.jmh.demo03.websocket.config.WebSocket;
import org.springframework.beans.factory.annotation.Autowired;
import org.springframework.web.bind.annotation.PostMapping;
import org.springframework.web.bind.annotation.RequestMapping;
import org.springframework.web.bind.annotation.RestController;

import javax.annotation.Resource;
import java.util.Arrays;
import java.util.Collections;
import java.util.List;

/**
 * @author 蒋明辉
 * @data 2023/8/7 14:43
 */
@RestController
@RequestMapping("/ws")
public class SendMessageController {

    @Autowired
    private WebSocket webSocket;

    /**
     * 广播消息
     */
    @PostMapping("/sendAllMessage")
    public void sendAllMessage(){
        //发送内容
        JSONObject jsonObject=new JSONObject();
        String message="【今日话题】:早睡早起,多喝开水,要爱自己多一点~";
        jsonObject.put("message",message);
        //全体发送
        webSocket.sendAllMessage(jsonObject.toString());
    }

    /**
     * 单个用户发送
     */
    @PostMapping("/sendOneMessage")
    public void sendOneMessage(){
        //发送内容
        JSONObject jsonObject=new JSONObject();
        String message="【今日话题】:早睡早起,多喝开水,要爱自己多一点~";
        jsonObject.put("abc",message);
        //单个用户发送 (userId为用户id)
        webSocket.sendOneMessage("1", jsonObject.toString());
    }

    /**
     * 多个用户发送
     */
    @PostMapping("/sendMoreMessage")
    public void sendMoreMessage(){
        //发送内容
        JSONObject jsonObject=new JSONObject();
        String message="【今日话题】:早睡早起,多喝开水,要爱自己多一点~";
        jsonObject.put("message",message);
        //多个用户发送 (userIds为多个用户id,逗号‘,’分隔)
        String str="1,2,3";
        String[] split = str.split(",");
        webSocket.sendMoreMessage(split, jsonObject.toString());
    }


}
- webSocket网页客户端工具
5. 客户端
- vue.js代码
<!DOCTYPE html>
<html>
	<head>
		<meta charset="utf-8" />
		<title></title>
		<script src="https://cdn.bootcdn.net/ajax/libs/jquery/3.6.4/jquery.min.js"></script>
		<script src="https://cdn.bootcss.com/vue/2.6.10/vue.js"></script>
		<script src="https://cdn.bootcdn.net/ajax/libs/axios/1.3.4/axios.js"></script>
	</head>
	<body>
		<div id="demo">
			<h1>Web Socket 正式发版</h1>

			<hr/>

			<button @click="sendKh()">发送消息(客户端)</button>
			<button @click="sendFwq()">发送消息(服务器端)</button>

		</div>
	</body>

	<script>
		new Vue({
			el: '#demo',
			data() {
				return {

				}
			},
			mounted() {
				  //初始化websocket
				  this.initWebSocket()
			},
			destroyed: function () { // 离开页面生命周期函数
				  this.websocketclose();
			},
			methods: {
				initWebSocket: function () { // 建立连接
					// WebSocket与普通的请求所用协议有所不同,ws等同于http,wss等同于https
					this.websock = new WebSocket("ws://127.0.0.1:8080/websocket/1");
					this.websock.onopen = this.websocketonopen;
					//this.websock.send = this.websocketsend;
					this.websock.onerror = this.websocketonerror;
					this.websock.onmessage = this.websocketonmessage;
					this.websock.onclose = this.websocketclose;

				  },
				  // 连接成功后调用
				  websocketonopen: function () {
					 console.log("WebSocket连接成功");
				  },
				  // 发生错误时调用
				  websocketonerror: function (e) {
					console.log("WebSocket连接发生错误");
				  },
				  // 给后端发消息时调用
				  websocketsend: function (e) {
					console.log("WebSocket连接发生错误");
				  },
				  // 接收后端消息(服务器端发送)
				  // vue 客户端根据返回的cmd类型处理不同的业务响应
				  websocketonmessage: function (e) {
					console.info(e)
					var data = eval("(" + e.data + ")");
					console.info(data)
				  },
				  // 关闭连接时调用
				  websocketclose: function (e) {
					console.log("connection closed (" + e.code + ")");
				  },
				   //向服务器发送消息(客户端发送)
				  sendKh(){
					  let data={
						  message: '小明你好!我想和你成为朋友~',
						  sendData: new Date()
					  }
					  this.websock.send("尊嘟假嘟")
				  },
				  //向客户端发送消息(服务器端发送)
				  sendFwq(){
					  axios.post('http://localhost:8080/ws/sendOneMessage').then((resp)=>{
					  	console.info(resp)
					  })
				  }
			}
		})
	</script>
</html>

6. 测试通讯
1. 连接通讯(开启前后端访问服务即可联系通讯)

2. 客户端向服务端发送消息
- 客户端像服务器端发送消息

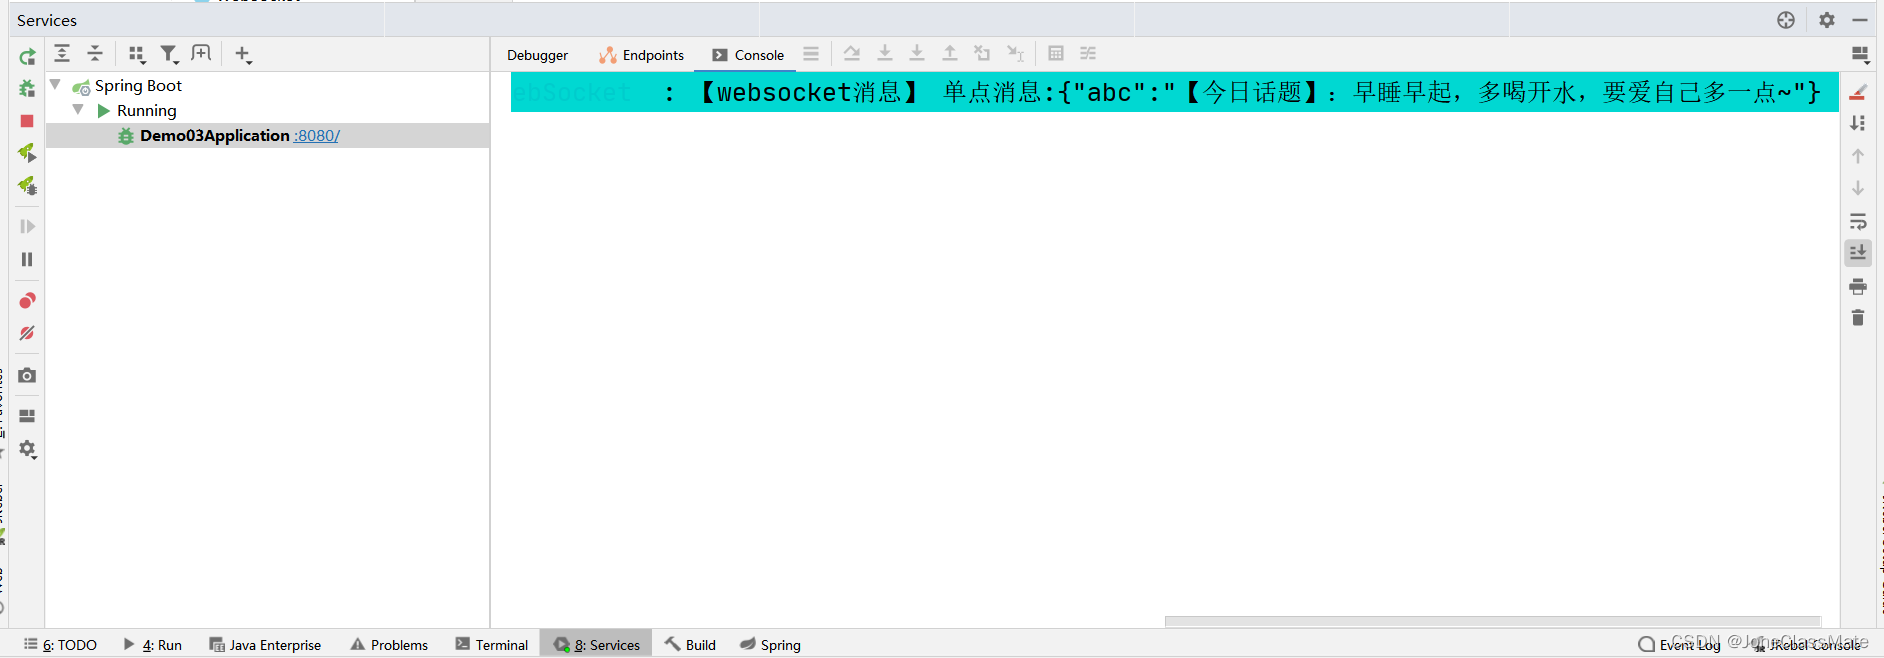
- 服务器端接受到的消息

3. 服务器端想客户端发送消息
- 服务器端向客户端发送消息

- 客户端接收到的消息

- 查看服务器端消息
