依赖库
- Pixi.js 是一个前端图形渲染库,使用精灵技术绘制高性能的图形。
- Tone.js是一个前端音频框架,对web audio api进行了封装,可以快速创建音频样本、音频效果、进行音频分析和音频播放。
- @tonejs/midi是tonejs的一个插件,可以讲midi文件转化为Tone.js可以解析的json格式。
midi文件解析
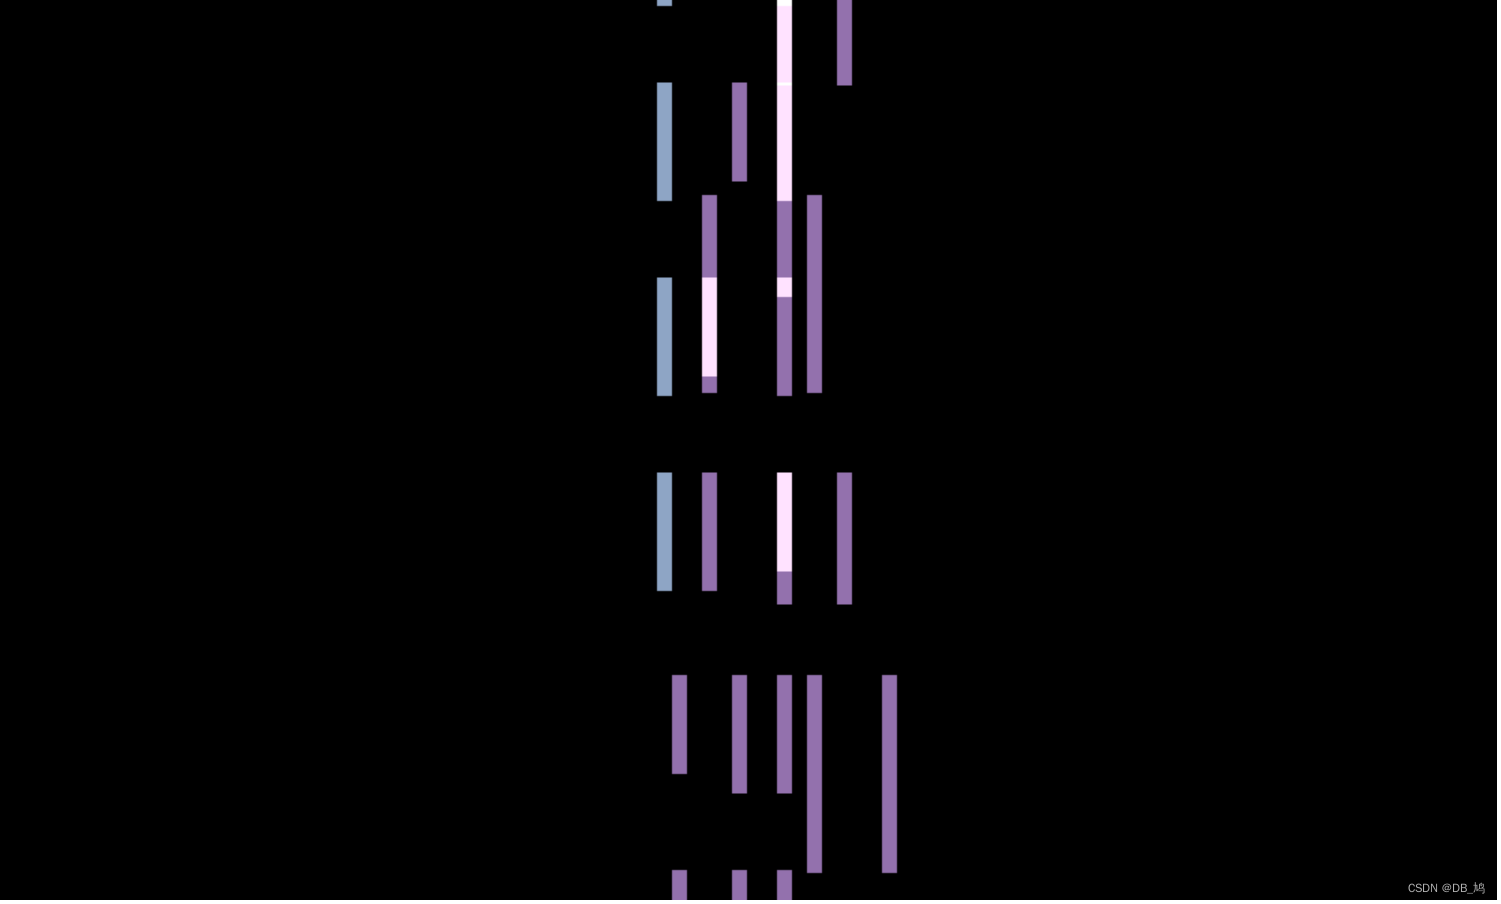
首先需要讲midi文件导入紧浏览器,由于浏览器的安全限制,我们只能使用文件选择器讲文件导入。
<!DOCTYPE html>
<html lang="en">
<head>
  <meta charset="UTF-8">
  <meta http-equiv="X-UA-Compatible" content="IE=edge">
  <meta name="viewport" content="width=device-width, initial-scale=1.0">
  <title>Midi可视化</title>
</head>
<body>
  <input type="file" id="file">

  <script>
    const input = document.querySelector('#file');
    input.addEventListener('change', (e) => {
      console.log(e.target.files[0]);
    })
  </script>
</body>
</html>
这样就可以拿到Midi文件对应的File对象。

导入tonejs和tone/midi插件,准备解析File对象。
  <script
  type="text/javascript"
  src="https://unpkg.com/tone@latest/build/Tone.js"
  ></script>
  <script
  type="text/javascript"
  src="https://unpkg.com/@tonejs/midi"
></script>
使用MIDI插件解析File对象。
    // 读取midi文件
    function parseMidi(file) {
      // 创建文件读取器
      const reader = new FileReader();
      // 读取文件
      reader.readAsArrayBuffer(file);
      // 文件读取完成后将文件转化为json对象
      reader.addEventListener('load', (e) => {
        currentMidi = new Midi(e.target.result);
        console.log(currentMidi);
      })
    }
有没有懂设计模式的,可以帮我优化下代码嘛,定义了一个全局变量currentMidi总觉得不舒服。
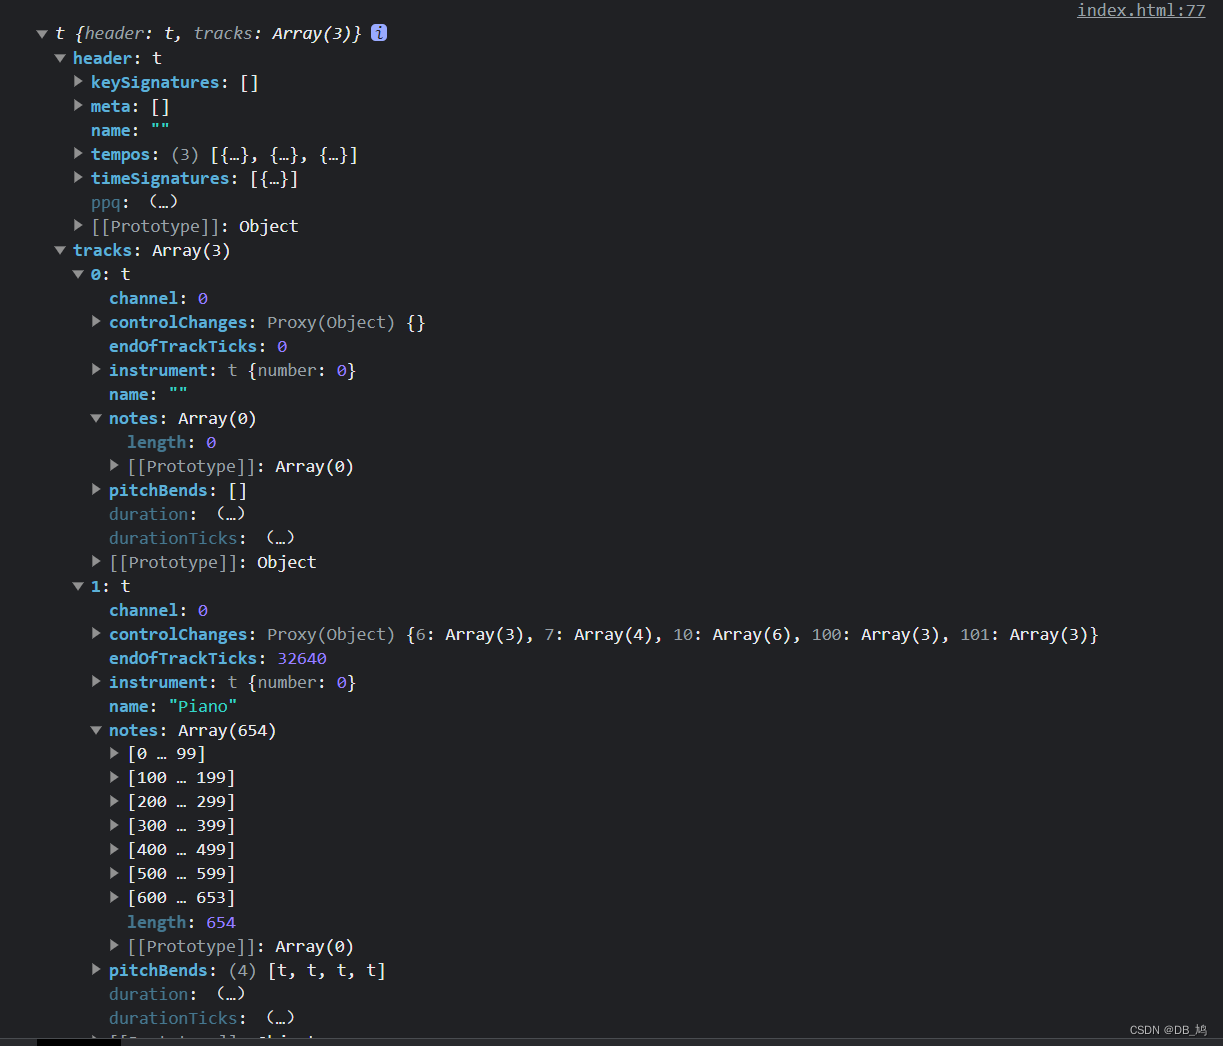
这个currentMidi中存储了midi文件的音轨,音符,乐器等信息。可以为下面创建合成器和可视化提供数据。
音频播放
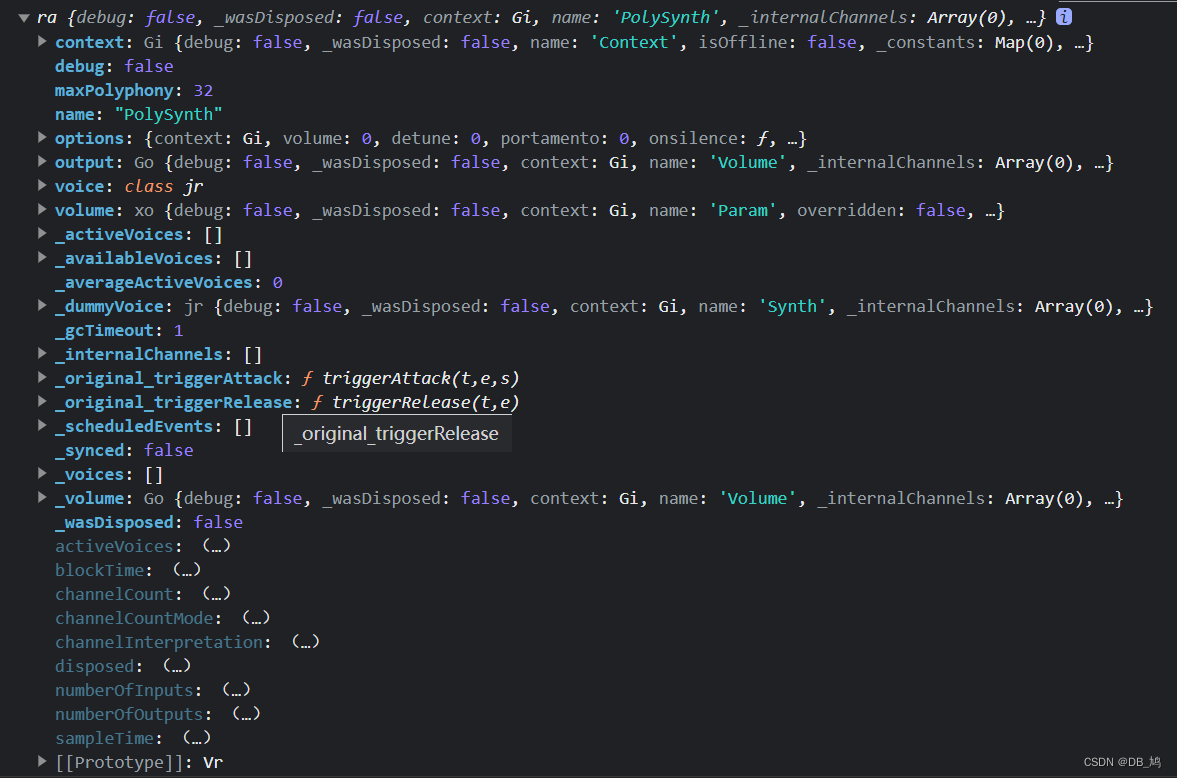
音频使用tonejs创建合成器来播放。
在页面中添加一个按钮并绑定事件,用于播放音频,下面这段代码里有用到Tonejs创建合成器播放声音的代码。
play.addEventListener('click', (e) => {
      console.log(currentMidi);
      // 如果未加载midi文件
      if(!currentMidi) {
        alert('未加载文件');
        return;
      }

      const now = Tone.now() + 0.5; // 获取当前时间
      const synths = [];            // 存储合成器
      // 遍历midi文件中的轨道
      currentMidi.tracks.forEach(track => {
        // 创建合成器作为音轨并连接至出口,音色使用Tonejs的默认音色
        const synth = new Tone.PolySynth(Tone.Synth, {
					envelope: {
            // 声音的生命周期:按下按键 - 渐入 - 攻击阶段 - 衰减阶段 - 衰减结束 - 松开按键 - 声音消逝
						attack: 0.02,     // 渐入时间
						decay: 0.1,       // 攻击阶段(最大音量)持续时间
						sustain: 0.3,     // 衰减结束后的最小声音
						release: 1,       // 从松开按键到声音彻底消失所需的时间
					},
				}).toDestination();
		// 将合成器存储起来,为之后停止播放的功能留下接口。
        synths.push(synth);

        // 遍历轨道中的每个音符
        track.notes.forEach(note => {
          // 合成器发声
          synth.triggerAttackRelease(
						note.name,         // 音名
						note.duration,     // 持续时间
						note.time + now,   // 开始发声时间
						note.velocity      // 音量
					);
        });
      });
    })
到这里就可以实现MIDI文件的播放了。
可视化
可视化采用pixijs,首先使用npm下载pixijs然后导入。
<script src="../../node_modules/pixi.js/dist/pixi.js"></script>
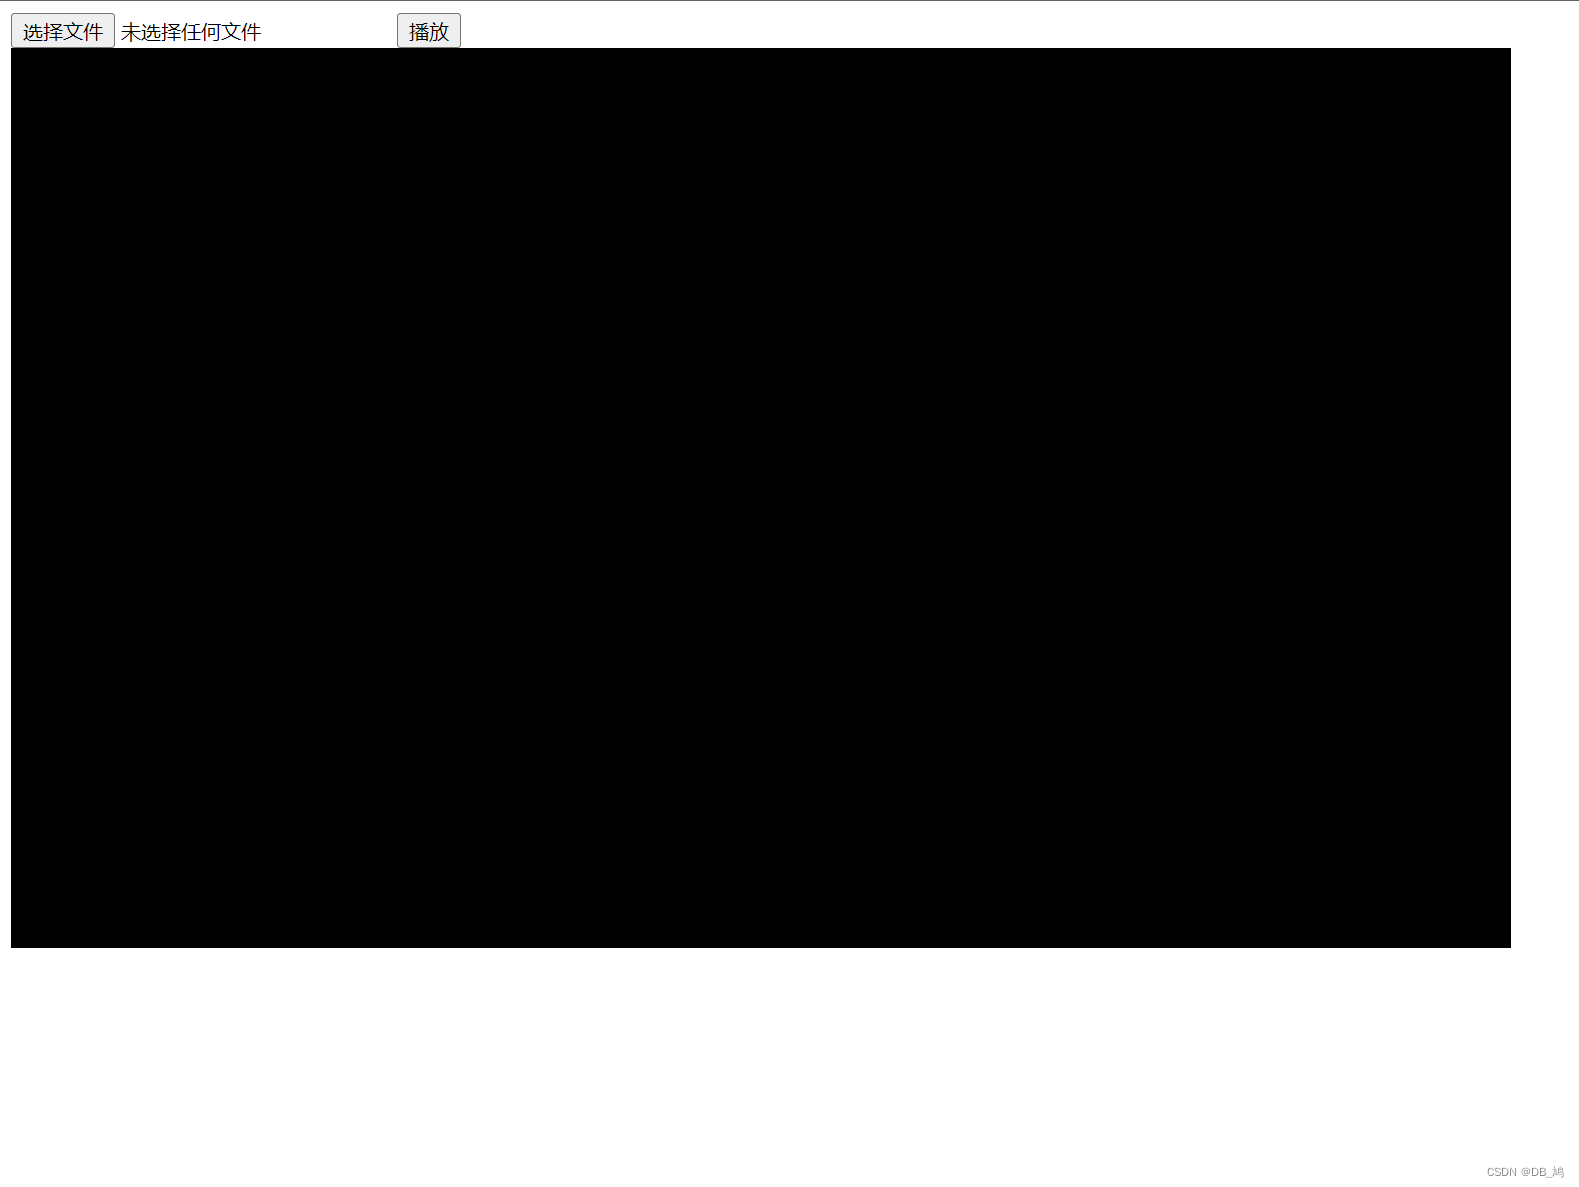
使用pixijs创建一块画布并挂载到页面上。
const Application = PIXI.Application;  // 应用类,快速创建PIXI应用
    const Sprite = PIXI.Sprite;            // 精灵类
    const Graphics = PIXI.Graphics;        // 图形类
    // 创建应用程序并挂载
    const pixi = new Application({
      width: 1000,
      height: 600,
      backgroundColor: 0x000000
    })
    // pixi.view 代表画布,是一个canvas元素
    document.body.appendChild(pixi.view);
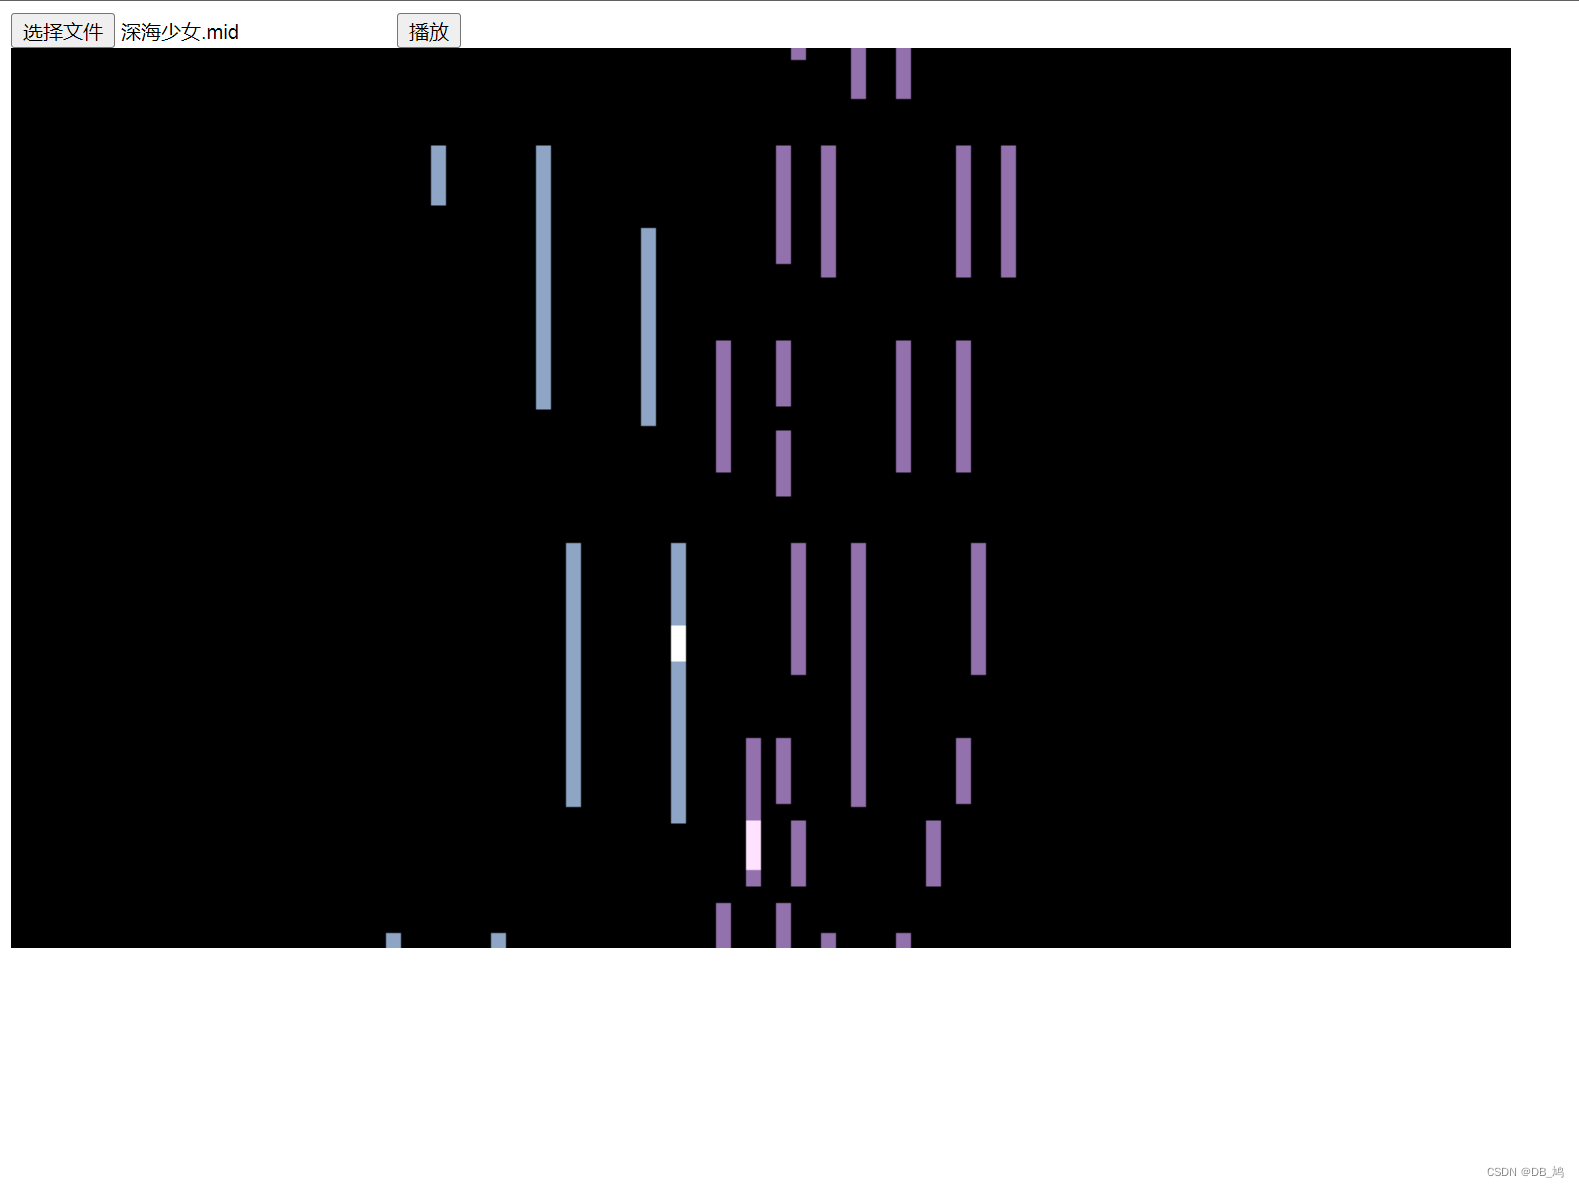
我们使用灯管类作为每一个音符的可视化。
const config = {
      speed: 1
    }
    // 定义灯光类作为音符的可视化
    class Light extends Graphics {
      constructor(color, height, x) {
        super();
        this.beginFill(color);
        this.drawRect(x, 600, 10, height);
        this.endFill();
        // pixijs的定时器,可以实现每帧执行一次,并且十分稳定
        pixi.ticker.add(() => {
          this.y -= config.speed * 5;
        });
      }
    }
随便创建两个灯管两个试试效果。
// pixi.stage 代表舞台,所有的物体必须挂载在舞台上才可以显示。
pixi.stage.addChild( new Light(0xffffff, 50, 400) );
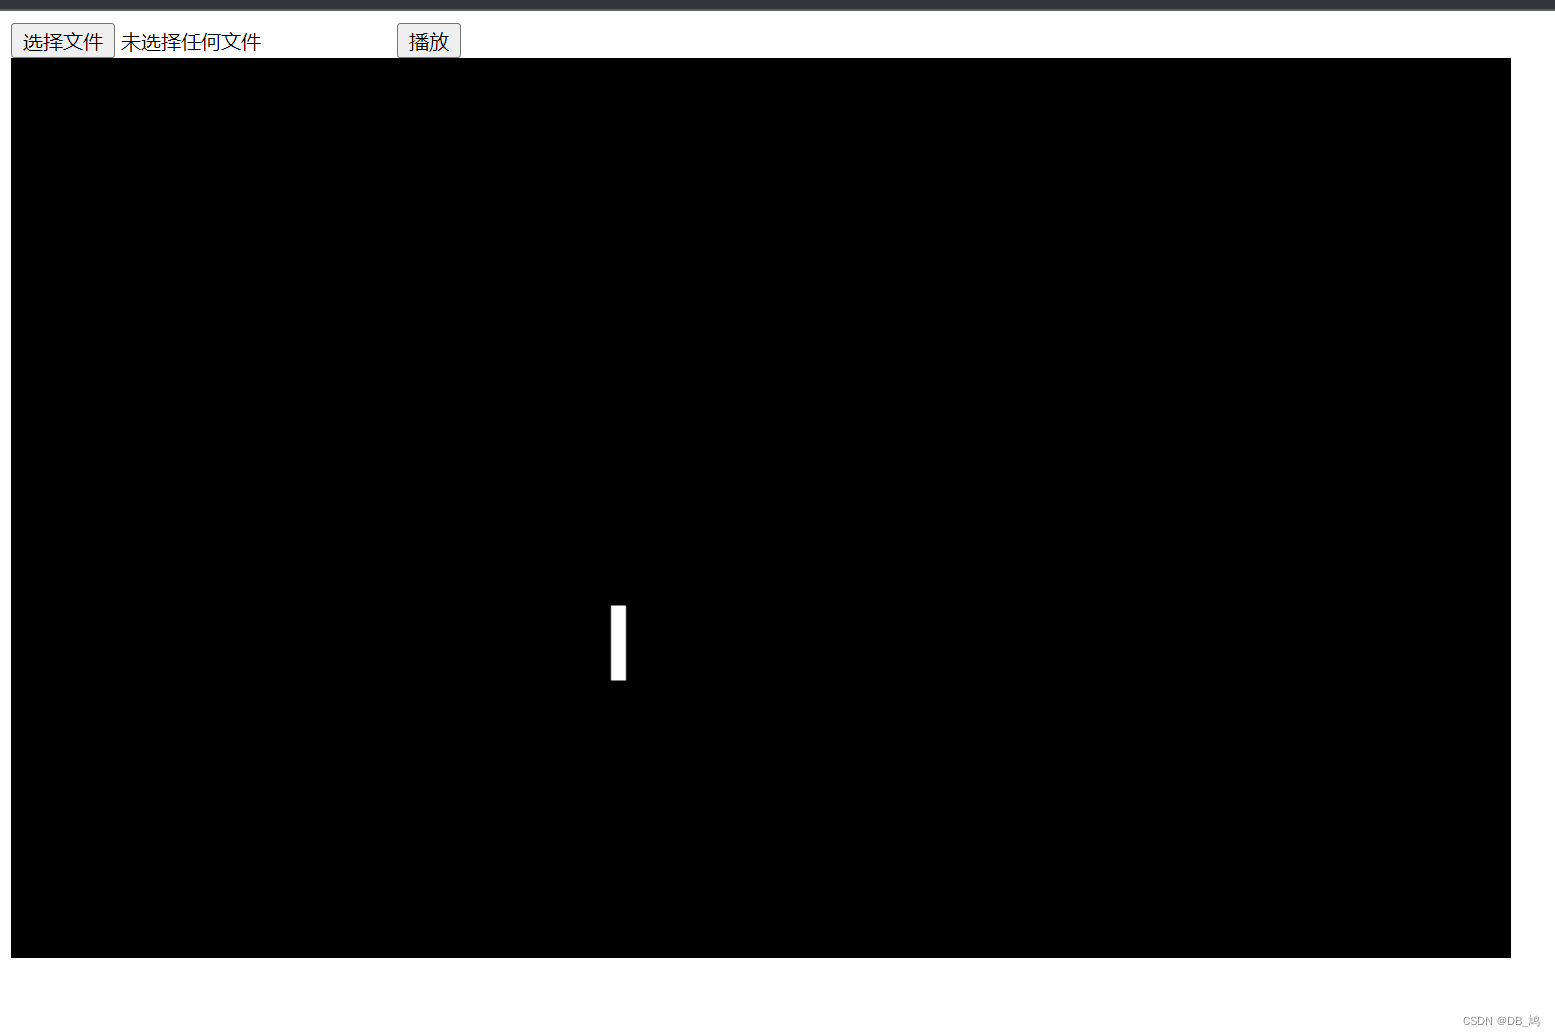
成功显示,并且一直向上移动。
之后就是根据解析出来的json对象创建音符。
为了尽可能得跟音频同步减小延时,我们使用Tonejs的音频调度。
在对音符进行遍历时创建这个音符对应的调度任务。
// 在播放按钮的事件中,遍历音符时,创建音频调度,实现音画同步
Tone.Transport.schedule((time) => {
	// 根据音调划分颜色,(其实应该根据轨道来划分的)
	if(note.midi < 65) {
		pixi.stage.addChild(new Light(g.config.leftColor, note.duration * 200 * g.config.speed, (note.midi - 20) * 10))
	} else {
		pixi.stage.addChild(new Light(g.config.rightColor, note.duration * 200 * g.config.speed, (note.midi - 20) * 10))
	}
}, note.time + now);

// 在代码最外层设置音频调度的模式,并启动音频调度。
Tone.context.latencyHint = 'fastest';
Tone.Transport.start();
到这里程序的基本功能就完成了。
