目录
一、前言
二、创建conda虚拟环境和下载库
1、创建conda虚拟环境
2、换源
(1)pip换源
(2)conda换源
3、下载库
4、下载超时处理方法(如果你的库比较大,比如pytorch)
5、用conda下载包找不到的解决方法
(1)搜索库
(2)找到对应版本
(3)复制命令,进行下载
6、requirements.txt读取失败
7、autopy的下载报错!
三、总结
一、前言
- 今天,跑一个手势识别的开源项目,半天没有下载好!
- 就是因为作者没有表明版本号,呜呜呜!
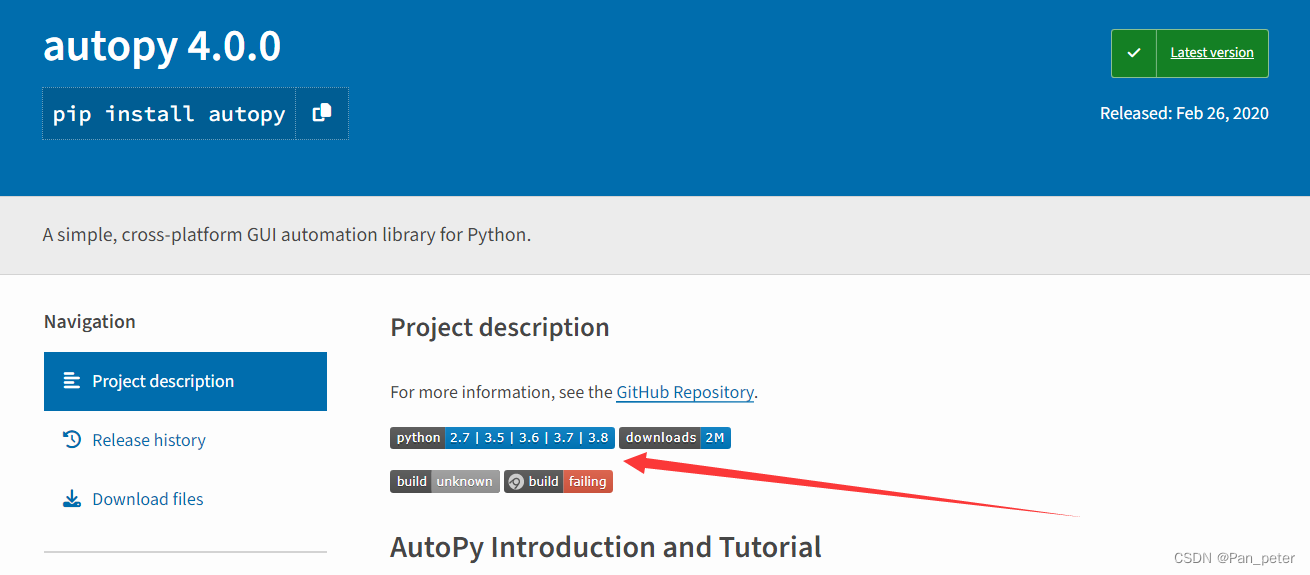
- 其中,autopy的只能在3.5~3.8可以用!(并且这里还有一个坑!)
- 而我本地的是3.9,导致我得创建一个conda的虚拟环境(o(╥﹏╥)o)
二、创建conda虚拟环境和下载库
不太会用可视化下载(舍弃)
1、创建conda虚拟环境
#------------------------------------基本操作
1.默认路径下创建新环境
conda create -n test python=3.7(name自己取名、python版本自己指定)

进阶:conda create --prefix=F:\condaenv\env_name python=3.7  #指定路径下创建环境

2.查看当前有哪些环境
conda env list

3.切换到新创建的环境
activate test

4.退出当前环境
conda deactivate

5.删除环境
conda remove -n test --all

6、镜像源重置
conda config --remove-key channels
2、换源
(1)pip换源
pip config set global.index-url https://pypi.tuna.tsinghua.edu.cn/simple
pip config set install.trusted-host mirrors.aliyun.com
(2)conda换源
其实这一步没必要(但是也贴出来吧~),我们后面都用pip下载!
踩坑:国产镜像站执行conda install opencv会报错误,说在现在的源列表中找不到opencv
而且,不止opencv,还有很多库都找不到!!!
# 清华源:
conda config --add channels https://mirrors.tuna.tsinghua.edu.cn/anaconda/cloud/conda-forge/
conda config --add channels https://mirrors.tuna.tsinghua.edu.cn/anaconda/cloud/msys2/
conda config --add channels https://mirrors.tuna.tsinghua.edu.cn/anaconda/cloud/bioconda/
conda config --add channels https://mirrors.tuna.tsinghua.edu.cn/anaconda/cloud/menpo/
conda config --add channels https://mirrors.tuna.tsinghua.edu.cn/anaconda/cloud/pytorch/

# 阿里源:
conda config --add channels https://mirrors.aliyun.com/anaconda/pkgs/free
conda config --add channels https://mirrors.aliyun.com/anaconda/pkgs/main
conda config --add channels https://mirrors.aliyun.com/anaconda/pkgs/msys2
conda config --add channels https://mirrors.aliyun.com/anaconda/pkgs/r

conda config --add channels https://mirrors.aliyun.com/anaconda/cloud/Paddle
conda config --add channels https://mirrors.aliyun.com/anaconda/cloud/auto
conda config --add channels https://mirrors.aliyun.com/anaconda/cloud/biobakery
conda config --add channels https://mirrors.aliyun.com/anaconda/cloud/bioconda
conda config --add channels https://mirrors.aliyun.com/anaconda/cloud/c4aarch64
conda config --add channels https://mirrors.aliyun.com/anaconda/cloud/caffe2
conda config --add channels https://mirrors.aliyun.com/anaconda/cloud/conda-forge
conda config --add channels https://mirrors.aliyun.com/anaconda/cloud/deepmodeling
conda config --add channels https://mirrors.aliyun.com/anaconda/cloud/dglteam
conda config --add channels https://mirrors.aliyun.com/anaconda/cloud/fastai
conda config --add channels https://mirrors.aliyun.com/anaconda/cloud/fermi
conda config --add channels https://mirrors.aliyun.com/anaconda/cloud/idaholab
conda config --add channels https://mirrors.aliyun.com/anaconda/cloud/intel
conda config --add channels https://mirrors.aliyun.com/anaconda/cloud/matsci
conda config --add channels https://mirrors.aliyun.com/anaconda/cloud/menpo
conda config --add channels https://mirrors.aliyun.com/anaconda/cloud/mordred-descriptor
conda config --add channels https://mirrors.aliyun.com/anaconda/cloud/msys2
conda config --add channels https://mirrors.aliyun.com/anaconda/cloud/numba
conda config --add channels https://mirrors.aliyun.com/anaconda/cloud/ohmeta
conda config --add channels https://mirrors.aliyun.com/anaconda/cloud/omnia
conda config --add channels https://mirrors.aliyun.com/anaconda/cloud/plotly
conda config --add channels https://mirrors.aliyun.com/anaconda/cloud/psi4
conda config --add channels https://mirrors.aliyun.com/anaconda/cloud/pytorch
conda config --add channels https://mirrors.aliyun.com/anaconda/cloud/pytorch-test
conda config --add channels https://mirrors.aliyun.com/anaconda/cloud/pytorch3d
conda config --add channels https://mirrors.aliyun.com/anaconda/cloud/pyviz
conda config --add channels https://mirrors.aliyun.com/anaconda/cloud/qiime2
conda config --add channels https://mirrors.aliyun.com/anaconda/cloud/rapidsai
conda config --add channels https://mirrors.aliyun.com/anaconda/cloud/rdkit
conda config --add channels https://mirrors.aliyun.com/anaconda/cloud/simpleitk
conda config --add channels https://mirrors.aliyun.com/anaconda/cloud/stackless
conda config --add channels https://mirrors.aliyun.com/anaconda/cloud/ursky

conda config --set show_channel_urls yes
# 镜像源重置 conda config --remove-key channels3、下载库
# conda下载(源列表中经常有库找不到!)请用pip
conda install --file requirements.txt

# pip下载
pip install -r requirements.txt
问题:这个pip是conda里面的么?
是的,pip通常是conda环境中可用的一个软件包。当您使用conda创建并激活环境时,conda会自动包含pip作为环境的一部分。
在激活conda环境后,可以直接在命令行中使用pip。这个pip与系统中全局安装的pip实例是相互独立的,它将在当前激活的conda环境中操作。这样可以确保您使用的pip与conda环境中其他包的版本兼容。
因此,在conda环境中使用pip与使用系统全局的pip是不同的,它被限定在您当前激活的conda环境中。
踩坑:我一度以为这个pip下载会用我全局的pip下载,导致下载到我的全局pip文件中!呜呜呜!
一般情况下,这里安装完,就结束了!但是并没有,下面是遇到的坑的记录!!呜呜呜!
4、下载超时处理方法(如果你的库比较大,比如pytorch)
# conda下载设置时间(一般情况下,别用conda)
# 把连接超时的时间设置成40s,读取超时的时间修改成1000s
conda config --set remote_connect_timeout_secs 1000
conda config --set remote_read_timeout_secs 1000

# pip设置超时参数,加长时间
pip --default-timeout=1000 install name
5、用conda下载包找不到的解决方法
解决方法:去官网找对应版本的包(不推荐)
踩坑:当时看见conda报错,库找不到!!(报错如下)
(test) D:\pan\桌面\GestureInteraction-main>conda install --file 111.txt
Collecting package metadata (current_repodata.json): done
Solving environment: failed with initial frozen solve. Retrying with flexible solve.
Collecting package metadata (repodata.json): done
Solving environment: failed with initial frozen solve. Retrying with flexible solve.

PackagesNotFoundError: The following packages are not available from current channels:

  - tf-estimator-nightly==2.8.0.dev2021122109
  - pycaw==20181226
  - pypiwin32==223
  - pyttsx3==2.90
  - mediapipe==0.8.9.1
  - autopy[version='>=4.0.0']
  - tensorflow==2.8.0
  - opt-einsum==3.3.0
  - opencv-contrib-python==4.5.5.64
  - opencv-python==4.5.5.64
  - tensorflow-io-gcs-filesystem==0.24.0

Current channels:

  - https://mirrors.tuna.tsinghua.edu.cn/anaconda/cloud/pytorch/win-64
  - https://mirrors.tuna.tsinghua.edu.cn/anaconda/cloud/pytorch/noarch


To search for alternate channels that may provide the conda package you're
looking for, navigate to

    https://anaconda.org

and use the search bar at the top of the page
我竟然还傻乎乎的去https://anaconda.org 这个网址里面一个个找对应的版本,然后一个个执行下载命令!!!
(1)搜索库
(2)找到对应版本
(3)复制命令,进行下载
总结:conda下载太麻烦;还是用pip吧!!!
6、requirements.txt读取失败
因为编码不是UTF-8!
解决方法:
(方法1)自己创建一个记事本,把原来文件中的内容拷贝过去,保存就可以了!
(方法2)直接修改源文件的编码方式!
(test) D:\pan\桌面\GestureInteraction-main>conda install --file requirements.txt

CondaError: Error reading file, file should be a text file containing packages
conda create --help for details
7、autopy的下载报错!
Building wheels for collected packages: autopy
  Building wheel for autopy (setup.py) ... error
  error: subprocess-exited-with-error

  × python setup.py bdist_wheel did not run successfully.
  │ exit code: 1
  ╰─> [20 lines of output]
      running bdist_wheel
      running build
      running build_py
      creating build
      creating build\lib.win-amd64-cpython-39
      creating build\lib.win-amd64-cpython-39\autopy
      copying autopy\__init__.py -> build\lib.win-amd64-cpython-39\autopy
      running build_ext
      running build_rust
      error: can't find Rust compiler

      If you are using an outdated pip version, it is possible a prebuilt wheel is available for this package but pip is not able to install from it. Installing from the wheel would avoid the need for a Rust compiler.

      To update pip, run:

          pip install --upgrade pip

      and then retry package installation.

      If you did intend to build this package from source, try installing a Rust compiler from your system package manager and ensure it is on the PATH during installation. Alternatively, rustup (available at https://rustup.rs) is the recommended way to download and update the Rust compiler toolchain.
      [end of output]

  note: This error originates from a subprocess, and is likely not a problem with pip.
  ERROR: Failed building wheel for autopy
  Running setup.py clean for autopy
  error: subprocess-exited-with-error

  × python setup.py clean did not run successfully.
  │ exit code: 1
  ╰─> [17 lines of output]
      running clean
      removing 'build\lib.win-amd64-cpython-39' (and everything under it)
      'build\bdist.win-amd64' does not exist -- can't clean it
      'build\scripts-3.9' does not exist -- can't clean it
      removing 'build'
      running clean_rust
      error: can't find Rust compiler

      If you are using an outdated pip version, it is possible a prebuilt wheel is available for this package but pip is not able to install from it. Installing from the wheel would avoid the need for a Rust compiler.

      To update pip, run:

          pip install --upgrade pip

      and then retry package installation.

      If you did intend to build this package from source, try installing a Rust compiler from your system package manager and ensure it is on the PATH during installation. Alternatively, rustup (available at https://rustup.rs) is the recommended way to download and update the Rust compiler toolchain.
      [end of output]

  note: This error originates from a subprocess, and is likely not a problem with pip.
  ERROR: Failed cleaning build dir for autopy
Failed to build autopy
ERROR: Could not build wheels for autopy, which is required to install pyproject.toml-based projects
解决方法:下载【rust编译器】,重启【命令提示符】
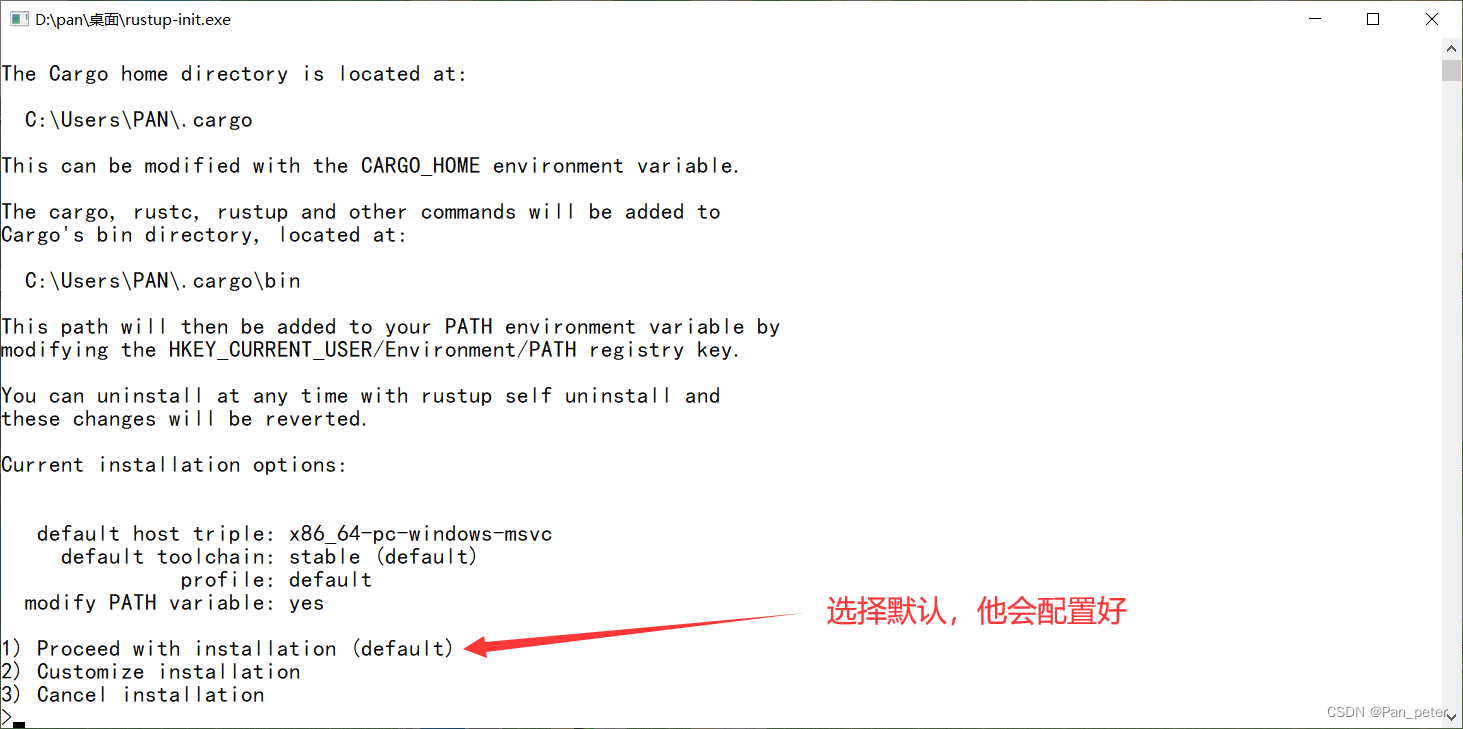
(1)下载rust编译器
- 从系统软件包管理器中安装Rust编译器,并确保它在安装过程中被添加到了系统的
PATH环境变量中。(他可以自动给你添加)- 使用rustup工具链管理器(下载地址:rustup.rs - The Rust toolchain installer)下载和更新Rust编译器工具链。
点击运行
(2)重启命令提示符,继续用pip安装即可!


三、总结
1、conda创建虚拟环境后,用pip安装包!(别用conda)
2、当项目没有说明环境时,并且某些包就是按照不上,那么请注意python版本不兼容问题
3、有些包,需要下载额外的编译器,不用惊慌,根据提示下载就好
4、记得换源