在这篇文章中,我们将学习如何在 CentOS 7 系统上安装 Java 动态爬虫所需的环境:Selenium、Chrome 浏览器和 ChromeDriver。这个教程将帮助你掌握如何搭建一个用于数据爬取的环境。
一、安装 chrome
yum install https://dl.google.com/linux/direct/google-chrome-stable_current_x86_64.rpm
二、安装 chromedriver
在安装chromedriver之前,先查看自己系统装的chrome版本:
google-chrome --version
找到与自己安装的chrome对应的chromedriver版本
https://registry.npmmirror.com/binary.html?path=chromedriver
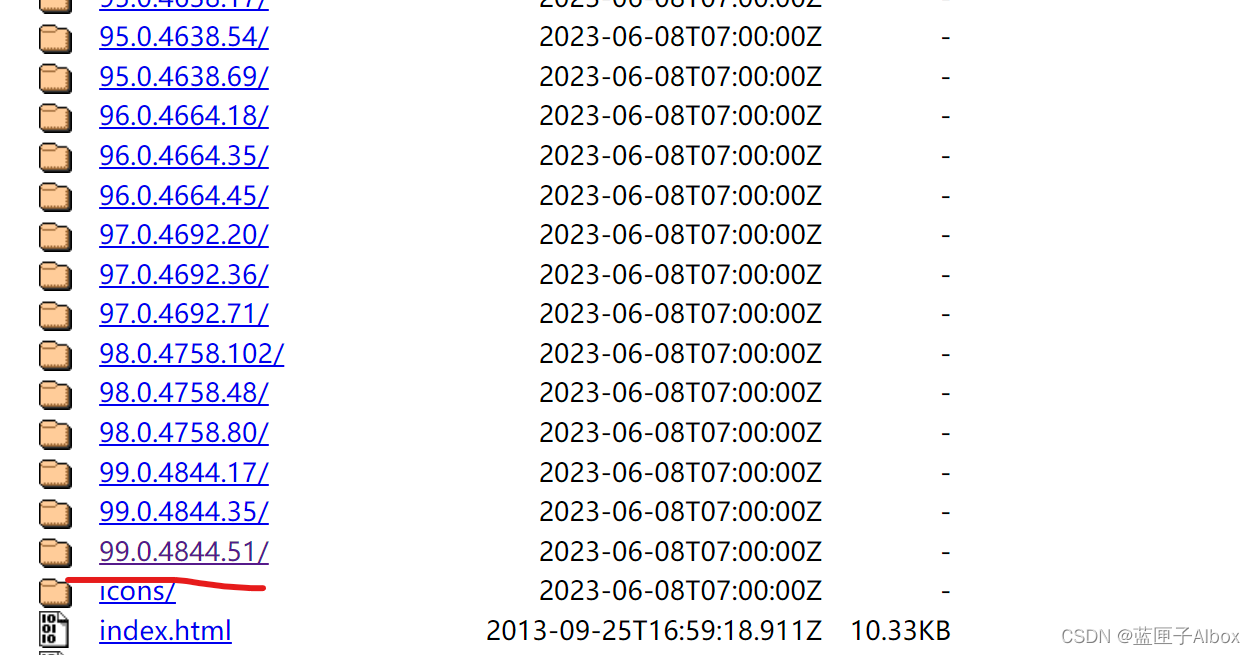
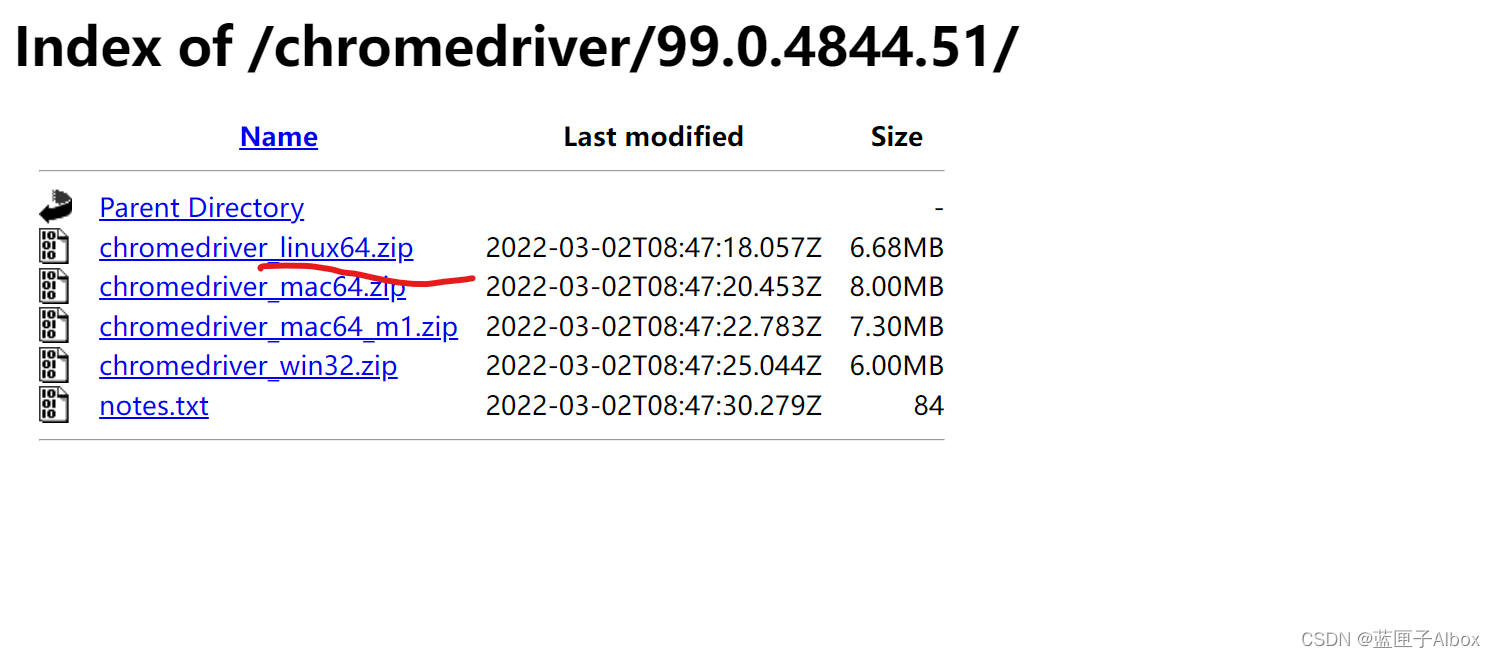
将下载的文件解压,放在如下位置:/usr/bin/chromedriver
执行:
unzip chromedriver_linux64.zip
进行解压
执行:
mv -f chromedriver /usr/bin/
移动到
/usr/bin/chromedriver
给予执行权限
chmod +x /usr/bin/chromedriver
安装 XVFB
 yum install Xvfb -y
 yum install xorg-x11-fonts* -y
新建在/usr/bin/ 一个名叫 xvfb-chrom 的文件写入以下内容:
vim /usr/bin/xvfb-chrome
复制下面内容:
#!/bin/bash
_kill_procs() {
kill -TERM $chrome
wait $chrome
kill -TERM $xvfb
}
# Setup a trap to catch SIGTERM and relay it to child processes
trap _kill_procs SIGTERM
XVFB_WHD=${XVFB_WHD:-1280x720x16}
# Start Xvfb
Xvfb :99 -ac -screen 0 $XVFB_WHD -nolisten tcp &
xvfb=$!
export DISPLAY=:99
chrome --no-sandbox --disable-gpu$@ &
chrome=$!
wait $chrome
wait $xvfb
添加执行权限
chmod +x /usr/bin/xvfb-chrome
查看当前映射关系
ll /usr/bin/ | grep chrom

更改Chrome启动的软连接
ln -s /etc/alternatives/google-chrome /usr/bin/chrome
rm -rf /usr/bin/google-chrome
ln -s /usr/bin/xvfb-chrome /usr/bin/google-chrome
查看修改后的映射关系
ll /usr/bin/ | grep chrom

三、案例
public String test(){
        ChromeOptions options = new ChromeOptions();
        //chrome安装位置
        System.setProperty("webdriver.chrome.bin", "/opt/google/chrome/chrome");
        //chromederiver存放位置
        System.setProperty("webdriver.chrome.driver",
                "/usr/bin/chromedriver");
        //无界面参数
        options.addArguments("headless");
        //禁用沙盒
        options.addArguments("no-sandbox");

        WebDriver driver = new ChromeDriver(options);
        driver.get("http://www.baidu.com");
        //打印百度的title
        System.out.println(driver.getTitle());
        return driver.getTitle();

    }
下面是运行结果:



![[MySQL]MySQL表的约束](https://img-blog.csdnimg.cn/img_convert/b9e4b96ebb23d89bbbd83524581e5c43.png)
