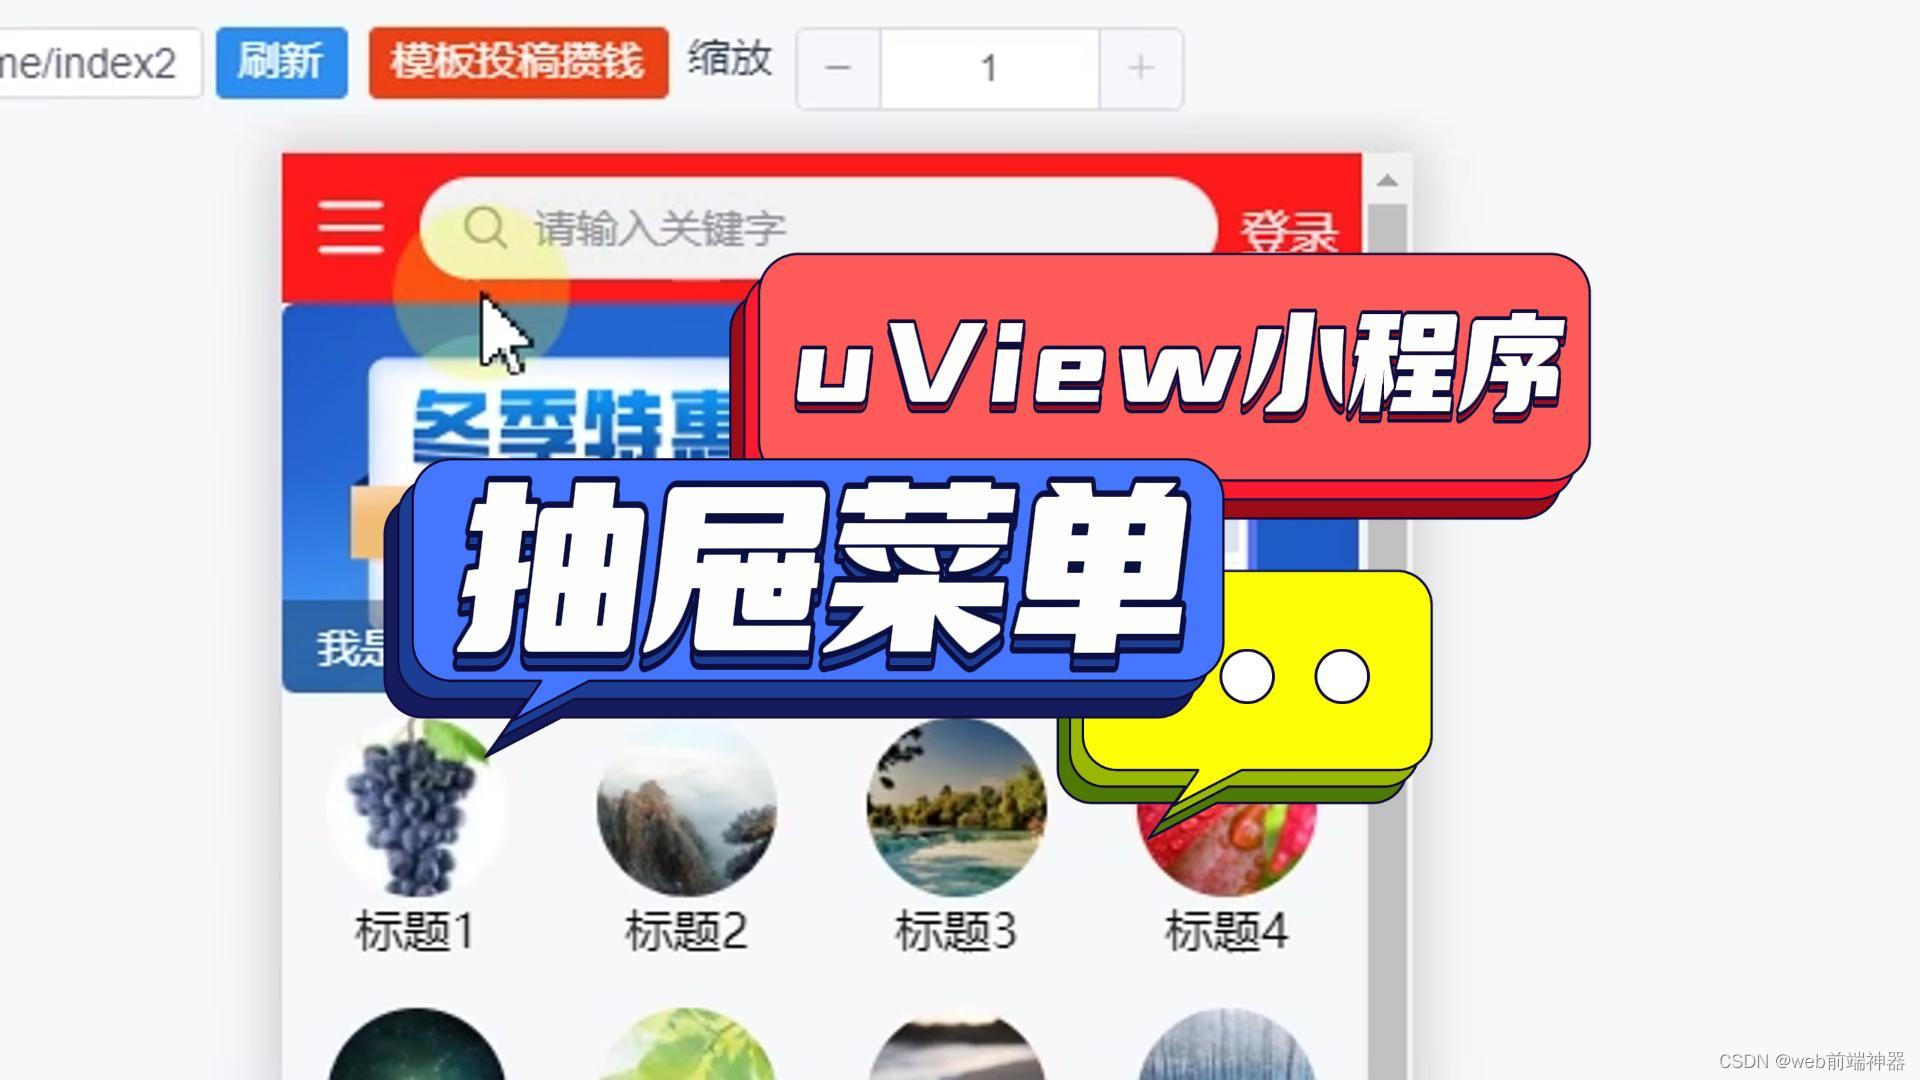
这种抽屉效果是如何制作的呢?
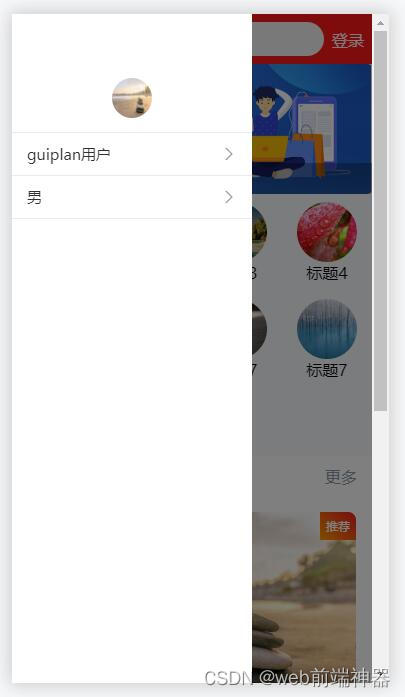
在guiplan低代码开发工具中,
点击"uView框架",
输入关键字"弹出层"进行搜索,
找到"带用户菜单"
点击"一键插入",
这我们一个抽屉菜单就插入进来了,
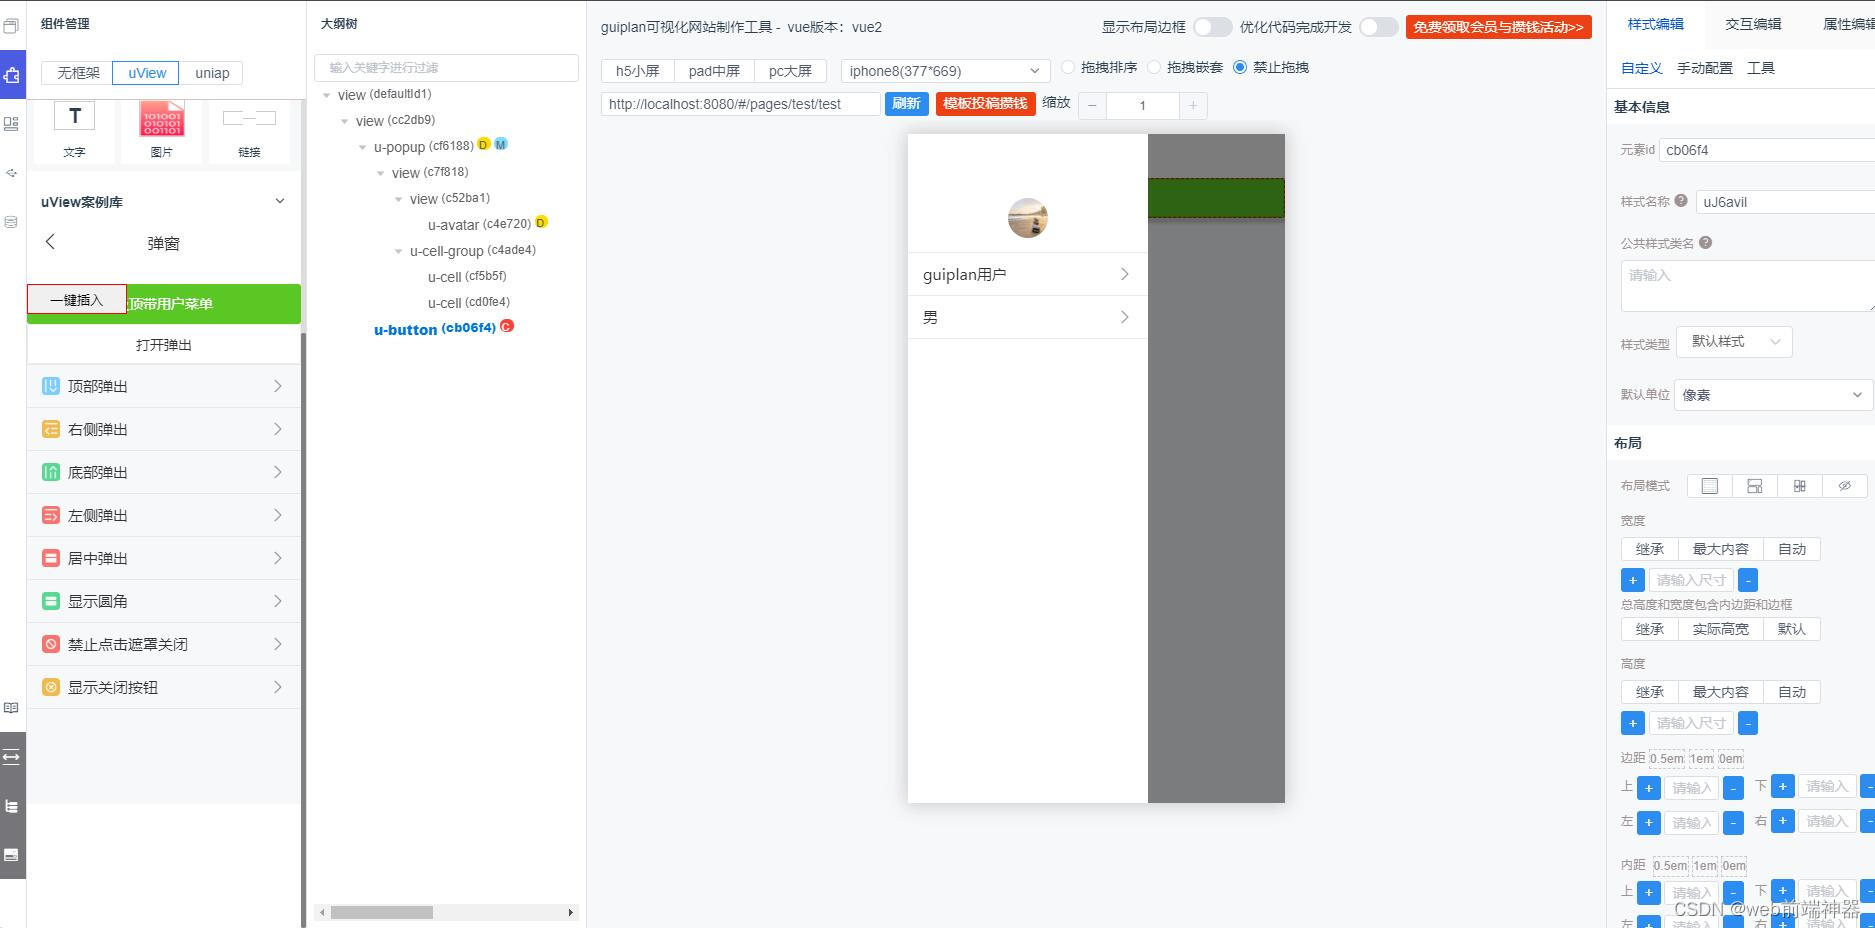
底部有一个测试按钮,
当我们点击的时候这个菜单则会自动展开,
我们可以直接看到按钮的点击事件,
将该点击事件的代码进行复制,
找到顶部菜单图标,
将这段代码粘贴到该点击事件中,
这样我们点击菜单图标即可显示抽屉菜单了,
最后将底部的测试按钮删除即可。
你学会了吗?
最后附上生成之后的源代码
<template>
    <!--TiQuDaiMahtmlStart-->

    <view id="defaultId1">
        <view id="cc2db9" ids="cc2db9">
            <u-popup id="cf6188" :show="userPopupShow" @close="closeUserPopup" @open="openUserPopup" mode="left">
                <view id="c7f818" class="  uXGmd8J">
                    <view id="c52ba1" class="   u34c73">
                        <u-avatar id="c4e720" :src="src1">
                        </u-avatar>
                    </view>
                    <u-cell-group id="c4ade4">
                        <u-cell id="cf5b5f" title="guiplan用户" is-link url="/pages/componentsB/tag/tag">
                        </u-cell>
                        <u-cell id="cd0fe4" title="男" is-link url="/pages/componentsB/badge/badge">
                        </u-cell>
                    </u-cell-group>
                </view>
            </u-popup>
            <u-button id="cb06f4" @click="userPopupShow = true" text="吸顶带用户菜单" size="normal" type="success">
            </u-button>
        </view>
    </view>
    <!--TiQuDaiMahtmlEnd-->

</template>
<script>
    // interfaceCode
    export default {
        name: '',
        onLoad() {
            // defaultLoad
            // TiQuDaiMaMountedStart

            // TiQuDaiMaMountedEnd

        },
        components: {},
        data() {
            return {
                // insertData
                // TiQuDaiMaDataStart

                userPopupShow: false,
                src1: 'https://cdn.uviewui.com/uview/album/1.jpg'
                // TiQuDaiMaDataEnd

            }
        },
        methods: {
            default () {},
            // insertMethod
            // TiQuDaiMaMethodStart
            // closeUserPopup
            closeUserPopup() {

                this.userPopupShow = false

            }, // close
            close() {

                this.show = false
                // console.log('close');

            }, // openUserPopup
            openUserPopup() {

                this.userPopupShow = true

            }, // open
            open() {

                // console.log('open');

            }
            // TiQuDaiMaMethodEnd

            // methodsCode

        },
        computed: {}
    }
</script>
<style>
    .TiQuDaiMacssStart {}

    .uXGmd8J {
        width: 15em;
    }

    .u34c73 {
        display: flex;
        justify-content: center;
        align-items: center;
        flex-direction: column;
        margin-bottom: 0.9em;
        margin-top: 4em;
    }

    .TiQuDaiMacssEnd {}


    /*cssStart*/

    /*cssEnd*/
</style>
