本文是应网友
:要求折腾的;
什么是 Airflow ?
Apache Airflow是一个开源平台,用于开发、调度和监控面向批处理的工作流。Airflow的可扩展Python框架使您能够构建与几乎任何技术连接的工作流。Web界面有助于管理工作流程的状态。Airflow可以通过多种方式进行部署,从笔记本电脑上的单个进程到分布式设置,以支持最大的工作流。当工作流被定义为代码时,它们变得更易于维护、可版本化、可测试和协作。
注意事项
如果你没有足够的内存,将会导致 Ariflow WebServer 不断的重启。官方文档要求应该至少分配4G 的内存(推荐8G)
官方推荐了下面的命令,检查是否有足够的内存,这应该是给 vps 用的,群晖用不上,信息中心里能查到内存信息
# 检查可用内存
docker run --rm "debian:buster-slim" bash -c 'numfmt --to iec $(echo $(($(getconf _PHYS_PAGES) * $(getconf PAGE_SIZE))))'
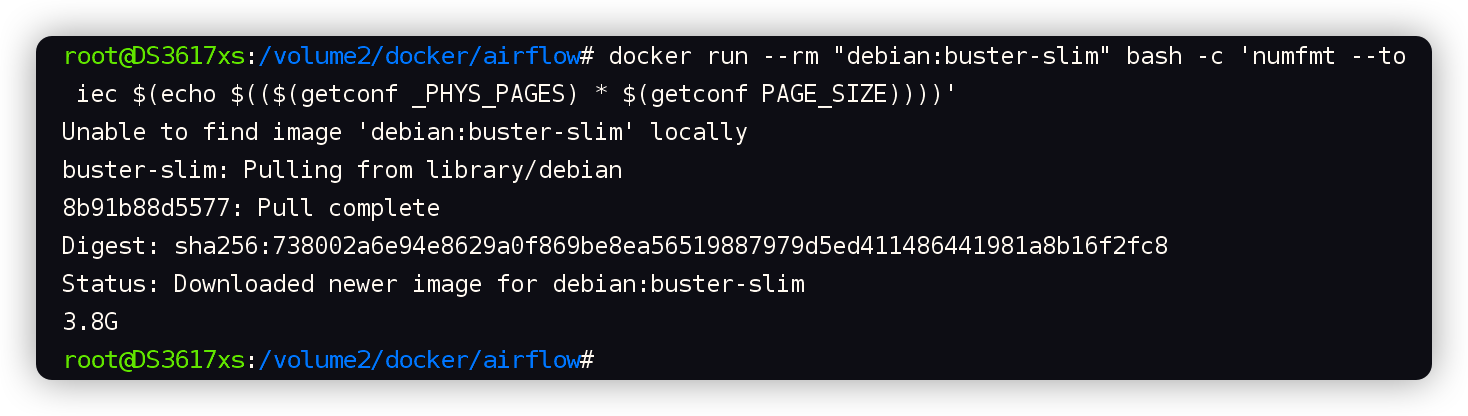
618 虽然没买硬盘,但是还是买了根 DDR3 的内存条

安装
在群晖上以 Docker 方式安装。
apache/airflow的latest版本对应为2.6.1
需用到 3 个镜像,生成 7 个容器,所以采用 docker-compose 方式安装
安装过程主要参考了官方的文档:https://airflow.apache.org/docs/apache-airflow/stable/howto/docker-compose/index.html
建目录
用 SSH 客户端登录到群晖,在命令行中依次执行下面的命令
# 新建文件夹 airflow 和 子目录
mkdir -p /volume1/docker/airflow/{config,dags,data,logs,plugins}

# 进入 airflow 目录
cd /volume1/docker/airflow
docker-compose.yml
下面的内容基于官方 docker-compose.yml 修改而成,源文件地址:https://airflow.apache.org/docs/apache-airflow/2.6.1/docker-compose.yaml
你可以用官方的文档自己改,也可以直接保存下面老苏已经修改过的内容
为了节省篇幅,这里贴出来的去掉了注释,未注释的版本放在了 https://github.com/wbsu2003/synology/tree/main/Airflow
version: '3.8'
x-airflow-common:
  &airflow-common
  image: ${AIRFLOW_IMAGE_NAME:-apache/airflow:2.6.1}
  environment:
    &airflow-common-env
    AIRFLOW__CORE__EXECUTOR: CeleryExecutor
    AIRFLOW__DATABASE__SQL_ALCHEMY_CONN: postgresql+psycopg2://airflow:airflow@postgres/airflow
    # For backward compatibility, with Airflow <2.3
    AIRFLOW__CORE__SQL_ALCHEMY_CONN: postgresql+psycopg2://airflow:airflow@postgres/airflow
    AIRFLOW__CELERY__RESULT_BACKEND: db+postgresql://airflow:airflow@postgres/airflow
    AIRFLOW__CELERY__BROKER_URL: redis://:@redis:6379/0
    AIRFLOW__CORE__FERNET_KEY: ''
    AIRFLOW__CORE__DAGS_ARE_PAUSED_AT_CREATION: 'true'
    AIRFLOW__CORE__LOAD_EXAMPLES: 'true'
    AIRFLOW__API__AUTH_BACKENDS: 'airflow.api.auth.backend.basic_auth,airflow.api.auth.backend.session'
    AIRFLOW__SCHEDULER__ENABLE_HEALTH_CHECK: 'true'
    _PIP_ADDITIONAL_REQUIREMENTS: ${_PIP_ADDITIONAL_REQUIREMENTS:-}
  volumes:
    - ${AIRFLOW_PROJ_DIR:-.}/dags:/opt/airflow/dags
    - ${AIRFLOW_PROJ_DIR:-.}/logs:/opt/airflow/logs
    - ${AIRFLOW_PROJ_DIR:-.}/config:/opt/airflow/config
    - ${AIRFLOW_PROJ_DIR:-.}/plugins:/opt/airflow/plugins
  user: "${AIRFLOW_UID:-50000}:0"
  depends_on:
    &airflow-common-depends-on
    redis:
      condition: service_healthy
    postgres:
      condition: service_healthy

services:
  postgres:
    image: postgres:14
    environment:
      POSTGRES_USER: airflow
      POSTGRES_PASSWORD: airflow
      POSTGRES_DB: airflow
    volumes:
      - ./data:/var/lib/postgresql/data
    healthcheck:
      test: ["CMD", "pg_isready", "-U", "airflow"]
      interval: 10s
      retries: 5
      start_period: 5s
    restart: always

  redis:
    image: redis:6.2
    expose:
      - 6379
    healthcheck:
      test: ["CMD", "redis-cli", "ping"]
      interval: 10s
      timeout: 30s
      retries: 50
      start_period: 30s
    restart: always

  airflow-webserver:
    <<: *airflow-common
    command: webserver
    ports:
      - "8080:8080"
    healthcheck:
      test: ["CMD", "curl", "--fail", "http://localhost:8080/health"]
      interval: 30s
      timeout: 10s
      retries: 5
      start_period: 30s
    restart: always
    depends_on:
      <<: *airflow-common-depends-on
      airflow-init:
        condition: service_started

  airflow-scheduler:
    <<: *airflow-common
    command: scheduler
    healthcheck:
      test: ["CMD", "curl", "--fail", "http://localhost:8974/health"]
      interval: 30s
      timeout: 10s
      retries: 5
      start_period: 30s
    restart: always
    depends_on:
      <<: *airflow-common-depends-on
      airflow-init:
        condition: service_started

  airflow-worker:
    <<: *airflow-common
    command: celery worker
    healthcheck:
      test:
        - "CMD-SHELL"
        - 'celery --app airflow.executors.celery_executor.app inspect ping -d "celery@$${HOSTNAME}"'
      interval: 30s
      timeout: 10s
      retries: 5
      start_period: 30s
    environment:
      <<: *airflow-common-env
      DUMB_INIT_SETSID: "0"
    restart: always
    depends_on:
      <<: *airflow-common-depends-on
      airflow-init:
        condition: service_started

  airflow-triggerer:
    <<: *airflow-common
    command: triggerer
    healthcheck:
      test: ["CMD-SHELL", 'airflow jobs check --job-type TriggererJob --hostname "$${HOSTNAME}"']
      interval: 30s
      timeout: 10s
      retries: 5
      start_period: 30s
    restart: always
    depends_on:
      <<: *airflow-common-depends-on
      airflow-init:
        condition: service_started

  airflow-init:
    <<: *airflow-common
    entrypoint: /bin/bash
    command:
      - -c
      - |
        function ver() {
          printf "%04d%04d%04d%04d" $${1//./ }
        }
        airflow_version=$$(AIRFLOW__LOGGING__LOGGING_LEVEL=INFO && gosu airflow airflow version)
        airflow_version_comparable=$$(ver $${airflow_version})
        min_airflow_version=2.2.0
        min_airflow_version_comparable=$$(ver $${min_airflow_version})
        if (( airflow_version_comparable < min_airflow_version_comparable )); then
          echo
          echo -e "\033[1;31mERROR!!!: Too old Airflow version $${airflow_version}!\e[0m"
          echo "The minimum Airflow version supported: $${min_airflow_version}. Only use this or higher!"
          echo
          exit 1
        fi
        if [[ -z "${AIRFLOW_UID}" ]]; then
          echo
          echo -e "\033[1;33mWARNING!!!: AIRFLOW_UID not set!\e[0m"
          echo "If you are on Linux, you SHOULD follow the instructions below to set "
          echo "AIRFLOW_UID environment variable, otherwise files will be owned by root."
          echo "For other operating systems you can get rid of the warning with manually created .env file:"
          echo "    See: https://airflow.apache.org/docs/apache-airflow/stable/howto/docker-compose/index.html#setting-the-right-airflow-user"
          echo
        fi
        one_meg=1048576
        mem_available=$$(($$(getconf _PHYS_PAGES) * $$(getconf PAGE_SIZE) / one_meg))
        cpus_available=$$(grep -cE 'cpu[0-9]+' /proc/stat)
        disk_available=$$(df / | tail -1 | awk '{print $$4}')
        warning_resources="false"
        if (( mem_available < 4000 )) ; then
          echo
          echo -e "\033[1;33mWARNING!!!: Not enough memory available for Docker.\e[0m"
          echo "At least 4GB of memory required. You have $$(numfmt --to iec $$((mem_available * one_meg)))"
          echo
          warning_resources="true"
        fi
        if (( cpus_available < 2 )); then
          echo
          echo -e "\033[1;33mWARNING!!!: Not enough CPUS available for Docker.\e[0m"
          echo "At least 2 CPUs recommended. You have $${cpus_available}"
          echo
          warning_resources="true"
        fi
        if (( disk_available < one_meg * 10 )); then
          echo
          echo -e "\033[1;33mWARNING!!!: Not enough Disk space available for Docker.\e[0m"
          echo "At least 10 GBs recommended. You have $$(numfmt --to iec $$((disk_available * 1024 )))"
          echo
          warning_resources="true"
        fi
        if [[ $${warning_resources} == "true" ]]; then
          echo
          echo -e "\033[1;33mWARNING!!!: You have not enough resources to run Airflow (see above)!\e[0m"
          echo "Please follow the instructions to increase amount of resources available:"
          echo "   https://airflow.apache.org/docs/apache-airflow/stable/howto/docker-compose/index.html#before-you-begin"
          echo
        fi
        mkdir -p /sources/logs /sources/dags /sources/plugins
        chown -R "${AIRFLOW_UID}:0" /sources/{logs,dags,plugins}
        exec /entrypoint airflow version
    environment:
      <<: *airflow-common-env
      _AIRFLOW_DB_UPGRADE: 'true'
      _AIRFLOW_WWW_USER_CREATE: 'true'
      _AIRFLOW_WWW_USER_USERNAME: ${_AIRFLOW_WWW_USER_USERNAME:-airflow}
      _AIRFLOW_WWW_USER_PASSWORD: ${_AIRFLOW_WWW_USER_PASSWORD:-airflow}
      _PIP_ADDITIONAL_REQUIREMENTS: ''
    user: "0:0"
    volumes:
      - ${AIRFLOW_PROJ_DIR:-.}:/sources
    healthcheck:
      test: ["CMD-SHELL", "[ -f /opt/airflow/airflow-initialized ]"]
      interval: 5s
      retries: 50

  airflow-cli:
    <<: *airflow-common
    profiles:
      - debug
    environment:
      <<: *airflow-common-env
      CONNECTION_CHECK_MAX_COUNT: "0"
    command:
      - bash
      - -c
      - airflow

  flower:
    <<: *airflow-common
    command: celery flower
    profiles:
      - flower
    ports:
      - "5555:5555"
    healthcheck:
      test: ["CMD", "curl", "--fail", "http://localhost:5555/"]
      interval: 30s
      timeout: 10s
      retries: 5
      start_period: 30s
    restart: always
    depends_on:
      <<: *airflow-common-depends-on
      airflow-init:
        condition: service_started
主要修改了两处:
1、把数据库做了持久化处理,映射到了本机的目录,而不是卷;
2、将 service_completed_successfully 改为目前 docker-compose版本支持的 service_healthy
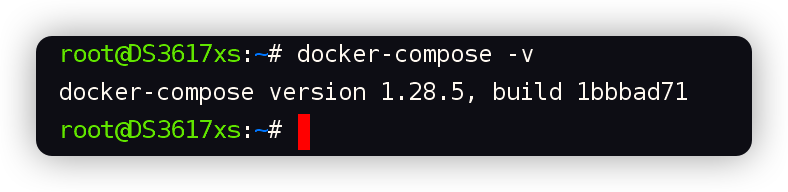
当然你想升级 docker-compose 也是可以的,在 在群晖上体验维格表社区版APITable 一文中,老苏介绍过升级的方法,但并不建议,因为不知道是否会给群晖带来隐患
将 docker-compose.yml 放入当前目录即可
.env
官方是用的👇下面获取的
# 生成 .env 文件
echo -e "AIRFLOW_UID=$(id -u)" > .env
老苏建议直接用 1000,因为 uid 1000 是 Debian、Ubuntu、Alpine linux 上的默认主要用户,但在 CentOS 或 RHEL 上则不是
echo -e "AIRFLOW_UID=1000" > .env
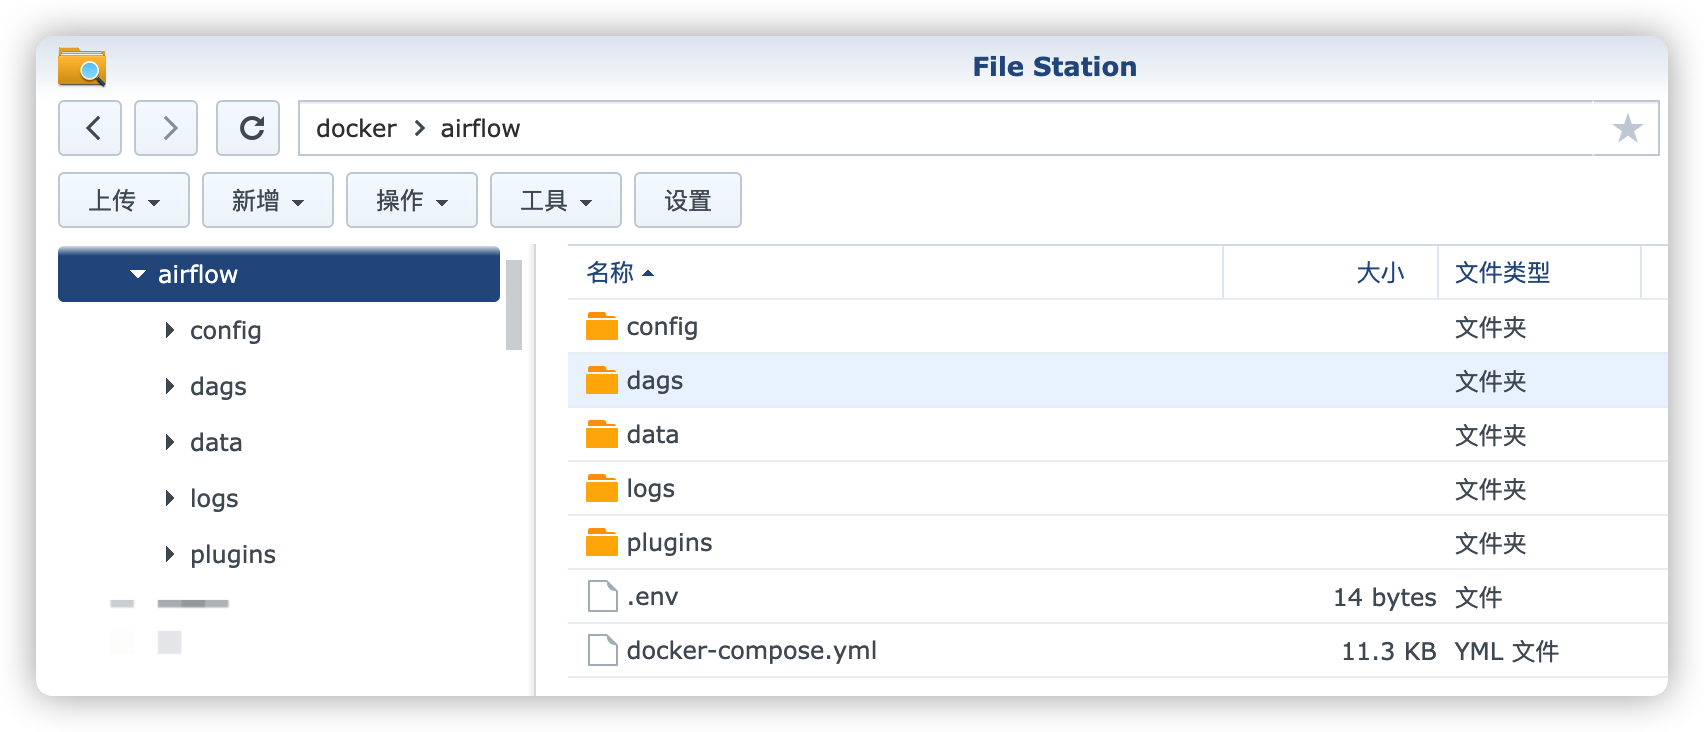
现在的目录中应该是这样的
启动
首先我们要初始化数据库
# 初始化数据库
docker-compose up airflow-init

执行完成后,会自动退出的,接下来就可以一键启动了
# 一键启动
docker-compose up -d
如果不出意外的,应该是这个样子的
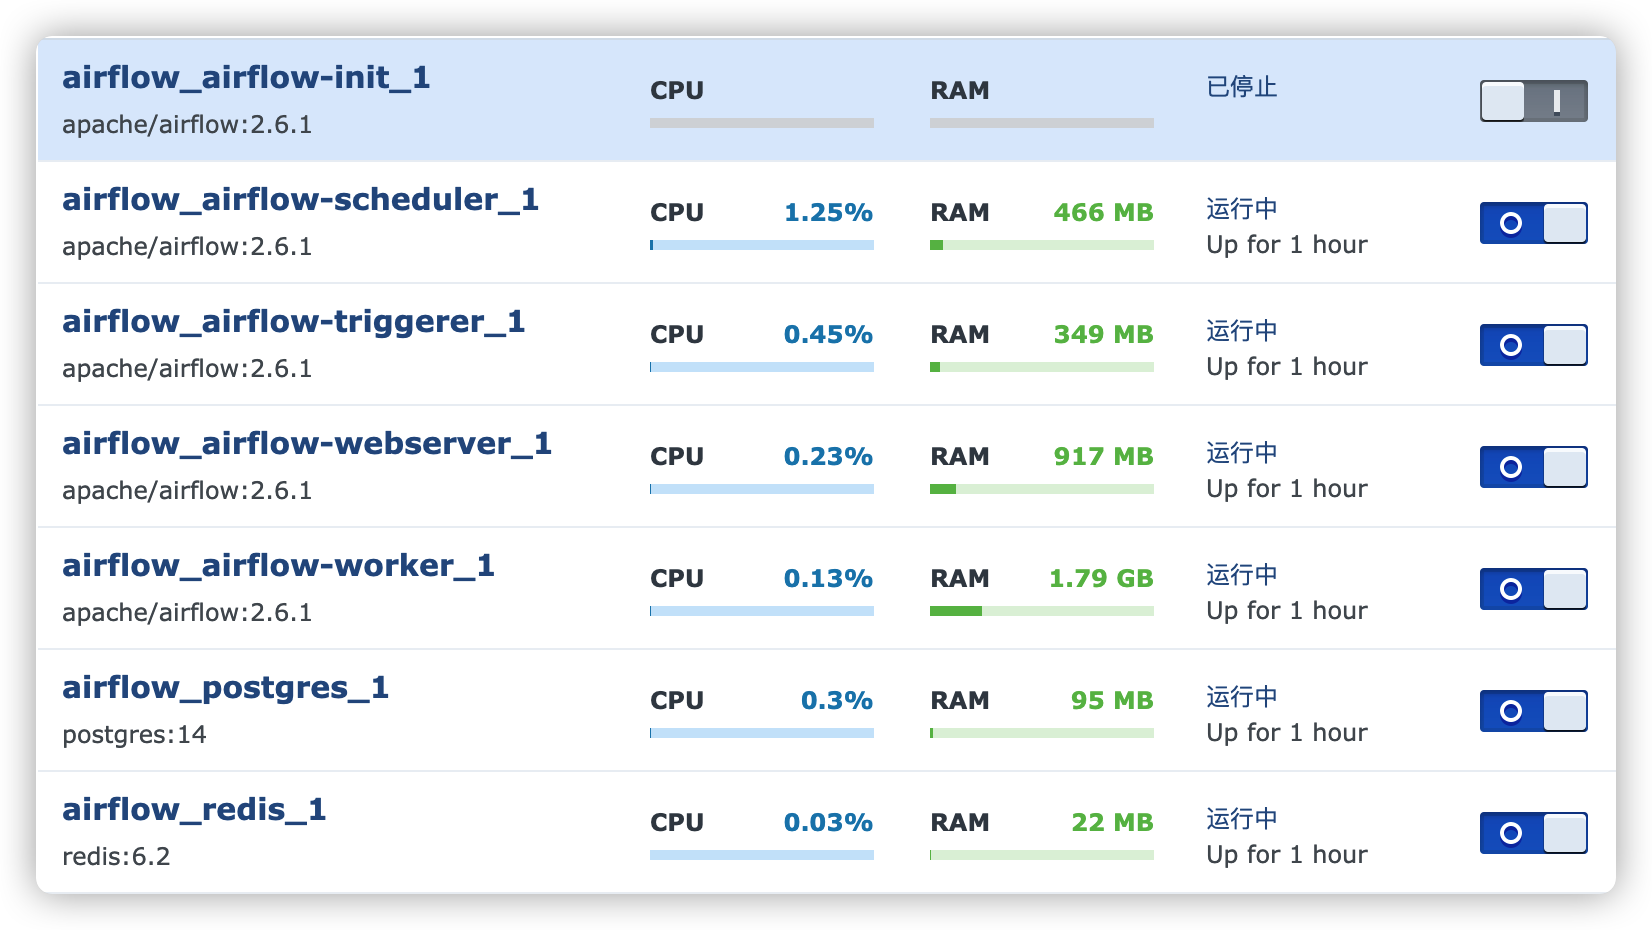
除了 airflow-init 外,另外 6 个镜像都是正常运行状态
运行
在浏览器中输入 http://群晖IP:8080 就能看到登录界面

缺省用户:
airflow密码:airflow

如何使用,老苏就不会了,去看文档吧:https://airflow.apache.org/docs/apache-airflow/stable/tutorial/index.html
参考文档
apache/airflow: Apache Airflow - A platform to programmatically author, schedule, and monitor workflows
地址:https://github.com/apache/airflow
Installation — Airflow Documentation
地址:https://airflow.apache.org/docs/apache-airflow/stable/installation/index.html#using-production-docker-images
Running Airflow in Docker — Airflow Documentation
地址:https://airflow.apache.org/docs/apache-airflow/stable/howto/docker-compose/index.html
Docker Image for Apache Airflow — docker-stack Documentation
地址:https://airflow.apache.org/docs/docker-stack/index.html