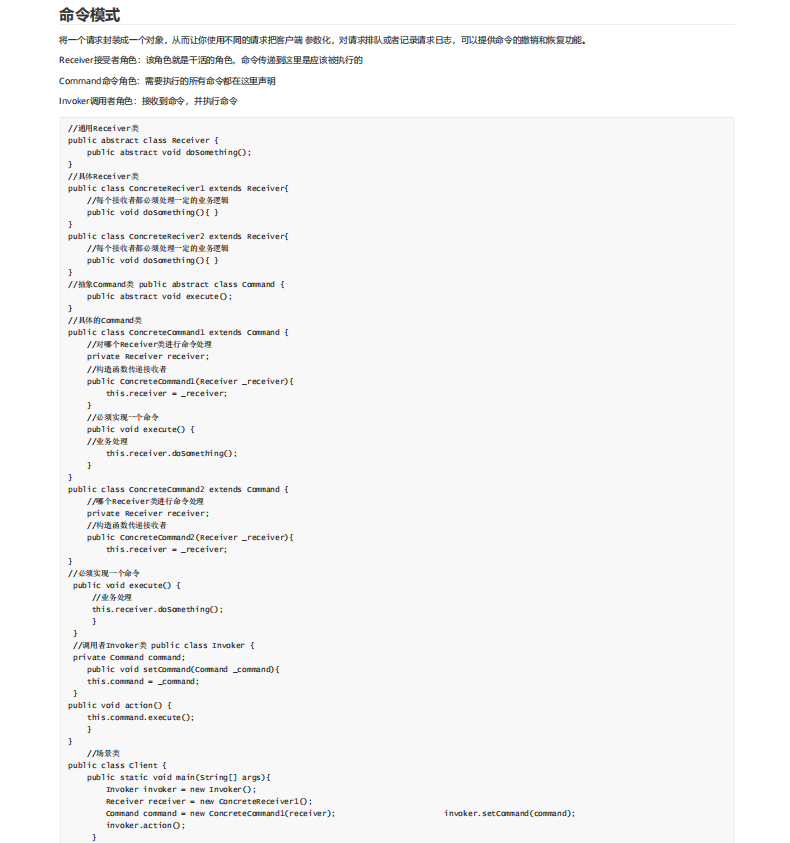
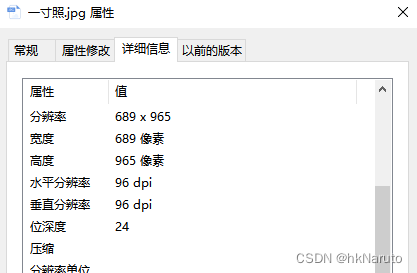
原图
convert修改尺寸指令
convert 一寸照.jpg -resize 413x579 一寸照413x579.jpg目标图
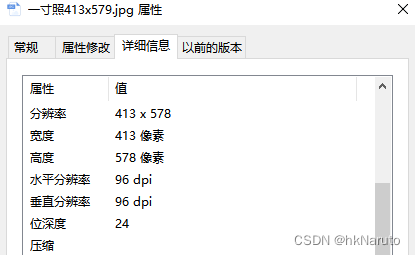
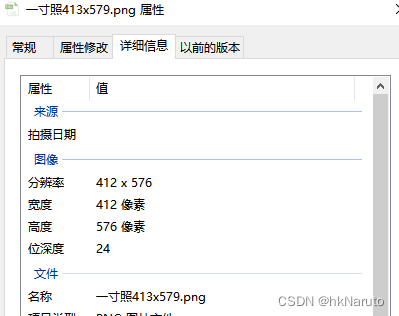
尺寸已调整,dpi太低了
图片高清修复
提升dpi
https://github.com/microsoft/Bringing-Old-Photos-Back-to-Life
官方安装过程参考
Installation
Clone the Synchronized-BatchNorm-PyTorch repository for
cd Face_Enhancement/models/networks/
git clone https://github.com/vacancy/Synchronized-BatchNorm-PyTorch
cp -rf Synchronized-BatchNorm-PyTorch/sync_batchnorm .
cd ../../../
cd Global/detection_models
git clone https://github.com/vacancy/Synchronized-BatchNorm-PyTorch
cp -rf Synchronized-BatchNorm-PyTorch/sync_batchnorm .
cd ../../
Download the landmark detection pretrained model
cd Face_Detection/
wget http://dlib.net/files/shape_predictor_68_face_landmarks.dat.bz2
bzip2 -d shape_predictor_68_face_landmarks.dat.bz2
cd ../
Download the pretrained model, put the file Face_Enhancement/checkpoints.zip under ./Face_Enhancement, and put the file Global/checkpoints.zip under ./Global. Then unzip them respectively.
cd Face_Enhancement/
wget https://github.com/microsoft/Bringing-Old-Photos-Back-to-Life/releases/download/v1.0/face_checkpoints.zip
unzip face_checkpoints.zip
cd ../
cd Global/
wget https://github.com/microsoft/Bringing-Old-Photos-Back-to-Life/releases/download/v1.0/global_checkpoints.zip
unzip global_checkpoints.zip
cd ../
Install dependencies:
pip install -r requirements.txt
高清修复
(venv) yeqiang@yeqiang-PC:~/Downloads/ai/Bringing-Old-Photos-Back-to-Life$ python run.py --input_folder /tmp/in --output_folder /tmp/out/ --GPU 0
Running Stage 1: Overall restoration
Mapping: You are using the mapping model without global restoration.
Now you are processing 一寸照413x579.jpg
Finish Stage 1 ...


Running Stage 2: Face Detection
1
Finish Stage 2 ...


Running Stage 3: Face Enhancement
The main GPU is
0
dataset [FaceTestDataset] of size 1 was created
The size of the latent vector size is [8,8]
Network [SPADEGenerator] was created. Total number of parameters: 92.1 million. To see the architecture, do print(network).
hi :)
Finish Stage 3 ...


Running Stage 4: Blending
Traceback (most recent call last):
  File "/home/yeqiang/Downloads/ai/Bringing-Old-Photos-Back-to-Life/Face_Detection/align_warp_back_multiple_dlib.py", line 428, in <module>
    blended = blur_blending_cv2(warped_back, blended, backward_mask)
  File "/home/yeqiang/Downloads/ai/Bringing-Old-Photos-Back-to-Life/Face_Detection/align_warp_back_multiple_dlib.py", line 219, in blur_blending_cv2
    mask *= 255.0
numpy.core._exceptions._UFuncOutputCastingError: Cannot cast ufunc 'multiply' output from dtype('float64') to dtype('uint8') with casting rule 'same_kind'
Finish Stage 4 ...


All the processing is done. Please check the results.
没有dpi属性了。。。实际效果也一般(这个项目是针对老照片高清修复的)
故障处理
ModuleNotFoundError: No module named '_bz2'
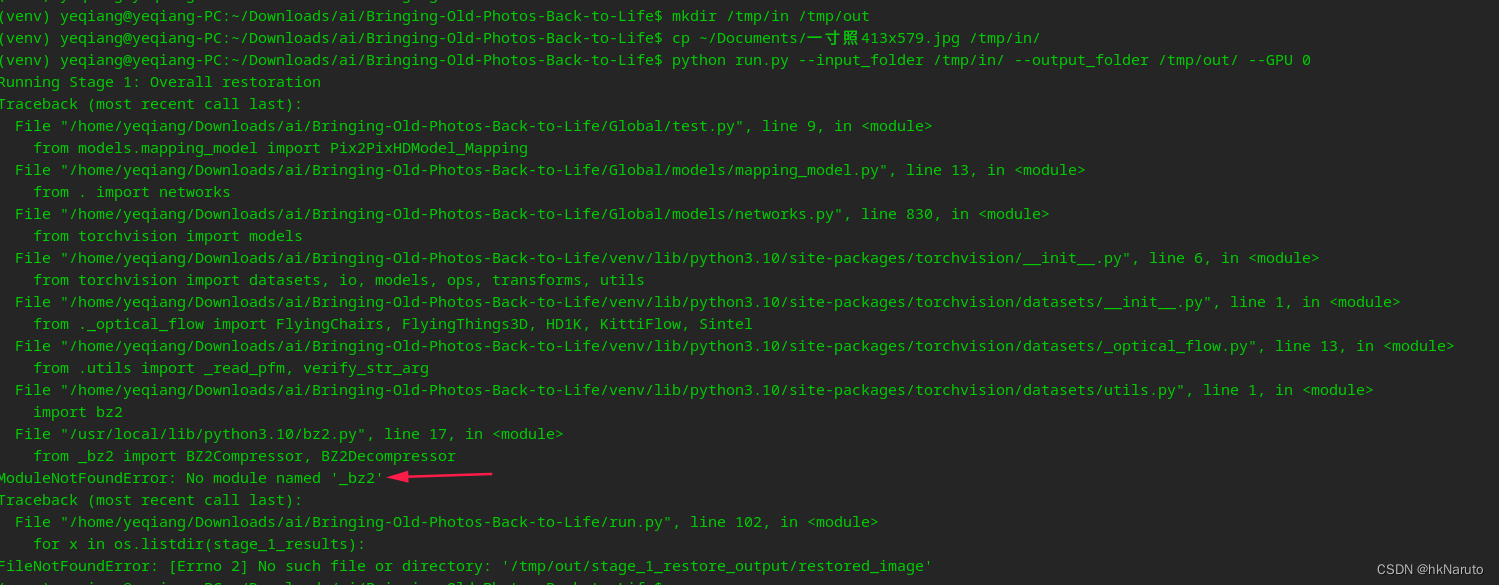
安装libbz2-dev,重新编译python
sudo apt install libbz2-deverror: implicit declaration of function ‘SSL_CTX_set_keylog_callback’; did you mean ‘SSL_CTX_set_info_callback’?
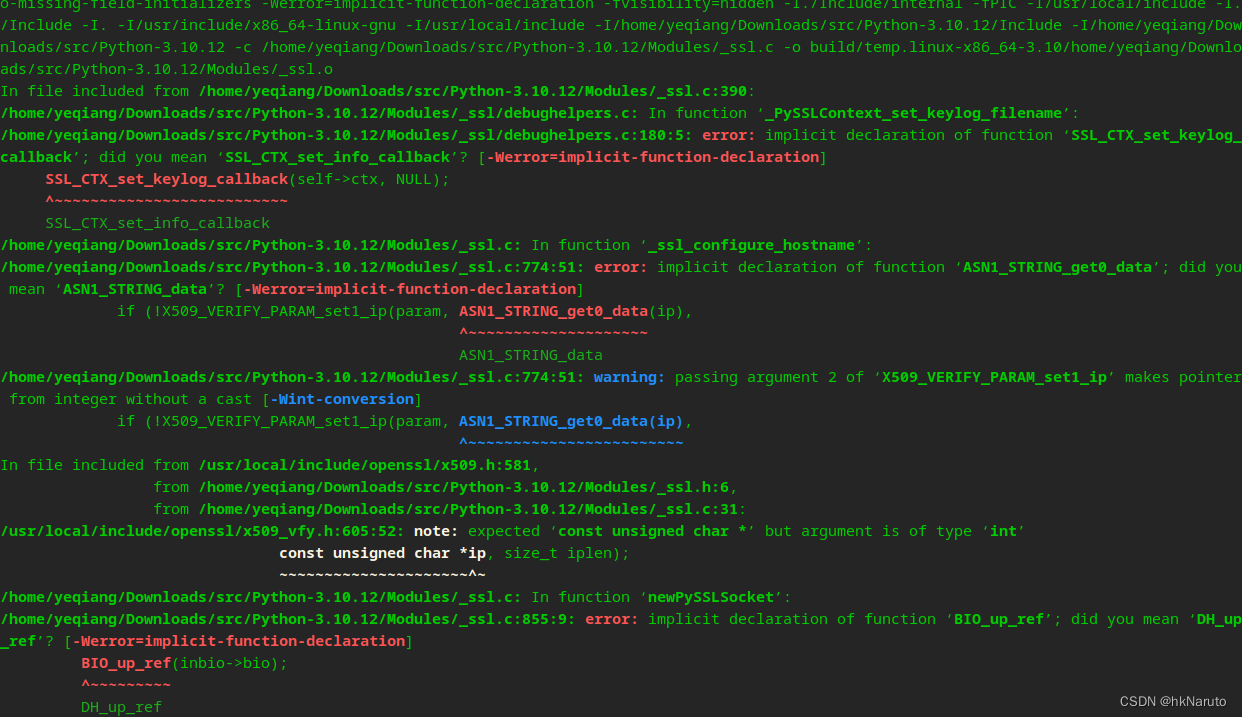
解决,手动编译openssl-1.1.1
wget https://www.openssl.org/source/openssl-1.1.1u.tar.gz
tar -xvf openssl-1.1.1u.tar.gz
cd openssl-1.1.1u
./config --prefix=/usr/local
make -j6
sudo make install
重新编译Python
 ./configure --with-openssl=/usr/local
make -j6
sudo make install