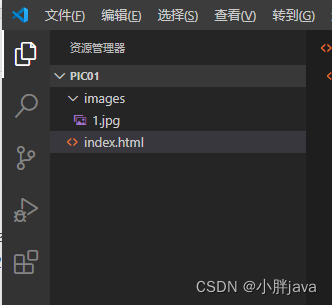
一、创建一个普通的Maven项目
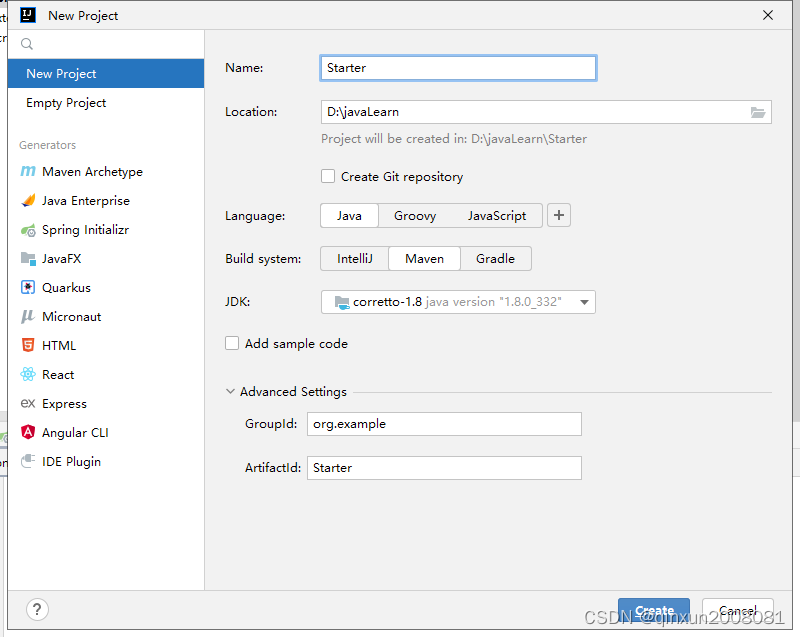
pom.xml文件修改
<?xml version="1.0" encoding="UTF-8"?>
<project xmlns="http://maven.apache.org/POM/4.0.0"
         xmlns:xsi="http://www.w3.org/2001/XMLSchema-instance"
         xsi:schemaLocation="http://maven.apache.org/POM/4.0.0 http://maven.apache.org/xsd/maven-4.0.0.xsd">
    <modelVersion>4.0.0</modelVersion>

    <groupId>org.example</groupId>
    <artifactId>Starter</artifactId>
    <version>1.0-SNAPSHOT</version>

    <properties>
        <maven.compiler.source>8</maven.compiler.source>
        <maven.compiler.target>8</maven.compiler.target>
    </properties>
    <dependencies>
        <!--添加Starter自动化配置-->
        <dependency>
            <groupId>org.springframework.boot</groupId>
            <artifactId>spring-boot-autoconfigure</artifactId>
            <version>2.7.11</version>
        </dependency>
    </dependencies>
</project>
二、创建一个自定义类,接受application.properties中注入的值
import org.springframework.boot.context.properties.ConfigurationProperties;

/**
 * @author qinxun
 * @date 2023-06-15
 * @Descripion: 自定义类,接受application.properties中注入的值
 */
@ConfigurationProperties(prefix = "my")
public class MyProperties {

    private String name;

    private Integer age;

    public String getName() {
        return name;
    }

    public void setName(String name) {
        this.name = name;
    }

    public Integer getAge() {
        return age;
    }

    public void setAge(Integer age) {
        this.age = age;
    }
}
三、自定义服务类
/**
 * @author qinxun
 * @date 2023-06-15
 * @Descripion: 自定义服务类
 */
public class MyService {

    private String name;

    private Integer age;


    public String introduce() {
        return "我的姓名" + name + ",今年" + age + "岁";
    }

    public String getName() {
        return name;
    }

    public void setName(String name) {
        this.name = name;
    }

    public Integer getAge() {
        return age;
    }

    public void setAge(Integer age) {
        this.age = age;
    }
}
四、自定义配置类
import com.example.starter.properties.MyProperties;
import com.example.starter.service.MyService;
import org.springframework.beans.factory.annotation.Autowired;
import org.springframework.boot.autoconfigure.condition.ConditionalOnClass;
import org.springframework.boot.context.properties.EnableConfigurationProperties;
import org.springframework.context.annotation.Bean;
import org.springframework.context.annotation.Configuration;

/**
 * @author qinxun
 * @date 2023-06-15
 * @Descripion: 自动配置类
 */
@Configuration
@EnableConfigurationProperties(MyProperties.class)
@ConditionalOnClass(MyService.class)
public class MyServiceAutoConfiguration {

    @Autowired
    private MyProperties myProperties;

    /**
     * 注入MyService到Spring容器
     */
    @Bean
    public MyService myService() {
        MyService myService = new MyService();
        myService.setName(myProperties.getName());
        myService.setAge(myProperties.getAge());
        return myService;
    }
}
@Configuration注解表示这是一个配置类。
@EnableConfigurationProperties注解可以使我们之前在MyProperties类中配置的@ConfigurationProperties生效,让配置的属性加载到Spring容器中。
@ConditionalOnClass注解表示当前存在MyService时,后面的配置才会生效。
自动配置类中首先注入MyProperties,提供一个MyService对象,并把这个对象加载到Spring的容器中。
五、spring.factories文件的配置
我们需要在spring.factories文件中定义需要加载的自动化配置类,我们需要在Maven项目中的resources目录下创建一个名为META-INF的文件夹,然后在这个文件夹里面创建一个名为spring.factories的文件,文件内容指定自定义配置类的路径:

org.springframework.boot.autoconfigure.EnableAutoConfiguration=com.example.starter.config.MyServiceAutoConfiguration六、本地安装
我们把刚才创建的Maven项目上传到本地的Maven仓库中,然后就可以在其他项目中使用了。
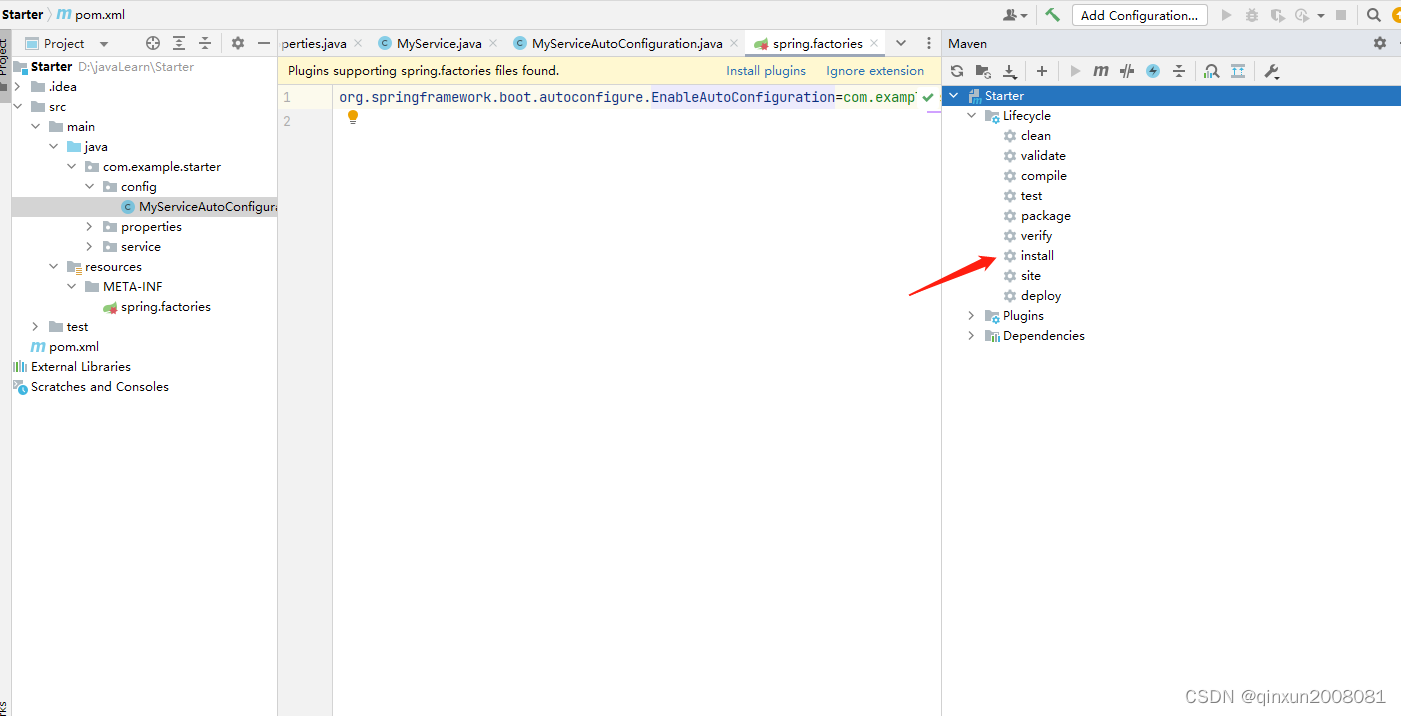
我们使用Maven下的install命令,把Maven上传到我们的本地的Maven仓库。
七、在其他项目使用
1.添加依赖
<!--引入自定义starter-->
<dependency>
    <groupId>org.example</groupId>
    <artifactId>Starter</artifactId>
    <version>1.0-SNAPSHOT</version>
</dependency>
2.在application.yml进行自定义的属性配置
my:
  name: lisi
  age: 28

3.在单元测试中进行测试
import com.example.starter.service.MyService;
import org.junit.jupiter.api.Test;
import org.springframework.beans.factory.annotation.Autowired;
import org.springframework.boot.test.context.SpringBootTest;

@SpringBootTest
class SpringBootDemoApplicationTests {

    @Autowired
    private MyService myService;

    @Test
    void contextLoads() {
        System.out.println(myService.introduce());
    }

}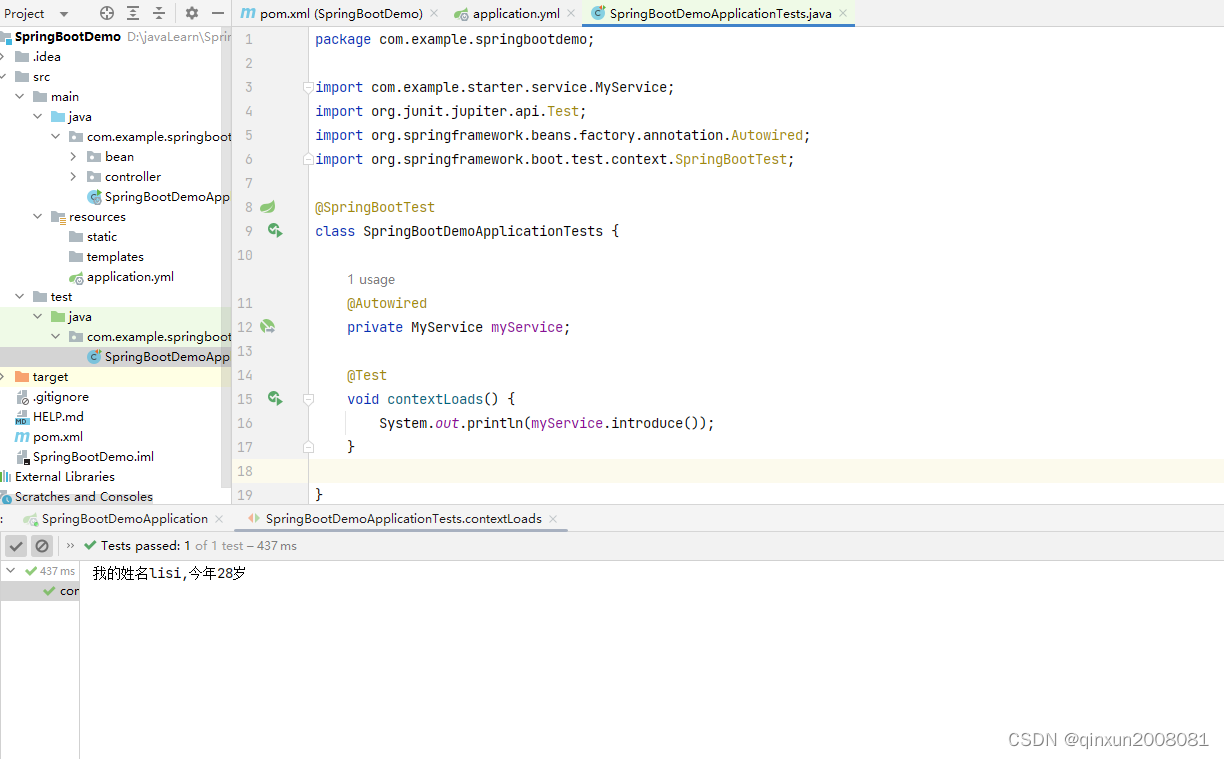
完成了自定义的Starter的创建和使用。

