一、准备工作
1、下载consul
consul各版本下载地址,点击如下连接前往:
Consul Versions | HashiCorp Releases
本案例使用版本:Consul v1.15.0 ;下载的文件解压皆可,consul为可执行文件。
2、创建目录:
mkdir -p /picc/location/consul/node1/data

mkdir -p /picc/location/consul/node1/logs

mkdir -p /picc/location/consul/node2/data

mkdir -p /picc/location/consul/node2/logs

mkdir -p /picc/location/consul/node3/data

mkdir -p /picc/location/consul/node3/logs
二、单机集群部署
1、创建node1
创建配置文件basic.json
cd /picc/location/consul/node1
touch basic.json
vi basic.json
{
"datacenter":"dc1",
"data_dir":"/picc/location/consul/node1/data",
"log_level":"INFO",
"server":true,
"node_name":"node1",
"ui_config":{
"enabled":true
},
"bind_addr":"0.0.0.0",
"client_addr":"0.0.0.0",
"advertise_addr":"192.168.0.9",
"bootstrap_expect":3,
"ports":{
"http":8500,
"dns":8600,
"grpc_tls":8503,
"server":8300,
"serf_lan":8301,
"serf_wan":8302
}
}启动脚本start.sh
#!/bin/bash
nohup ./consul agent -config-file=/picc/location/consul/node1/basic.json >/picc/location/consul/node1/consul.log  2>&1 &
2、node2
创建配置文件basic.json
cd /picc/location/consul/node2
touch basic.json
vi basic.json
{
"datacenter":"dc1",
"data_dir":"/picc/location/consul/node2/data",
"log_level":"INFO",
"server":true,
"node_name":"node2",
"bind_addr":"0.0.0.0",
"client_addr":"0.0.0.0",
"advertise_addr":"192.168.0.9",
"ports":{
"http":8510,
"dns":8610,
"grpc_tls":8513,
"server":8310,
"serf_lan":8311,
"serf_wan":8312
}
}启动脚本start.sh
#!/bin/bash
nohup ./consul agent -config-file=/picc/location/consul/node2/basic.json  -retry-join=192.168.0.9:8301 > /picc/location/consul/node2/logs/consul.log 2>&1 &
3、node3
创建配置文件basic.json
cd /picc/location/consul/node3
touch basic.json
vi basic.json
{
"datacenter":"dc1",
"data_dir":"/picc/location/consul/node3/data",
"log_level":"INFO",
"server":true,
"node_name":"node3",
"bind_addr":"0.0.0.0",
"client_addr":"0.0.0.0",
"advertise_addr":"192.168.0.9",
"ports":{
"http":8520,
"dns":8620,
"grpc_tls":8523,
"server":8320,
"serf_lan":8321,
"serf_wan":8322
}
}启动脚本start.sh
#!/bin/bash
nohup ./consul agent -config-file=/picc/location/consul/node3/basic.json  -retry-join=192.168.0.9:8301 > /picc/location/consul/node3/logs/consul.log 2>&1 &
4、consul端口介绍
"ports" #端口
"http": 8500 #提供http服务的端口。
"grpc_tls": 8503 #consul1.14新添加,用于GRPC加密。
"dns": 8600 #提供dns服务的端口。
"server": 8300 #选取Leader节点(raft协议通信)和提供RPC调用时,consul节点之间的通信端口。
"serf_lan": 8301 #集群通信端口,用在LAN网。
"serf_wan": 8302 #数据中心通信端口,用在WAN网 。
三、启动consul
分别执行node1、node2、node3下的脚本start.sh
./start.sh四、检查服务
./consul members -http-addr=192.168.0.9:8500
./consul info -http-addr=192.168.0.9:8500
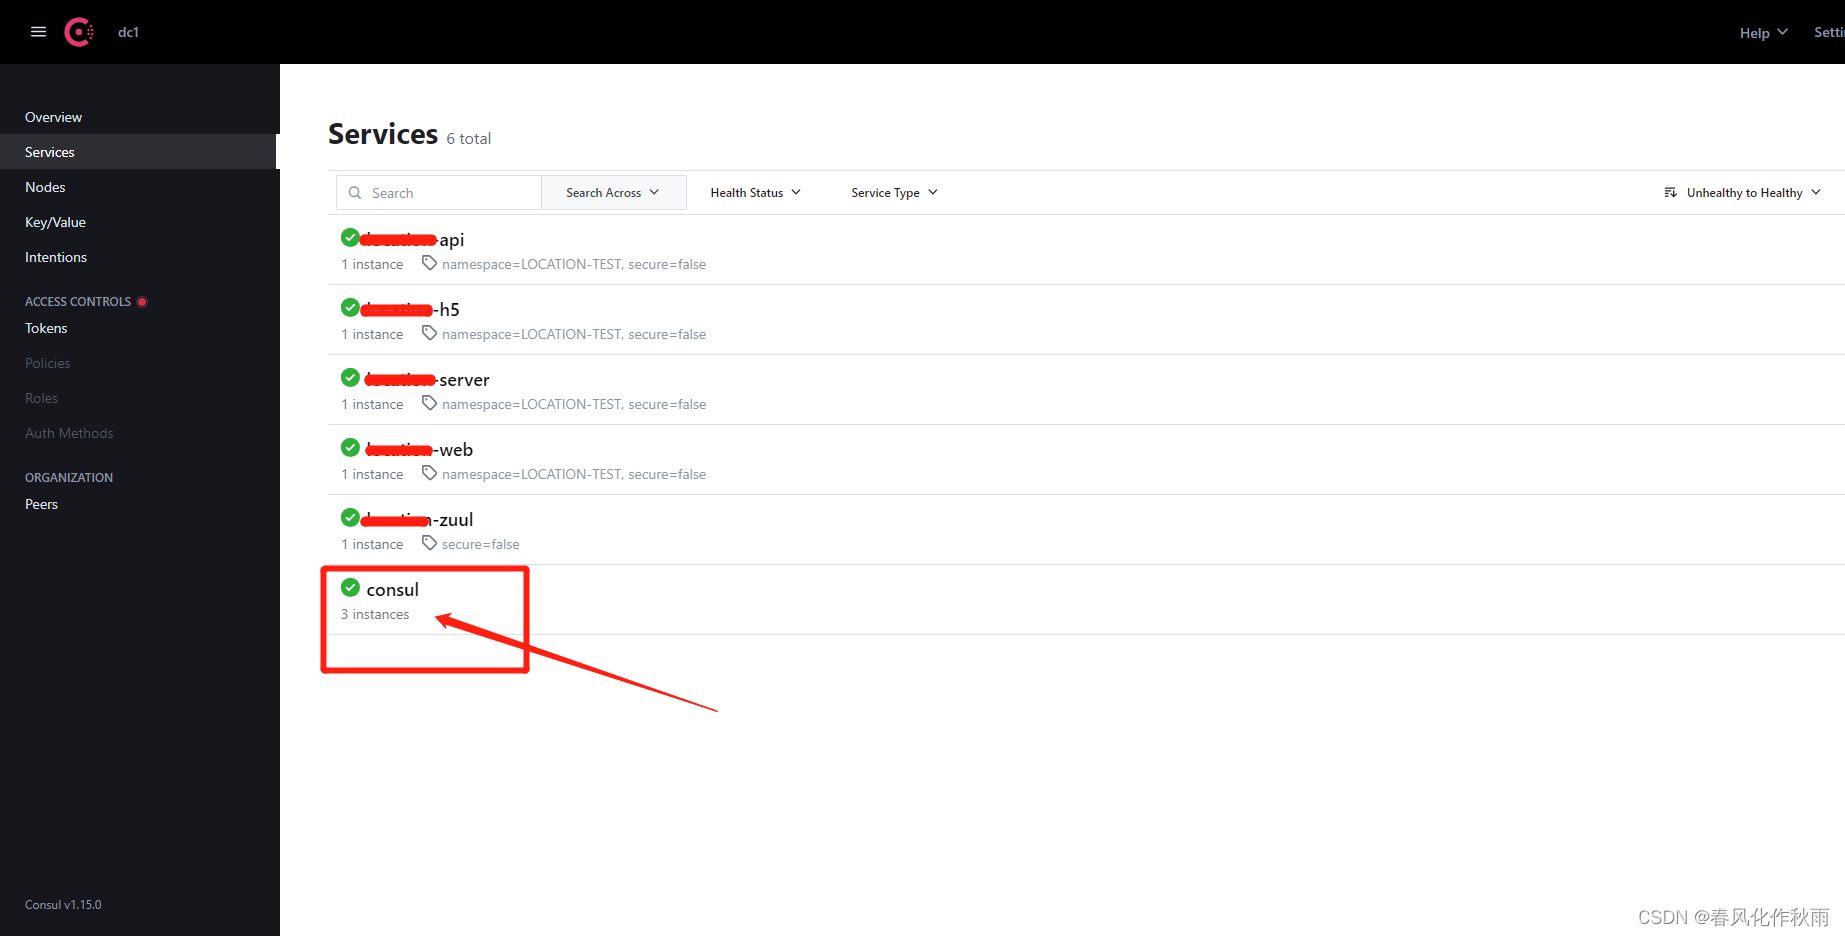
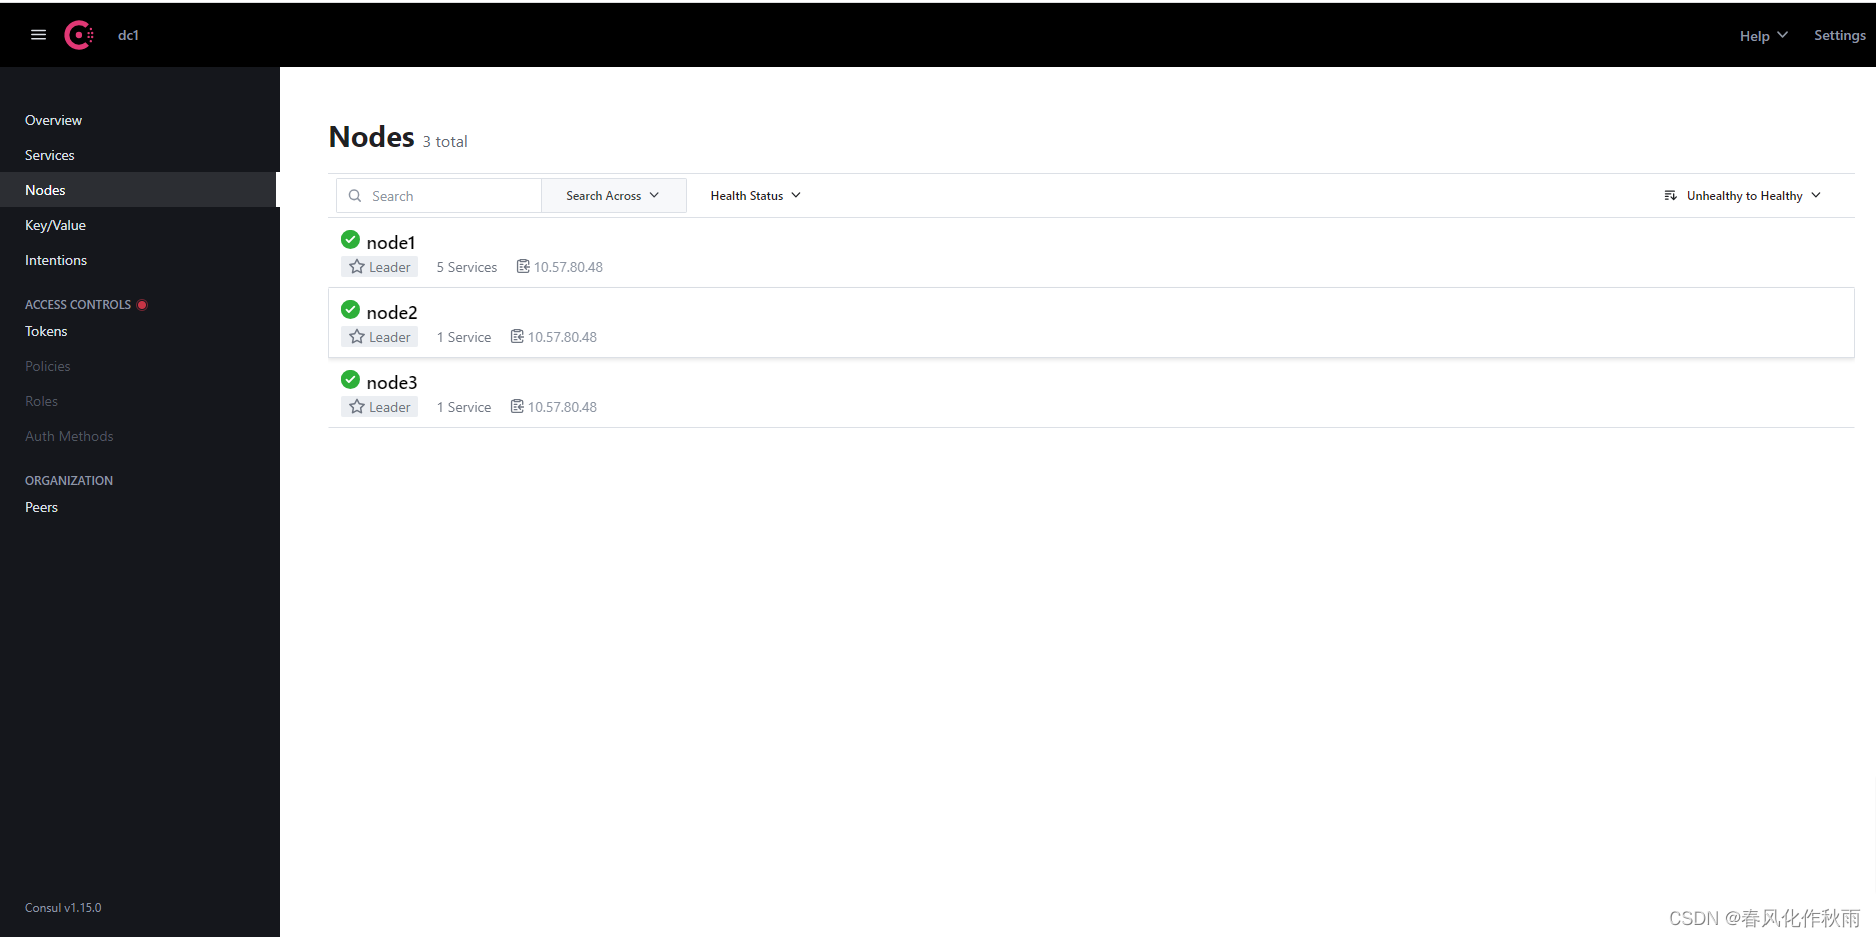
打开浏览器录入url:http://192.168.0.9:8500检查集群节点









![[创业之路-73] :如何判断一个公司或团队是熵增:一盘散沙、乌合之众,还是,熵减:凝聚力强、上下一心?](https://img-blog.csdnimg.cn/2f6b4562c3ef468e8e327a32df5ef5af.png)


