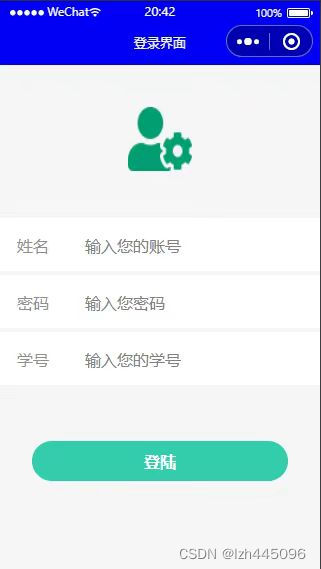
实现效果
在数据库找不到登录信息时弹出提示框

一、开通云开发平台并创建数据表
进入微信官方文档按步骤操作即可

二、登录界面及样式
login.wxml如下:
<view id="total">
<image src="../../images/user_cog_green.png"></image>
<form bindsubmit="create_login">
<!--姓名-->
<view id="t1">
<text>姓名</text><input type="text" name="username" id="use" placeholder="输入您的账号" value="{{username}}"></input>
</view>
<!--密码-->
<view id="t2">
<text>密码</text><input type="password" name="password" id="pass1" placeholder="输入您密码" value="{{password}}"></input>
</view>
<!--学号-->
<view id="t3">
<text>学号</text><input type="text" name="phone" id="pass2" placeholder="输入您的学号" value="{{phone}}"></input>
</view>
<!--登录按钮-->
<button bindtap="goto_index" id="btn1" form-type="submit"><text>登陆</text></button>
</form>

</view>
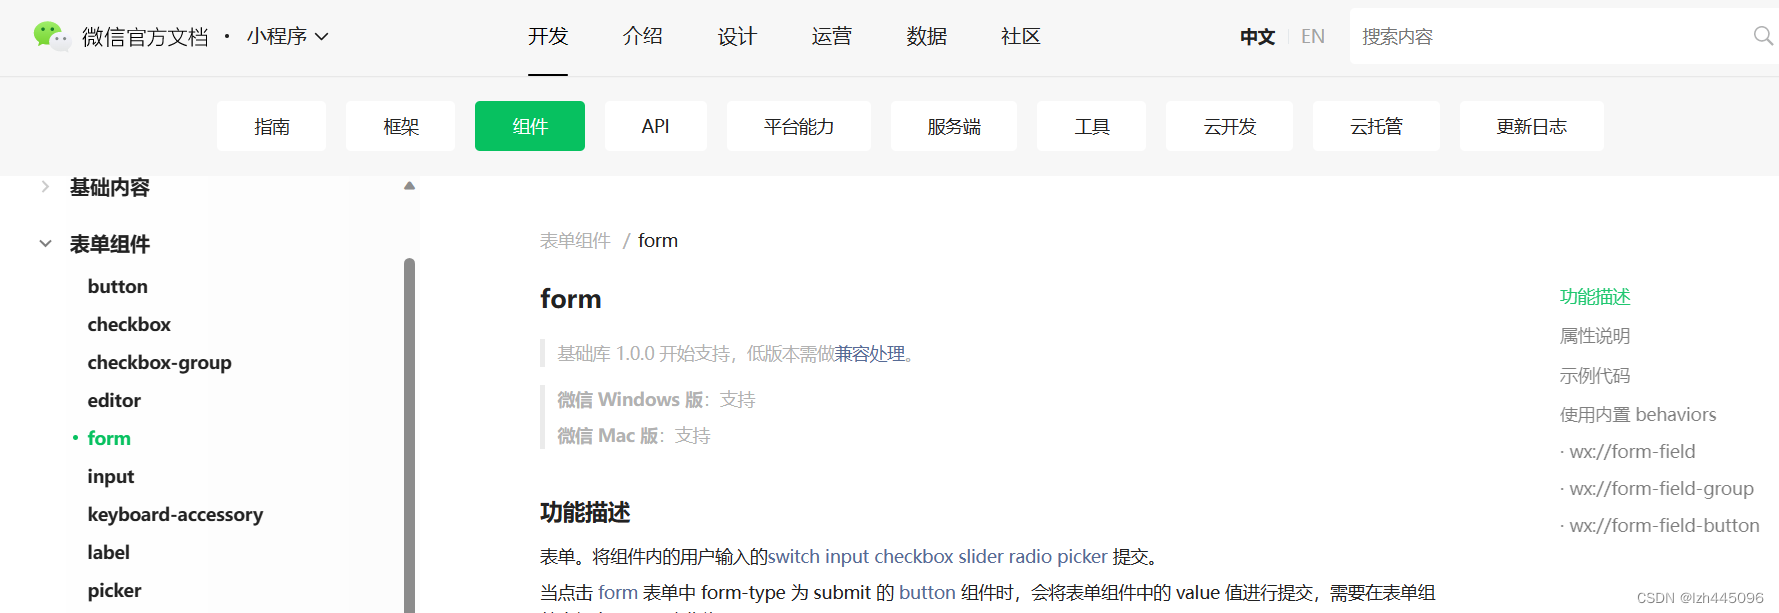
在 WXML 里添加一个<form>组件并绑定一个事件create_login,但需要注意的是,<form>组件只会提交所有被name属性修饰的表单域。<form>组件是小程序中非常常用的组件,关于表单的使用参见微信官方文档如下:
login.wxss文件如下:
/* pages/login/login.wxss */
#total{
    width:100%;
    height:1300rpx;
    background-color: rgb(245,245,245);
  }
  image{
    width:150rpx;
    height:150rpx;
    position: relative;
    left:300rpx;
    top:100rpx;
  }
  #t1{
    width:100%;
    height:125rpx;
    background-color: white;
    position: relative;
    top:200rpx;
  }
  #t2{
    width:100%;
    height:125rpx;
    background-color: white;
    position: relative;
    top:210rpx;
  }
  #t3{
    width:100%;
    height:125rpx;
    background-color: white;
    position: relative;
    top:220rpx;
  }
  #t1 text{
  position: relative;
  left:40rpx;
  top:40rpx;
  color: rgb(143, 143, 143);
  }
  #use{
    width:400rpx;
    height:80rpx;
    margin-left: 200rpx;
    position: relative;
    bottom: 25rpx;
  }
  #t2 text{
  position: relative;
  left:40rpx;
  top:40rpx;
  color: rgb(143, 143, 143);
  }
  #pass1{
    width:400rpx;
    height:80rpx;
    margin-left: 200rpx;
    position: relative;
    bottom: 25rpx;
  }
  #t3 text{
  position: relative;
  left:40rpx;
  top:40rpx;
  color: rgb(143, 143, 143);
  }
  #pass2{
    width:400rpx;
    height:80rpx;
    margin-left: 200rpx;
    position: relative;
    bottom: 25rpx;
  }
  #btn1{
    position: relative;
    top:350rpx;
    background-color:rgb(51, 204, 170);
    width:600rpx;
    border-radius: 50rpx;
  }
  #btn1 text{
    color:white;
    font-size: 39rpx;
  }
  #btn2{
    position: relative;
    top:370rpx;
    right:230rpx;
    background-color: rgb(245, 245, 245);
  }
  #btn2::after{
    border: none;
  }
  #btn2 text{
    color:black;
    font-size: 39rpx;
  }
  #btn3{
    position: relative;
    top:261rpx;
    left:200rpx;
    width:250rpx;
    background-color: rgb(245, 245, 245);
  }
  #btn3::after{
    border: none;
  }
  #btn3 text{
    color:black;
    font-size: 39rpx;
  }
在界面布局上这里使用了相对布局而没有使用css中非常普遍的flex布局,是因为考虑到组件数量较少而且较为分散。
三、js功能实现
js中主要对事件create_login的实现,在这个函数中连接上云数据库,从数据库中查找姓名、密码、学号为输入字符串的记录是否存在,若存在则可以登录成功,不存在则弹出模态框,在login.js中加入如下函数即可:
create_login: function (e) {

    wx.cloud.database().collection('students')
        .where({
            name:e.detail.value["username"],
            password:e.detail.value["password"],
            u_id:e.detail.value["phone"],
        })
        .get()
        .then(res=>{
            console.log('请求成功',res.data)
           if(res.data[0] == null)
           {
            wx.showModal({
                title: '登录失败',
                content: '数据库匹配失败'//session中用户名和密码不为空触发
              });
           }
           else{
            app.globalData.studentId = res.data[0]._id;

              wx.switchTab({
                url: '../form/form',
              })
           }
        })
        .catch(err=>{
            console.log('请求失败',err)
            wx.showToast({
                title:"请求失败",
              })
        })

},如程序所示,在云数据库中,新增的数据表名为‘students’,表中必须包含的三个字段为name、password、u_id,为方便调试字段类型最好设置为string类型,点击登录按钮时<form>组件把用户输入的信息传入students表的相应字段,即可查询出是否匹配。登录成功后学生id被传入全局变量,界面跳转到tab页面中的指定tab页。
