8.1.0版本ELK搭建,开启xpack认证机制
- 部署环境安排
- 下载elk安装包
- 服务器环境配置
- 部署elasticsearch
- 配置认证
- 配置客户端加密的http通信
- 修改elastic配置文件
- 部署kibana
- 部署logstash
- 部署httpd,filebeat
- 配置kibana页面
- 部署grafana
- 配置grafana连接elastic
部署环境安排
| ip | 部署服务 | |
|---|---|---|
| 192.168.0.121 | kibana,elasticsearch | |
| 192.168.0.83 | elasticsearch,logstash | |
| 192.168.0.84 | elasticsearch,logstash,httpd,filebeat | |
| grafana | - | |
| mysql | - |
下载elk安装包
下载elasticsearch-8-1-0
https://www.elastic.co/cn/downloads/past-releases#elasticsearch
https://www.elastic.co/cn/downloads/past-releases/elasticsearch-8-1-0
https://artifacts.elastic.co/downloads/elasticsearch/elasticsearch-8.1.0-linux-x86_64.tar.gz
下载kibana-8-1-0
https://www.elastic.co/downloads/past-releases#kibana
https://www.elastic.co/cn/downloads/past-releases/kibana-8-1-0
https://artifacts.elastic.co/downloads/kibana/kibana-8.1.0-linux-x86_64.tar.gz
下载logstash-8-1-0
https://www.elastic.co/downloads/past-releases#logstash
https://www.elastic.co/cn/downloads/past-releases/logstash-8-1-0
https://artifacts.elastic.co/downloads/logstash/logstash-8.1.0-linux-x86_64.tar.gz
下载
https://www.elastic.co/downloads/past-releases#filebeat
https://www.elastic.co/cn/downloads/past-releases/filebeat-8-1-0
https://artifacts.elastic.co/downloads/beats/filebeat/filebeat-8.1.0-linux-x86_64.tar.gz
服务器环境配置
操作所有服务器
jdk
8.1.0版本自带jdk
关闭交换空间
swapoff -a
vim /etc/fstab #注释swap行
创建运行elasticsearch的用户elastic
useradd elastic
设置elastic用户的文件最大打开数量和最大线程使用数量
ulimit -n 65535
ulimit -u 4096
vim /etc/security/limits.conf
elastic -  nofile  65535
elastic -  nproc 4096
设置虚拟内存
sysctl -w vm.max_map_count=262144
vim /etc/sysctl.conf
vm.max_map_count=262144
创建数据目录
mkdir -p /data/elastic/data
mkdir -p /data/elastic/logs
chown -R elastic:elastic /data/elastic

mkdir -p /data/kibana/data
mkdir -p /data/kibana/logs

mkdir -p /data/logstash/data
mkdir -p /data/logstash/logs

mkdir -p /data/filebeat/data
mkdir -p /data/filebeat/logs
部署elasticsearch
操作所有服务器
tar xf elasticsearch-8.1.0-linux-x86_64.tar.gz -C /data
cd elasticsearch-8.1.0
chown -R elastic:elastic /data/elasticsearch-8.1.0
cd config
配置认证
https://www.elastic.co/guide/en/elasticsearch/reference/8.1/security-basic-setup.html#encrypt-internode-communication
在启动 Elasticsearch 之前,请在任何单个节点上使用该工具 为您的集群生成 CA
./bin/elasticsearch-certutil ca
#出现提示时,接受默认文件名elastic-stack-ca.p12
##出现提示时,不设置密码
This tool assists you in the generation of X.509 certificates and certificate
signing requests for use with SSL/TLS in the Elastic stack.

The 'ca' mode generates a new 'certificate authority'
This will create a new X.509 certificate and private key that can be used
to sign certificate when running in 'cert' mode.

Use the 'ca-dn' option if you wish to configure the 'distinguished name'
of the certificate authority

By default the 'ca' mode produces a single PKCS#12 output file which holds:
    * The CA certificate
    * The CA's private key

If you elect to generate PEM format certificates (the -pem option), then the output will
be a zip file containing individual files for the CA certificate and private key

Please enter the desired output file [elastic-stack-ca.p12]:	#回车(使用默认文件名)
Enter password for elastic-stack-ca.p12 :						#回车(不设置密码)
证书生成在当前目录
ll elastic-stack-ca.p12
使用上步生成的CA证书,生成节点证书
./bin/elasticsearch-certutil cert --ca elastic-stack-ca.p12
This tool assists you in the generation of X.509 certificates and certificate
signing requests for use with SSL/TLS in the Elastic stack.

The 'cert' mode generates X.509 certificate and private keys.
    * By default, this generates a single certificate and key for use
       on a single instance.
    * The '-multiple' option will prompt you to enter details for multiple
       instances and will generate a certificate and key for each one
    * The '-in' option allows for the certificate generation to be automated by describing
       the details of each instance in a YAML file

    * An instance is any piece of the Elastic Stack that requires an SSL certificate.
      Depending on your configuration, Elasticsearch, Logstash, Kibana, and Beats
      may all require a certificate and private key.
    * The minimum required value for each instance is a name. This can simply be the
      hostname, which will be used as the Common Name of the certificate. A full
      distinguished name may also be used.
    * A filename value may be required for each instance. This is necessary when the
      name would result in an invalid file or directory name. The name provided here
      is used as the directory name (within the zip) and the prefix for the key and
      certificate files. The filename is required if you are prompted and the name
      is not displayed in the prompt.
    * IP addresses and DNS names are optional. Multiple values can be specified as a
      comma separated string. If no IP addresses or DNS names are provided, you may
      disable hostname verification in your SSL configuration.


    * All certificates generated by this tool will be signed by a certificate authority (CA)
      unless the --self-signed command line option is specified.
      The tool can automatically generate a new CA for you, or you can provide your own with
      the --ca or --ca-cert command line options.


By default the 'cert' mode produces a single PKCS#12 output file which holds:
    * The instance certificate
    * The private key for the instance certificate
    * The CA certificate

If you specify any of the following options:
    * -pem (PEM formatted output)
    * -multiple (generate multiple certificates)
    * -in (generate certificates from an input file)
then the output will be be a zip file containing individual certificate/key files

Enter password for CA (elastic-stack-ca.p12) :					#回车(上步未设置密码)
Please enter the desired output file [elastic-certificates.p12]:#回车(使用默认文件名)
Enter password for elastic-certificates.p12 :					#回车(不设置密码)

Certificates written to /sdata/elasticsearch-8.1.0/elastic-certificates.p12

This file should be properly secured as it contains the private key for
your instance.
This file is a self contained file and can be copied and used 'as is'
For each Elastic product that you wish to configure, you should copy
this '.p12' file to the relevant configuration directory
and then follow the SSL configuration instructions in the product guide.

For client applications, you may only need to copy the CA certificate and
configure the client to trust this certificate.
证书生成在当前目录
ll elastic-certificates.p12
把证书放置到配置目录下
mkdir config/certs
mv elastic-stack-ca.p12 config/certs
mv elastic-certificates.p12 config/certs
配置客户端加密的http通信
 ./bin/elasticsearch-certutil http

## Elasticsearch HTTP Certificate Utility

The 'http' command guides you through the process of generating certificates
for use on the HTTP (Rest) interface for Elasticsearch.

This tool will ask you a number of questions in order to generate the right
set of files for your needs.

## Do you wish to generate a Certificate Signing Request (CSR)?

A CSR is used when you want your certificate to be created by an existing
Certificate Authority (CA) that you do not control (that is, you don't have
access to the keys for that CA).

If you are in a corporate environment with a central security team, then you
may have an existing Corporate CA that can generate your certificate for you.
Infrastructure within your organisation may already be configured to trust this
CA, so it may be easier for clients to connect to Elasticsearch if you use a
CSR and send that request to the team that controls your CA.

If you choose not to generate a CSR, this tool will generate a new certificate
for you. That certificate will be signed by a CA under your control. This is a
quick and easy way to secure your cluster with TLS, but you will need to
configure all your clients to trust that custom CA.

Generate a CSR? [y/N]n 			#n 不发送认证证书请求

## Do you have an existing Certificate Authority (CA) key-pair that you wish to use to sign your certificate?

If you have an existing CA certificate and key, then you can use that CA to
sign your new http certificate. This allows you to use the same CA across
multiple Elasticsearch clusters which can make it easier to configure clients,
and may be easier for you to manage.

If you do not have an existing CA, one will be generated for you.

Use an existing CA? [y/N]y	#y 使用本地的CA证书

## What is the path to your CA?

Please enter the full pathname to the Certificate Authority that you wish to
use for signing your new http certificate. This can be in PKCS#12 (.p12), JKS
(.jks) or PEM (.crt, .key, .pem) format.
CA Path: certs/elastic-stack-ca.p12			#输入本地CA证书的路径
Reading a PKCS12 keystore requires a password.
It is possible for the keystore's password to be blank,
in which case you can simply press <ENTER> at the prompt
Password for elastic-stack-ca.p12:		#回车

## How long should your certificates be valid?

Every certificate has an expiry date. When the expiry date is reached clients
will stop trusting your certificate and TLS connections will fail.

Best practice suggests that you should either:
(a) set this to a short duration (90 - 120 days) and have automatic processes
to generate a new certificate before the old one expires, or
(b) set it to a longer duration (3 - 5 years) and then perform a manual update
a few months before it expires.

You may enter the validity period in years (e.g. 3Y), months (e.g. 18M), or days (e.g. 90D)

For how long should your certificate be valid? [5y] 5y #设置证书有效期5年

## Do you wish to generate one certificate per node?

If you have multiple nodes in your cluster, then you may choose to generate a
separate certificate for each of these nodes. Each certificate will have its
own private key, and will be issued for a specific hostname or IP address.

Alternatively, you may wish to generate a single certificate that is valid
across all the hostnames or addresses in your cluster.

If all of your nodes will be accessed through a single domain
(e.g. node01.es.example.com, node02.es.example.com, etc) then you may find it
simpler to generate one certificate with a wildcard hostname (*.es.example.com)
and use that across all of your nodes.

However, if you do not have a common domain name, and you expect to add
additional nodes to your cluster in the future, then you should generate a
certificate per node so that you can more easily generate new certificates when
you provision new nodes.

Generate a certificate per node? [y/N]n #是否每个节点都生成证书 否 n

## Which hostnames will be used to connect to your nodes?

These hostnames will be added as "DNS" names in the "Subject Alternative Name"
(SAN) field in your certificate.

You should list every hostname and variant that people will use to connect to
your cluster over http.
Do not list IP addresses here, you will be asked to enter them later.

If you wish to use a wildcard certificate (for example *.es.example.com) you
can enter that here.

Enter all the hostnames that you need, one per line.
When you are done, press <ENTER> once more to move on to the next step.

es-1
es-2-0001
es-2-0002		#输入主机名 回车输入下个主机名 两次回车输入结束

You entered the following hostnames.

 - es-1
 - es-2-0001
 - es-2-0002

Is this correct [Y/n]y #y 确认输入结束

## Which IP addresses will be used to connect to your nodes?

If your clients will ever connect to your nodes by numeric IP address, then you
can list these as valid IP "Subject Alternative Name" (SAN) fields in your
certificate.

If you do not have fixed IP addresses, or not wish to support direct IP access
to your cluster then you can just press <ENTER> to skip this step.

Enter all the IP addresses that you need, one per line.
When you are done, press <ENTER> once more to move on to the next step.

192.168.0.121
192.168.0.83
192.168.0.84 		#输入主机的ip,回车输入下一个ip,两次回车输入结束

You entered the following IP addresses.

 - 192.168.0.121
 - 192.168.0.83
 - 192.168.0.84

Is this correct [Y/n]y 	# y 确认输入结束

## Other certificate options

The generated certificate will have the following additional configuration
values. These values have been selected based on a combination of the
information you have provided above and secure defaults. You should not need to
change these values unless you have specific requirements.

Key Name: es-1
Subject DN: CN=es-1
Key Size: 2048

Do you wish to change any of these options? [y/N]n # 是否更改配置 不更改 n

## What password do you want for your private key(s)?

Your private key(s) will be stored in a PKCS#12 keystore file named "http.p12".
This type of keystore is always password protected, but it is possible to use a
blank password.

If you wish to use a blank password, simply press <enter> at the prompt below.
Provide a password for the "http.p12" file:  [<ENTER> for none] #回车

## Where should we save the generated files?

A number of files will be generated including your private key(s),
public certificate(s), and sample configuration options for Elastic Stack products.

These files will be included in a single zip archive.

What filename should be used for the output zip file? [/sdata/elasticsearch-8.1.0/elasticsearch-ssl-http.zip] 	#回车

Zip file written to /sdata/elasticsearch-8.1.0/elasticsearch-ssl-http.zip
当前目录生成证书压缩包elasticsearch-ssl-http.zip
ll elasticsearch-ssl-http.zip
解压
unzip elasticsearch-ssl-http.zip
Archive:  elasticsearch-ssl-http.zip
   creating: elasticsearch/
  inflating: elasticsearch/README.txt
  inflating: elasticsearch/http.p12
  inflating: elasticsearch/sample-elasticsearch.yml
   creating: kibana/
  inflating: kibana/README.txt
  inflating: kibana/elasticsearch-ca.pem
  inflating: kibana/sample-kibana.yml
移动证书到config/certs
mv elasticsearch/http.p12 config/certs
mv kibana/elasticsearch-ca.pem config/certs
把config/certs 同步到另外两个节点
使三台服务具有证书目录
192.168.0.121
192.168.0.83
192.168.0.84
ll config/certs
-rw------- 1 elastic elastic 3596 May 19 14:59 elastic-certificates.p12
-rw-rw-r-- 1 elastic elastic 1200 May 19 15:17 elasticsearch-ca.pem
-rw------- 1 elastic elastic 2672 May 19 14:59 elastic-stack-ca.p12
-rw-rw-r-- 1 elastic elastic 3636 May 19 15:17 http.p12
修改elastic配置文件
#修改jvm参数
vim jvm.options
-Xms2g
-Xmx2g
操作192.168.0.121
#192.168.0.121
vim elasticsearch.yml

cluster.name: my-application
node.name: node-1
path.data: /data/elastic/data
path.logs: /data/elastic/log
network.host: 192.168.0.121
http.port: 9200
discovery.seed_hosts: ["192.168.0.121", "192.168.0.83", "192.168.0.84"]
cluster.initial_master_nodes: ["192.168.0.121", "192.168.0.83", "192.168.0.84"]
xpack.security.enabled: true
xpack.security.enrollment.enabled: true
xpack.security.http.ssl:
  enabled: true
  keystore.path: certs/http.p12
xpack.security.transport.ssl:
  enabled: true
  verification_mode: certificate
  keystore.path: certs/elastic-certificates.p12
  truststore.path: certs/elastic-certificates.p12
操作192.168.0.83
#192.168.0.83
vim elasticsearch.yml
cluster.name: my-application
node.name: node-2
path.data: /data/elastic/data
path.logs: /data/elastic/log
network.host: 192.168.0.83
http.port: 9200
discovery.seed_hosts: ["192.168.0.121", "192.168.0.83", "192.168.0.84"]
cluster.initial_master_nodes: ["192.168.0.121", "192.168.0.83", "192.168.0.84"]
xpack.security.enabled: true
xpack.security.enrollment.enabled: true
xpack.security.http.ssl:
  enabled: true
  keystore.path: certs/http.p12
xpack.security.transport.ssl:
  enabled: true
  verification_mode: certificate
  keystore.path: certs/elastic-certificates.p12
  truststore.path: certs/elastic-certificates.p12
操作192.168.0.84
#192.168.0.84
vim elasticsearch.yml
cluster.name: my-application
node.name: node-3
path.data: /data/elastic/data
path.logs: /data/elastic/log
network.host: 192.168.0.84
http.port: 9200
discovery.seed_hosts: ["192.168.0.121", "192.168.0.83", "192.168.0.84"]
cluster.initial_master_nodes: ["192.168.0.121", "192.168.0.83", "192.168.0.84"]
xpack.security.enabled: true
xpack.security.enrollment.enabled: true
xpack.security.http.ssl:
  enabled: true
  keystore.path: certs/http.p12
xpack.security.transport.ssl:
  enabled: true
  verification_mode: certificate
  keystore.path: certs/elastic-certificates.p12
  truststore.path: certs/elastic-certificates.p12
操作所有服务器
cd ..
#配置启动文件
echo "nohup bin/elasticsearch > /data/elastic/log/elastic.log &" > start.sh
chmod a+x start.sh
#依次启动elasticsearch
./start.sh
tail -200f /data/elastic/log/elastic.log
任意一台elasticsearch服务器重置elastic密码
./bin/elasticsearch-reset-password -u elastic -i

#密码设置为elastic
This tool will reset the password of the [elastic] user.
You will be prompted to enter the password.
Please confirm that you would like to continue [y/N]y


Enter password for [elastic]:
Re-enter password for [elastic]:
Password for the [elastic] user successfully reset.
浏览器https访问查看验证
https://ip:9200
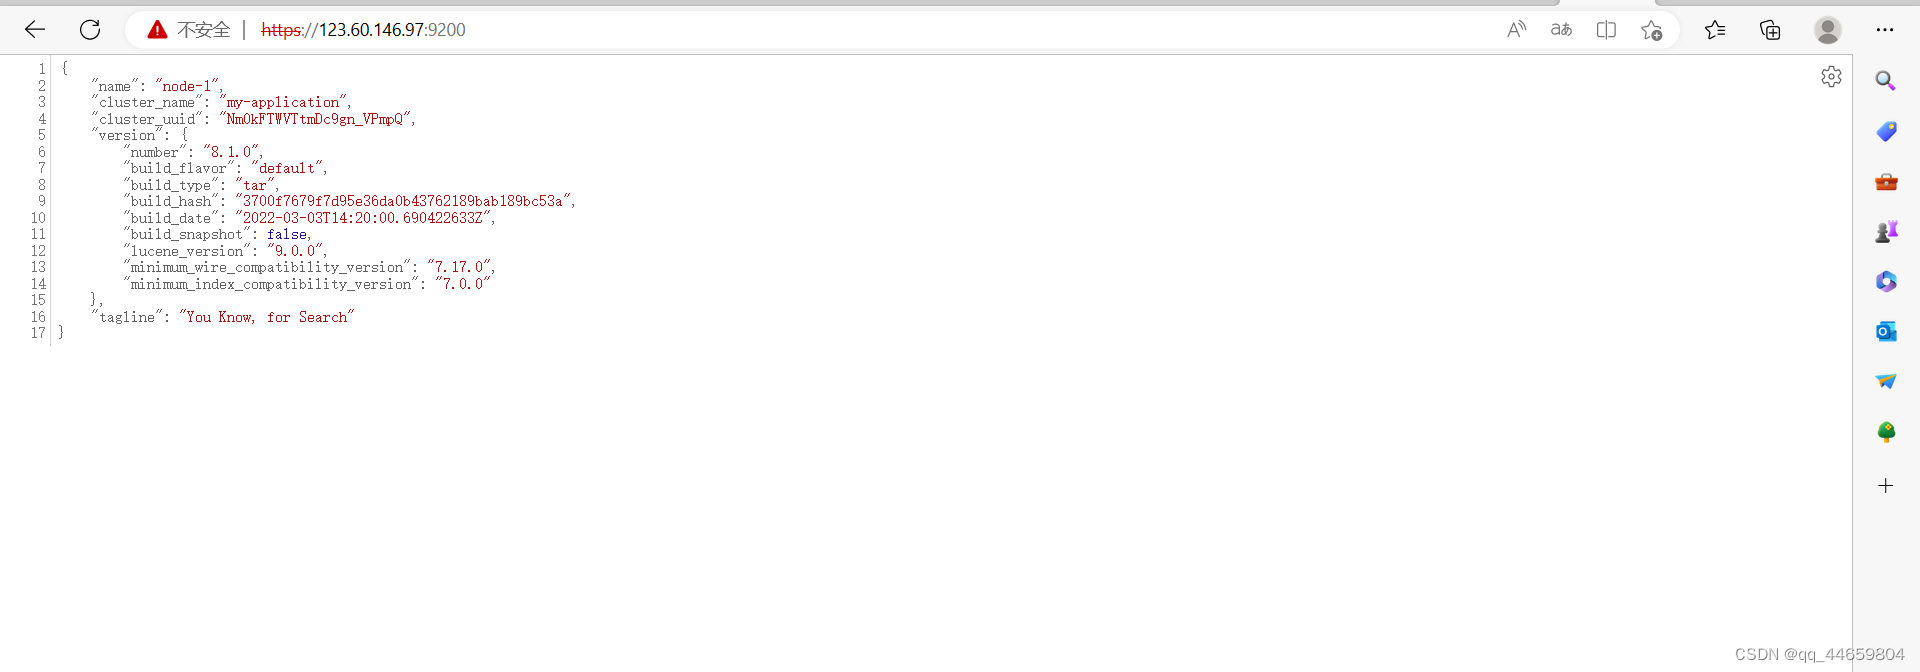
https://ip:9200/_cat/nodes?v

部署kibana
操作服务器192.168.0.121
tar xf kibana-8.1.0-linux-x86_64.tar.gz -C /data
cd kibana-8.1.0/config
mkdir certs
cp
#把上方生成的elasticsearch-ca.pem 复制到certs
cp /data/elasticsearch-8.1.0/config/certs/elasticsearch-ca.pem /data/kibana-8.1.0/config/certs/
ll config/certs/
total 4
-rw-r--r-- 1 root root 1200 May 19 16:34 elasticsearch-ca.pem
重置kibana_system密码
bin/elasticsearch-reset-password -u kibana_system -i

#密码为kibana
This tool will reset the password of the [kibana_system] user.
You will be prompted to enter the password.
Please confirm that you would like to continue [y/N]y


Enter password for [kibana_system]:
Re-enter password for [kibana_system]:
Password for the [kibana_system] user successfully reset.
vim kibana.yml
server.port: 5601
server.host: "192.168.0.121"
elasticsearch.hosts: ["https://192.168.0.121:9200", "https://192.168.0.83:9200", "https://192.168.0.84:9200"]
elasticsearch.ssl.certificateAuthorities: [ "config/certs/elasticsearch-ca.pem" ]
elasticsearch.username: "kibana_system"
elasticsearch.password: "kibana"
path.data: /data/kibana/data
cd ..
echo "nohup bin/kibana --allow-root > /data/kibana/log/kibana.log &
" > start.sh
chmod a+x start.sh
./start.sh
tail -200f /data/kibana/log/kibana.log
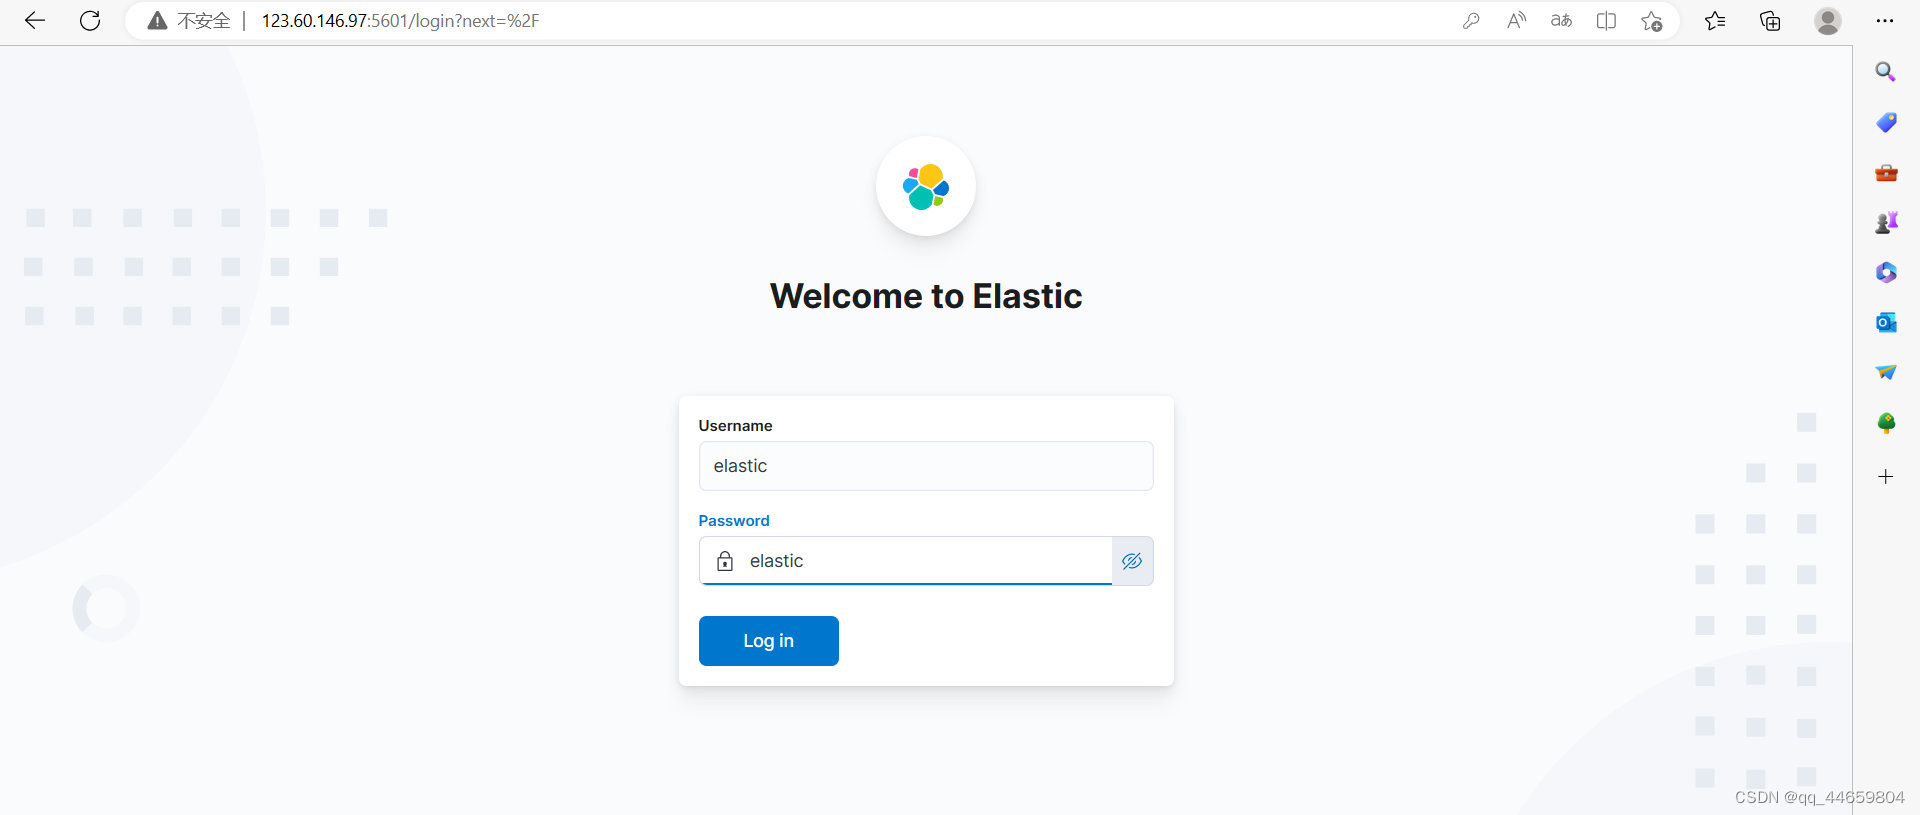
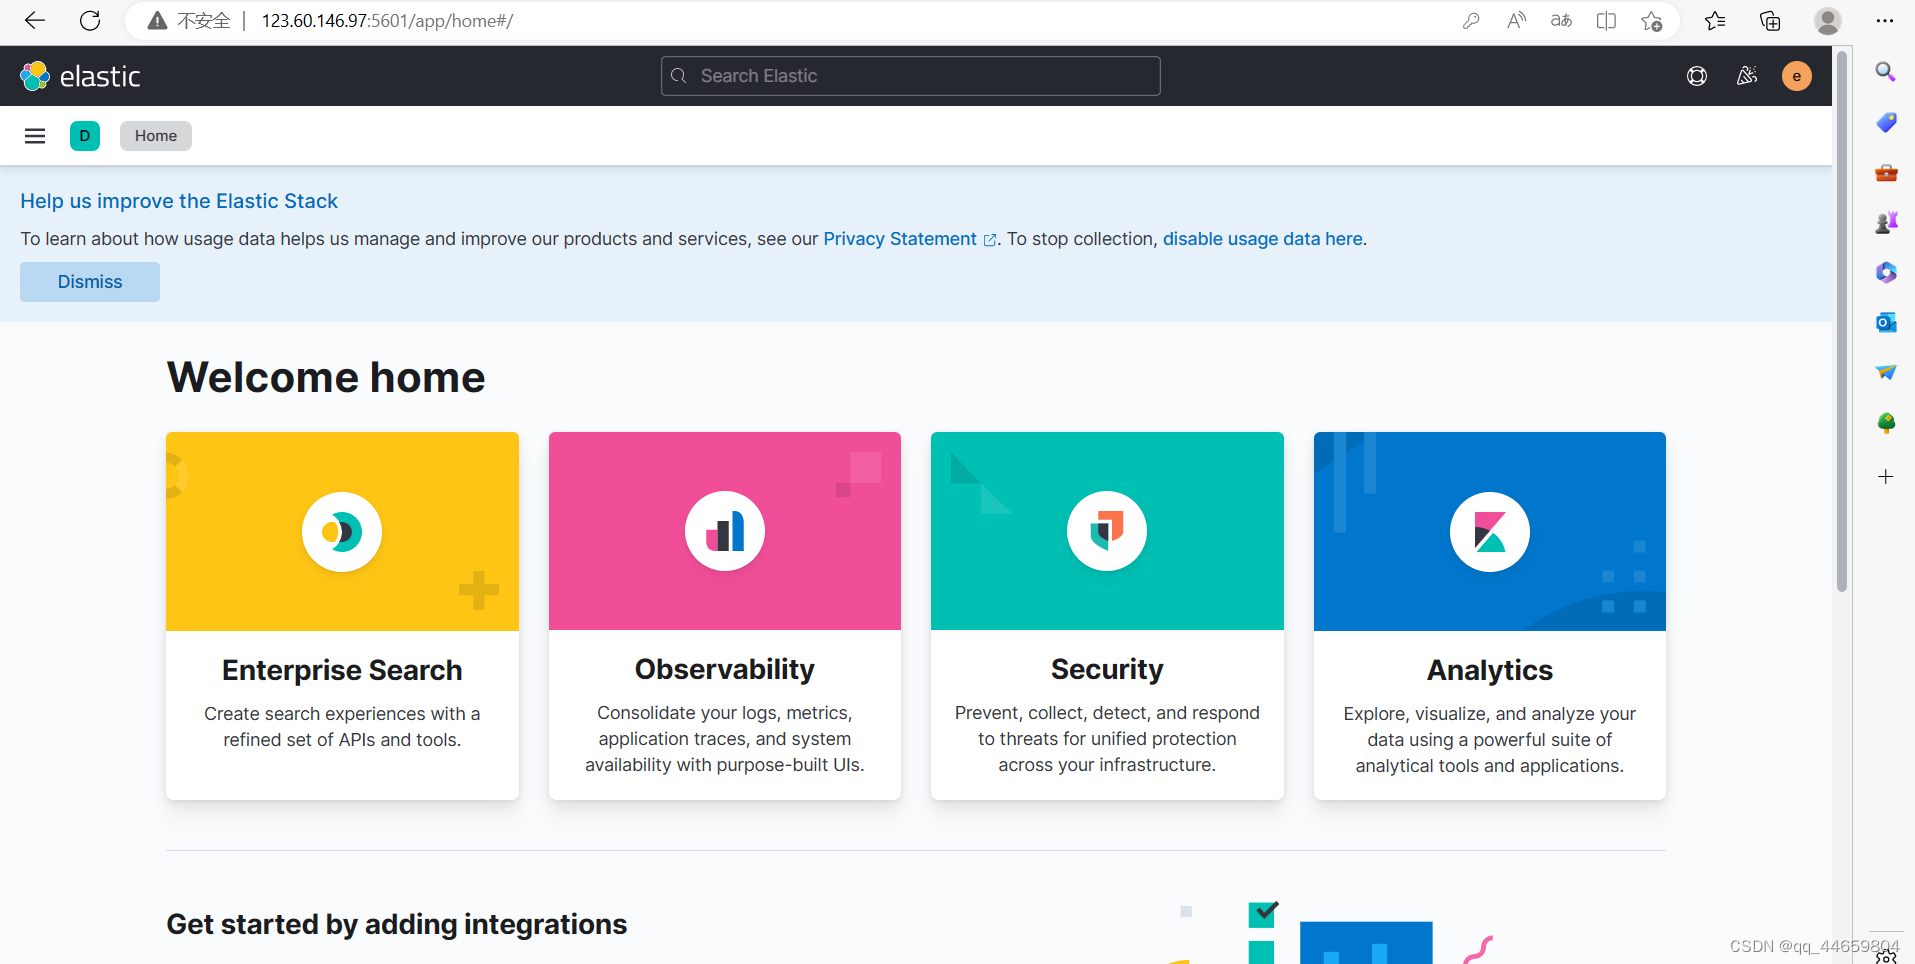
打开页面验证
部署logstash
操作服务器192.168.0.83 192.168.0.84
tar xf  logstash-8.1.0-linux-x86_64.tar.gz -C /data
cd logstash-8.1.0/config
cp logstash-sample.conf logstash.conf
mkdir certs
cp /data/elasticsearch-8.1.0/config/certs/elasticsearch-ca.pem certs/
vim logstash.conf
input {
  beats {
    port => 5044
  }
}

output {
  elasticsearch {
    hosts => ["https://192.168.0.121:9200", "https://192.168.0.83:9200", "https://192.168.0.84:9200"]
    index => "%{[@metadata][beat]}-%{[@metadata][version]}-%{+YYYY.MM.dd}"
    ssl => true
    cacert => "/data/logstash-8.7.0/config/certs/elasticsearch-ca.pem"
    user => "elastic"
    password => "elastic"
  }
}
cd ..
echo "nohup bin/logstash -f config/logstash.conf  > /data/logstash/log/logstash.log &" > start.sh
chmod a+x start.sh
./start.sh
tail -200f /data/logstash/log/logstash.log
部署httpd,filebeat
操作服务器192.168.0.84
yum -y install httpd
systemctl start httpd.service
systemctl status httpd.service
● httpd.service - The Apache HTTP Server
   Loaded: loaded (/usr/lib/systemd/system/httpd.service; disabled; vendor preset: disabled)
   Active: active (running) since Fri 2023-05-19 09:37:00 CST; 17s ago

ll /var/log/httpd/
total 4
-rw-r--r-- 1 root root   0 May 19 09:37 access_log
-rw-r--r-- 1 root root 679 May 19 09:37 error_log
tar xf filebeat-8.1.0-linux-x86_64.tar.gz -C /data
cd filebeat-8.1.0
vim filebeat.yml
egrep -v "^\s*$|^\s*#" filebeat.yml
filebeat.inputs:
- type: filestream
  enabled: true
  paths:
    - /var/log/httpd/*_log
filebeat.config.modules:
  path: ${path.config}/modules.d/*.yml
  reload.enabled: false
setup.template.settings:
  index.number_of_shards: 3
setup.kibana:
output.logstash:
  hosts: ["192.168.0.83:5044", "192.168.0.84:5044"]
processors:
  - add_host_metadata:
      when.not.contains.tags: forwarded
  - add_cloud_metadata: ~
  - add_docker_metadata: ~
  - add_kubernetes_metadata: ~
logging.level: info
echo "nohup ./filebeat -e -c filebeat.yml > /data/filebeat/log/filebeat.log &
" > start.sh
chmod a+x start.sh
./start.sh
tail -200f /data/filebeat/log/filebeat.log
配置filebeat收集日志,打印到终端(测试)
https://www.elastic.co/guide/en/beats/filebeat/current/filebeat-input-stdin.html
https://www.elastic.co/guide/en/beats/filebeat/current/console-output.html
vim filebeat-console.yml
filebeat.inputs:
- type: filestream
  id: my-filestream-id
  paths:
    - /var/log/httpd/*_log

output.console:
  pretty: true
./filebeat -e -c filebeat-console.yml
配置filebeat从终端读取数据,打印到终端(测试)
vim filebeat-stdin.yml
filebeat.inputs:
- type: stdin

output.console:
  pretty: true
./filebeat -e -c filebeat-stdin.yml
访问http服务
curl 192.168.0.84
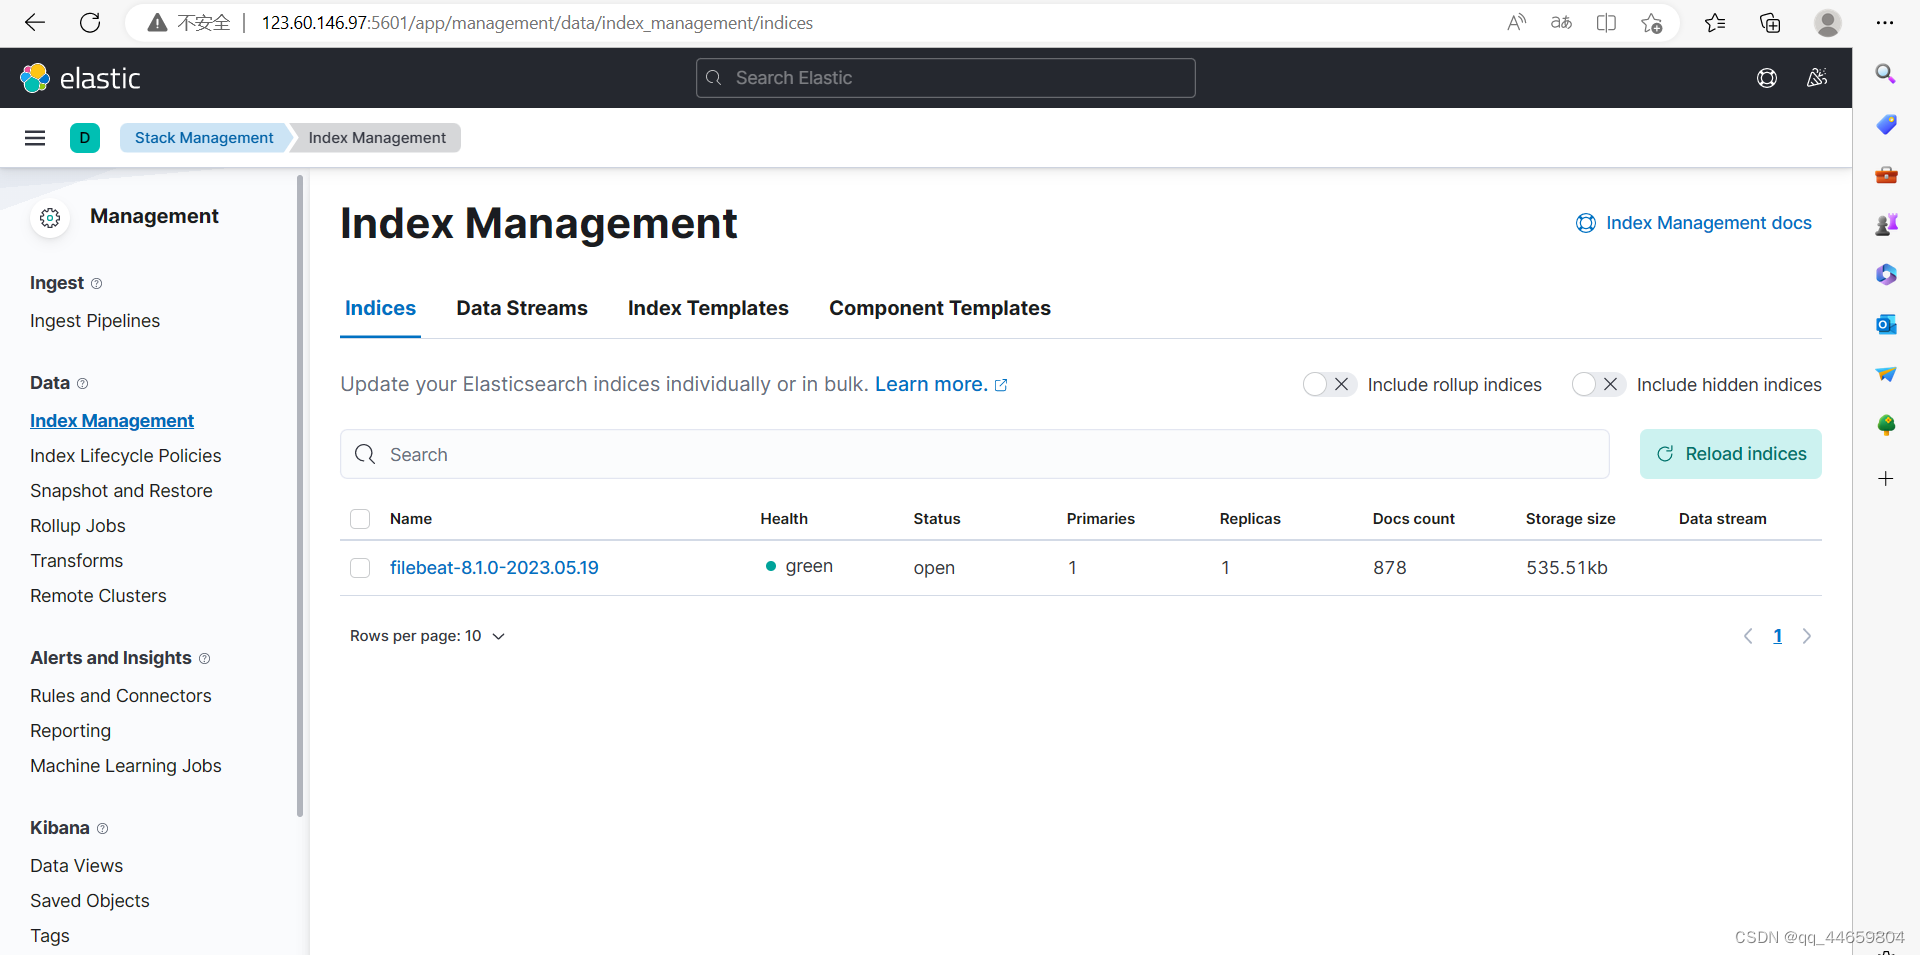
kibana可以看到filebeat的索引
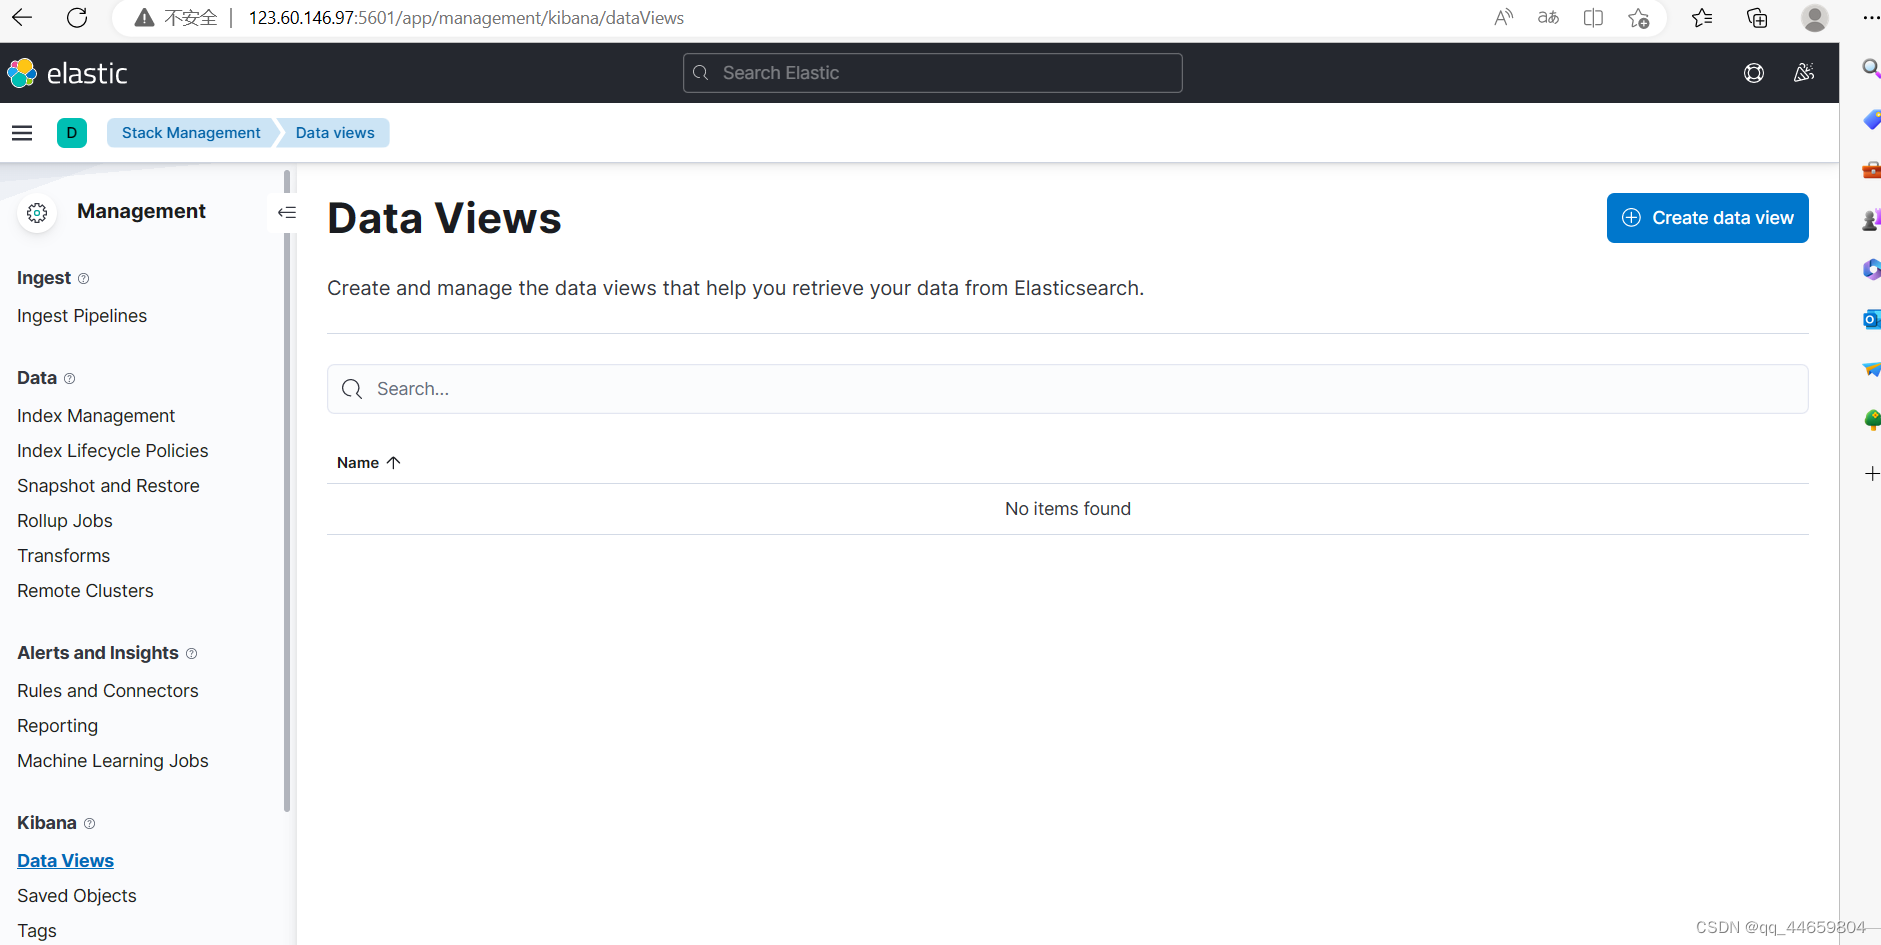
配置kibana页面
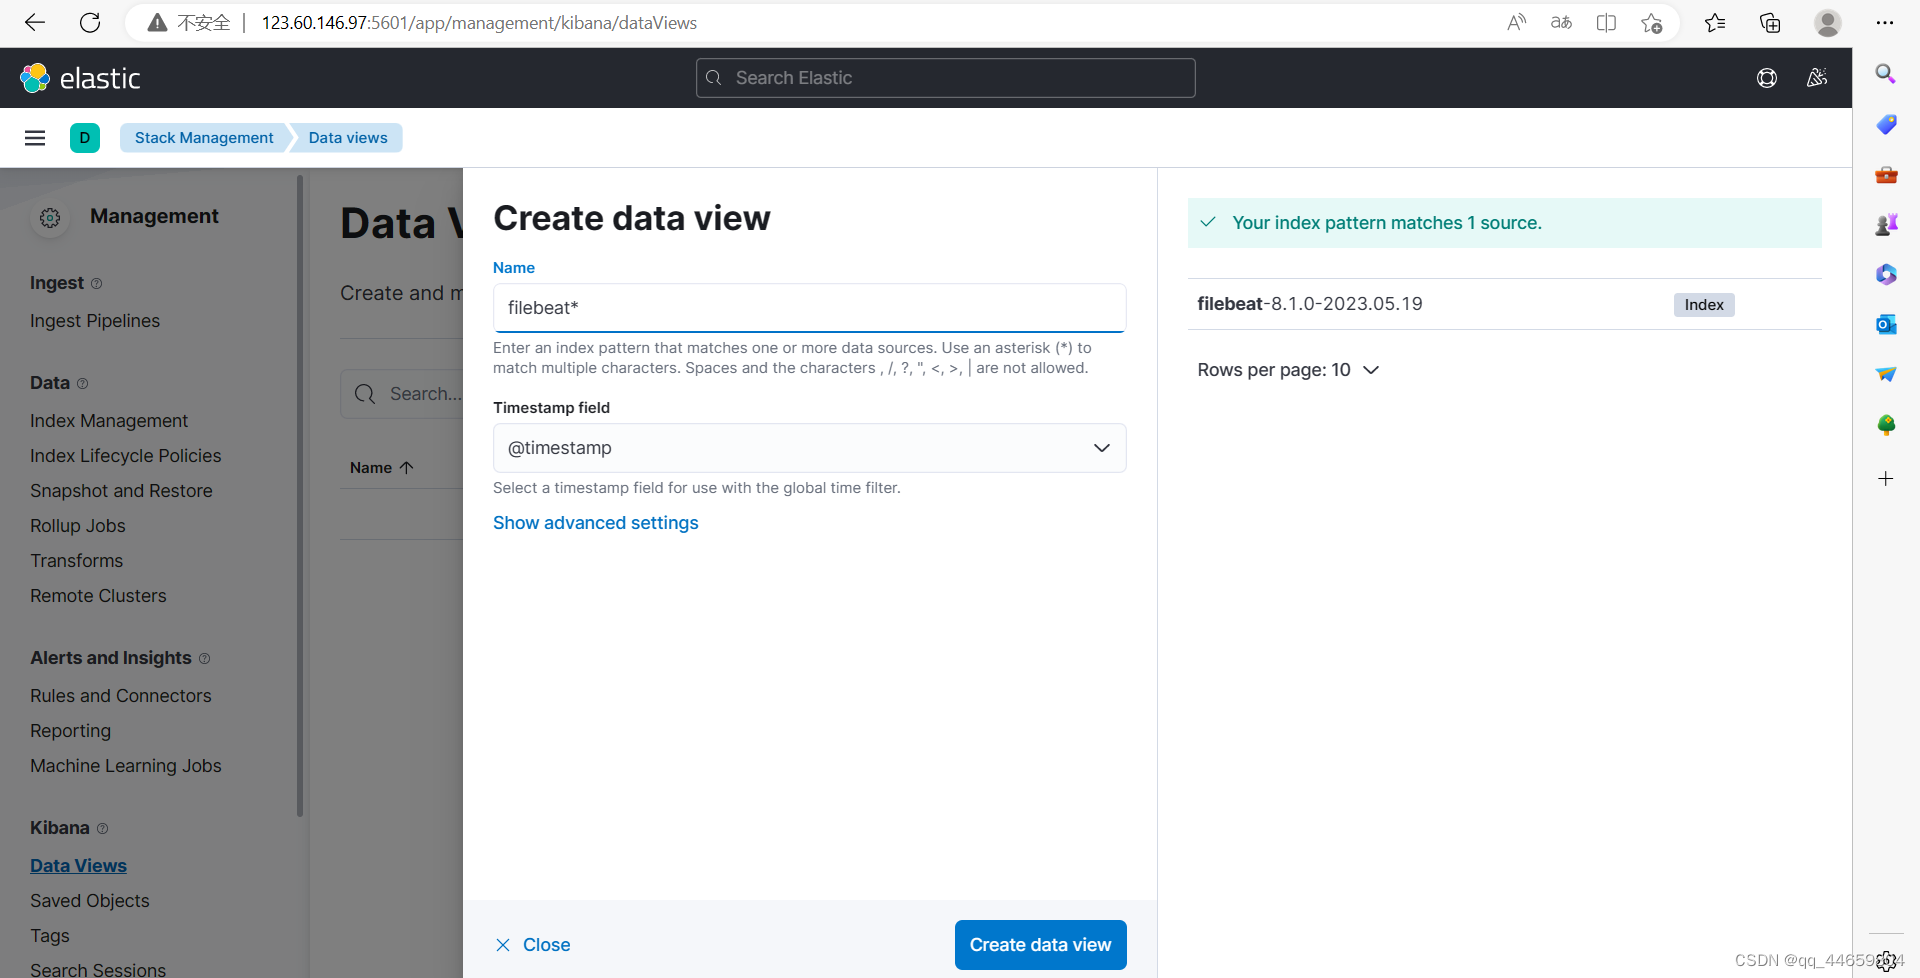
选择kibana下方的创建视图Data Views
创建视图,输入filebeat的索引名称,选择时间戳@timestamp
发现discover可以看到新添加的视图

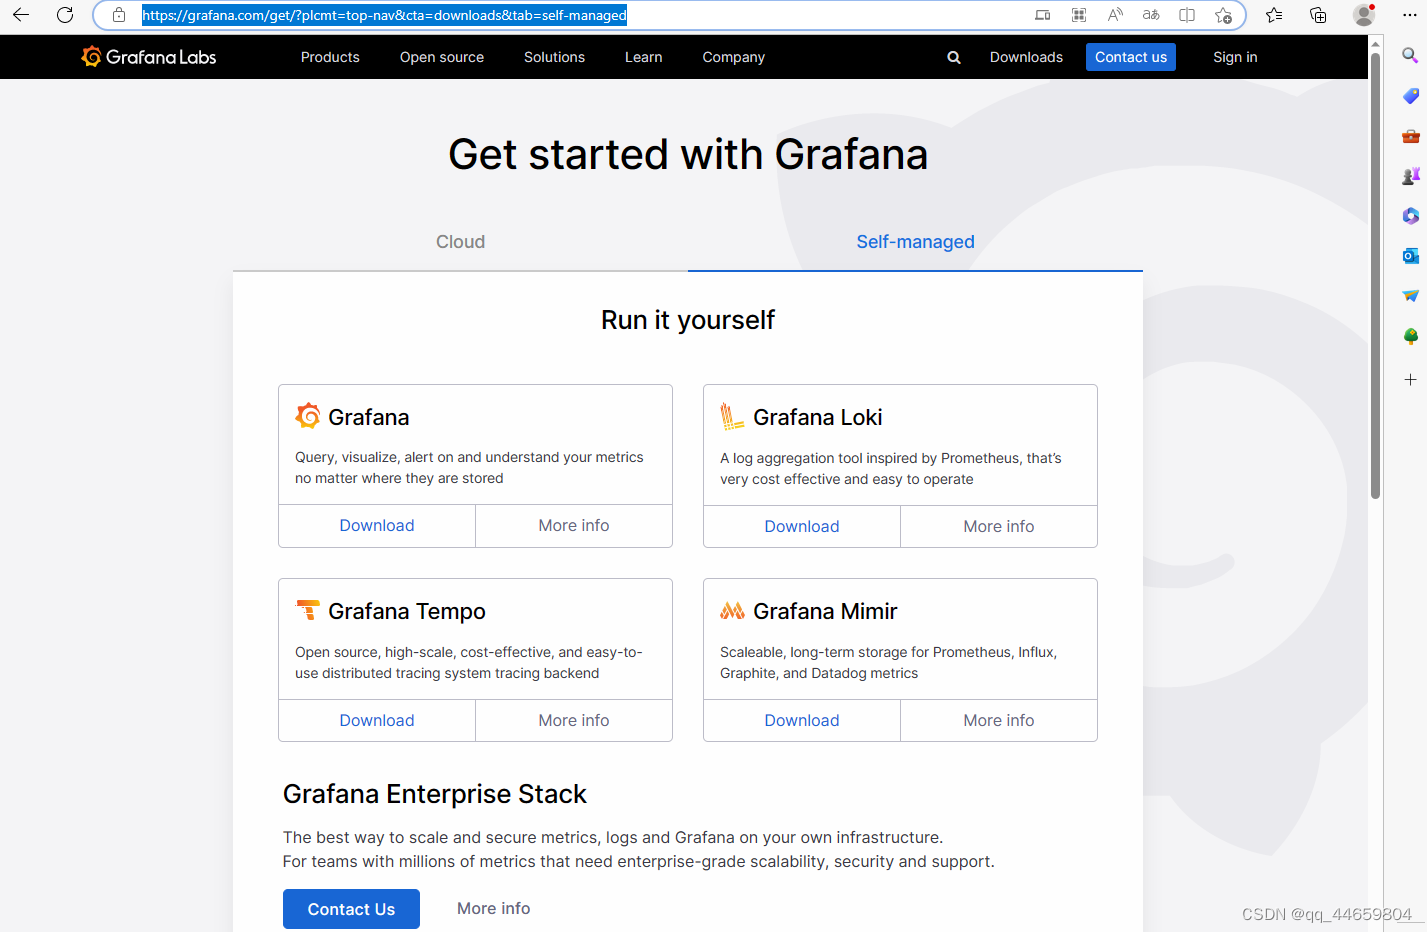
部署grafana
https://grafana.com/get/?plcmt=top-nav&cta=downloads&tab=self-managed
https://grafana.com/grafana/download?pg=get&plcmt=selfmanaged-box1-cta1&edition=oss
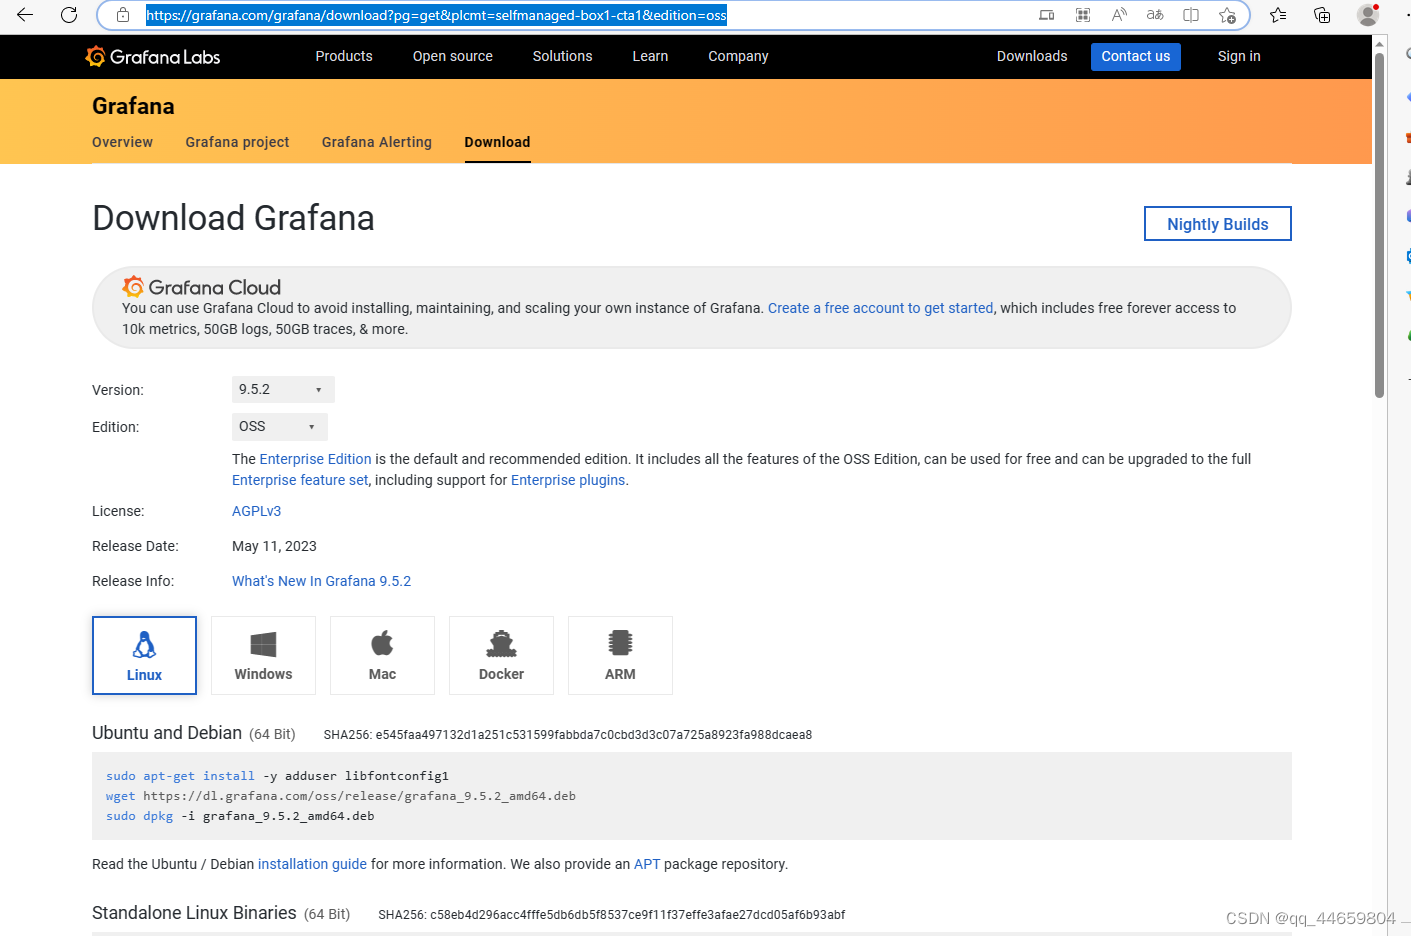

https://dl.grafana.com/oss/release/grafana-9.5.2-1.x86_64.rpm
yum -y install grafana-9.5.2-1.x86_64.rpm
mkdir -p /data/grafana/data
mkdir -p /data/grafana/logs
mkdir -p /data/grafana/certs
cp /data/elasticsearch-8.7.0/config/certs/elasticsearch-ca.pem /data/grafana/certs/
chown -R grafana:grafana /data/grafana
vim /etc/grafana/grafana.ini
[paths]
data = /data/grafana/data
logs = /data/grafana/logs
plugins = /var/lib/grafana/plugins
provisioning = conf/provisioning
[server]
protocol = http
http_port = 3000
domain = 192.168.126.136
ca_cert_file = /data/grafana/certs/elasticsearch-ca.pem
#如果自建mysql,增加mysql配置
[database]
#数据需要先创建grafana库,并对grafana用户授权登录和操作
type = mysql
host = 127.0.0.1:3306
#要连接的数据库的名称
name = grafana
#连接数据库使用的用户
user = grafana
#连接数据库的用户密码
password = abc123456
# Example: mysql://user:secret@host:port/database
url = mysql://grafana:abc123456@127.0.0.1:3306/grafana
-- 登录 MySQL(需要具备管理员权限)
mysql -u root -p

-- 创建 grafana 数据库
-- CREATE DATABASE grafana CHARACTER SET utf8mb4 COLLATE utf8mb4_unicode_ci;
CREATE DATABASE grafana CHARACTER SET utf8 COLLATE utf8_general_ci;

-- 创建 grafana 用户并授权
-- 用户名,密码,授权主机可根据情况更改
CREATE USER 'grafana'@'localhost' IDENTIFIED BY 'abc123456';
GRANT ALL PRIVILEGES ON grafana.* TO 'grafana'@'localhost' IDENTIFIED BY 'abc123456';
FLUSH PRIVILEGES;
 systemctl enable grafana-server.service
 systemctl start grafana-server.service
 systemctl status grafana-server.service
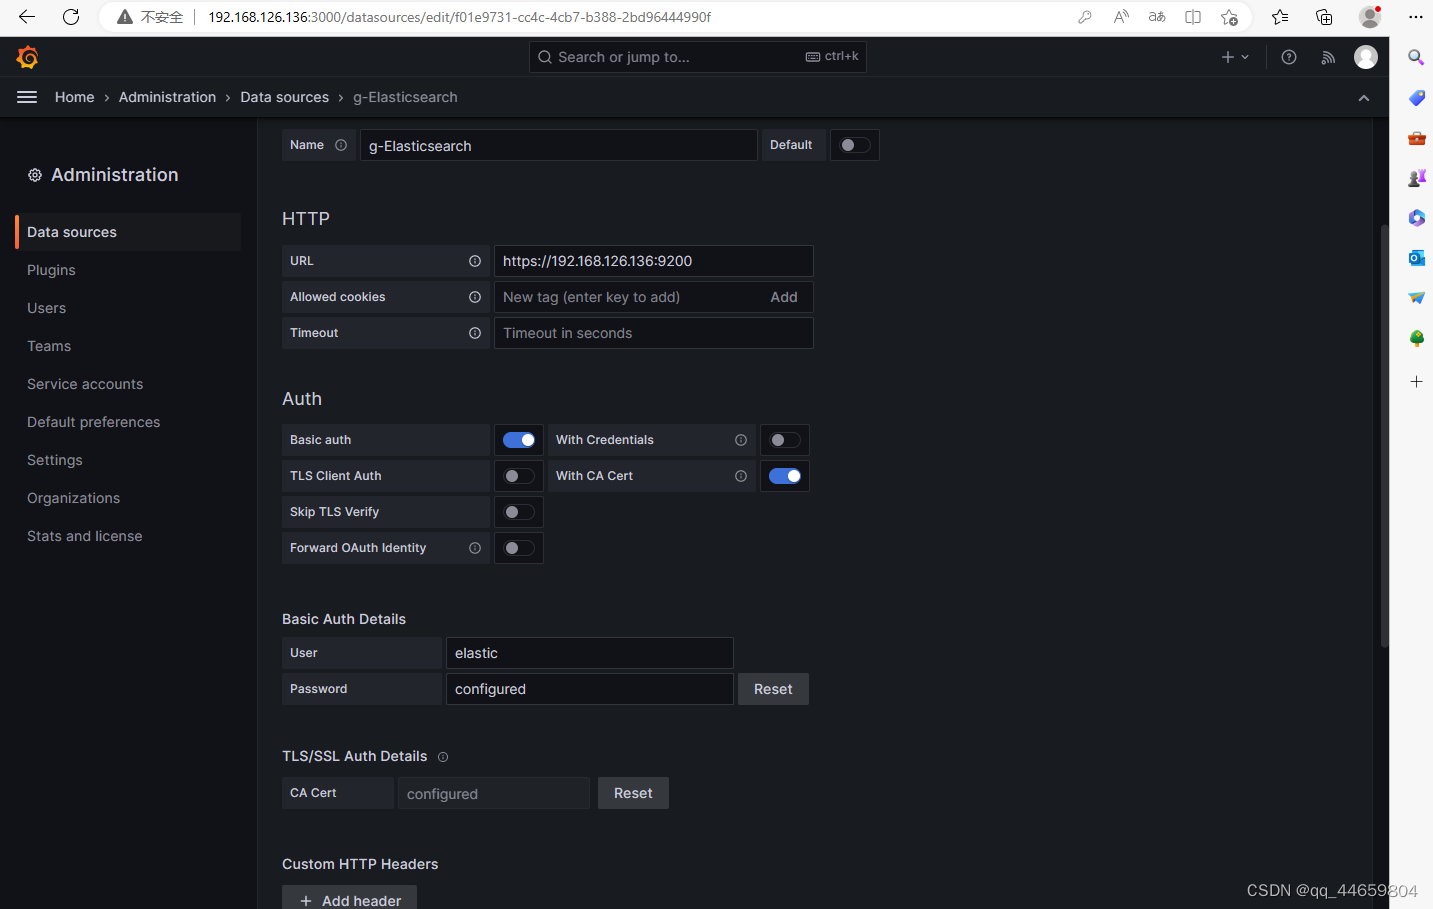
配置grafana连接elastic
部署grafana与部署elk的时间不一致,切换了elastic的IP地址,因此grafana填写的elastic的访问地址与前面的elastic地址不一致
admin/admin
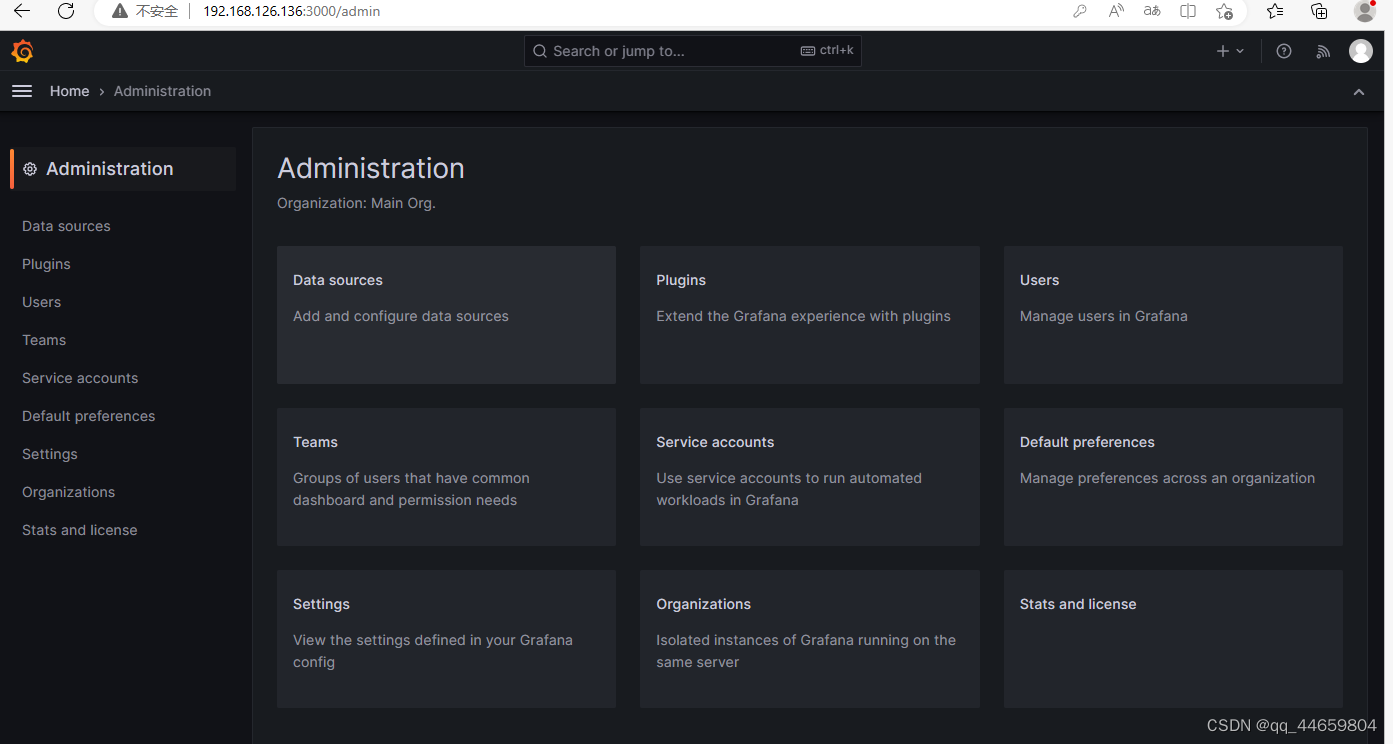
添加数据源
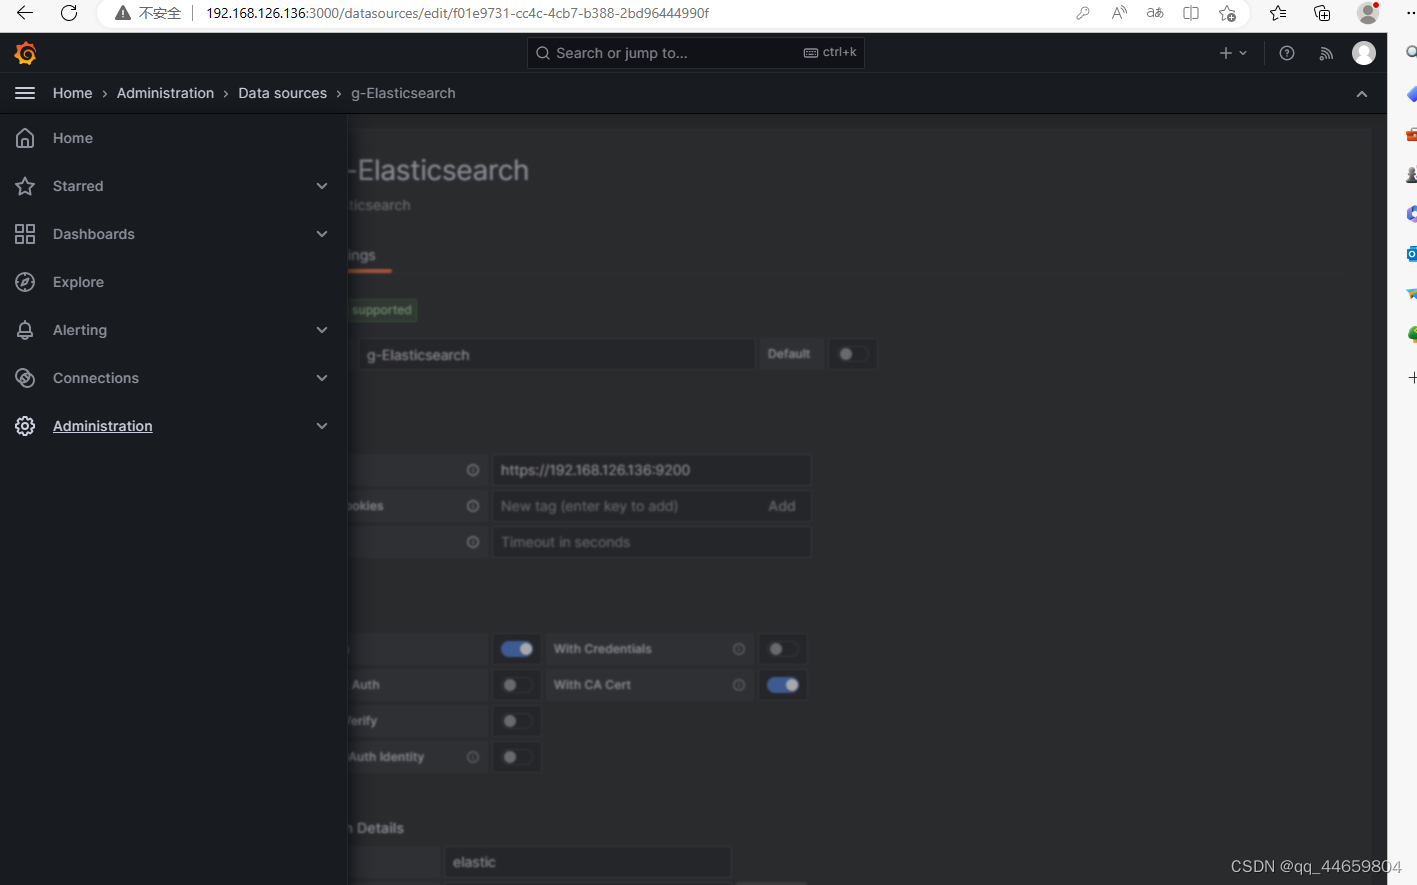

配置elastic地址
https://192.168.0.121:9200
打开 Basic auth
打开 With CA Cert
配置登录elastic的账户密码
elastic/elastic
配置CA Cert
复制elasticsearch-ca.pem内容粘贴,此处为笔者配置elastic时生成的内容
-----BEGIN CERTIFICATE-----
MIIDSTCCAjGgAwIBAgIUNvE508QZrrRR1LLyV2X+cNwsHA0wDQYJKoZIhvcNAQEL
BQAwNDEyMDAGA1UEAxMpRWxhc3RpYyBDZXJ0aWZpY2F0ZSBUb29sIEF1dG9nZW5l
cmF0ZWQgQ0EwHhcNMjMwNTIyMTA1NDIyWhcNMjYwNTIxMTA1NDIyWjA0MTIwMAYD
VQQDEylFbGFzdGljIENlcnRpZmljYXRlIFRvb2wgQXV0b2dlbmVyYXRlZCBDQTCC
ASIwDQYJKoZIhvcNAQEBBQADggEPADCCAQoCggEBANEDBsT4oEL6k8OY/SA5onAy
tDKeF5Z7Ia9zVhRltZNBkaPyf/LapZmlhK565BaL8tNoJI3z+sRPt3L11Gt73a8b
XGuNFpnvpkHXjXivO/1jVZm9aYqdMHCh7oRLQskkPnEe6/+eNaQgWgmVVp/rVX51
L1ToGSHL4jkxbuMKsUCxDJr4lUf5SQLN+OZ909jUXkfJEx7oYE5sbe1NgQsQ6U6v
jDuHS3upduZEuallXC69rFKx7KMwuH3XZlTfpj28gEOyrQF1z+YrigoLnIjMOIIB
cG8izUpAQVmBpdkQVW7y4vyKCedyt9GPS1KmKsnz+6KDWJ8ite3sFzeZ9BPwXxcC
AwEAAaNTMFEwHQYDVR0OBBYEFOcEa2FjWahR4Ga/vRHW0gy4DxRJMB8GA1UdIwQY
MBaAFOcEa2FjWahR4Ga/vRHW0gy4DxRJMA8GA1UdEwEB/wQFMAMBAf8wDQYJKoZI
hvcNAQELBQADggEBABRZAa28mEj4+zGk2Q3t1AQSlWR5MouUvu7pildTFIEZIase
GK823tTM1wrkASfpMMEd6orWBwedGD1jaz6B8Q+PJpF3S8SIO2R8dMIpOMbiXWdM
myzqTWv2VnMTH/iH2vnqChb2mhof8vEO3LebyMGCxapoJuV+fx3s/2yhub+BrqJ1
mYLbJq6q+S6y9aRKN1gtwDNHWViXrjoJsfDEpdAbjZPu3SklDrfylwcWgVs9wS6x
8OU4P3ZhcWCPN8Xr77bTDwHfa764igNgF5vh5P1BVOh36LTMqGkDoj3fKYFj36dh
7BReQWgZOwVvvp3vhZ7a4R2Y2ppChZeXo4BkBQM=
-----END CERTIFICATE-----
点击 save & test


![【链路追踪】「Go语言」OpenTelemetry实现[gin, gRPC, log, gorm, redis]的集成](https://img-blog.csdnimg.cn/8e624dd2da494af4ae78cca914706413.png)