目录
1、Bus消息总线介绍:
2、使用消息总线实现配置自动更新
2.1、方案一架构图:
2.2、方案二架构图(常用)
3、对springcloud-config-server项目进行改造
3.1、修改springcloud-config-server项目的pom文件,添加消息总线支持和监控模块
3.2、修改yml配置,添加RabbitMQ配置和消息总线刷新端点
4、对springcloud-config-client项目进行改造
4.1、修改springcloud-config-server项目的pom文件,添加消息总线支持
4.2、修改yml配置,添加RabbitMQ配置
4.3、RabbitMQ Server\rabbitmq_server-3.7.9\sbin\rabbitmq-server.bat启动RabbitMQ服务器
4.4、启动config-server一台、启动config-client两台,并注册到同一个注册中心
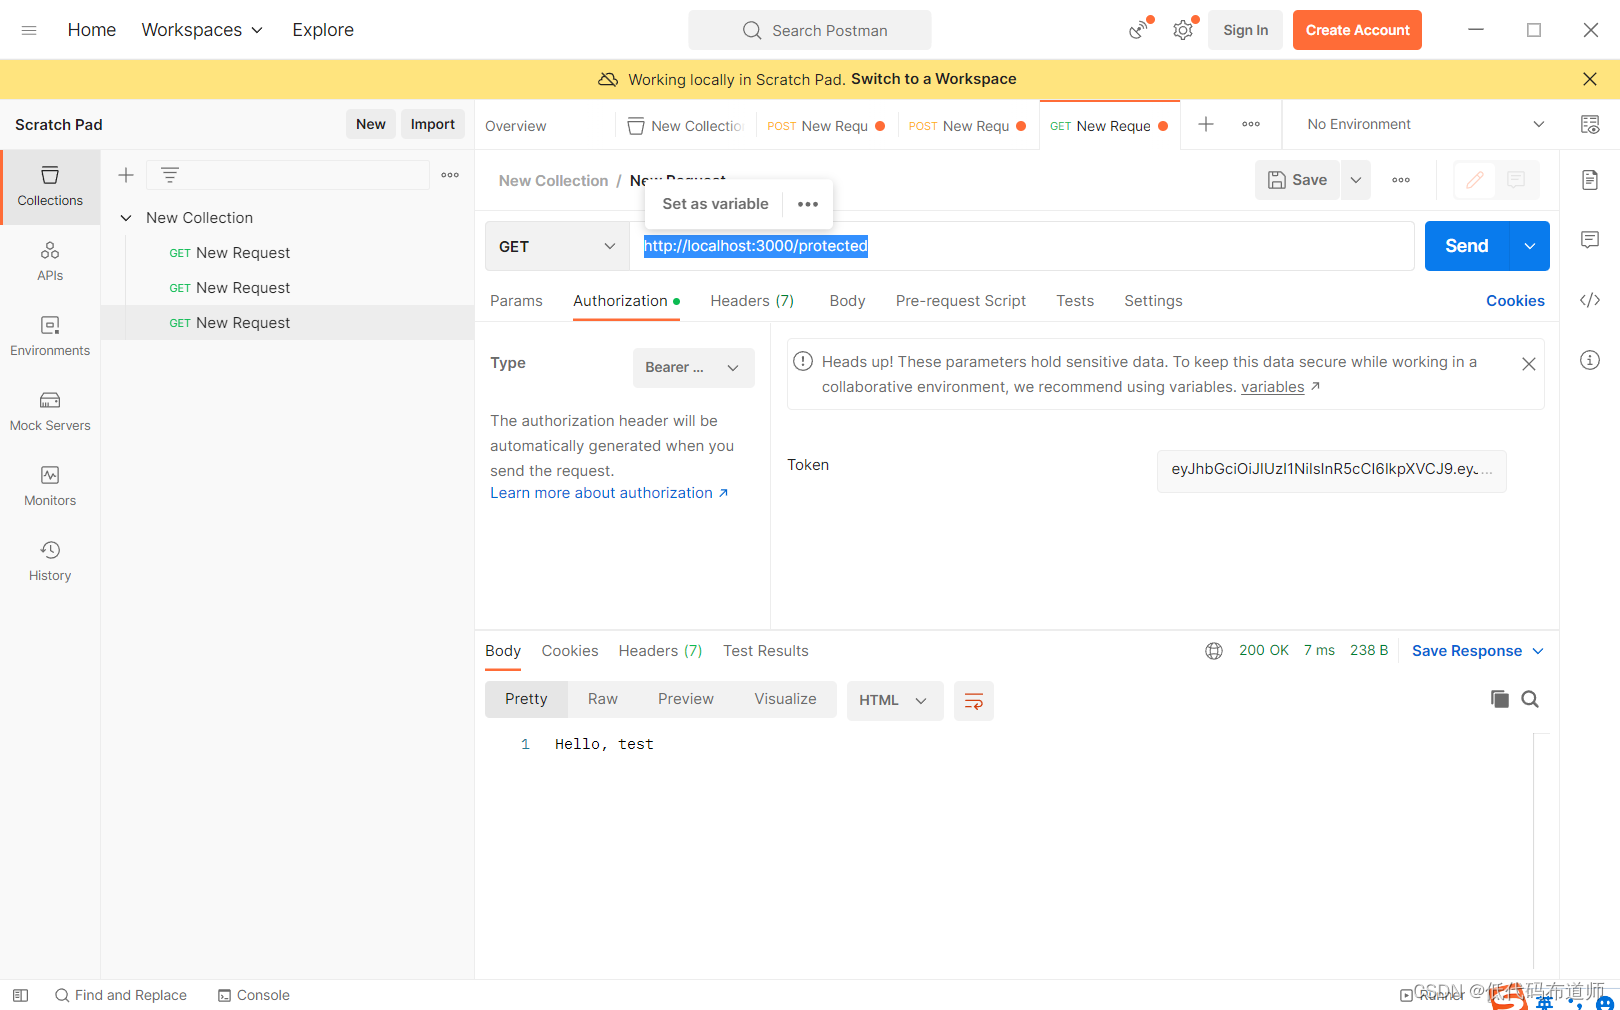
4.5、 修改远程配置后使用postman手动发送post请求,主动刷新config-server端项目
1、Bus消息总线介绍:
在微服务框架中,通常会使用轻量级的消息代理来构建一个共用的消息主题来连接各个微服务实例,它广播的消息会被所有在注册中心的微服务实例监听和消费,也称消息总线。
SpringCloud中也有对应的解决方案,SpringCloud Bus将分布式的节点用轻量级的消息代理连接起来,可以很容易搭建消息总线,配合SpringCloud config实现微服务应用配置信息的动态实时更新。
消息总线其实是通过消息中间件主题模式,它使用广播消息的机制被所有在注册中心的微服务实例进行监听和消费,以广播形式将消息推送给所有注册中心服务列表。
消息总线框架底层是MQ实现的,引入相应的jar包,底层框架实现好了,每个服务里面引入了相应的jar包后,自动创建队列绑定交换机等等,现成的有:ActiveMQ、Kafka、RabbitMQ、RocketMQ
2、使用消息总线实现配置自动更新
2.1、方案一架构图:

当远程仓库配置信息内容被修改后,只需要通知一个config client发送post请求/bus/refresh,然后该消息就会通过消息总线被其他的config client消费,而不需要每个config client去发送post请求获取最新配置信息
缺点:不可靠,如果当前接收post请求的config-client宕机或其他原因下线,而消息没有放到bus总线中,则其他的config-client则无法获取到配置中心最新的配置信息
2.2、方案二架构图(常用)
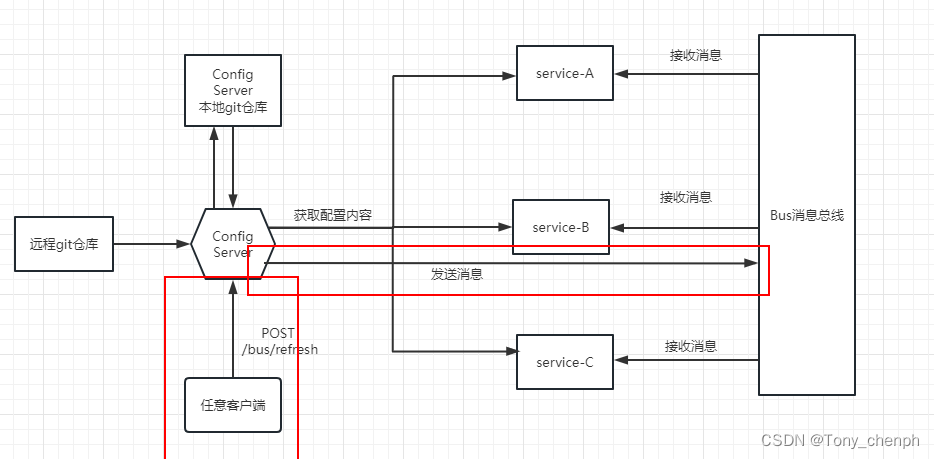
区别方案一,post请求发送到config-server中,由config-server将同步消息发送到bus总线中,config-client接收到消息后进行同步从而更新配置中心最新的配置信息
基于方案二,使用消息总线实现配置自动更新的方式是在配置config-server和config-client项目pom文件时添加springcloud bus模块和相应的MQ模块
3、对springcloud-config-server项目进行改造
3.1、修改springcloud-config-server项目的pom文件,添加消息总线支持和监控模块
<!--引入spring监控组件-->
<dependency>
    <groupId>org.springframework.boot</groupId>
    <artifactId>spring-boot-starter-actuator</artifactId>
</dependency>

<!--引入RabbitMQ的依赖-->
<dependency>
    <groupId>org.springframework.cloud</groupId>
    <artifactId>spring-cloud-starter-bus-amqp</artifactId>
</dependency>
3.2、修改yml配置,添加RabbitMQ配置和消息总线刷新端点
server:
  port: 9021

spring:
  application:
    name: config-server
  cloud:
    config:
      server:
        git:
          #git的仓库地址
          uri: https://gitee.com/xxx/configuration.git
          #文件路径
          search-paths: config
          #username
          #password
  #配置RabbitMQ
  rabbitmq:
    host: localhost
    port: 5672
    username: guest
    password: guest

#消息总线刷新端点
management:
  endpoints:
    web:
      exposure:
        include: "bus-refresh"

eureka:
  instance:
    # 使用ip地址作为host,而不是机器号/电脑名称
    prefer-ip-address: true
    #    Eureka客户端向注册中心发送心跳的时间间隔是1s,默认是30s
    lease-renewal-interval-in-seconds: 1
    #    Eureka服务端在收到一次心跳后等待时间上限是2s,默认是90s
    #    超时将剔出该微服务,也可以在Eureka服务端进行设置
    lease-expiration-duration-in-seconds: 2
  client:
    service-url:
      defaultZone: http://localhost:8060/eureka/
4、对springcloud-config-client项目进行改造
4.1、修改springcloud-config-server项目的pom文件,添加消息总线支持
<!--引入RabbitMQ的依赖-->
<dependency>
    <groupId>org.springframework.cloud</groupId>
    <artifactId>spring-cloud-starter-bus-amqp</artifactId>
</dependency>
4.2、修改yml配置,添加RabbitMQ配置
server:
  port: 9022

spring:
  application:
    name: config-client
  cloud:
    config:
      #分支,默认master
      label: master
      #配置文件名称
      name: application
      #文件名后缀(application-dev.yml)
      profile: dev
      discovery:
        #开启从注册中心获取服务
        enabled: true
        #指定配置中心的服务名称
        service-id: config-server
    #配置RabbitMQ
  rabbitmq:
    host: localhost
    port: 5672
    username: guest
    password: guest

eureka:
  instance:
    # 使用ip地址作为host,而不是机器号/电脑名称
    prefer-ip-address: true
    #    Eureka客户端向注册中心发送心跳的时间间隔是1s,默认是30s
    lease-renewal-interval-in-seconds: 1
    #    Eureka服务端在收到一次心跳后等待时间上限是2s,默认是90s
    #    超时将剔出该微服务,也可以在Eureka服务端进行设置
    lease-expiration-duration-in-seconds: 2
  client:
    service-url:
      defaultZone: http://localhost:8060/eureka/

#暴露监控端点
management:
  endpoints:
    web:
      exposure:
        include: "*"
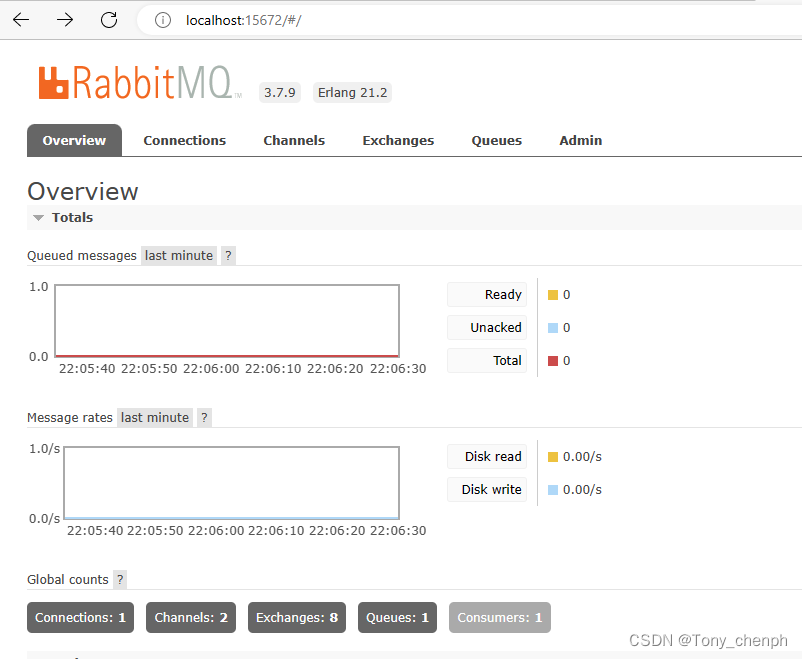
4.3、RabbitMQ Server\rabbitmq_server-3.7.9\sbin\rabbitmq-server.bat启动RabbitMQ服务器
访问RabbitMQ 的管理界面如下
4.4、启动config-server一台、启动config-client两台,并注册到同一个注册中心

4.5、 修改远程配置后使用postman手动发送post请求,主动刷新config-server端项目
http://localhost:9021/actuator/bus-refresh
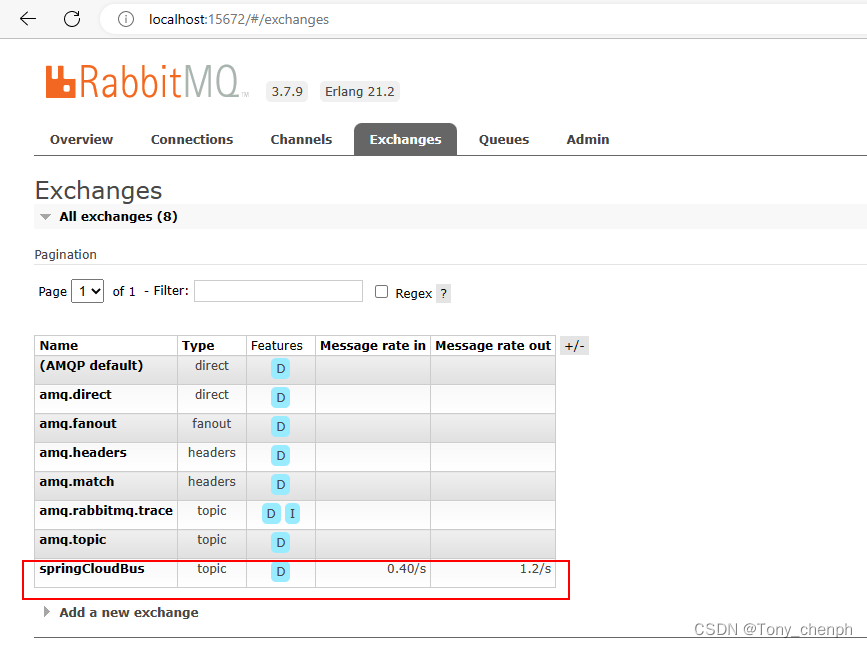
一开始我们修改远程配置信息时client端无法获取更新后的数据信息,而server端是可以实时更新的,但是当我们发送post请求后/actuator/bus-refresh到server端后,在RabbitMQ可以看到springcloud Bus总线消息的写入与读出,然后重新刷新client端都可以获取更新后的数据

