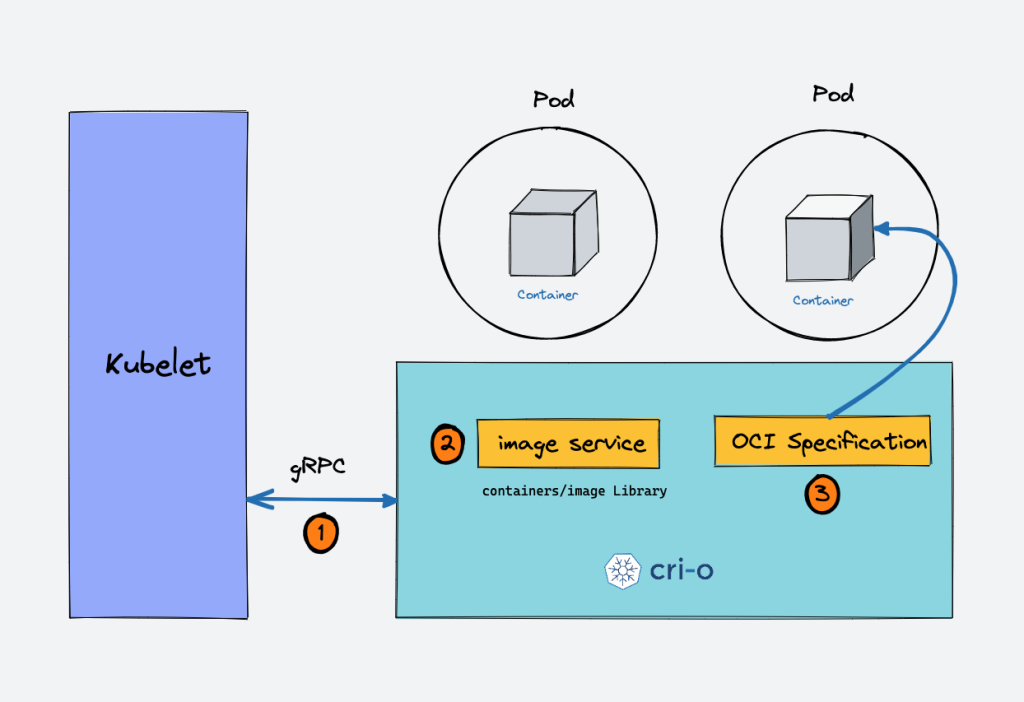
01-redis
windows版下载地址:
Releases · microsoftarchive/redis · GitHub
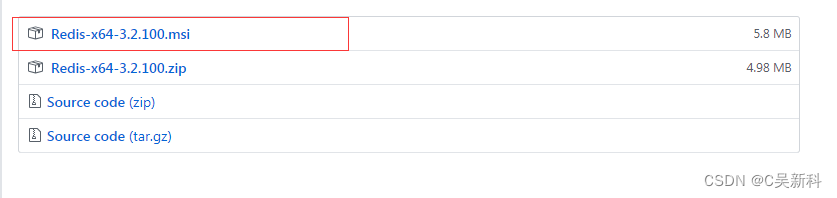
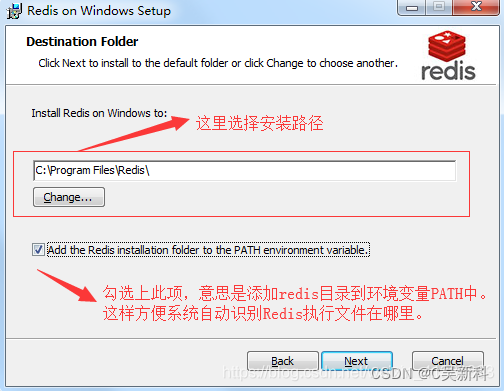
直接运行.msi的安装包,一直next,直到下面界面,勾选上再next
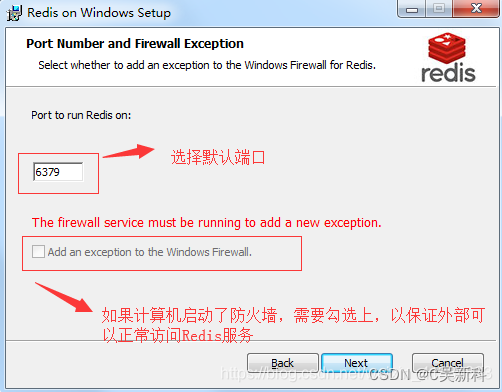
这一步选择端口,然后next(后面可以通过配置文件修改的)
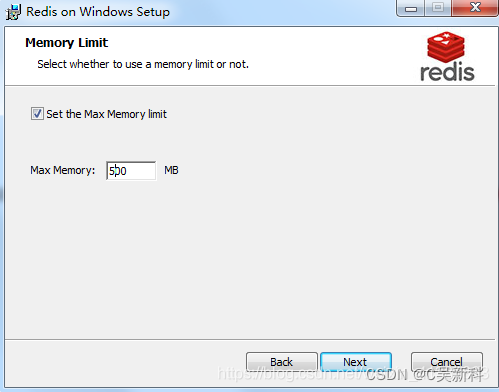
选择最大缓存容量,点击next(后面可以通过配置文件修改的)
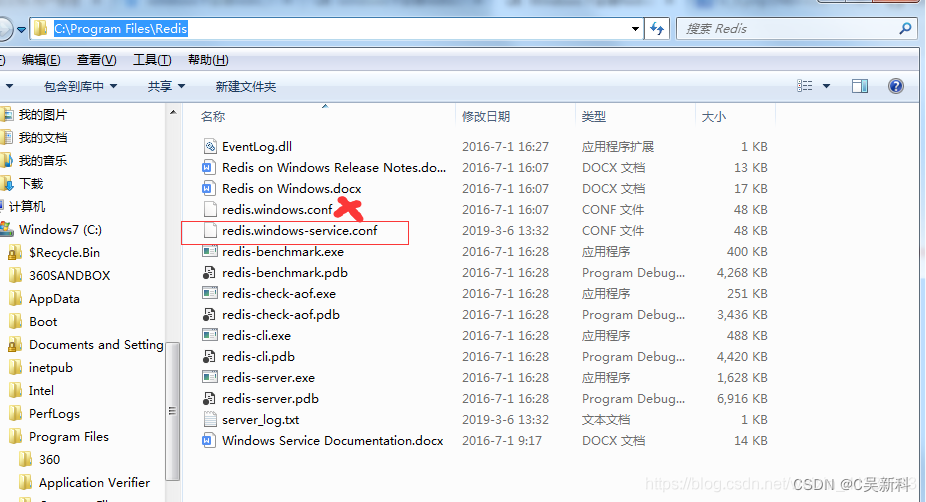
接下来可以点击install进行安装了,安装完毕后,进入redis安装目录找到配置文件,注意是
redis.windows-service.conf
,不是
redis.windows.conf,
后者是以非系统服务方式启动程序使用的配置文件.
在配置文件中,找到requirepass foobared字样,在其后面追加一行,输入requirepass 123456。这是访问Redis时所需的密码,一般测试情况下可以不用设定密码。不过,即使是作为本地访问,也建议设定一个密码。此处以简单的123456来演示,然后保存退出

进入计算机服务中(右键计算机-->管理-->服务和应用程序-->服务),再在右侧找到Redis名称的服务,查看启动情况。如未启动,则手动启动之。正常情况下,服务应该正常启动并运行了,
但是因为前面修改过配置文件,需要重启服务,切记

测试一下redis能否正常工作。用命令进入redis安装路径,输入redis-cli并回车(redis-cli是客户端程序)如图正常提示进入,并显示正确端口号,则表示服务已经启动。
02-nginx
2.1 安装
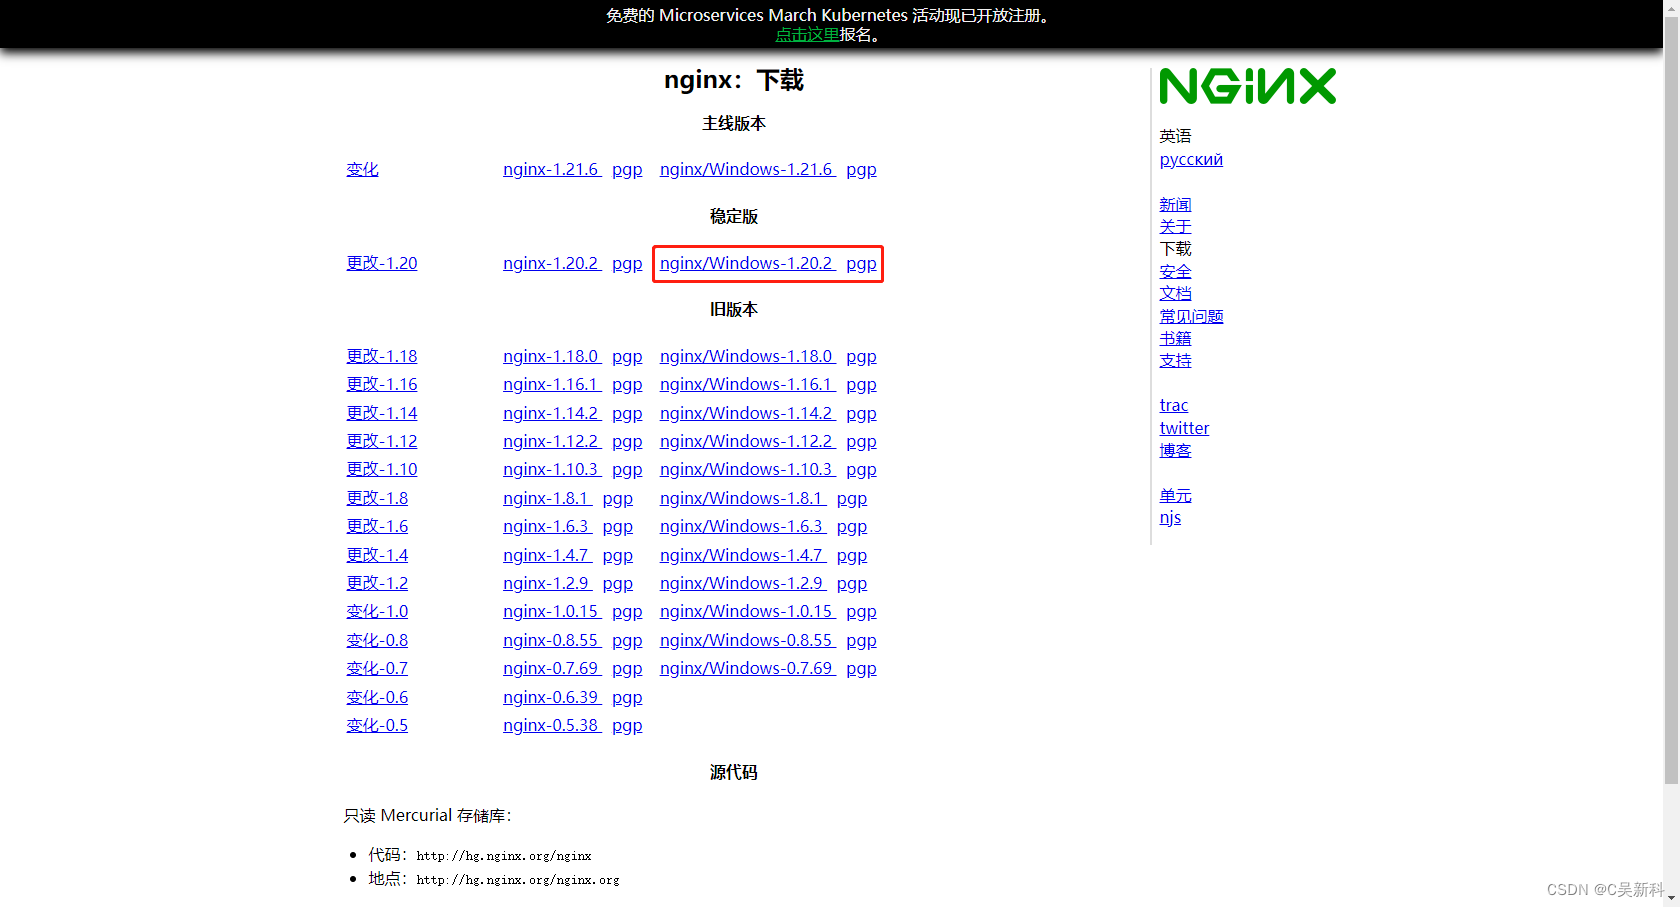
windows版下载地址:
nginx: download
解压即可!
2.2启动
注意不要直接双击nginx.exe,这样会导致修改配置后重启,停止nginx无效,需要手动关闭任务管理器内的所有nginx进程。
单击鼠标右键,用git bash打开控制台启动(使用linux命令)
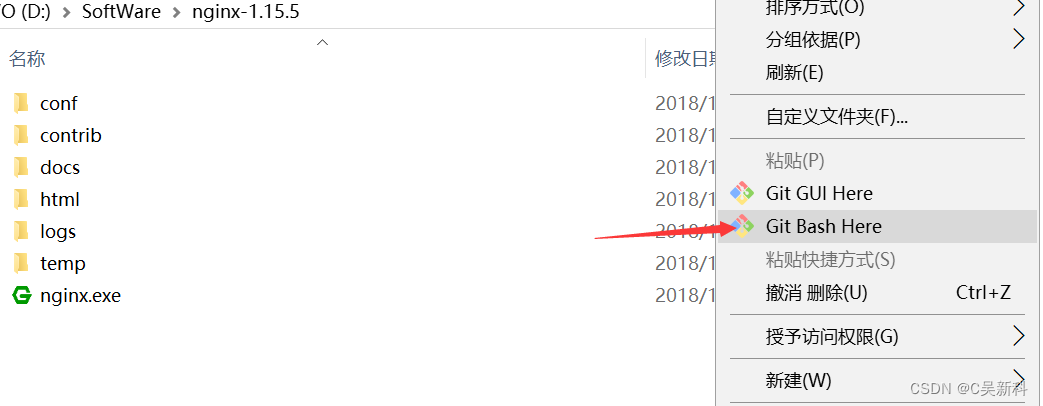
打开窗口之后就可以输入命令操作nginx了。
start nginx:启动nginx
./nginx.exe -s reload:重启
./nginx.exe -s quit:完整有序的停止
./nginx.exe -s stop:快速停
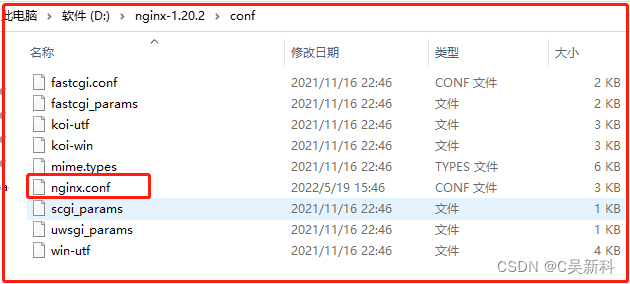
2.3 配置nginx.conf
主要配置如图:
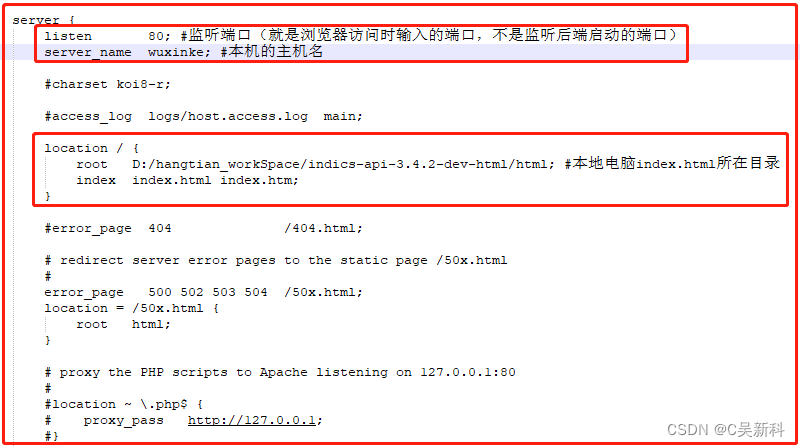
listen : 监听端口号
server_name : 指定本机的主机名
root : 本地资源存放的位置
index : 指定index主页文件