1、首先按照编译webrtc原生代码环境,配置系统环境
https://chromium.googlesource.com/chromium/src/+/main/docs/windows_build_instructions.md![]() https://chromium.googlesource.com/chromium/src/+/main/docs/windows_build_instructions.md 安装openssl软件/source/index.html
https://chromium.googlesource.com/chromium/src/+/main/docs/windows_build_instructions.md 安装openssl软件/source/index.htmlhttps://www.openssl.org/source/
也可以自己下载安装包安装(但是要收费)
Binaries - OpenSSLWikihttps://wiki.openssl.org/index.php/Binaries
2、在github上下载Open WebRTC Toolkit源码。
https://github.com/open-webrtc-toolkit/owt-client-native![]() https://github.com/open-webrtc-toolkit/owt-client-native
https://github.com/open-webrtc-toolkit/owt-client-native
3、这里注意需要修改源码目录名称,因为不同分支上的描述有点不一上。拉取代码之后git clone https://github.com/open-webrtc-toolkit/owt-client-native.git,源码文件如果没设置目录名的话,源码是在名为owt-client-native,这里需要将owt-client-native重命名为src。
4、需要在src源码路径下,增加一个.gclient文件,文件内容如下:
solutions = [
  {
     "managed": False,
     "name": "src",
     "url": "https://github.com/open-webrtc-toolkit/owt-client-native.git",
     "custom_deps": {},
     "deps_file": "DEPS",
     "safesync_url": "",
  },
]
target_os = []
5、调用VsDevCmd.bat文件under ..\Microsoft Visual Studio\2019\Professional\Common7\Tools
6、cd到src路径, Run gclient sync

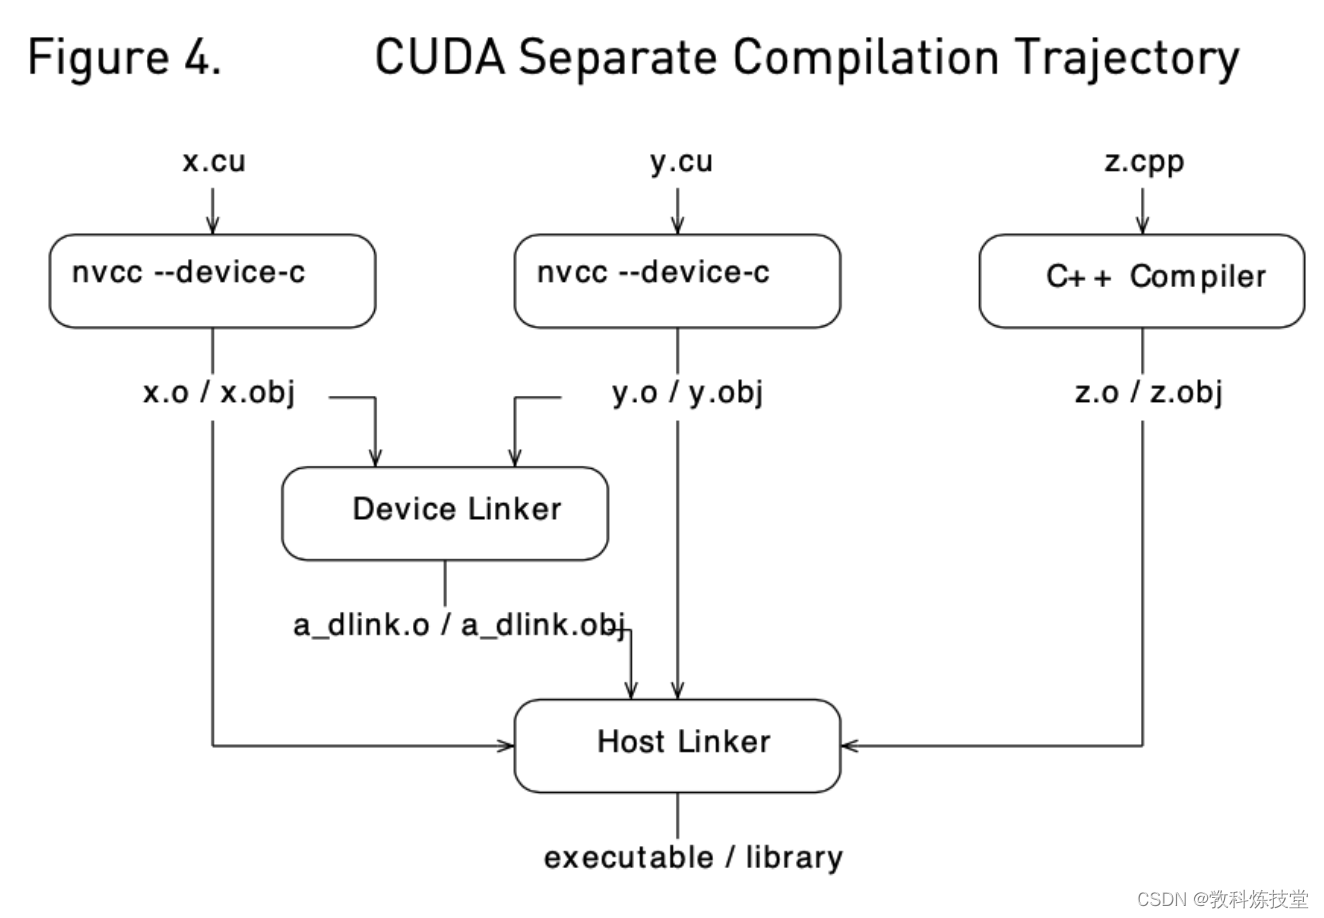
7、执行调用python编译命令行
python build-win.py --arch=x64 --scheme=release --gn_gen --sdk --ssl_root D:\openssl-3.0.7 --msdk_root D:\code\src\msdk --output_path D:\code\src\output
build-win.py脚本的核心函数是:

subprocess.call实际上执行的就是:gn gen out/Release --args="target_os=\"win\" target_cpu=\"x64\" is_component_build=false rtc_enable_protobuf=true rtc_use_h264=true rtc_initialize_ffmpeg=true ffmpeg_branding=\"Chrome\" rtc_include_tests=false is_debug=false " --ide=vs2015
这个gn的编译脚本,只是用python脚本自动生成输入参数。
若没有下载对应的第三方软件,这里可以将对应开关关闭。
GN_ARGS = [
    'rtc_use_h264=false',
    'ffmpeg_branding="Chrome"',
    'rtc_use_h265=false',
    'is_component_build=false',
    'use_lld=false',
    'enable_libaom=true',
    'rtc_build_examples=false',
    'treat_warnings_as_errors=false',
    ]



![[附源码]计算机毕业设计springboot软考刷题小程序](https://img-blog.csdnimg.cn/fb3d8bed9fd749edb1bfb20ebc6d4bf1.png)

![[附源码]Python计算机毕业设计Django电子相册管理系统](https://img-blog.csdnimg.cn/d3ad9bd6b6b54007ace2b9f776e4ca8d.png)

![[附源码]Python计算机毕业设计Django高校后勤保障系统](https://img-blog.csdnimg.cn/8d90f89c48124768b2cb8a1cbda4914d.png)

