一、torch 算子
1、torch.nn.functional.affine_grid(theta, size)
给定一组仿射矩阵(theta),生成一个2d的采样位置(流场),通常与 grid_sample() 结合使用,用于空间仿射变换网络,用于对2D或3D数据进行仿射变换。
输入:theta(Tensor 类型):仿射矩阵(N*2*3),size(torch.Size 类型):要输出的图像的size,(N*C*H*W),比如:torch.Size((32,3,24,24)),其中 N 是指 batch_size
输出:tensor(Tensor类型),(tensor.size=[N,H,W,2])的grid,即每个像素的采样位置
torch.nn.functional.grid_sample(grid, img)
用于根据像素采样位置从原始图像获取仿射变换后的图像,对于无法取到像素的位置补充0.
实例:
(1)造一张简单的输入图像数据
import numpy as np
import torch.nn.functional as F
img = torch.tensor(np.arange(16),dtype=torch.float).reshape(4,4).unsqueeze(0)
import matplotlib.pyplot as plt
plt.imshow(img[0,:,:])
plt.show()
print(img)
==========================结果===============================
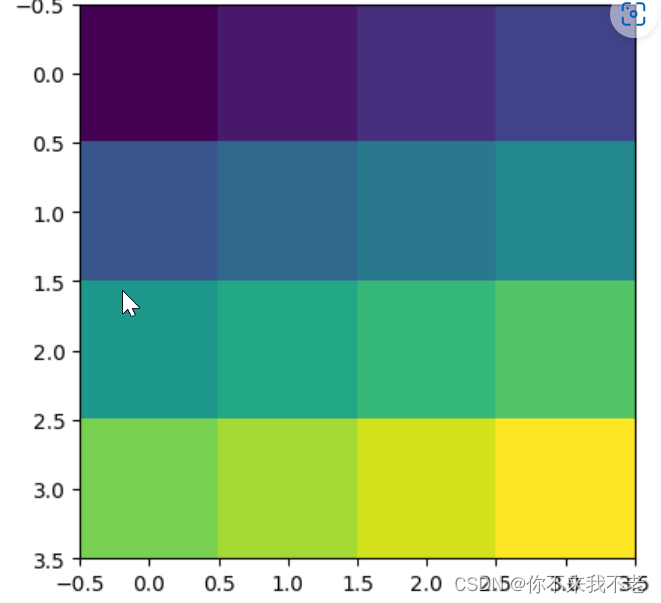
tensor([[[ 0.,  1.,  2.,  3.],
         [ 4.,  5.,  6.,  7.],
         [ 8.,  9., 10., 11.],
         [12., 13., 14., 15.]]])
(2)自定义仿射矩阵
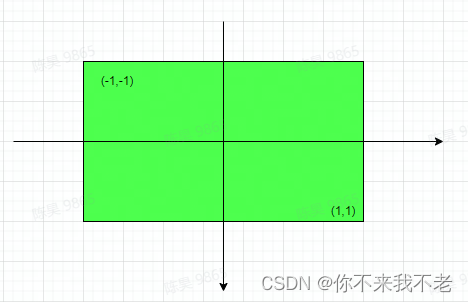
theta = torch.tensor([[1, 0, 0.5],[0, 1, 0.5]]).float()其中[[1, 0], [0, 1]]部分为单位矩阵,表示旋转,单位矩阵表示不进行旋转;后面一列的[[0.5], [0.5]]表示向上、向左移动图像一半的一半,这里原点以图像中心作为中点,图像边界尺度为1;
(3) 进行仿射采样点生成
grid = F.affine_grid(theta.unsqueeze(0), img.unsqueeze(0).shape)
print("grid = ", grid)
print("grid.shape =", grid.shape)
grid = tensor([[[ [-0.2500, -0.2500],[ 0.2500, -0.2500], [ 0.7500, -0.2500], [ 1.2500, -0.2500]], [[-0.2500, 0.2500],[ 0.2500, 0.2500],[ 0.7500, 0.2500], [ 1.2500, 0.2500]], [[-0.2500, 0.7500],[ 0.2500, 0.7500],[ 0.7500, 0.7500],[ 1.2500, 0.7500]], [[-0.2500, 1.2500],[ 0.2500, 1.2500],[ 0.7500, 1.2500],[ 1.2500, 1.2500]]]]) grid.shape = torch.Size([1, 4, 4, 2])
这里的grid值是以图像为原点,图像范围对应为-1~1之间的值,即如下:
(4)对原始图像进行仿射变换
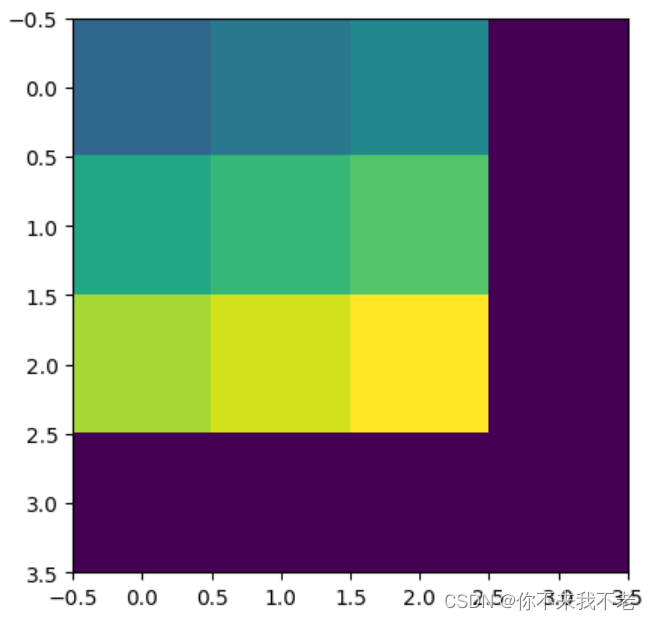
img_output = F.grid_sample(img.unsqueeze(0), grid)
print("img_output =", img_output)
print("img_output.shape =", img_output.shape)
plt.imshow(img_output[0,0,:,:])
plt.show()
=================================结果====================================
img_output = tensor([[[[ 5.,  6.,  7.,  0.],
          [ 9., 10., 11.,  0.],
          [13., 14., 15.,  0.],
          [ 0.,  0.,  0.,  0.]]]])
img_output.shape = torch.Size([1, 1, 4, 4])





![buu [AFCTF2018]花开藏宝地 1](https://img-blog.csdnimg.cn/6df4749ea0554a52842c3f4befa6c0e9.png)


