antd组件库使用
一、前言
前面已经完成了webpack5 + react框架的配置搭建,我们在进行项目开发的时候大多还会使用第三方的组件库,而antd组件库在react项目中使用是非常非常多的,所以就将react框架使用最多的antd组件库引入并使用。
二、antd组件库引入
1、安装
npm i antd
修改test.jsx文件,增加antd组件库的使用
// test.jsx
import React from 'react';
import { Button, Input, Pagination } from 'antd';
import('./css/test.less');

export default function test() {
  return (
    <div>
      <h2 className="test_content">我是test组件</h2>
      <Button block>我是默认按钮</Button>
      <Button type="primary" block>
        我是primary按钮
      </Button>
      <hr />
      <Input placeholder="我是基础输入框" />
      <hr />
      <Pagination defaultCurrent={6} total={500} />
    </div>
  );
}
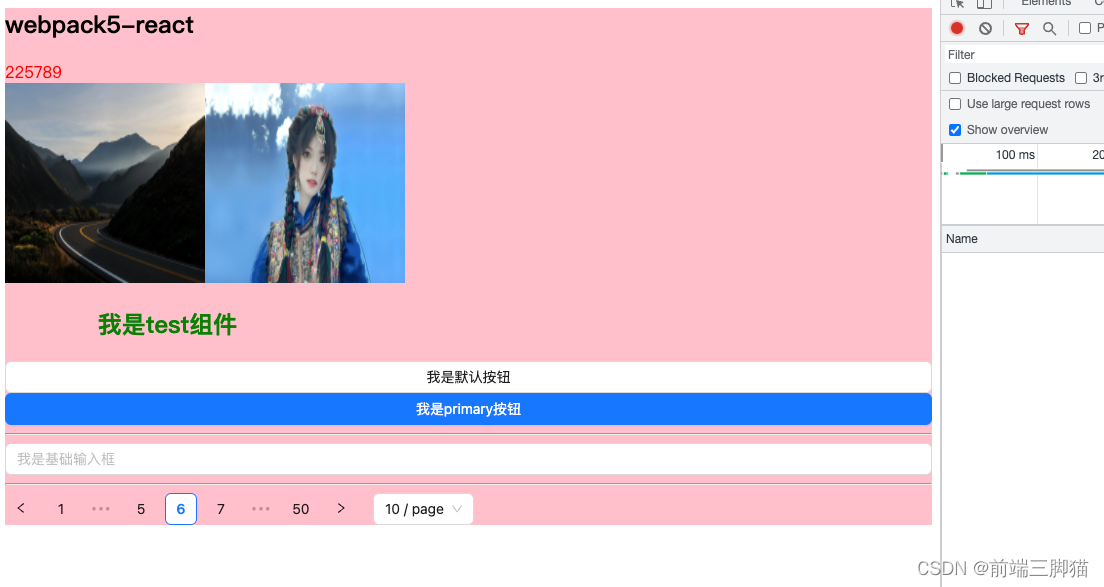
antd 组件5.xx版本默认支持基于 ES modules 的 tree shaking,所以使用的时候我们直接引入使用就会有按需加载的效果。查看页面使用组件效果
2、定制主题
上面已经完成了基础的使用,可以看到在使用一些组件时如:button、Pagination页码高亮等都会有自己默认的主题色,假如我们的项目和组件库默认的主题色不一样时,我们需要将主题色设置和自己项目风格一致而不能每次都要写大量的样式进行覆盖。antd组件中支持使用ConfigProvider对主题色进行全局配置。
修改app.jsx文件,增加主题色修改
import React from 'react';
// 引入ConfigProvider组件
import { ConfigProvider } from 'antd';
import './app.css';
import './app.less';
import wImage from '@asset/images/wind.png';
import gImage from '@asset/images/girl.jpeg';
import Test from './components/test';

export default function app() {
  return (
    <div className="app-wrap">
      <h2>webpack5-react</h2>
      <div className="content">225789</div>
      <img src={wImage} alt="" />
      <img src={gImage} alt="" />
      {/* // 传入主题色配置 */}
      <ConfigProvider
        theme={{
          token: {
            colorPrimary: '#00b96b',
          },
        }}
      >
        <Test />
      </ConfigProvider>
    </div>
  );
}
在app.jsx文件中使用ConfigProvider将使用antd组件的文件进行包裹,然后传入主题色的配置即可。如果app.jsx内也有antd组件的使用,那么直接将ConfigProvider作为app.jsx的根组件使用将页面元素全部包裹即可。查看效果

3、切换语言
antd组件库的默认语言是英文,从分页组件可以看到默认的page内容,我们在实际开发中的项目不可能都是英文的那么就涉及到语言的切换,下面也需要使用ConfigProvider进行语言的配置。
修改app.jsx文件,增加antd组件库国际化语言修改
import React from 'react';
// 引入配置组件
import { ConfigProvider } from 'antd';
// 引入语言包
import zhCN from 'antd/locale/zh_CN';

export default function app() {
  return (
    <div className="app-wrap">
      <ConfigProvider
        // 传入主题色配置
        theme={{
          token: {
            colorPrimary: '#00b96b',
          },
        }}
        // 传入语言包
        locale={zhCN}
      >
        <Test />
      </ConfigProvider>
    </div>
  );
}
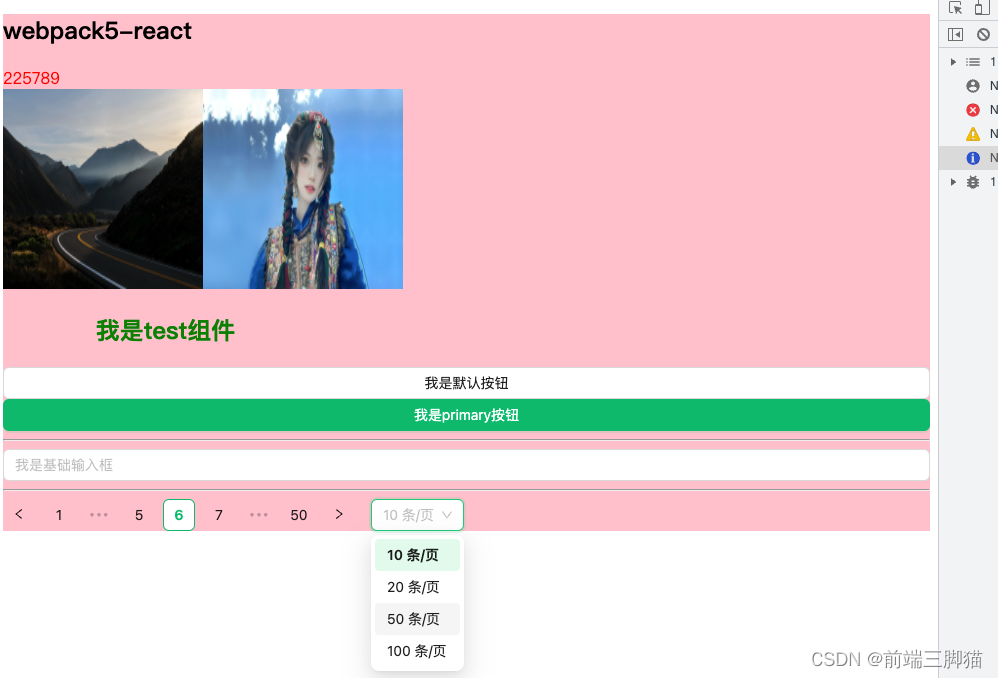
只需要在ConfigProvider全局配置组件中,传入locale引入的语言包即可,查看效果
4、将antd单独打包
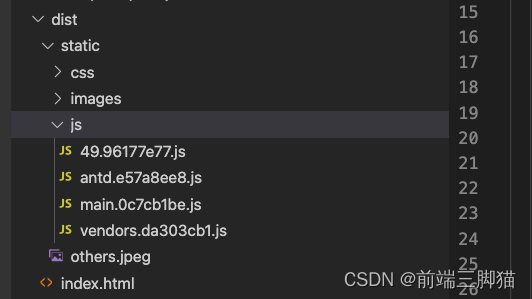
在之前生产环境搭建时,我们对构建的资源进行了代码分割node_modules中的代码会单独提取出来,antd组件也会被提取到node_modules资源中去,有可能随着想目越来越大我们引入的组件越来越多,就会使打包的资源越来越大,所以我们还可以将antd组件库的代码进一步单独提取。
修改webpack.prod.js文件,增加antd分割配置
// webpack.prod.js
module.exports = merge(baseConfig, {
  optimization: {
    splitChunks: { // 分割代码
      cacheGroups: {
        // 增加antd提取
        antd: {
          name: 'antd',
          test: /[\\/]node_modules[\\/](antd|@ant-design)/,
          chunks: 'all',
          priority: 10,
          reuseExistingChunk: true,
        },
      }
    },
  },
})
查看打包后的文件并自己对比打包后的资源大小
三、结语
自己搭建的react项目引入antd组件库的步骤就完成了,antd的基础使用还是非常的简单,它还有其他更多更丰富的功能和配置具体的可以去官网查看文档,这里就不在赘述了。

