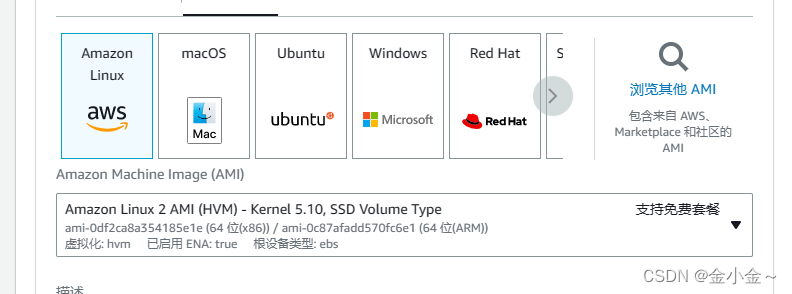
- 创建一个 EC2 实例,不附加任何 IAM profile.
※这里注意不要用23年最新版本的镜像,该镜像不支持awslogs

选择旧版镜像可成功安装awslogs
- 开始创建一个 IAM profile
创建角色,服务选择 EC2, policy 选择 CloudWatchAgentServerPolicy.

- 切换回 EC2 控制台,将此 Role 附加给 EC2 实例
- 使用 SSH 连接那个 EC2.
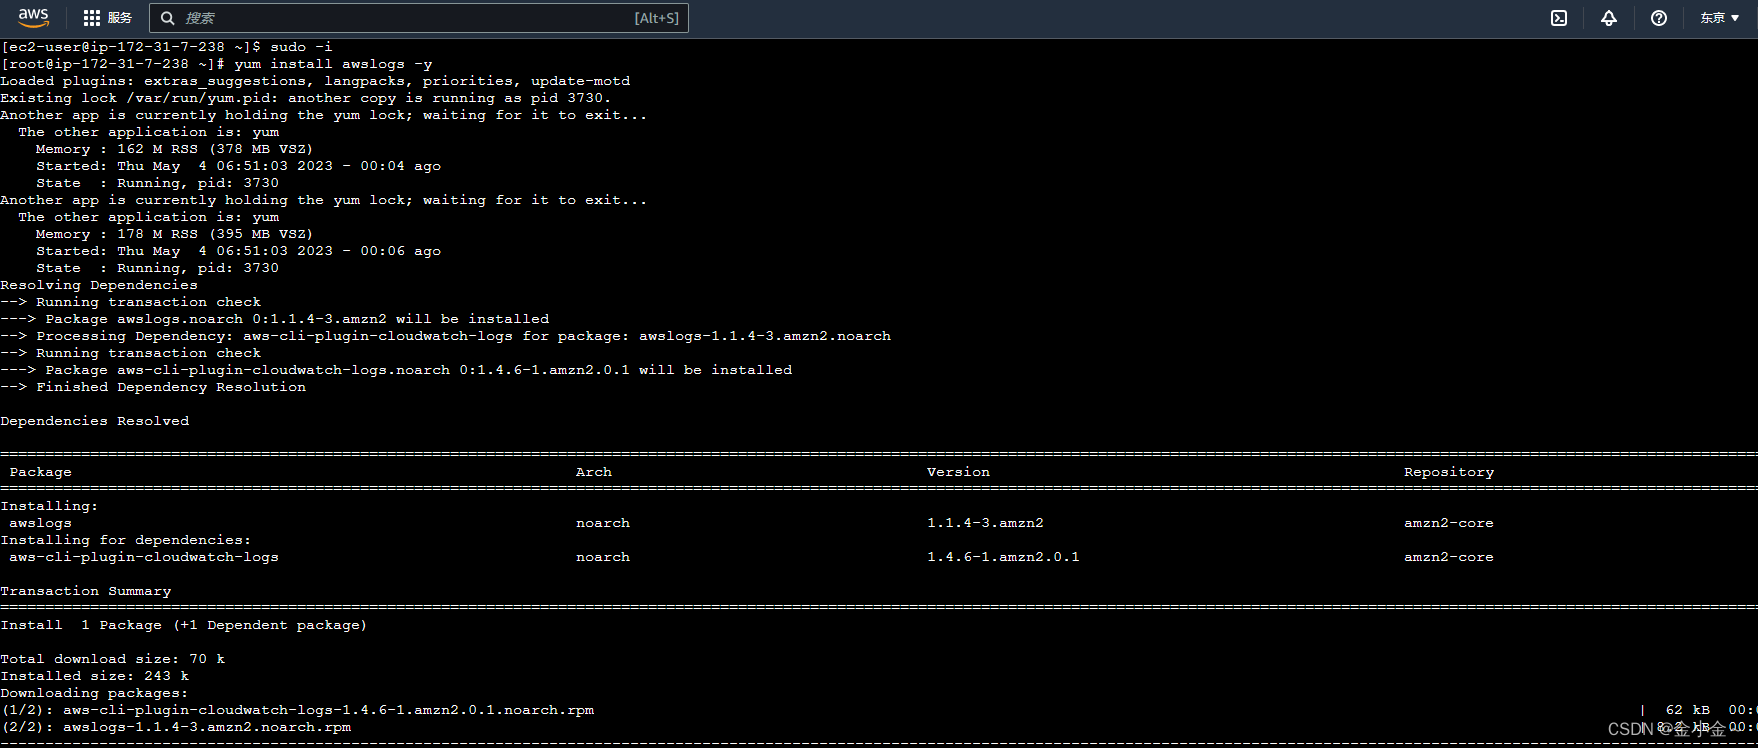
- 运行安装 awslogs 代理
yum install awslogs -y
[root@ip-172-31-8-1 ~]# cd /etc/awslogs/
[root@ip-172-31-8-1 awslogs]# ls
awscli.conf awslogs.conf config proxy.conf
编辑修改 awscli.conf — vim awscli.conf
[plugins]
cwlogs = cwlogs
[default]
region = ap-northeast-1(修改为 EC2 所在的区域)
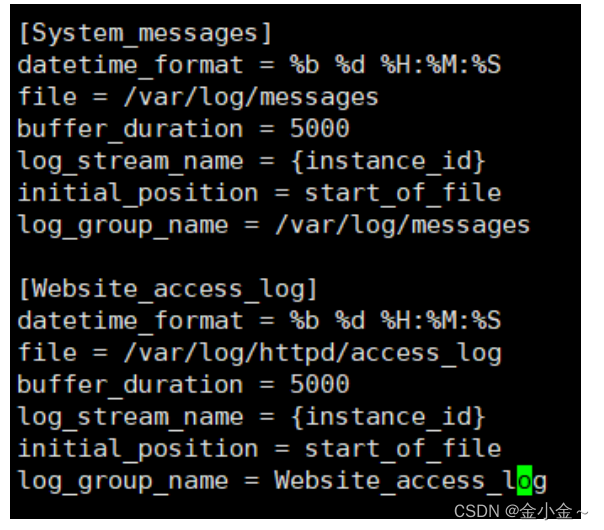
编辑修改 awslogs.conf —vim awslogs.conf
[System_messages]
datetime_format = %b %d %H:%M:%S
file = /var/log/messages
buffer_duration = 5000
log_stream_name = {instance_id}
initial_position = start_of_file
log_group_name = /var/log/messages

[Website_access_log]
datetime_format = %b %d %H:%M:%S
file = /var/log/httpd/access_log
buffer_duration = 5000
log_stream_name = {instance_id}
initial_position = start_of_file
log_group_name = Website_access_log
-
启动 awslogs 服务
systemctl start awslogsd.service -
安装并启动apache服务
yum install httpd -y
systemctl start httpd.service -
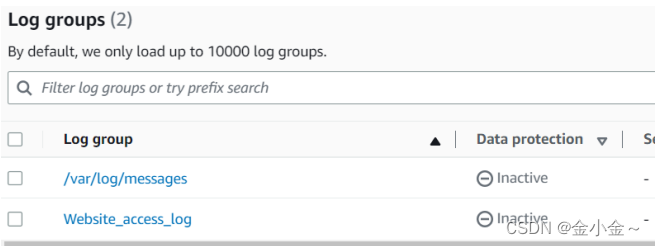
切换到 CloudWatch 界面导航到 Log Groups
