一、配置环境
我的pytorch之前已配置了,参照链接:
安装anconda+配置pytorch
查看环境conda env list
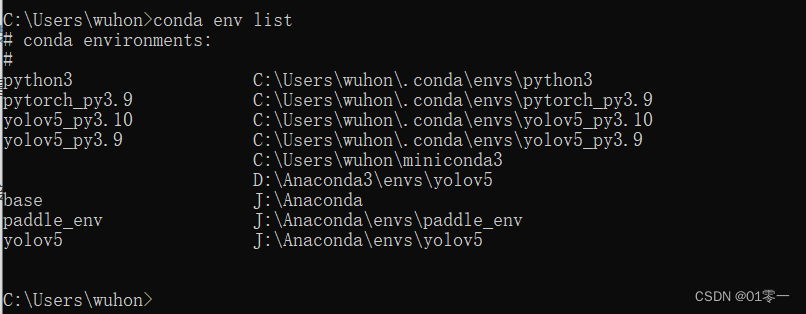
激活环境 conda activate yolov5_py3.10

安装onnx:pip install -i https://pypi.tuna.tsinghua.edu.cn/simple onnx
安装yolov5需要的包:pip install -i https://pypi.tuna.tsinghua.edu.cn/simple matplotlib>=3.2.2 numpy>=1.18.5 opencv-python>=4.1.1 Pillow>=7.1.2 PyYAML>=5.3.1 requests>=2.23.0 scipy>=1.4.1 tqdm>=4.64.0 tensorboard>=2.4.1 pandas>=1.1.4 seaborn>=0.11.0 ipython psutil thop>=0.1.1
二、运行yolov5
下载百度云中提供的文件提取码0a09,
获取yolov5源码版本V6.2

- 解压
yolov5-master.zip。 - 将
zidane.jpg放到yolov5-master文件夹中。 - 将
yolov5s.pt放到yolov5-master/models文件夹中。 - 进入
yolov5-master文件夹,输入python .\detect.py --weights .\models\yolov5s.pt --source zidane.jpg,代码会输出检测结果保存路径,比如我的就是Results saved to runs\detect\exp9,检测结果如下所示

三、 pytorch的pt模型文件转onnx
python .\export.py --weights .\models\yolov5s.pt --include onnx --opset 11
输出信息如下:

转换后的模型文件在models/下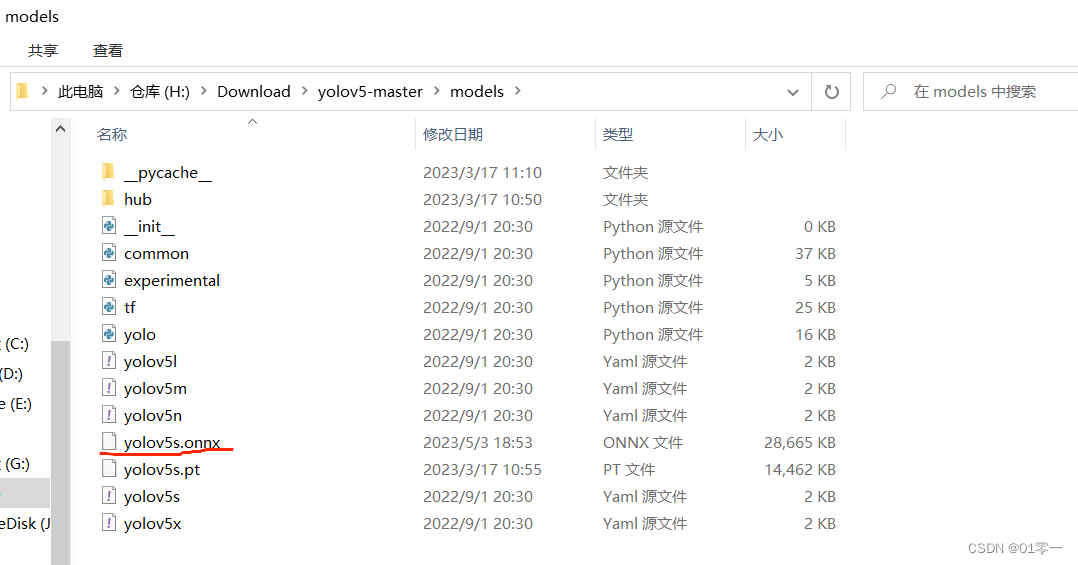
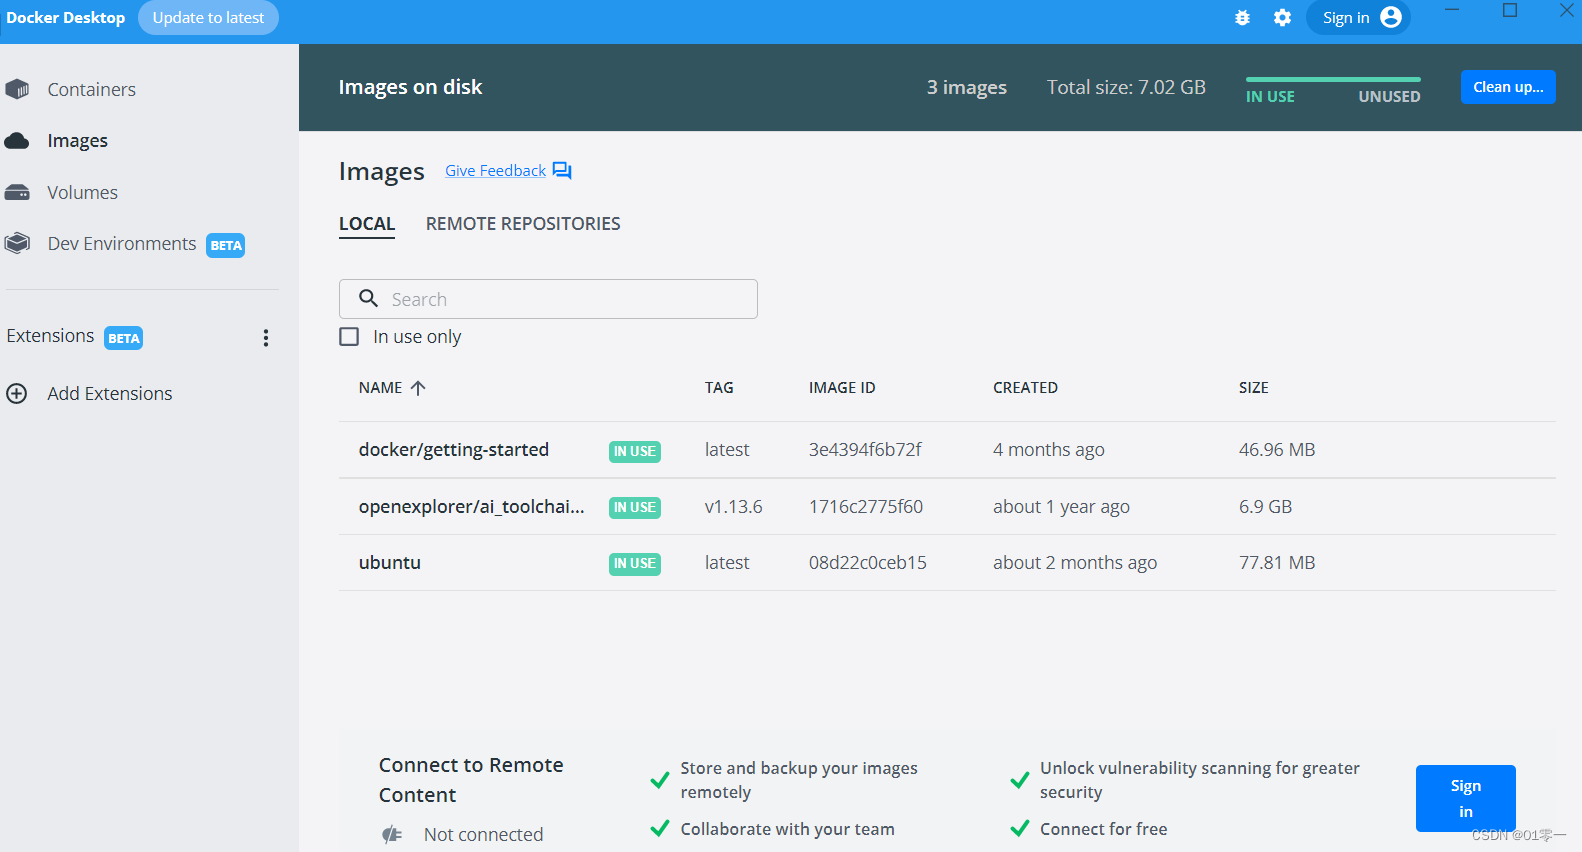
四、windows安装docker
下载安装包进行安装
五、docker环境配置
1、管理员模式打开cmd ,docker pull 获取部署所需要的CentOS Docker镜像
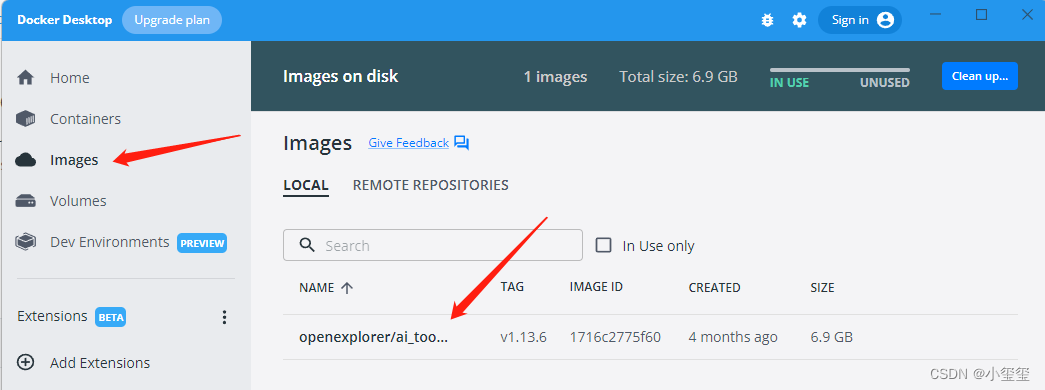
docker pull openexplorer/ai_toolchain_centos_7:v1.13.6
安装成功之后,即可在docker中看到我们成功安装的镜像:
2、将百度下载文件horizon_xj3_open_explorer_v2.2.3_20220617.tar解压

3、启动docker:
docker run -it --rm
-v "J:\深度学习\OpenExplorer\horizon_xj3_open_explorer_v2.2.3_20220617":/open_explorer
-v "J:\深度学习\OpenExplorer\dataset":/data/horizon_x3/data
-v "J:\深度学习\Codes":/data/horizon_x3/codes
openexplorer/ai_toolchain_centos_7:v1.13.6

至此已经通过dockers镜像进入了完整的开发工具链环境, hb_mapper --help 命令验证可看到下面信息:
六、ONNX模型转换
1、创建bpucondes文件夹

将前面转好的yolov5s.onnx放进这个文件夹里。
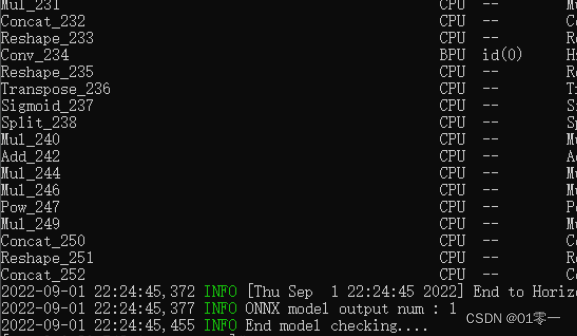
2、模型检查
模型检测的目的是检测有没有不支持的算子,输入指令hb_mapper checker --model-type onnx --march bernoulli2 --model yolov5s.onnx,开始检查模型,显示如下内容表示模型检查通过
3、准备校准数据
核对下代码中src_root、dst_root路径和img = imequalresize(img, (640, 640))输入图像大小
import os
import cv2
import numpy as np

src_root = '/open_explorer/ddk/samples/ai_toolchain/horizon_model_convert_sample/01_common/calibration_data/coco'
cal_img_num = 100  # 想要的图像个数
dst_root = '/data/horizon_x3/codes/yolov5/bpucodes/calibration_data'


## 1. 从原始图像文件夹中获取100个图像作为校准数据
num_count = 0
img_names = []
for src_name in sorted(os.listdir(src_root)):
    if num_count > cal_img_num:
        break
    img_names.append(src_name)
    num_count += 1

# 检查目标文件夹是否存在,如果不存在就创建
if not os.path.exists(dst_root):
    os.system('mkdir {0}'.format(dst_root))

## 2 为每个图像转换
# 参考了OE中/open_explorer/ddk/samples/ai_toolchain/horizon_model_convert_sample/01_common/python/data/下的相关代码
# 转换代码写的很棒,很智能,考虑它并不是官方python包,所以我打算换一种写法

## 2.1 定义图像缩放函数,返回为np.float32
# 图像缩放为目标尺寸(W, H)
# 值得注意的是,缩放时候,长宽等比例缩放,空白的区域填充颜色为pad_value, 默认127
def imequalresize(img, target_size, pad_value=127.):
    target_w, target_h = target_size
    image_h, image_w = img.shape[:2]
    img_channel = 3 if len(img.shape) > 2 else 1

    # 确定缩放尺度,确定最终目标尺寸
    scale = min(target_w * 1.0 / image_w, target_h * 1.0 / image_h)
    new_h, new_w = int(scale * image_h), int(scale * image_w)

    resize_image = cv2.resize(img, (new_w, new_h))

    # 准备待返回图像
    pad_image = np.full(shape=[target_h, target_w, img_channel], fill_value=pad_value)

    # 将图像resize_image放置在pad_image的中间
    dw, dh = (target_w - new_w) // 2, (target_h - new_h) // 2
    pad_image[dh:new_h + dh, dw:new_w + dw, :] = resize_image

    return pad_image

## 2.2 开始转换
for each_imgname in img_names:
    img_path = os.path.join(src_root, each_imgname)

    img = cv2.imread(img_path)  # BRG, HWC
    img = cv2.cvtColor(img, cv2.COLOR_BGR2RGB)  # RGB, HWC
    img = imequalresize(img, (640, 640))
    img = np.transpose(img, (2, 0, 1))  # RGB, CHW

    # 将图像保存到目标文件夹下
    dst_path = os.path.join(dst_root, each_imgname + '.rgbchw')
    print("write:{0}, shape: {1}".format(dst_path, img.shape))
    img.astype(np.uint8).tofile(dst_path)

    # data = np.fromfile(dst_path)
    # print(data.shape)
    # exit()

print('finish')
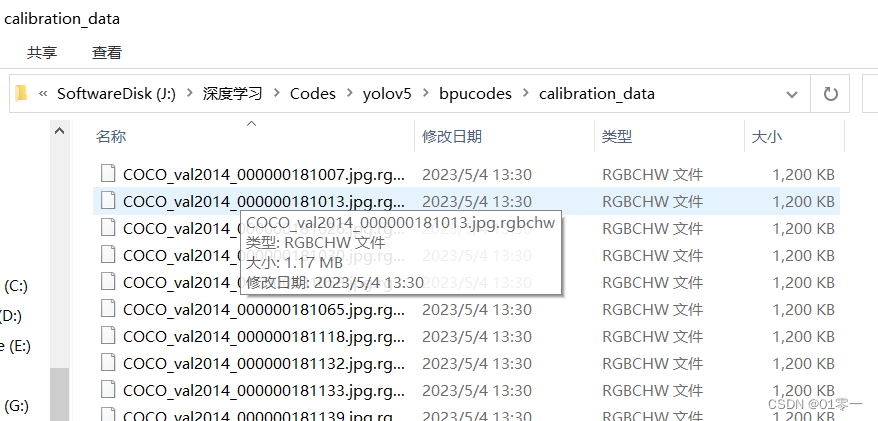
执行python3 ./prepare_calibration_data.py 在calibration_data目录生成校准数据
4、转换BPU模型
转换模型需要yaml参数文件:
model_parameters:
  onnx_model: 'yolov5s.onnx'
  output_model_file_prefix: 'yolov5s'
  march: 'bernoulli2'
input_parameters:
  input_type_train: 'rgb'
  input_layout_train: 'NCHW'
  input_type_rt: 'nv12'
  norm_type: 'data_scale'
  scale_value: 0.003921568627451
  input_layout_rt: 'NHWC'
calibration_parameters:
  cal_data_dir: './calibration_data'
  calibration_type: 'max'
  max_percentile: 0.9999
compiler_parameters:
  compile_mode: 'latency'
  optimize_level: 'O3'
  debug: False
  core_num: 2
转换我们的模型输入命令:hb_mapper makertbin --config convert_yolov5s.yaml --model-type onnx

转换成功后,得到model_output/yolov5s.bin,这个文件拿出来,拷贝到旭日X3派上使用,它也是我们上板运行所需要的模型文件。
七、上板运行
拷贝到旭日X3派开发板中,其中yolov5s.bin就是我们转换后的模型,coco_classes.names仅用在画框的时候,如果用自己的数据集的话,参考coco_classes.names创建个新的名字文件即可
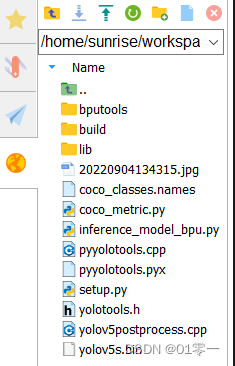
1、 安装opencv库:sudo apt-get install libopencv-dev cython
2、编译后处理代码:python3 setup.py build_ext --inplace得到lib/pyyolotools.cpython-38-aarch64-linux-gnu.so文件
3、运行推理命令:sudo python3 inference_model_bpu.py,推理结果保存为res.png

