1.高度和宽度
.c1{
    height:300px;
    width:500px;
}
注意事项:
宽度,支持百分比
行内标签:默认无效
块级标签:默认有效(右侧区域就算是空白,也不给占用)
2.块级和行内标签
css样式:标签--display:inline-block允许在元素上设置宽度和高度
<!DOCTYPE html>
<html lang="en">
<head>
    <meta charset="UTF-8">
    <title>Title</title>
    <style>
      .c1{
          display:inline-block;
          height:100px;
          width:300px;
          border:1px solid red;
          }
    </style>
</head>
<body>
      <span class="c1">北京</span>
      <span class="c1">上海</span>
      <div style="display:inline;">中</div>
      <span style="display:block;">国</span>
</body>
</html>
下图我们可以看到display:inline-block标签的效果
中 #这行本来是块级标签,加上style="display:inline;"变为行内标签
国 #这行本来是行内标签,加上style="display:block;"变为块级标签

3.字体和颜色
.c1{
    color:red;/*颜色*/
    font-size:60px;/*字体大小*/
    font-weight:600;/*字体加粗*/
    font-family:字体;/*字体样式*/
    }
4.文字的对齐方式
.c1{
    height:60px;
    width:300px;

    text-align:center;/*水平方向居中*/
    line-height:60px;/*垂直方向居中,使用其值等于height属性值的line-height属性,只能用于一行数据*/
}
5.浮动
float 属性定义元素在哪个方向浮动
<body>
      <span >左边</span>
      <span style="float:right">右边</span>
</body>
<!DOCTYPE html>
<html lang="en">
<head>
    <meta charset="UTF-8">
    <title>Title</title>
    <style>
      .c1{
          float:left;
          height:100px;
          width:300px;
          border:1px solid red;
          }
    </style>
</head>
<body>

      <span class="c1">1</span>
      <span class="c1">2</span>
      <span class="c1">3</span>

</body>
</html>
float会让标签浮动之后脱离文档流(可以理解成覆盖在网页的最上面),需要加
style="clear:both;"使标签恢复正常
<!DOCTYPE html>
<html lang="en">
<head>
    <meta charset="UTF-8">
    <title>Title</title>
    <style>
      .c1{
          float:left;
          height:100px;
          width:300px;
          border:1px solid red;
          }
    </style>
</head>
<body>
<div style="color:green;">
      <div class="c1">1</div>
      <div class="c1">2</div>
      <div class="c1">3</div>
      <div style="clear:both;"></div>
</div>
</body>
</html>
6.边距
内边距
下面这个代码是给内边距上下左右都留了20px
<!DOCTYPE html>
<html lang="en">
<head>
    <meta charset="UTF-8">
    <title>Title</title>
    <style>
      .outer{
              border:1px solid red;
              height:400px;
              width:200px;
              padding-top:20px;
              padding-left:20px;
              padding-right:20px;
              padding-bottom:20px;
            }
    </style>
</head>
<body>
      <div class="outer">
            <div style="background-color:gold;">内边距</div>
            <div>222</div>
      </div>
</body>
</html> 
可以简写成这样,顺序是顺时针 上右下左
padding:20px 10px 15px 20px;外边距
很好理解,就是标签与周围创建的空间
p {
  margin-top: 100px;
  margin-bottom: 100px;
  margin-right: 150px;
  margin-left: 80px;
}
7.区域局中
.c1{
    margin:0 auto;
    }
父亲如果自己没有高度或宽度,会被孩子撑起来
8.hover(伪类)
选择鼠标指针浮动在其上的元素,并设置其样式,例如下面这个代码,本来显示的111111是红色的,但当鼠标挪上去时会显示黄色并变大
<head>
    <meta charset="UTF-8">
    <title>Title</title>
    <style>
      .c1{
          color:red;
          font-size:18px;
          }
      .c1:hover{
            color:yellow;
            font-size:50px;
            }
    </style>
</head>
<body>
<div style="color:green;">
      <div class="c1">1111111111</div>
</div>
</body>

9.after(伪类)
在每个指定元素之后插入内容
<head>
    <meta charset="UTF-8">
    <title>Title</title>
    <style>
    .clearfix:after{
            content:"333 ";
            }

    </style>
</head>
<body>
<div >
      <div class="clearfix">1111111111</div>
      <div class="clearfix">22222</div>
      <div class="clearfix">44444</div>
</div>
</body>
10.position
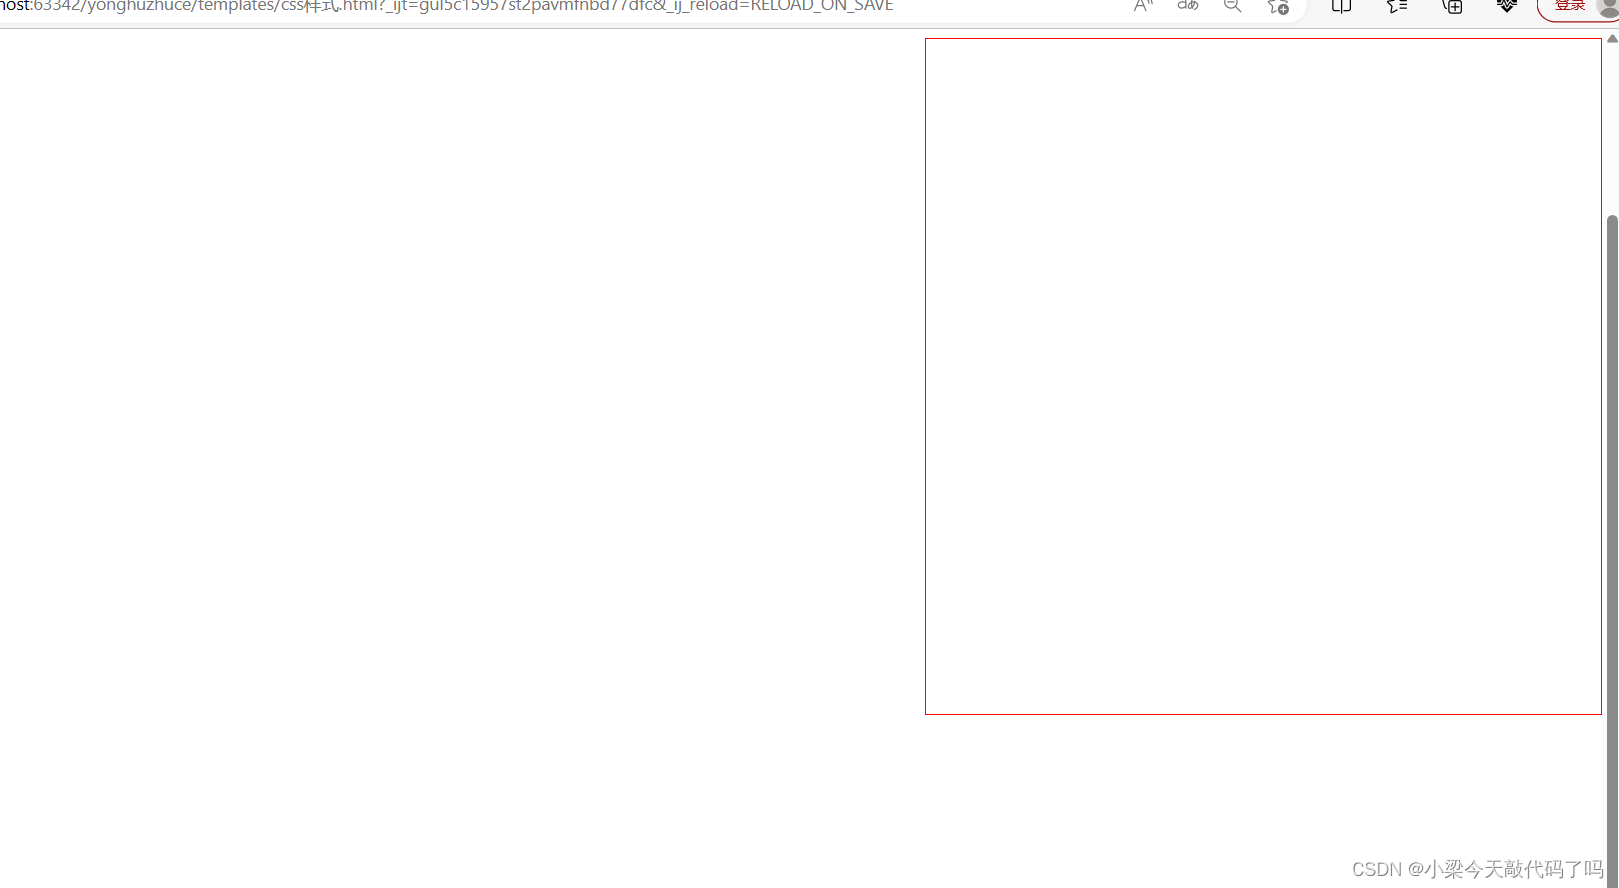
fixed (生成绝对定位的元素,相对于浏览器窗口进行定位。元素的位置通过 "left", "top", "right" 以及 "bottom" 属性进行规定。)
<head>
    <meta charset="UTF-8">
    <title>Title</title>
    <style>
      .back{
        position:fixed;
        width:600px;
        height:600px;
        border:1px solid red;
        right:0;
        }
    </style>
</head>
<body>
    <div class="back"></div>
    <div style="height:1000px;background-color:white"></div>
</body>
固定红框,不随着页面滑动而改变位置
<head>
    <meta charset="UTF-8">
    <title>Title</title>
    <style>
      .back{
        position:fixed;
        width:300px;
        height:500px;
        background-color:white;
        left: 0;
        right: 0;
        margin:0 auto;
        top:200px;
        }
    .mask{
            background-color:black;
            position:fixed;
            left:0;
            right:0;
            top:0;
            bottom:0;
            opacity:0.3;
            }
    </style>
</head>
<body>

    <div class="mask"></div>
    <div class="back">登录</div>
</body>
可以用于做网页固定登录窗口

relative生成相对定位的元素 absolute生成绝对定位的元素
<head>
    <meta charset="UTF-8">
    <title>Title</title>
    <style>
        .c1{
                height:300px;
                width:500px;
                border:1px solid red;
                margin:100px;
                position:relative;
             }
        .c1 .c2{
                height:59px;
                width:59px;
                background-color:green;
                position:absolute;
                right:0px;
                top:50px;
                }
    </style>
</head>
<body>
    <div class="c1">
        <div class="c2"></div>
    </div>
</body>
11.border边框
<head>
    <meta charset="UTF-8">
    <title>Title</title>
    <style>
        .c1{
                height:300px;
                width:500px;
                border:3px solid red;
                border-left:3px solid green;
                margin:100px;
                position:relative;
             }

    </style>
</head>
<body>
    <div class="c1"></div>
</body>
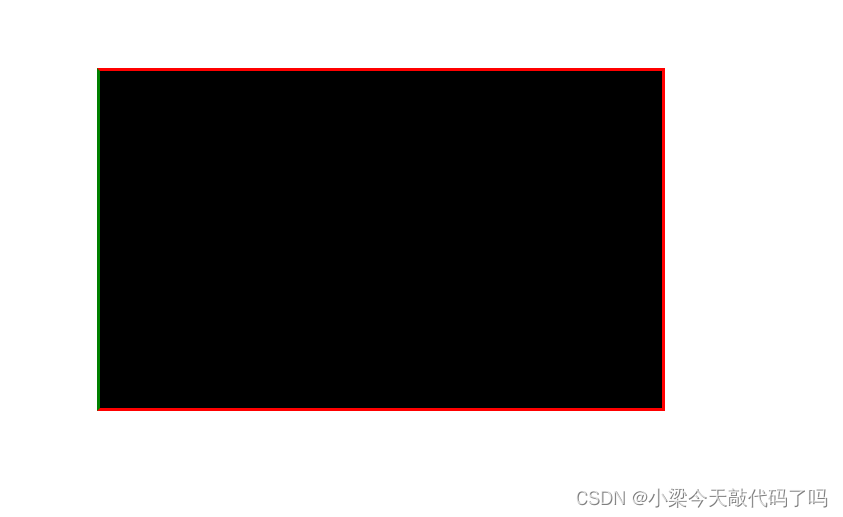
12.background-color背景色
(在上述代码中加一行background-color:black;将框中背景改成黑色)
        .c1{
                height:300px;
                width:500px;
                border:3px solid red;
                border-left:3px solid green;
                background-color:black;
                margin:100px;
                position:relative;
             }