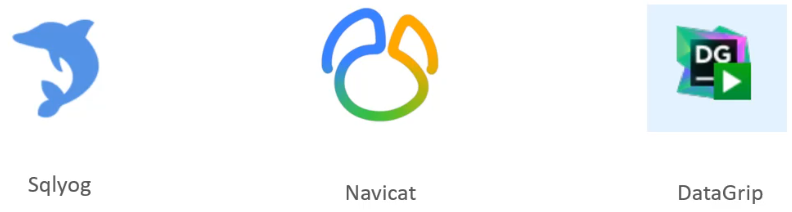
在日常的开发中,会借助于MySQL的图形化界面,来简化开发,提高开发效率。目前mysql主流的图形化界面工具,有Navicat、SQLyog、DataGrip等,最后一种DataGrip,这种图形化界面工具,功能更加强大,界面提示更加友好, 是我们使用MySQL的不二之选。接下来,我们来介绍一下DataGrip该如何安装、使用。
安装DataGrip
1). 找到资料中准备好的安装包,双击开始安装

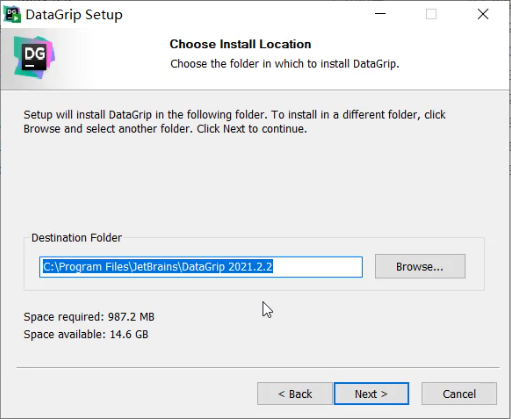
2). 点击next一步一步的完成安装
选择DataGrip的安装目录,然后选择下一步
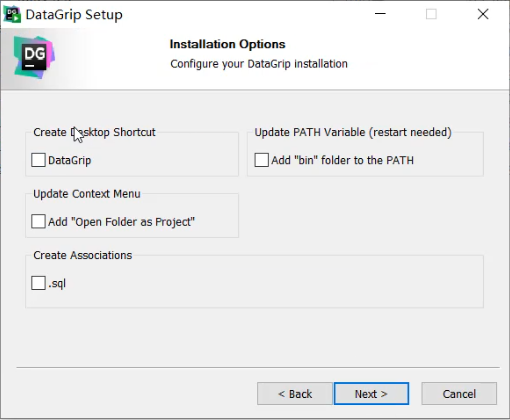
下一步,执行安装
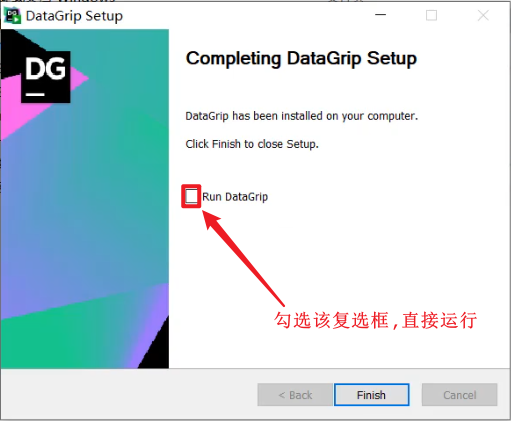
选中Run DataGrip,直接运行
DataGrip的使用
1). 添加数据源
安装完DataGrip之后,我们为软件添加数据源,按照下图所示, 一步步操作即可。
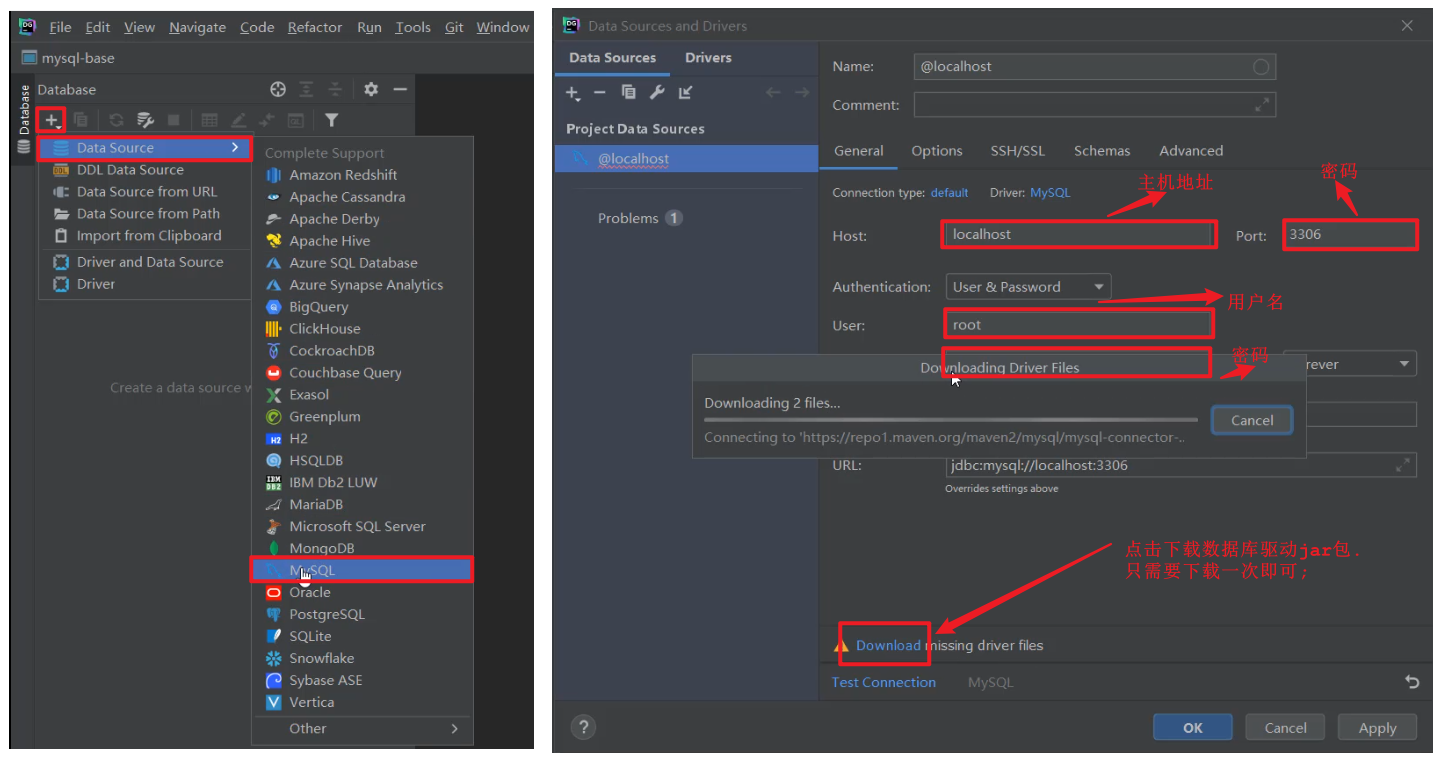
△点击查看大图
配置以及驱动jar包下载完毕之后,就可以点击"Test Connection" 就可以测试,是否可以连接MySQL,如果出现"Successed",就表明连接成功了。
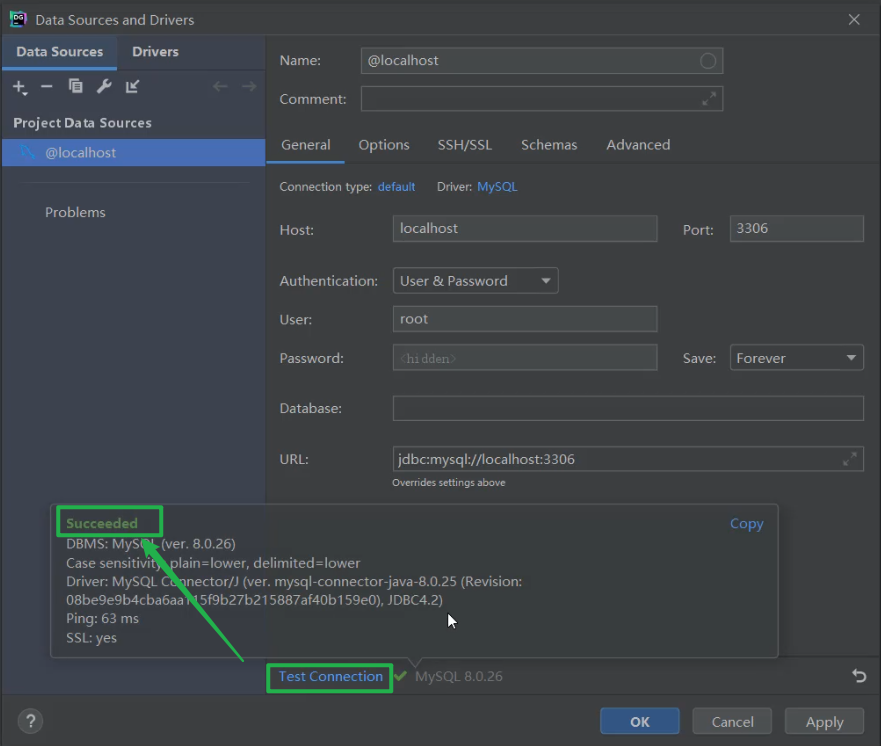
△点击查看大图
2). 展示所有数据库
连接上了MySQL服务之后,并未展示出所有的数据库,此时,我们需要设置,展示所有的数据库,具体操作如下:
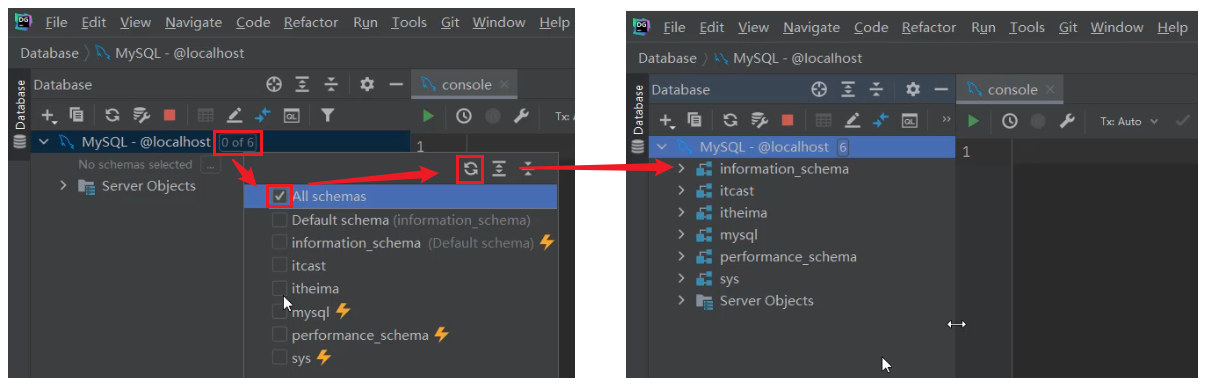
△点击查看大图
3). 创建数据库

我们继续进行数据库的配置,按以下步骤操作即可:
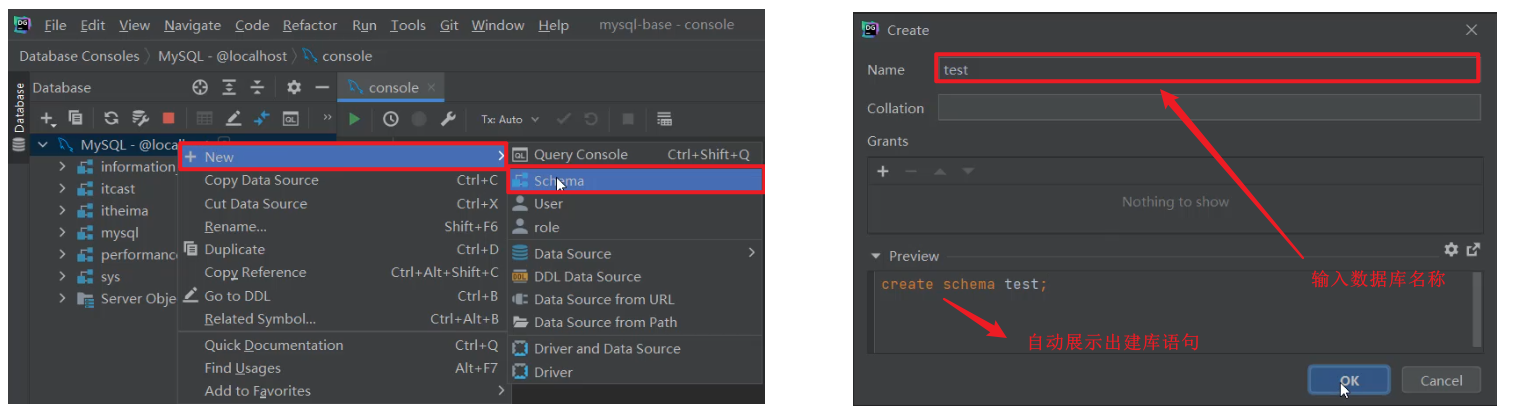
注意以下两种方式都可以创建数据库
A. create database db01;
B. create schema db01;
4). 创建表
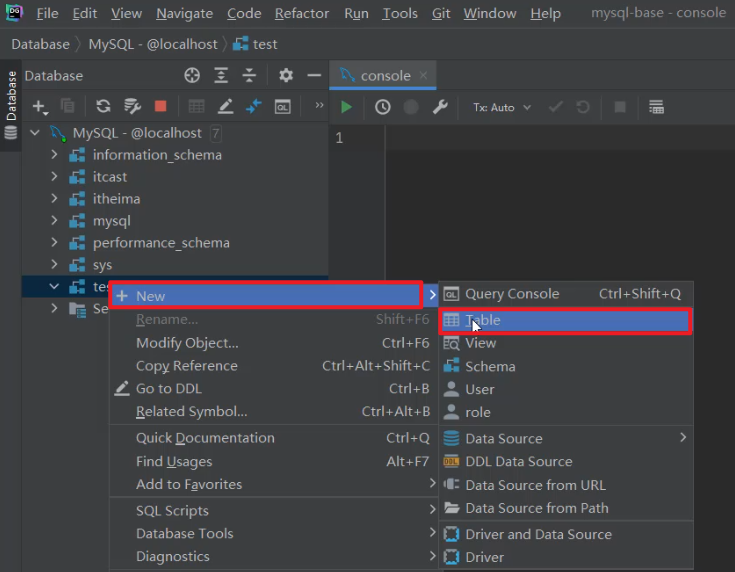
在指定的数据库上面右键,选择new --> Table
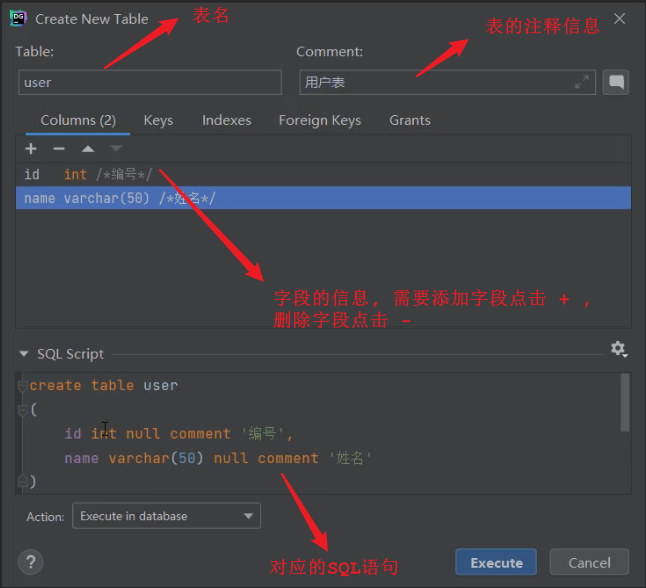
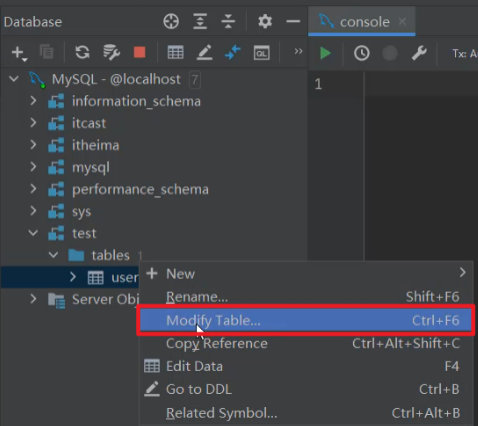
5). 修改表结构
在需要修改的表上,右键选择"Modify Table..."
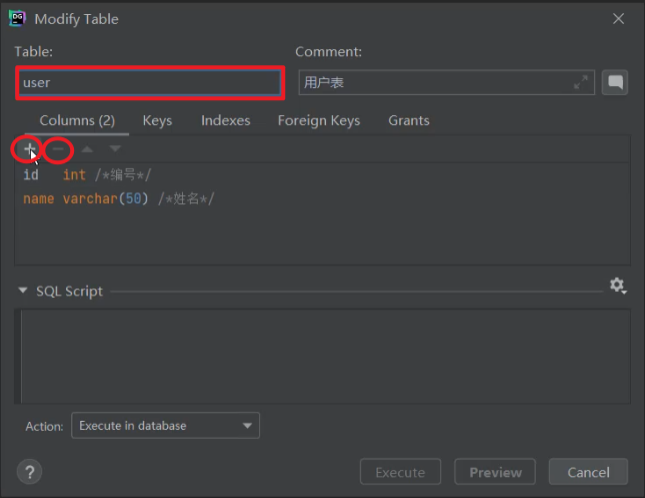
如果想增加字段,直接点击+号,录入字段信息,然后点击Execute即可。
如果想删除字段,直接点击-号,就可以删除字段,然后点击Execute即可。
如果想修改字段,双击对应的字段,修改字段信息,然后点击Execute即可。
如果要修改表名,或表的注释,直接在输入框修改,然后点击Execute即可。
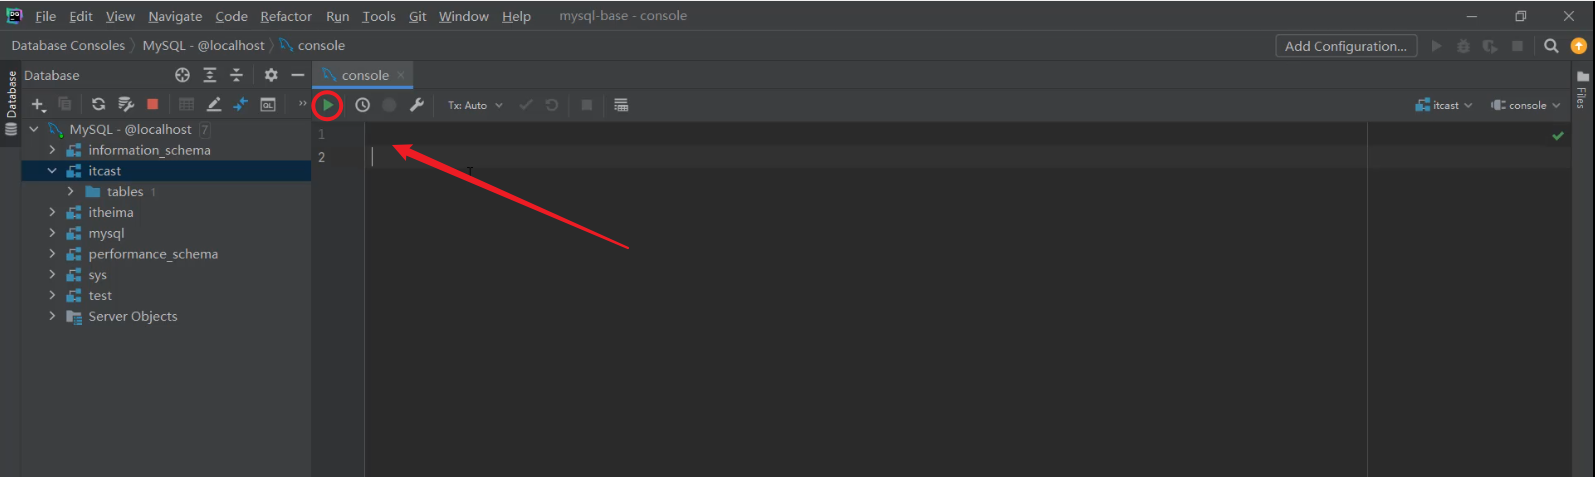
6). 在DataGrip中执行SQL语句
在指定的数据库上,右键,选择New --> Query Console.
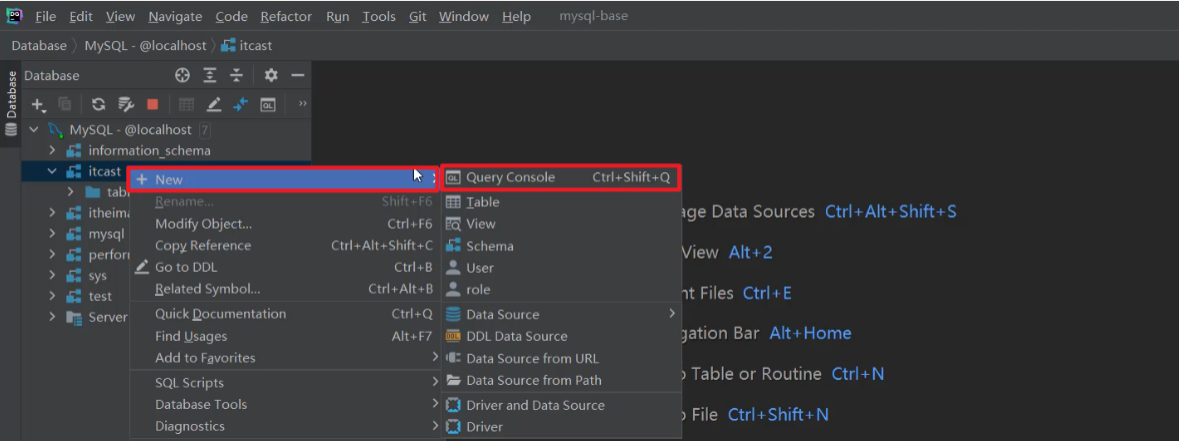
然后就可以在打开的Query Console控制台,并在控制台中编写SQL,执行SQL。
△点击查看大图