获取url中的参数
一般来说get请求中参数是这样的
127.0.0.1:8080/login?username=san&password=123
可以获取到下面两个参数
| key | value |
|---|---|
| username | san |
| password | 123 |
但是事实上,还有一种url的参数的写法
127.0.0.1:8080/login/san/123
这样的写法更像是一个直接获取网站的方式,而没有传递参数
在浏览器中,第二种写法更受浏览器的喜爱(会排在搜索结果的前列)
在SpringMVC中,使用@PathVariable注解来接收参数
@RequestMapping("/url/{参数}")
public String showInfo(@PathVariable("参数")String 命名){
    return 返回值;
}
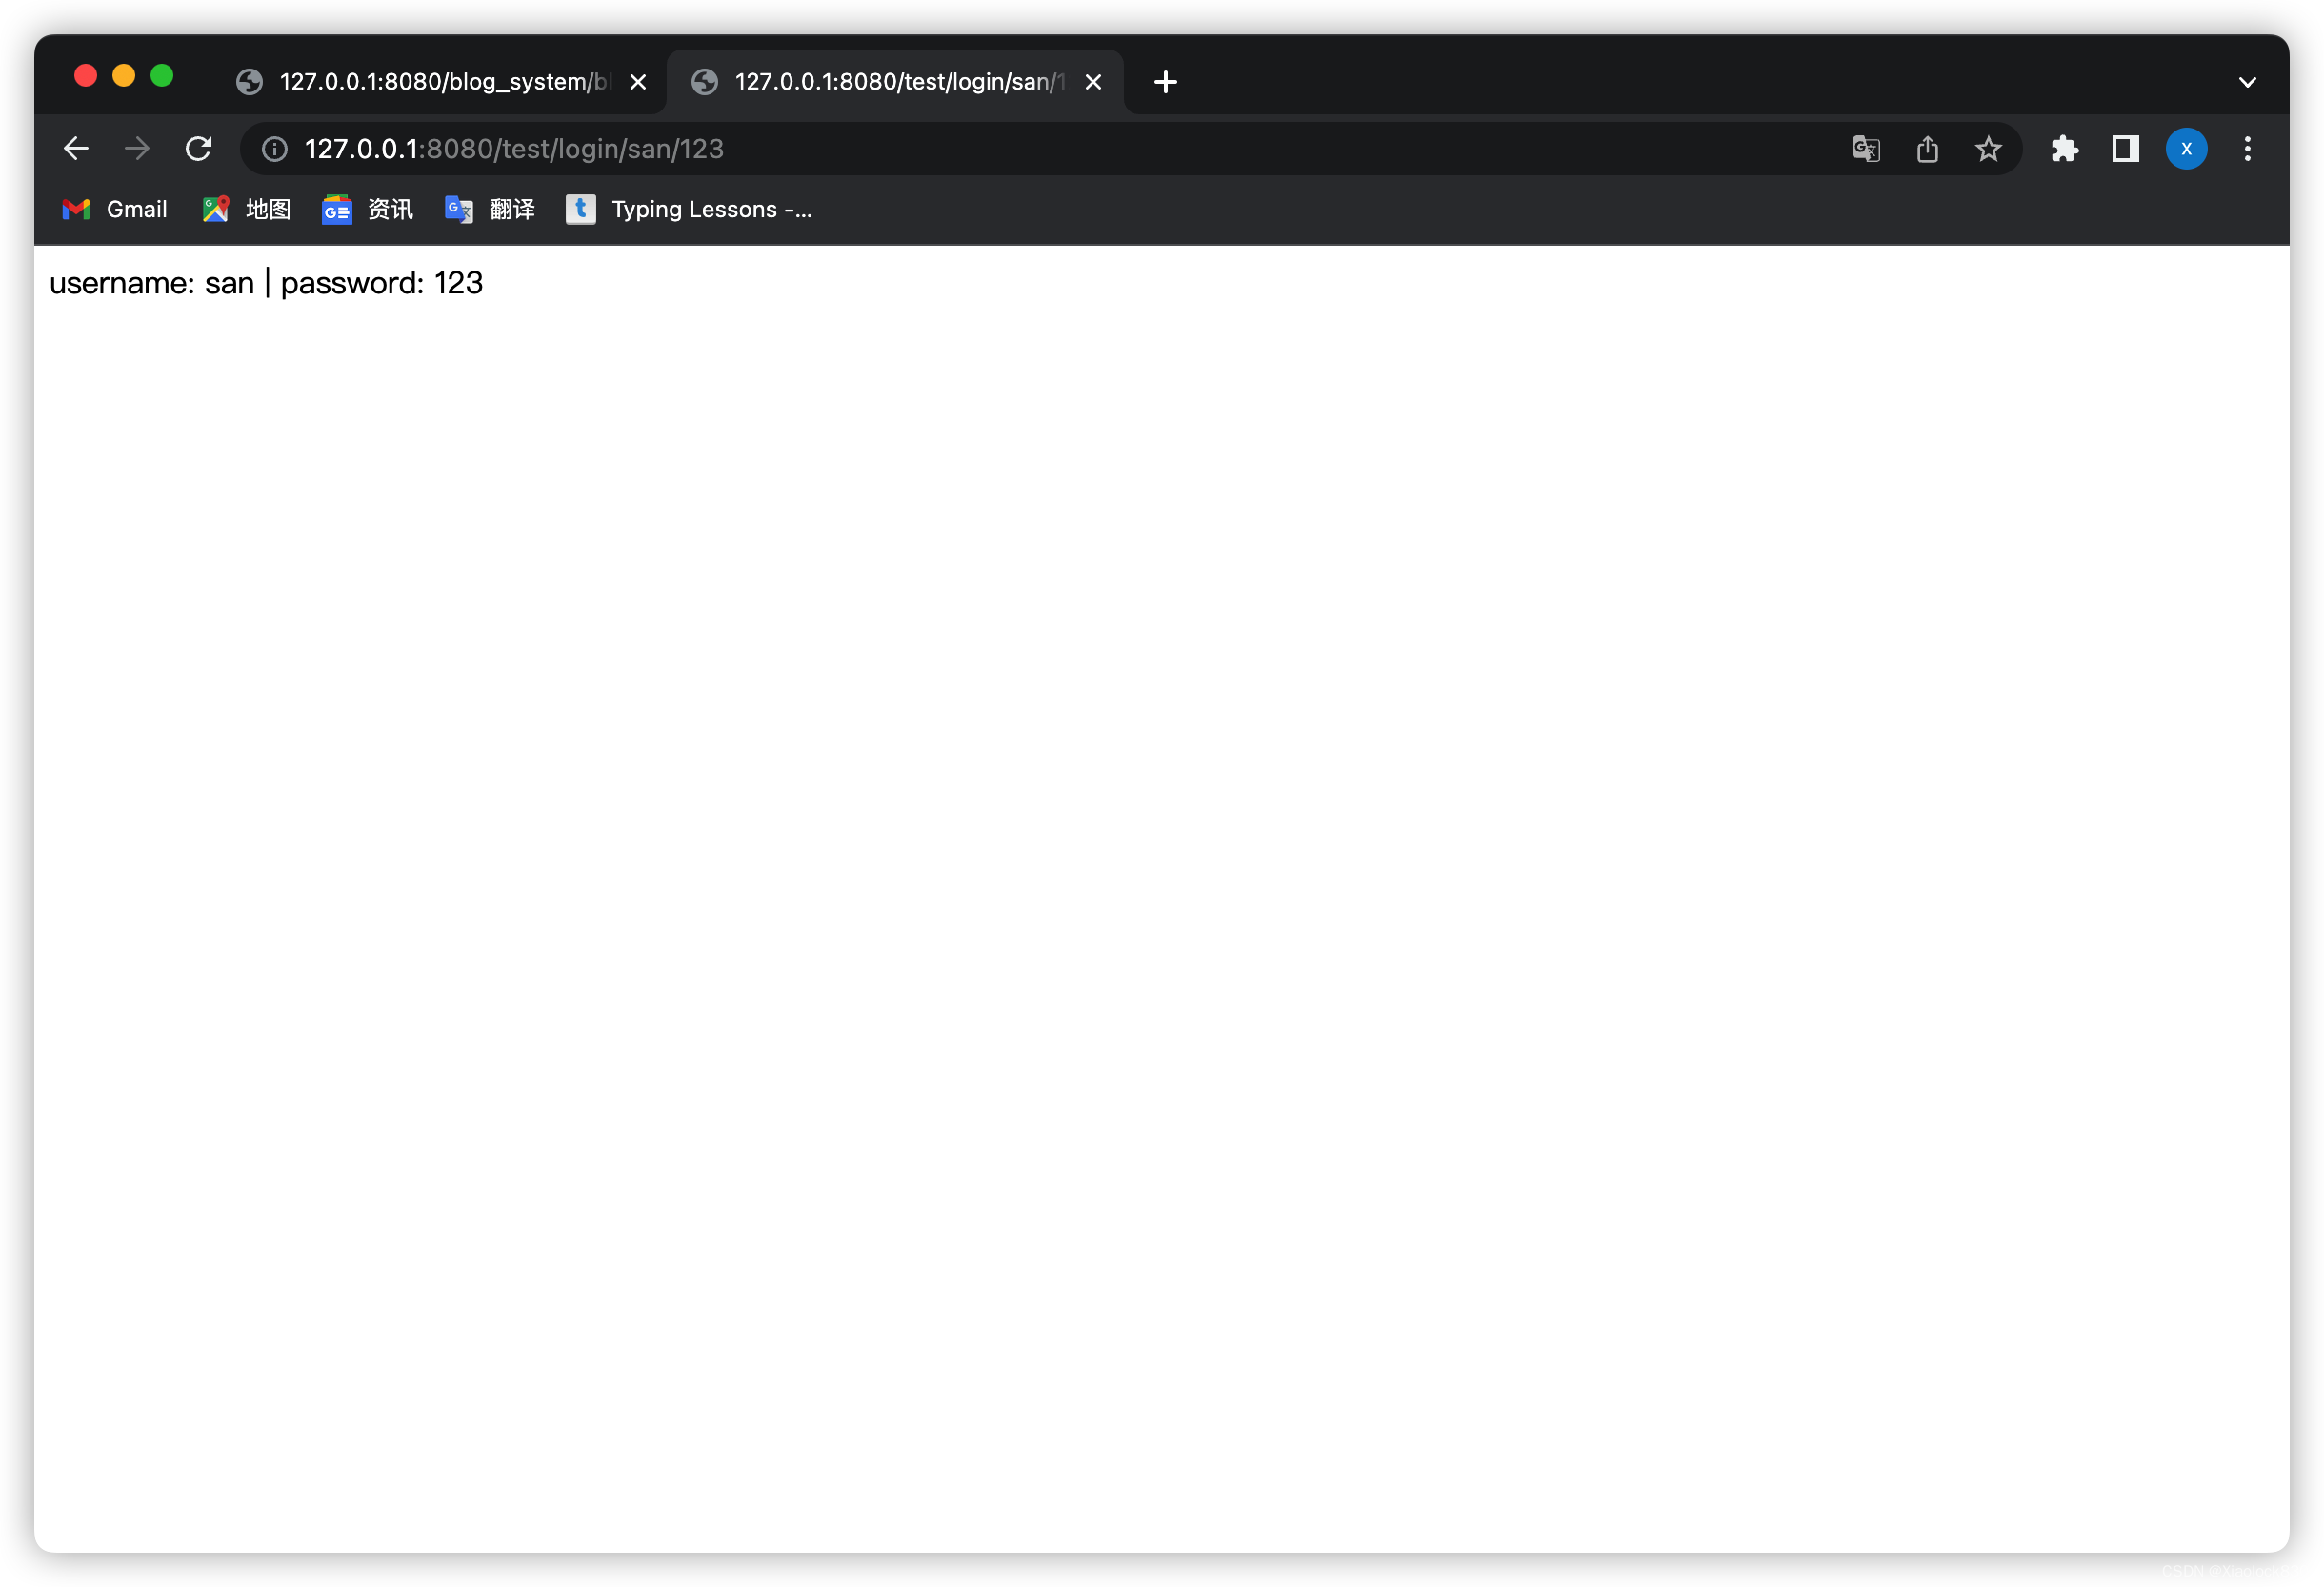
例如,获取/show/用户名/and/密码这个url中的用户名和密码
@RequestMapping("/show/{username}/and/{password}")
public String showInfo(@PathVariable("username")String username,
                       @PathVariable("password")String password){
    return "username: " + username + " | password: " + password;
}
上传文件
@RequestMapping(url)
public String upFile(@RequestPart("参数名")MultipartFile file) throws IOException {
    String path = 文件路径;
    //保存文件
    file.transferTo(new File(path));
    return 返回值;
}
使用@RequestPart注解,MultipartFile对象可以接收文件
其中,如果我们将文件的路径设置成一样的,前端若多次传输文件给后端,这些文件会进行复写,最后只会保存最后一个文件
可以使用UUID.randomUUID().toString来生成一个程序中唯一的字符串,这样多次接收文件不会被复写
使用MultipartFile对象的transfer方法可以保存文件
例如:
@RequestMapping("/upFile")
public String upFile(@RequestPart("myfile")MultipartFile file) throws IOException {
    String rootPath = "/Users/lixiao/Desktop/";
    String path = rootPath + UUID.randomUUID().toString();
    //加文件后缀
    path += file.getOriginalFilename().substring(file.getOriginalFilename().lastIndexOf("."));
    //保存文件
    file.transferTo(new File(path));
    return path;
}
使用postman中的Body,form-data可以发送文件
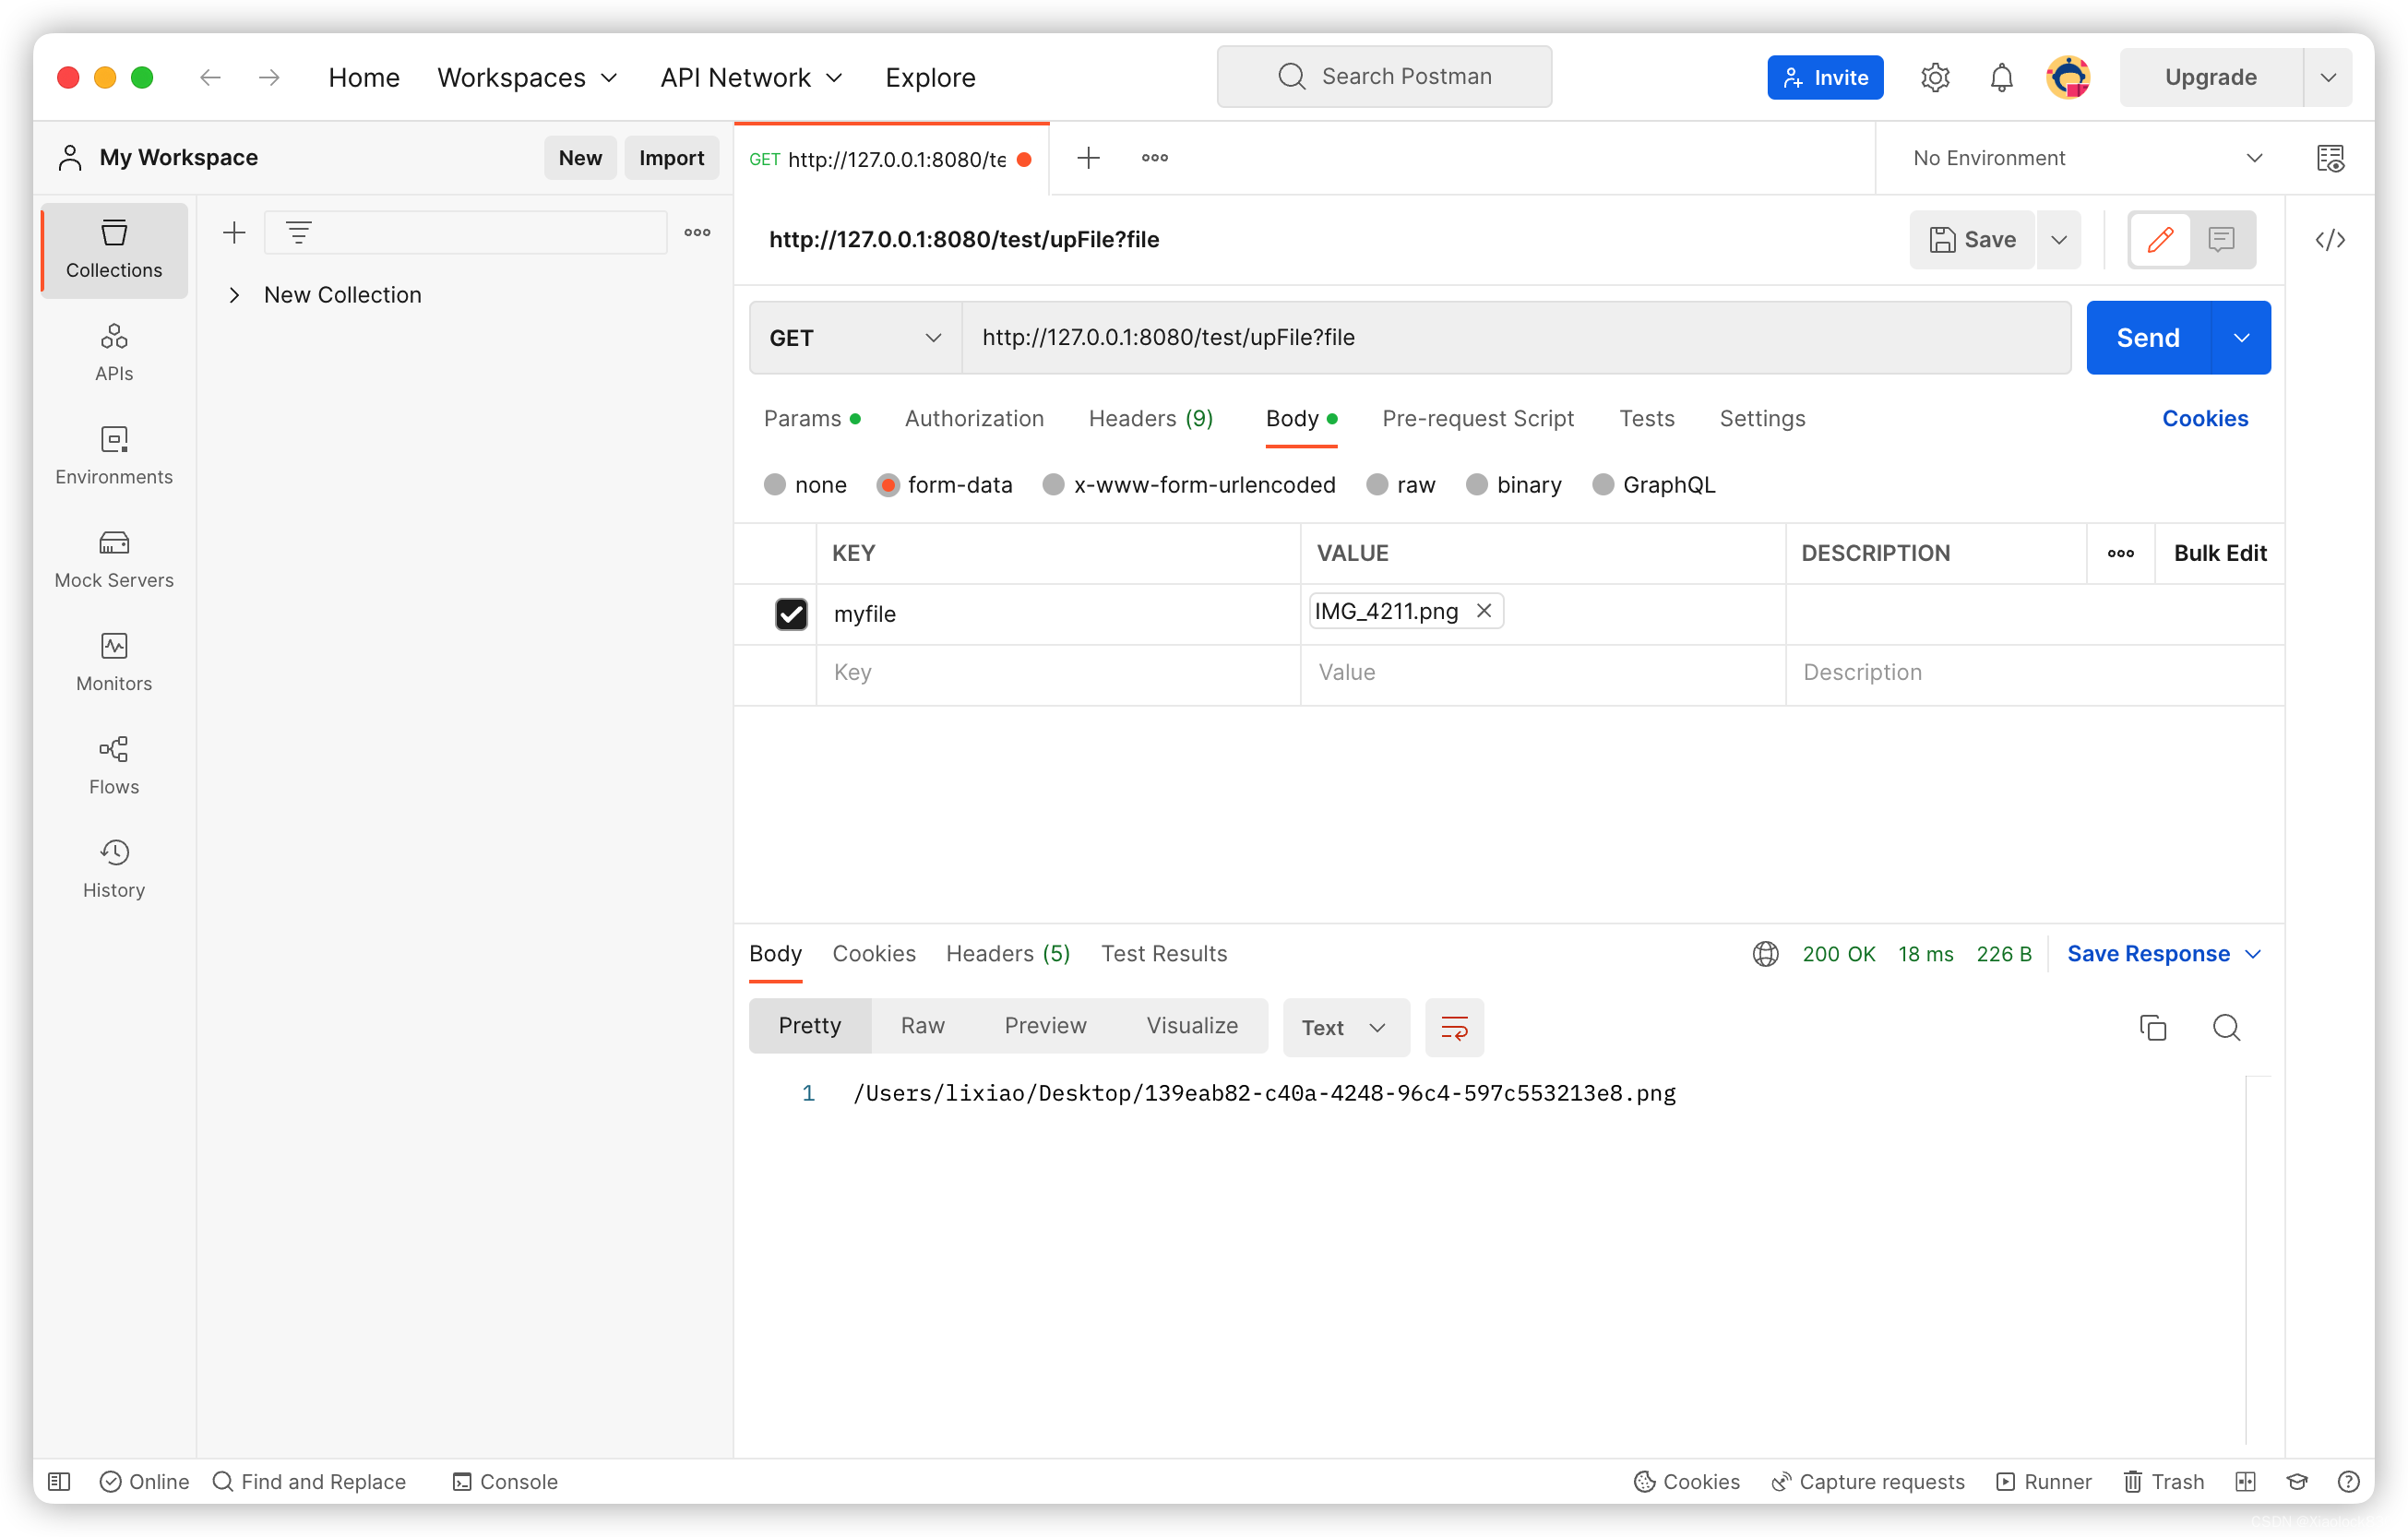
可以看到图片放到了设置的路径下
获取Cookie
可以在方法中加上HttpServletRequest和HttpServletResponse对象,像servlet中一样获取cookie
@RequestMapping("/getCookies")
public String getCookies(HttpServletRequest request){
    Cookie[] cookies = request.getCookies();
    for (int i = 0; i < cookies.length; i++) {
        log.error(cookies[i].getName() + ": " + cookies[i].getValue());
    }
    return "getCookies";
}
先在浏览器中存储cookie

可以看到控制台上打印出了所有cookie

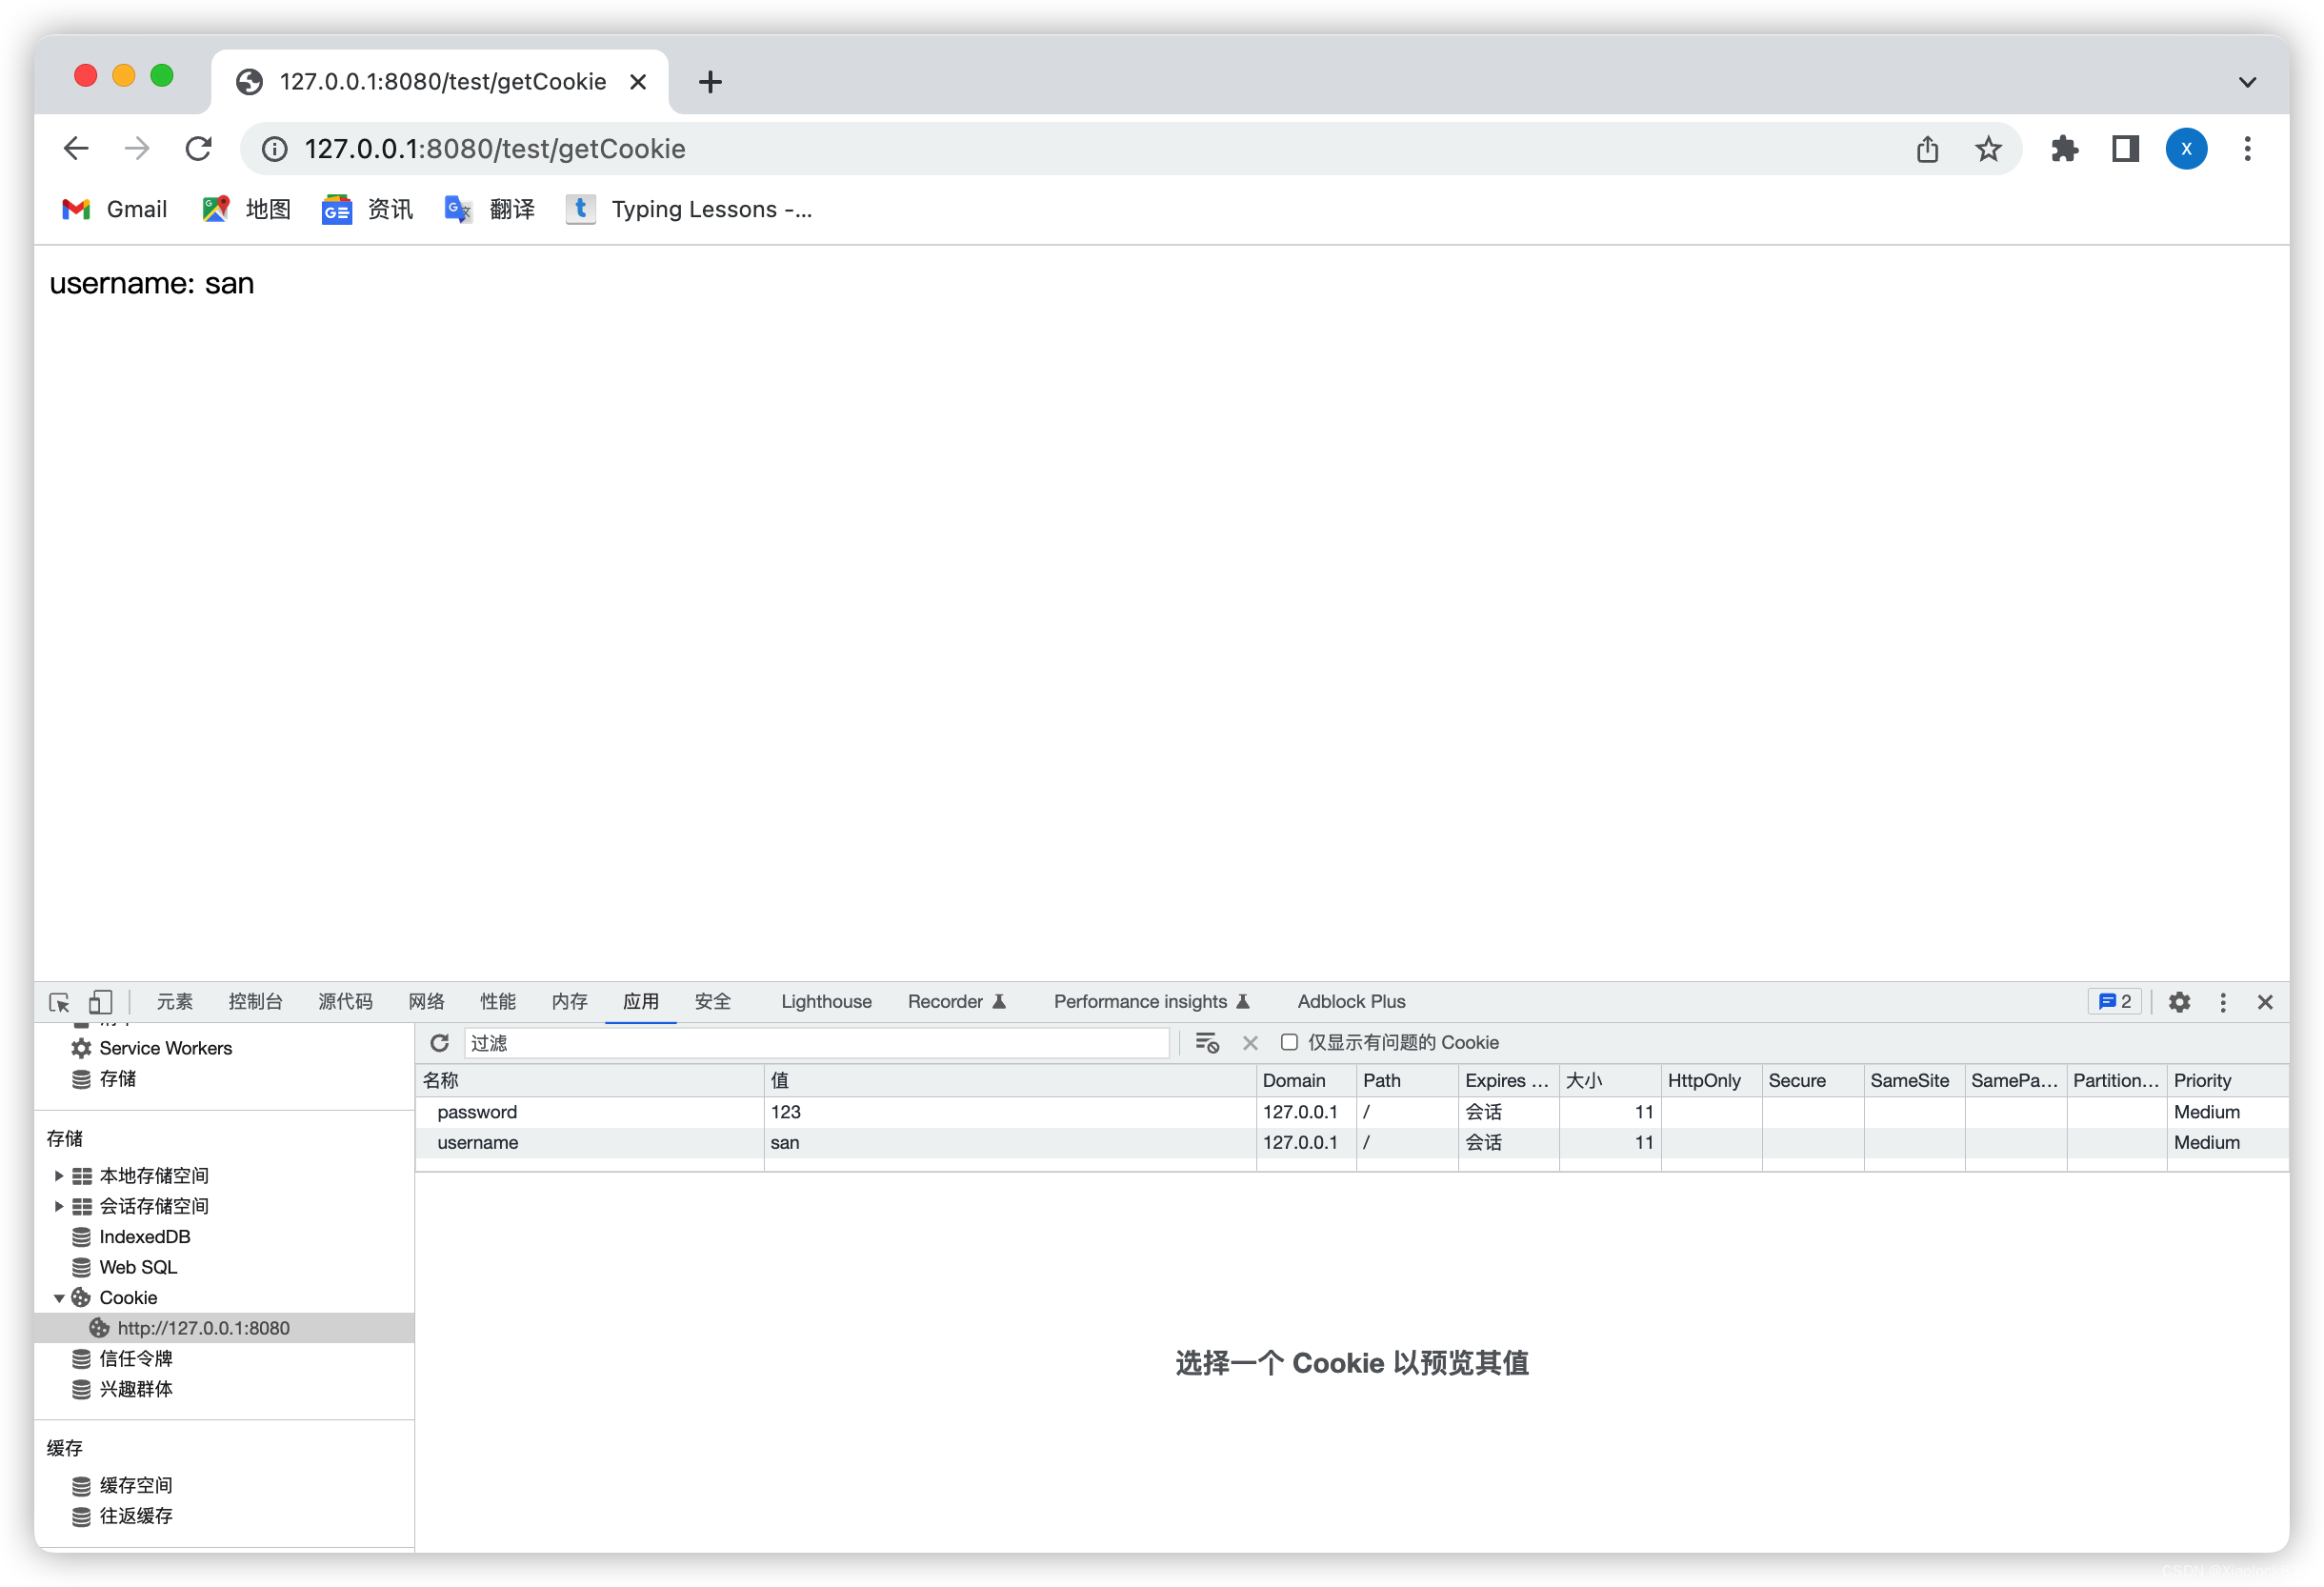
也可以使用@CookieValue注解,获取单一Cookie
@RequestMapping("/getCookie")
public String getCookie(@CookieValue("username") String username){
    return "username: " + username;
}
获取Header
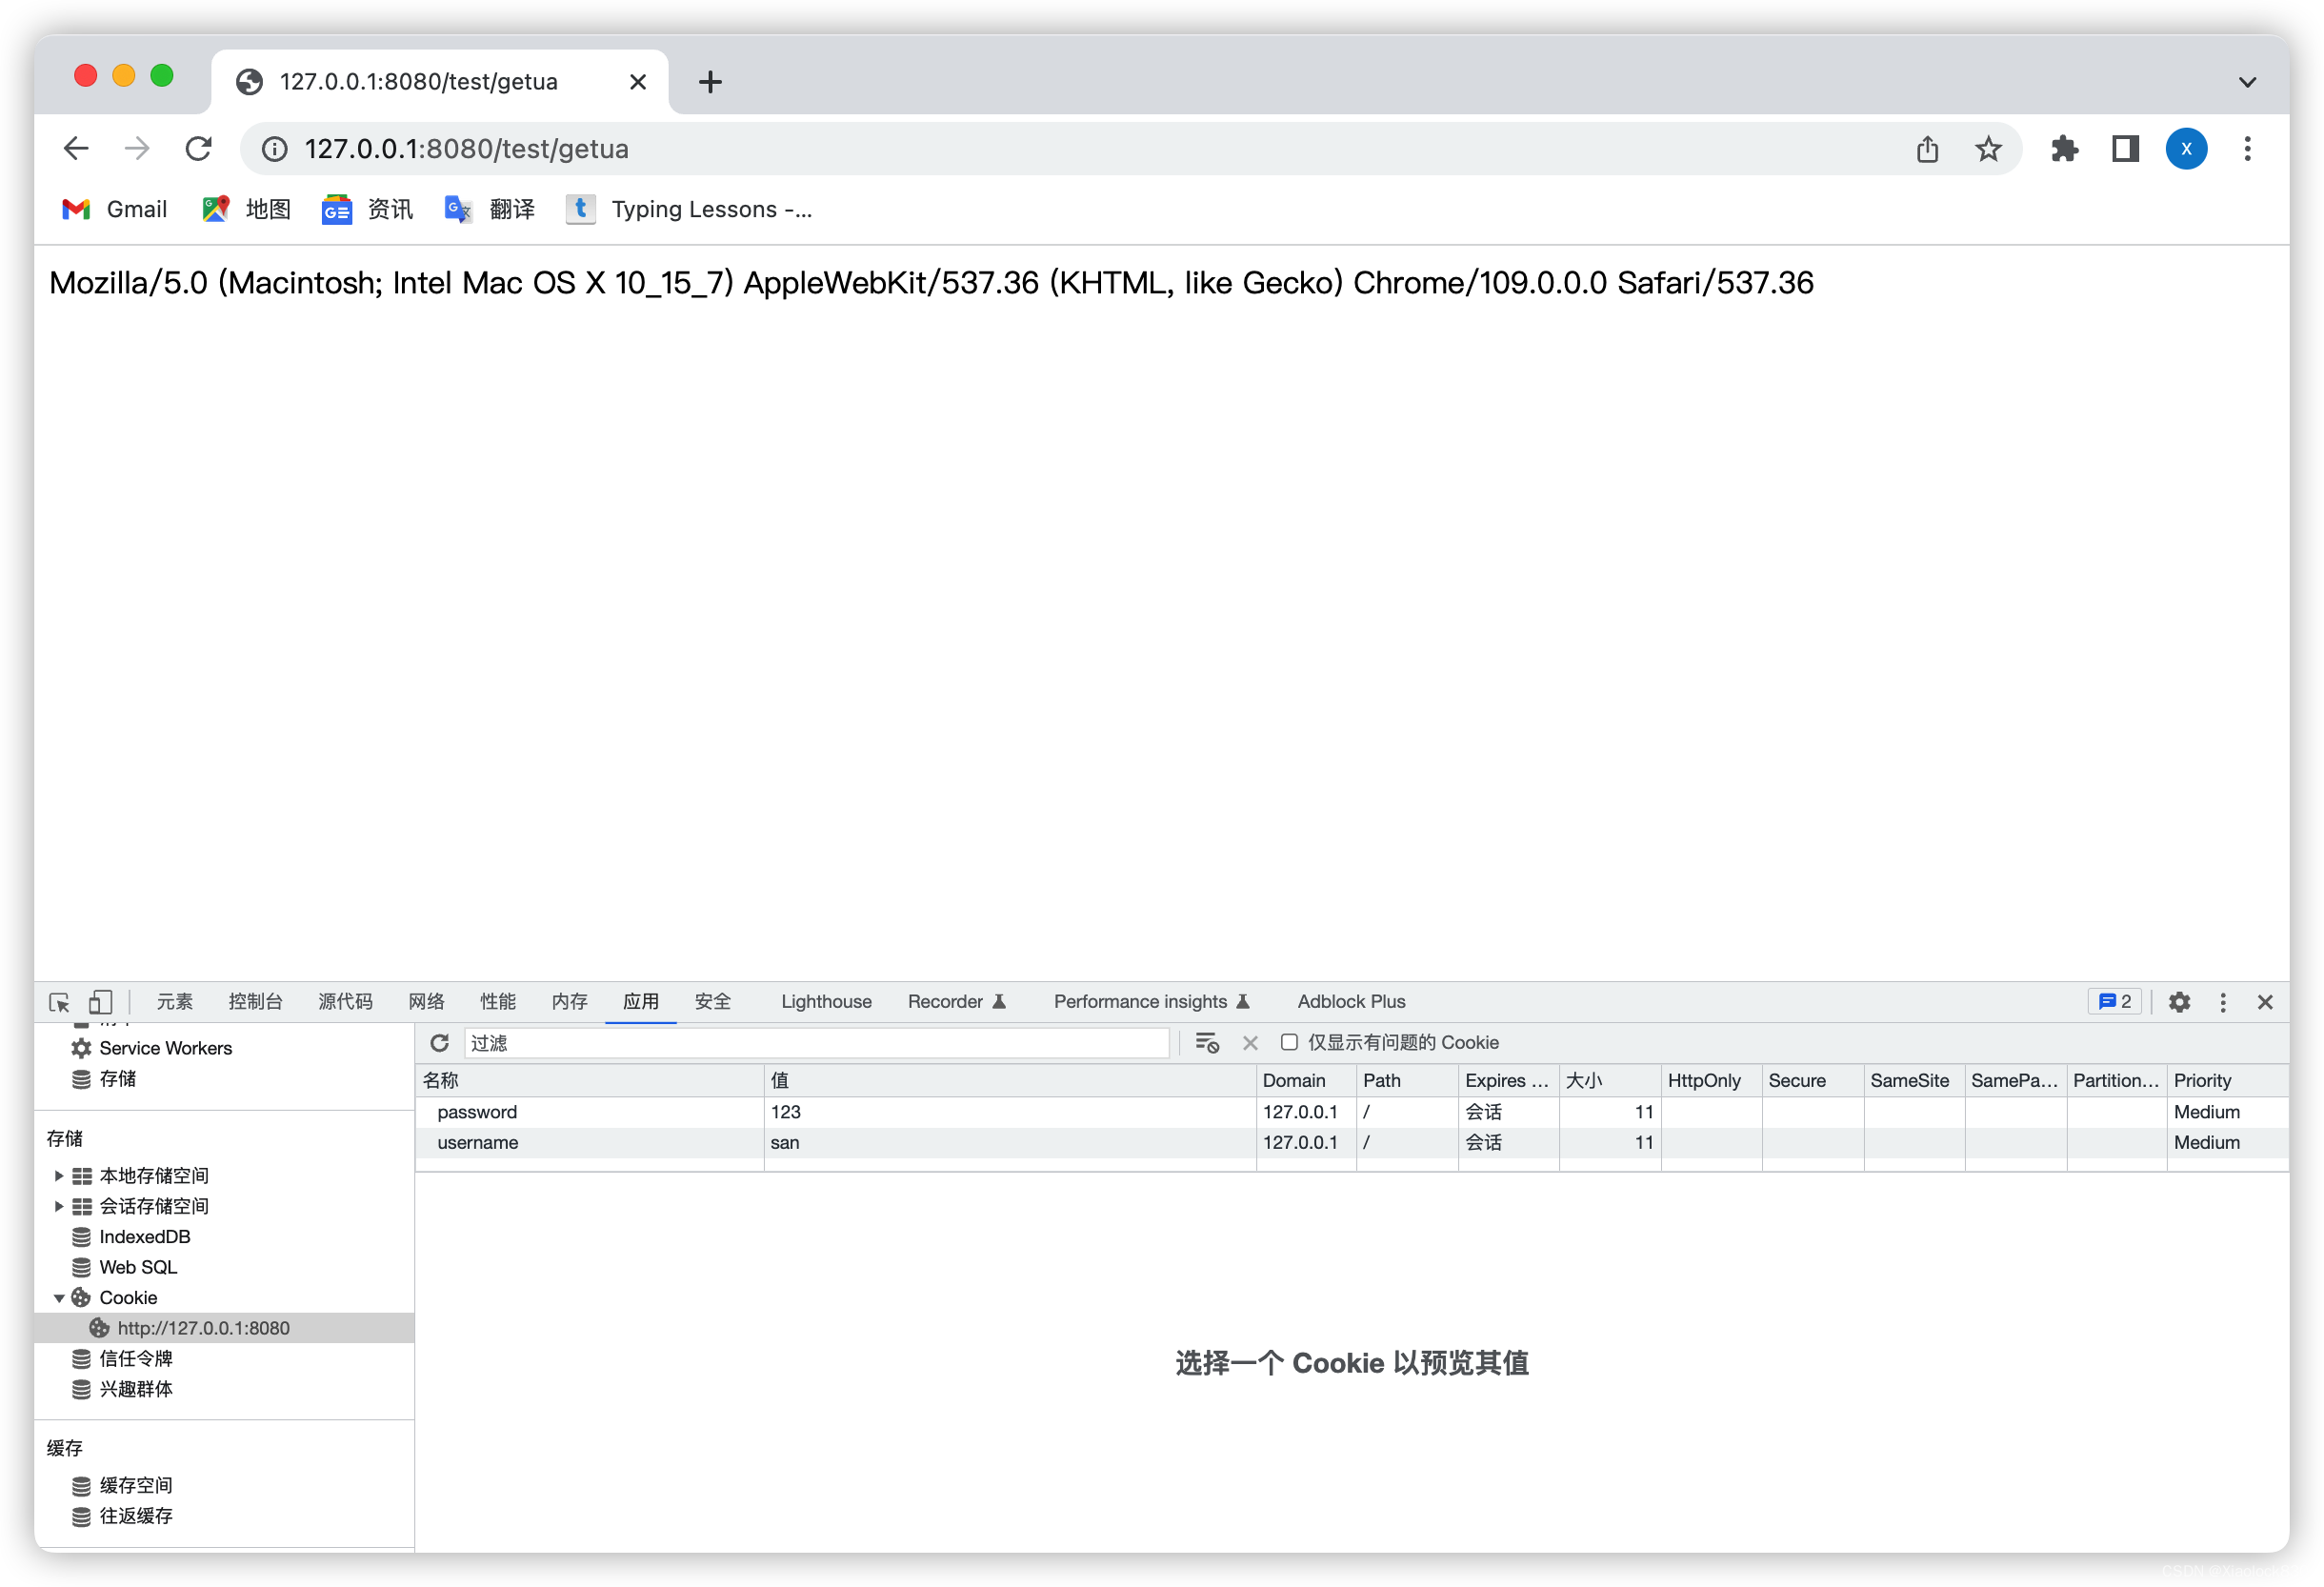
使用@RequestHeader注解可以获取header
@RequestMapping("/getua")
public String getUA(@RequestHeader("User-Agent")String userAgent){
    return userAgent;
}
存储session
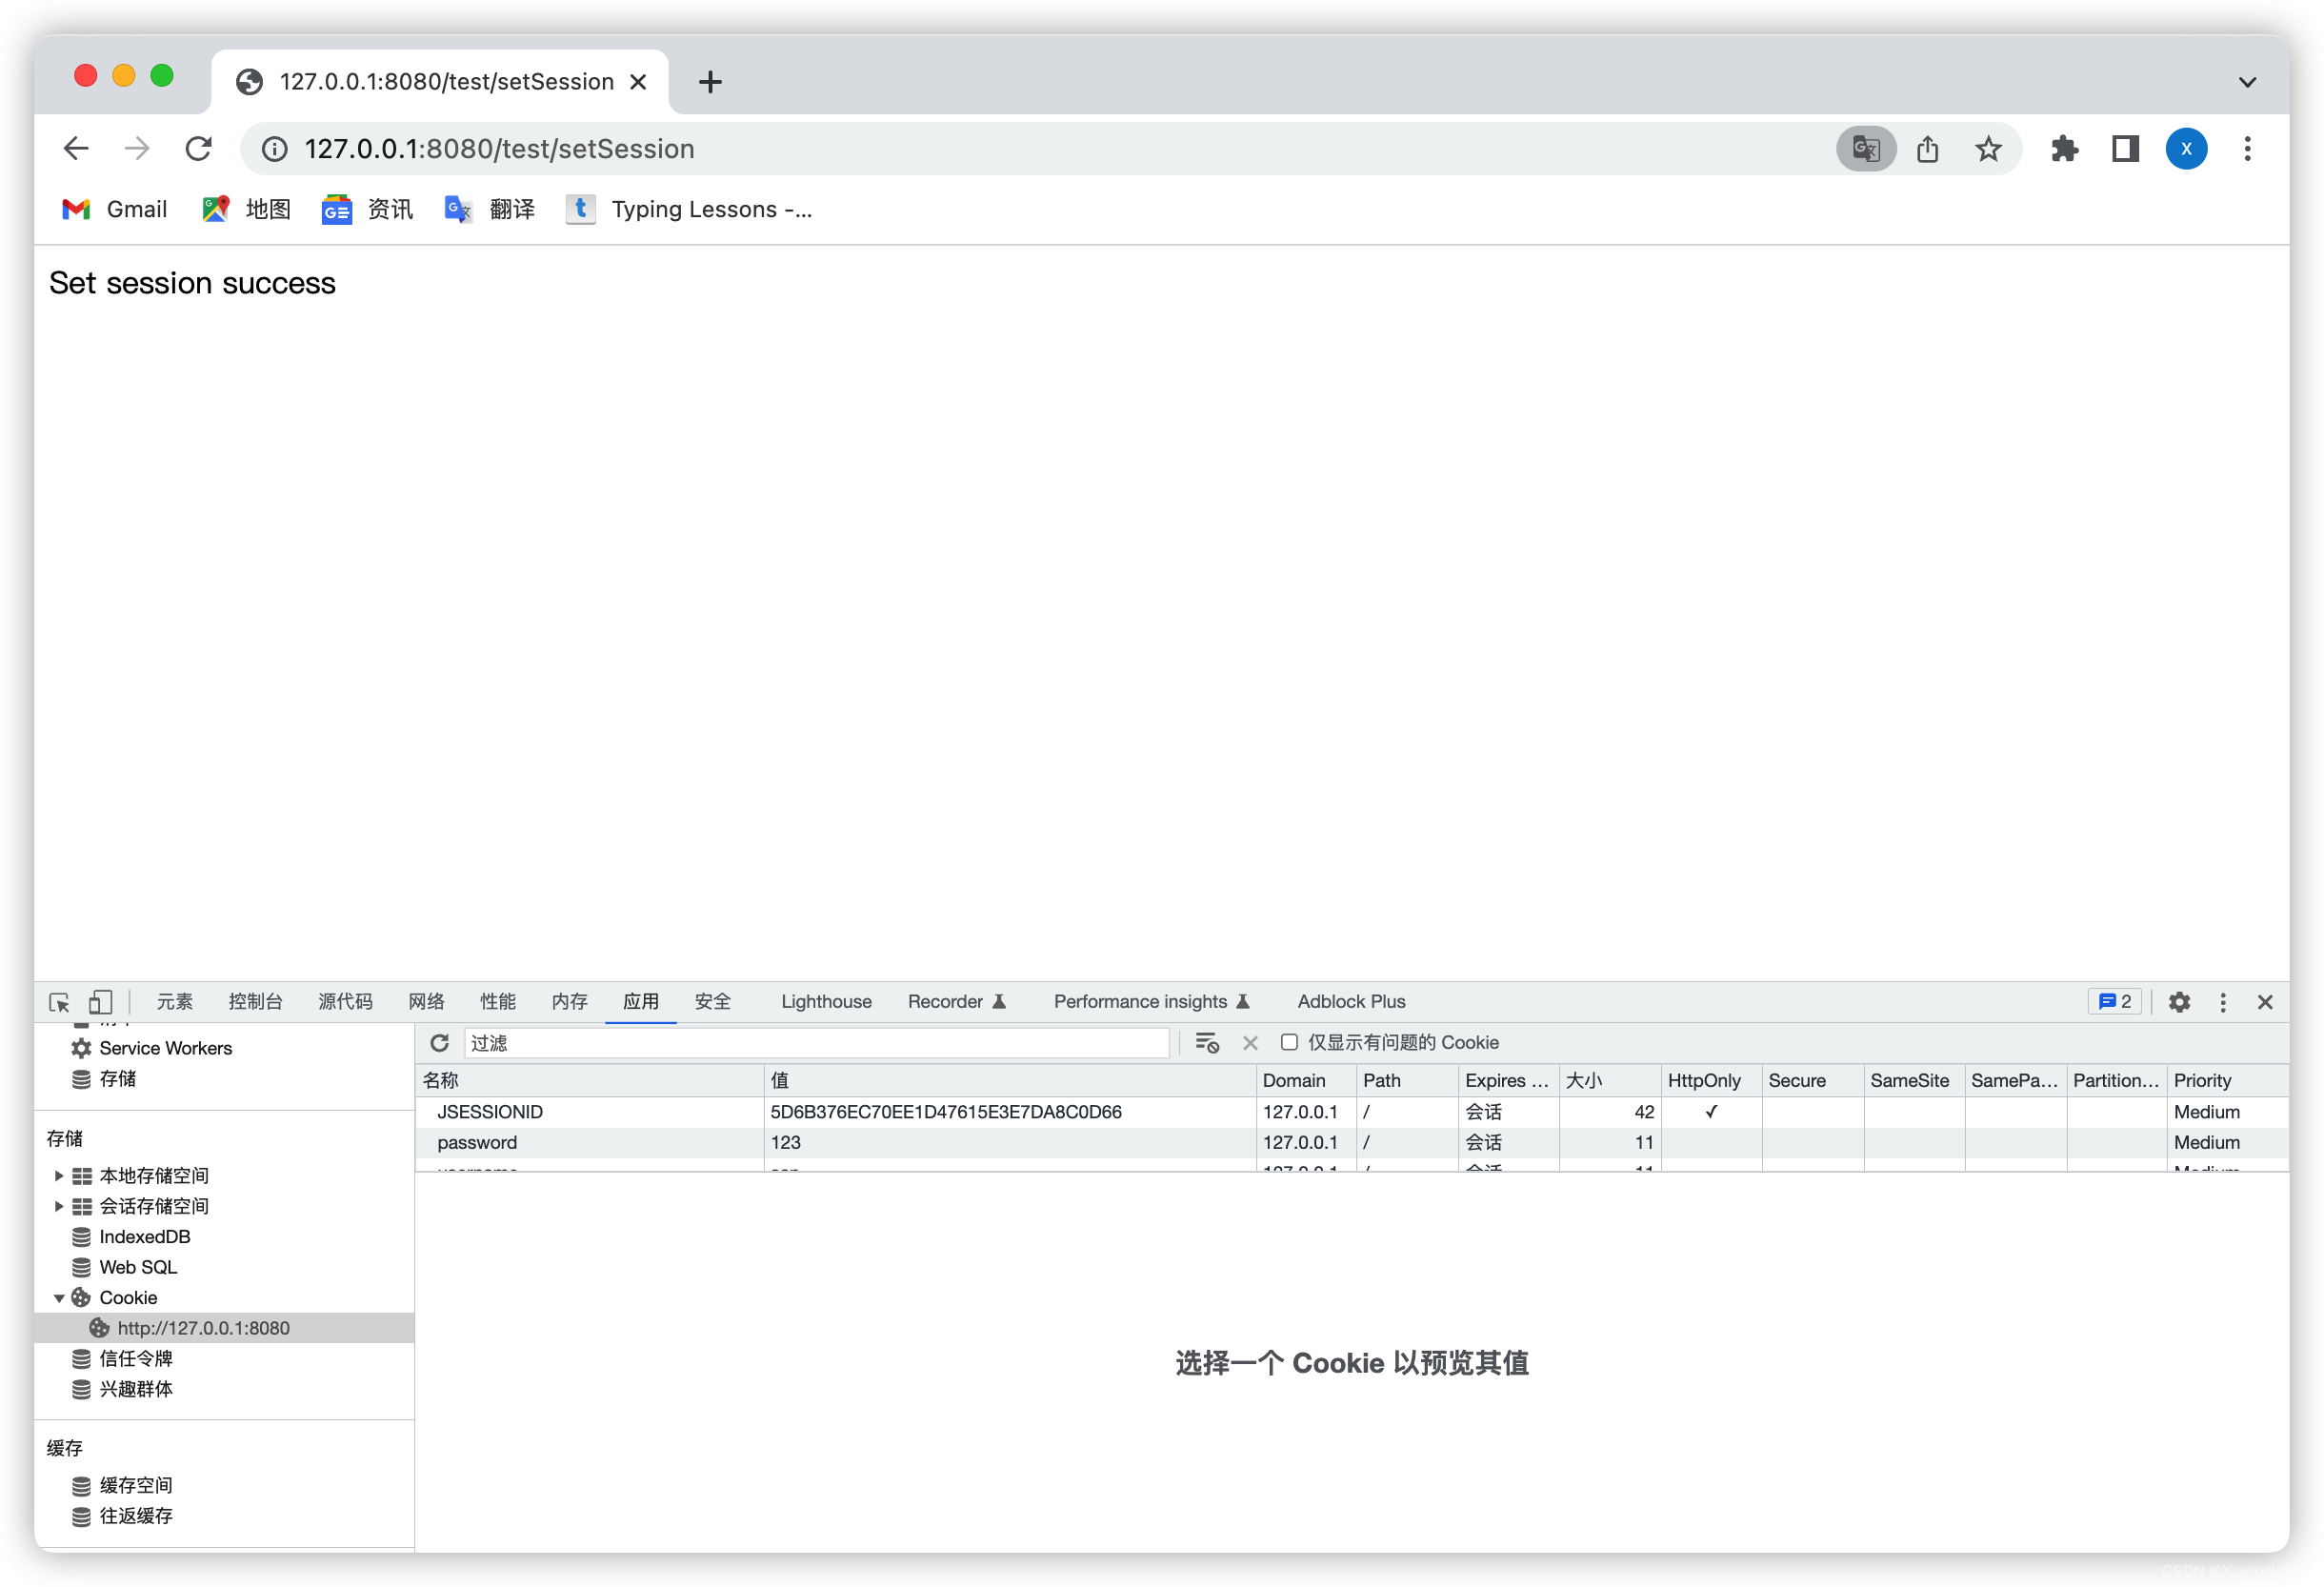
对于存储session,SpringMVC并没有注解,我们只能使用传统的servlet方式存储
@RequestMapping("/setSession")
public String setSession(HttpServletRequest request, HttpServletResponse response){
    HttpSession session = request.getSession();
    session.setAttribute("userInfo","userInfo");
    return "Set session success";
}
获取session
使用servelt传统方式获取session
@RequestMapping("/getSession")
public String getSession(HttpServletRequest request, HttpServletResponse response){
    HttpSession session = request.getSession(false);
    if(session != null && session.getAttribute("userInfo") != null){
        return session.getAttribute("userInfo").toString();
    }
    return "no session";
}
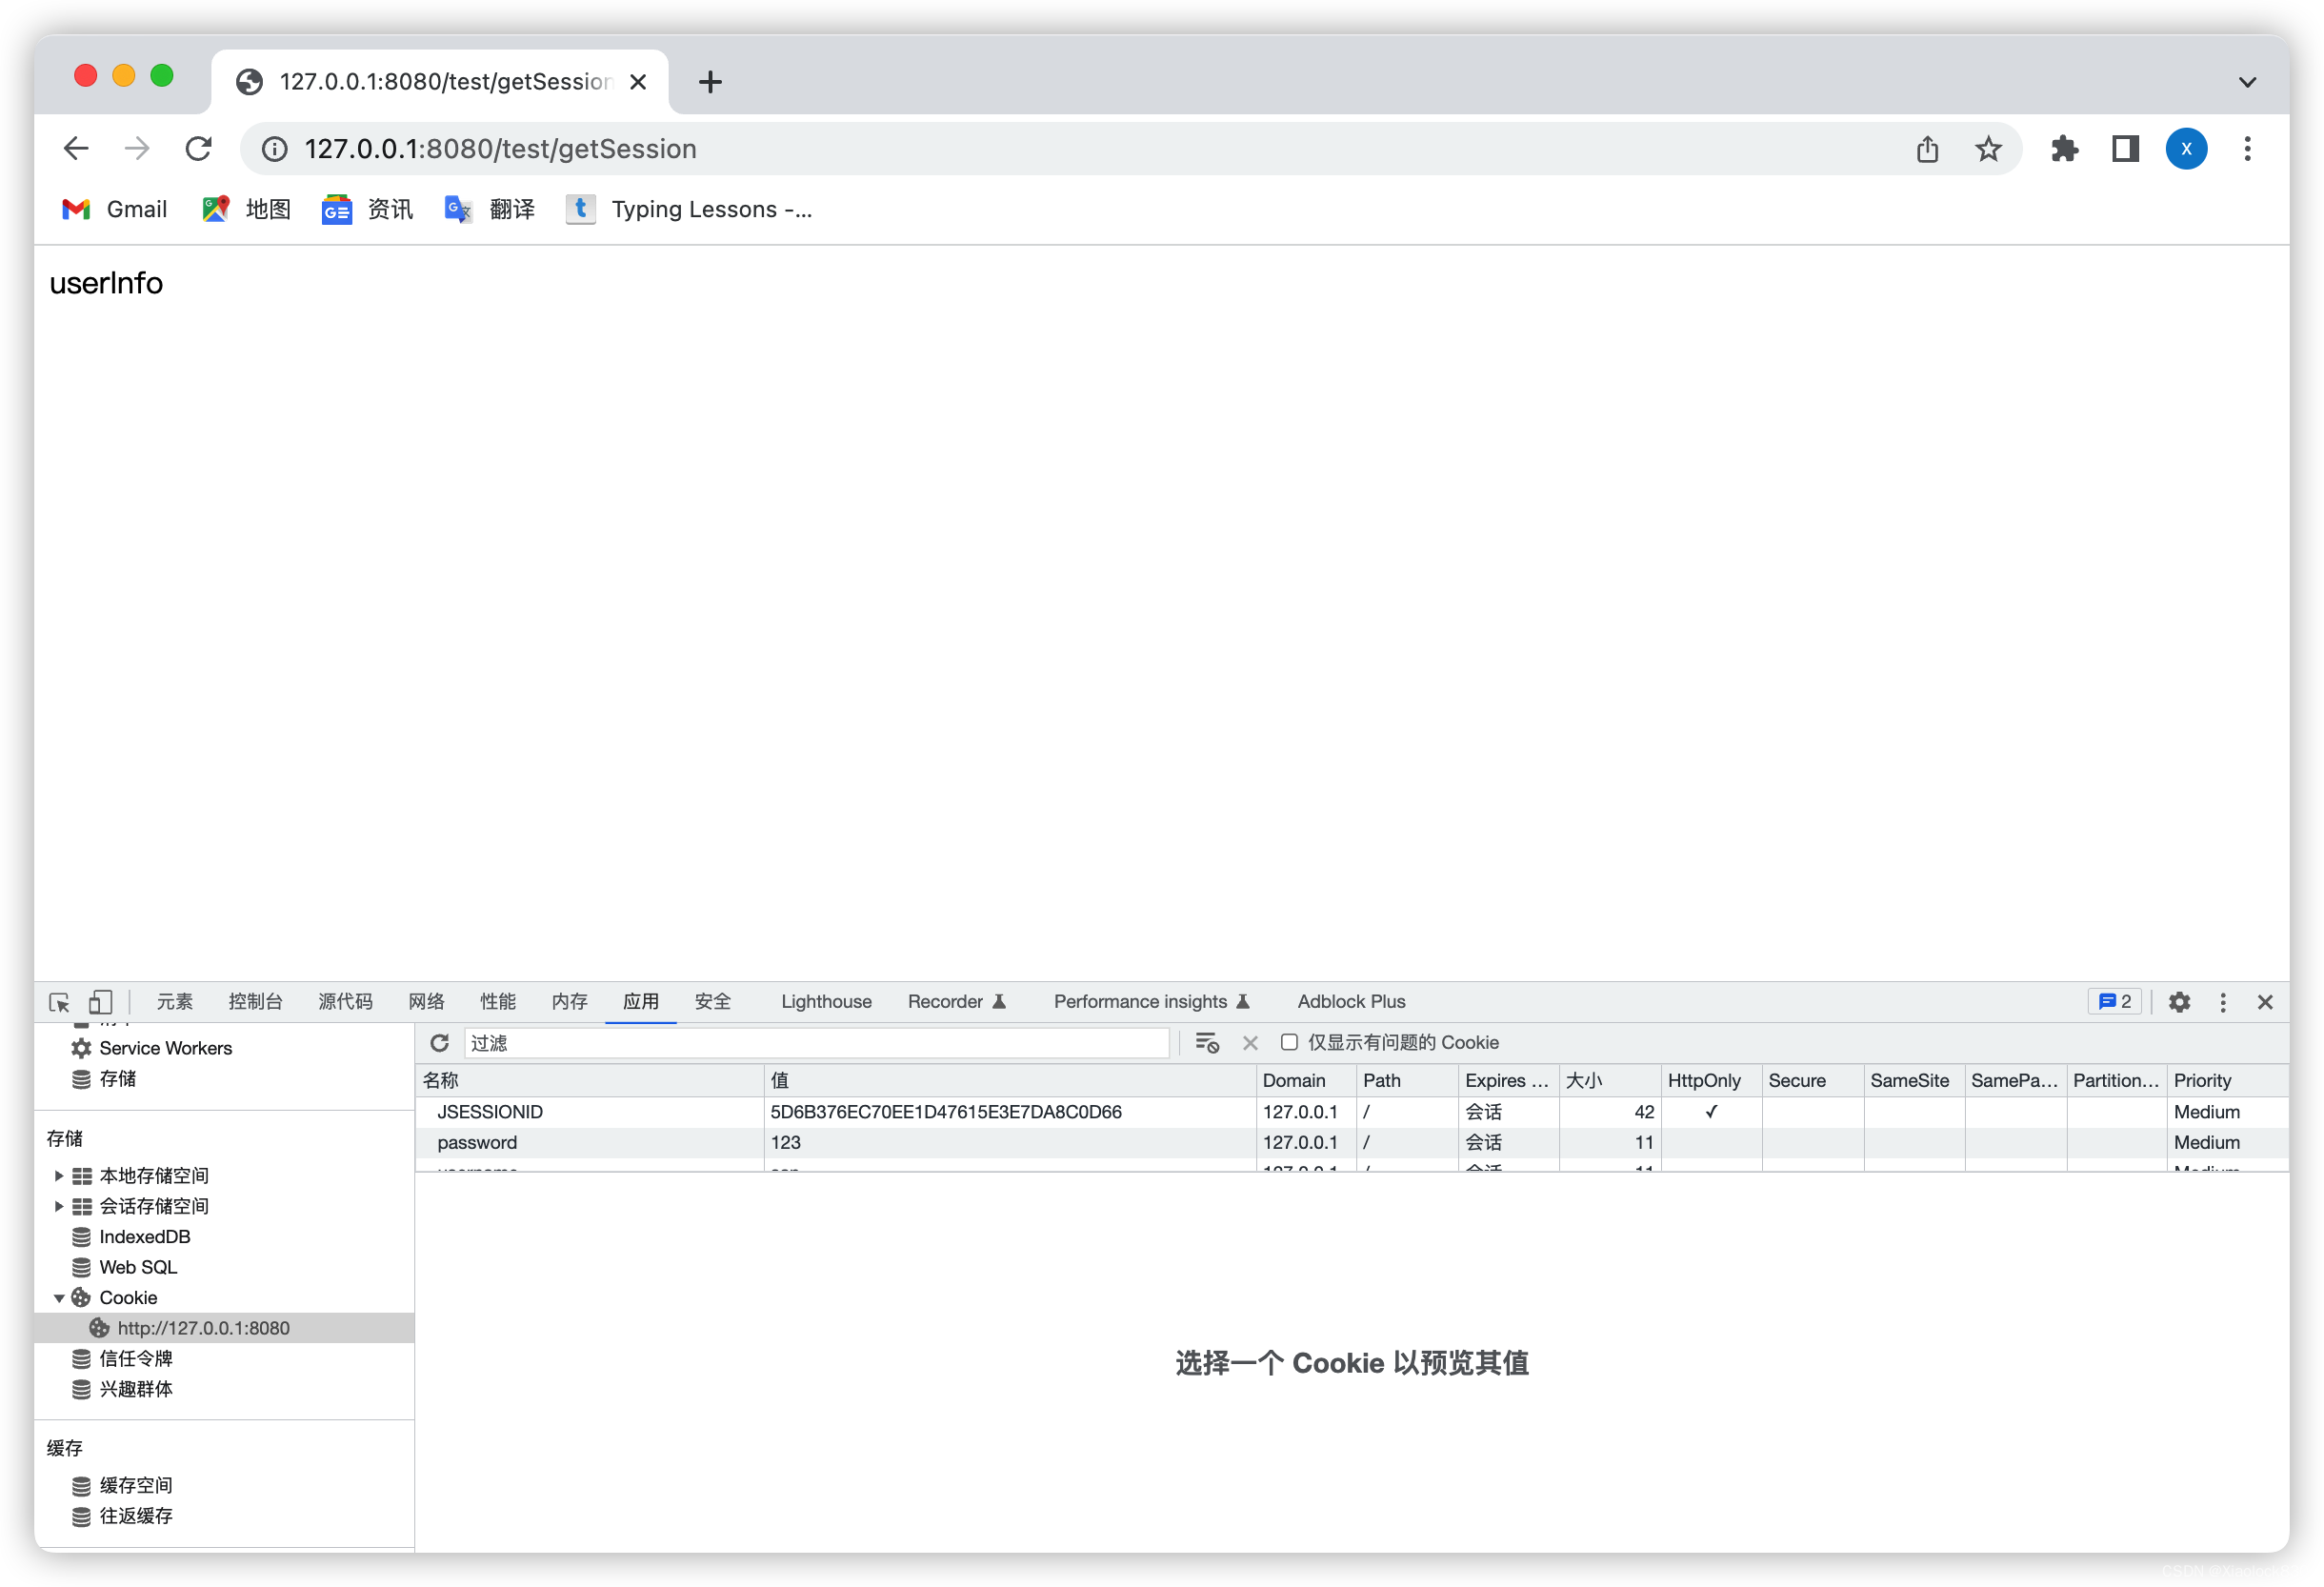
也可以通过@SessionAttribute注解来获取
@RequestMapping("/getSession2")
public String getSession2(@SessionAttribute(value = "userInfo" ,required = false)String userinfo){
    return userinfo;
}
需要注意,这里的required一定要使用false,这样的话如果session不存在,就不会主动创建session
显示页面
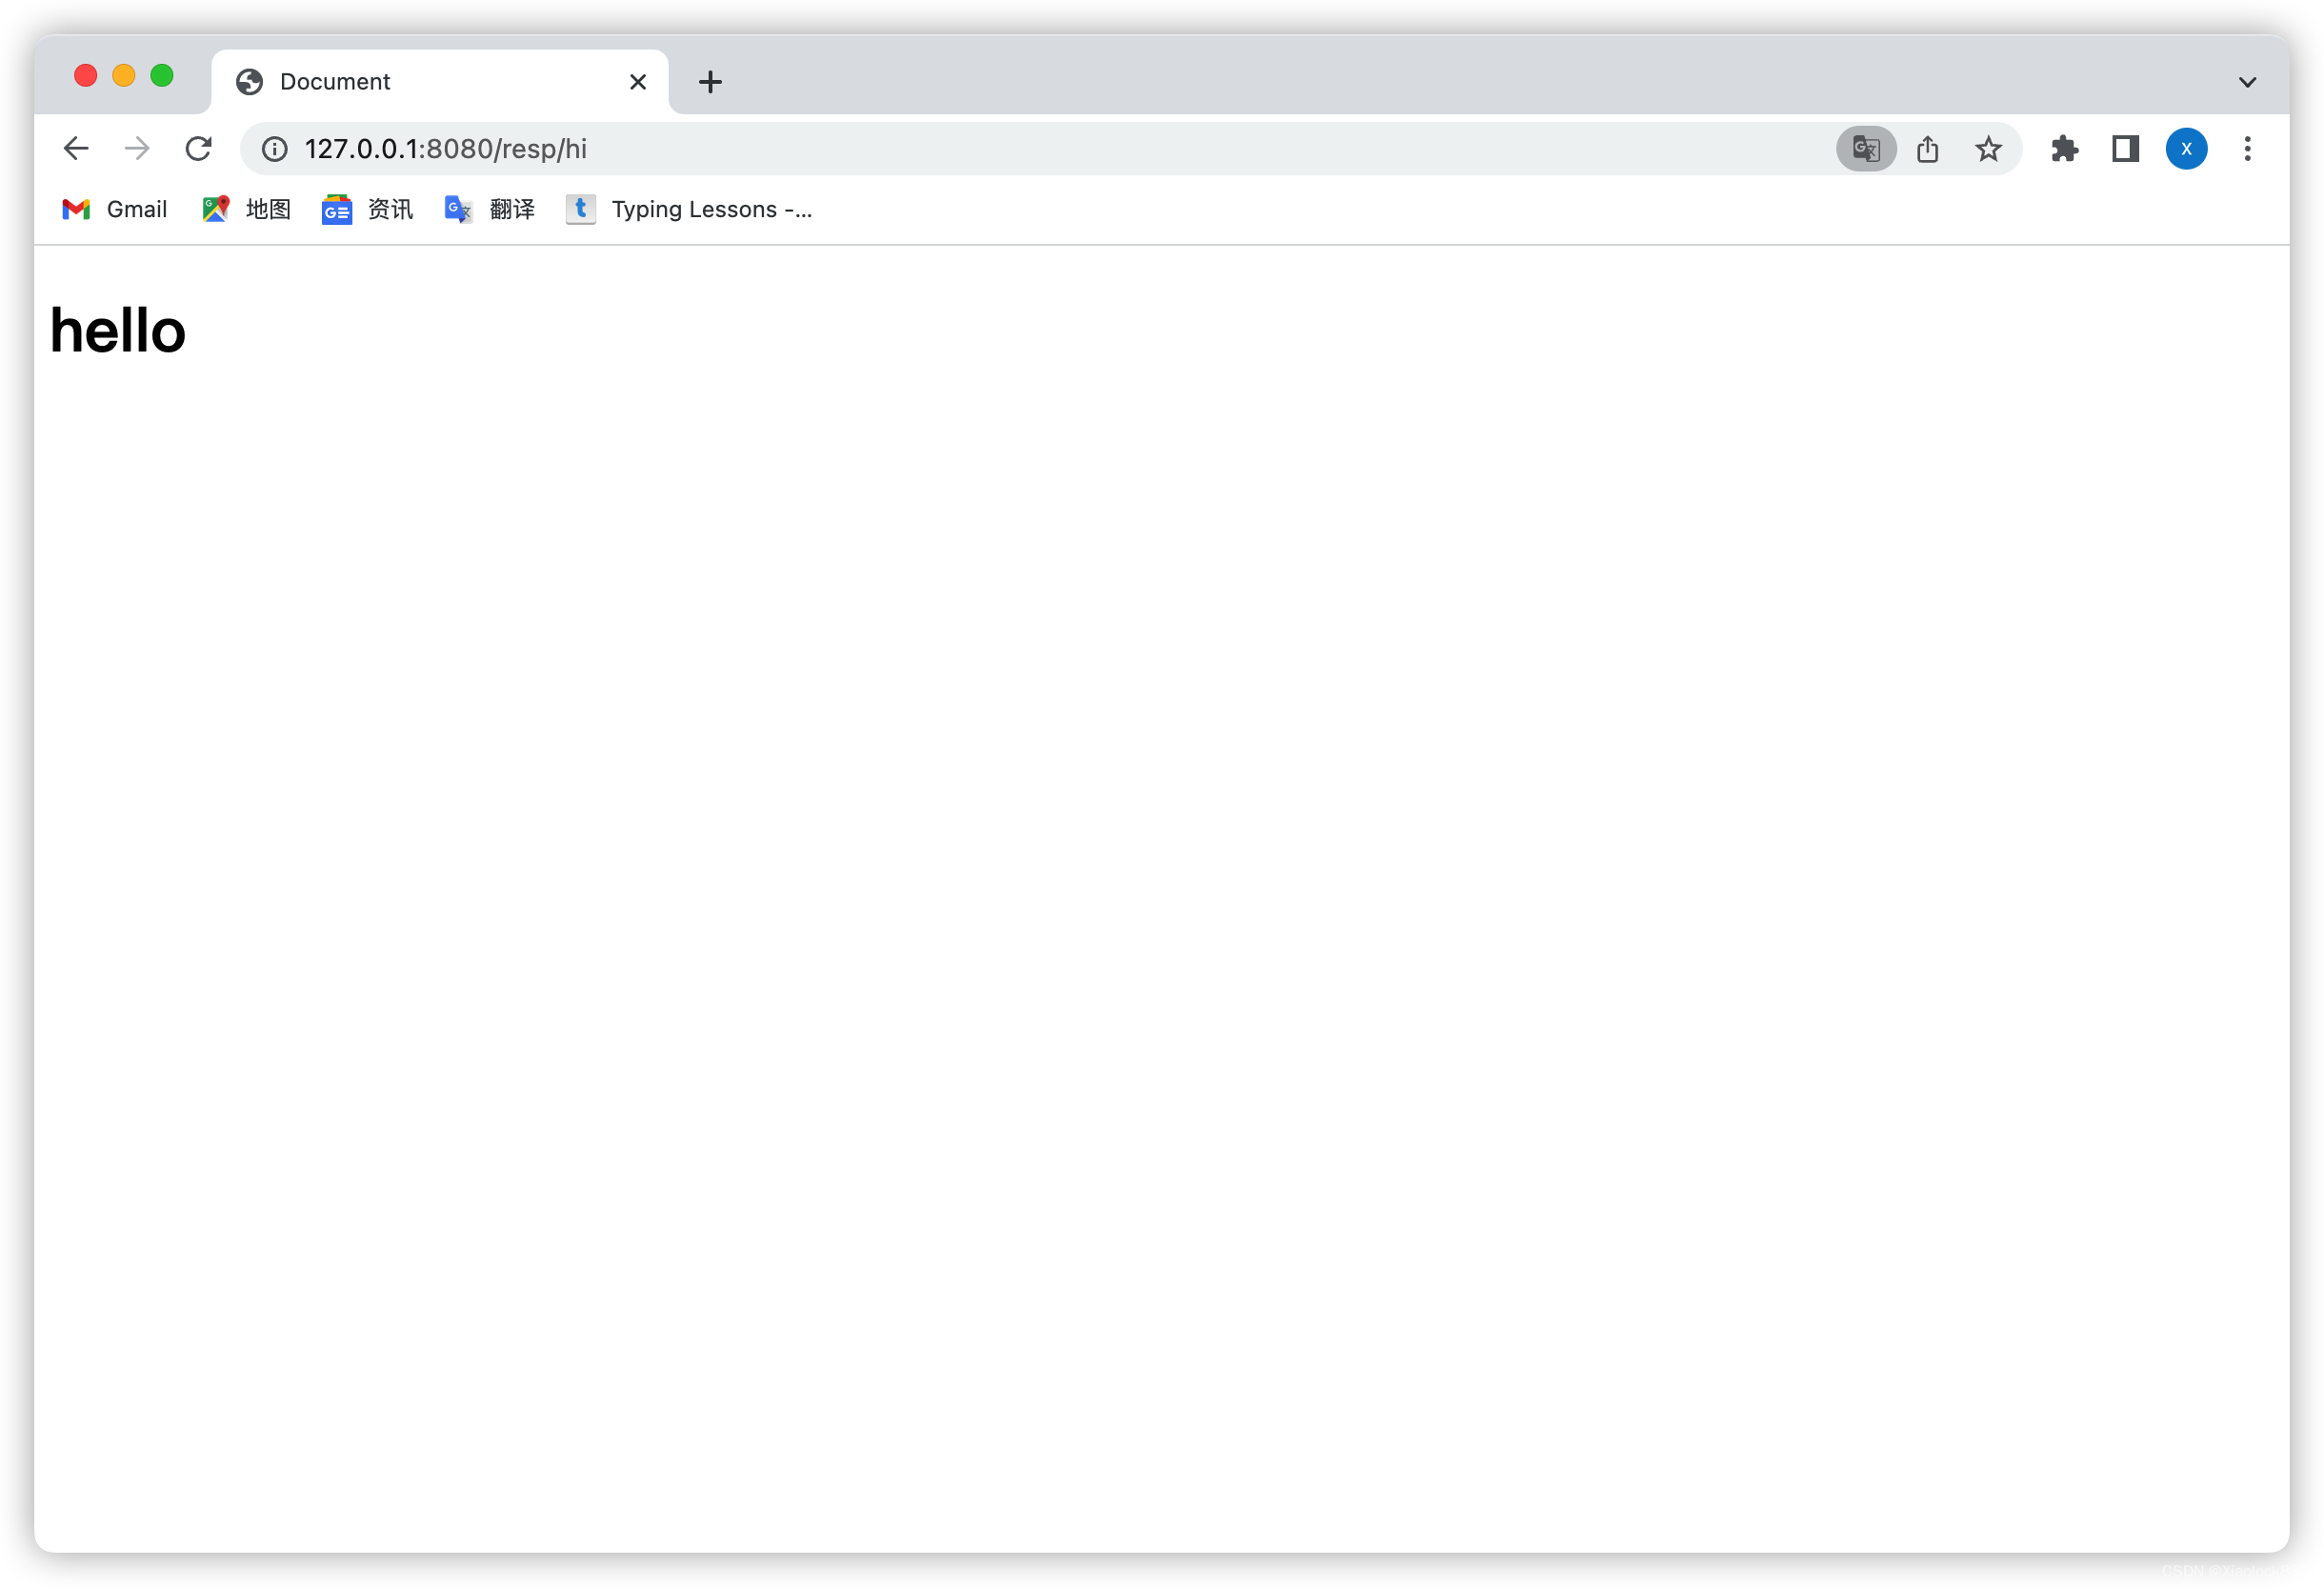
如果不在方法上加@ResponseBody,那么会返回存储在项目中的页面
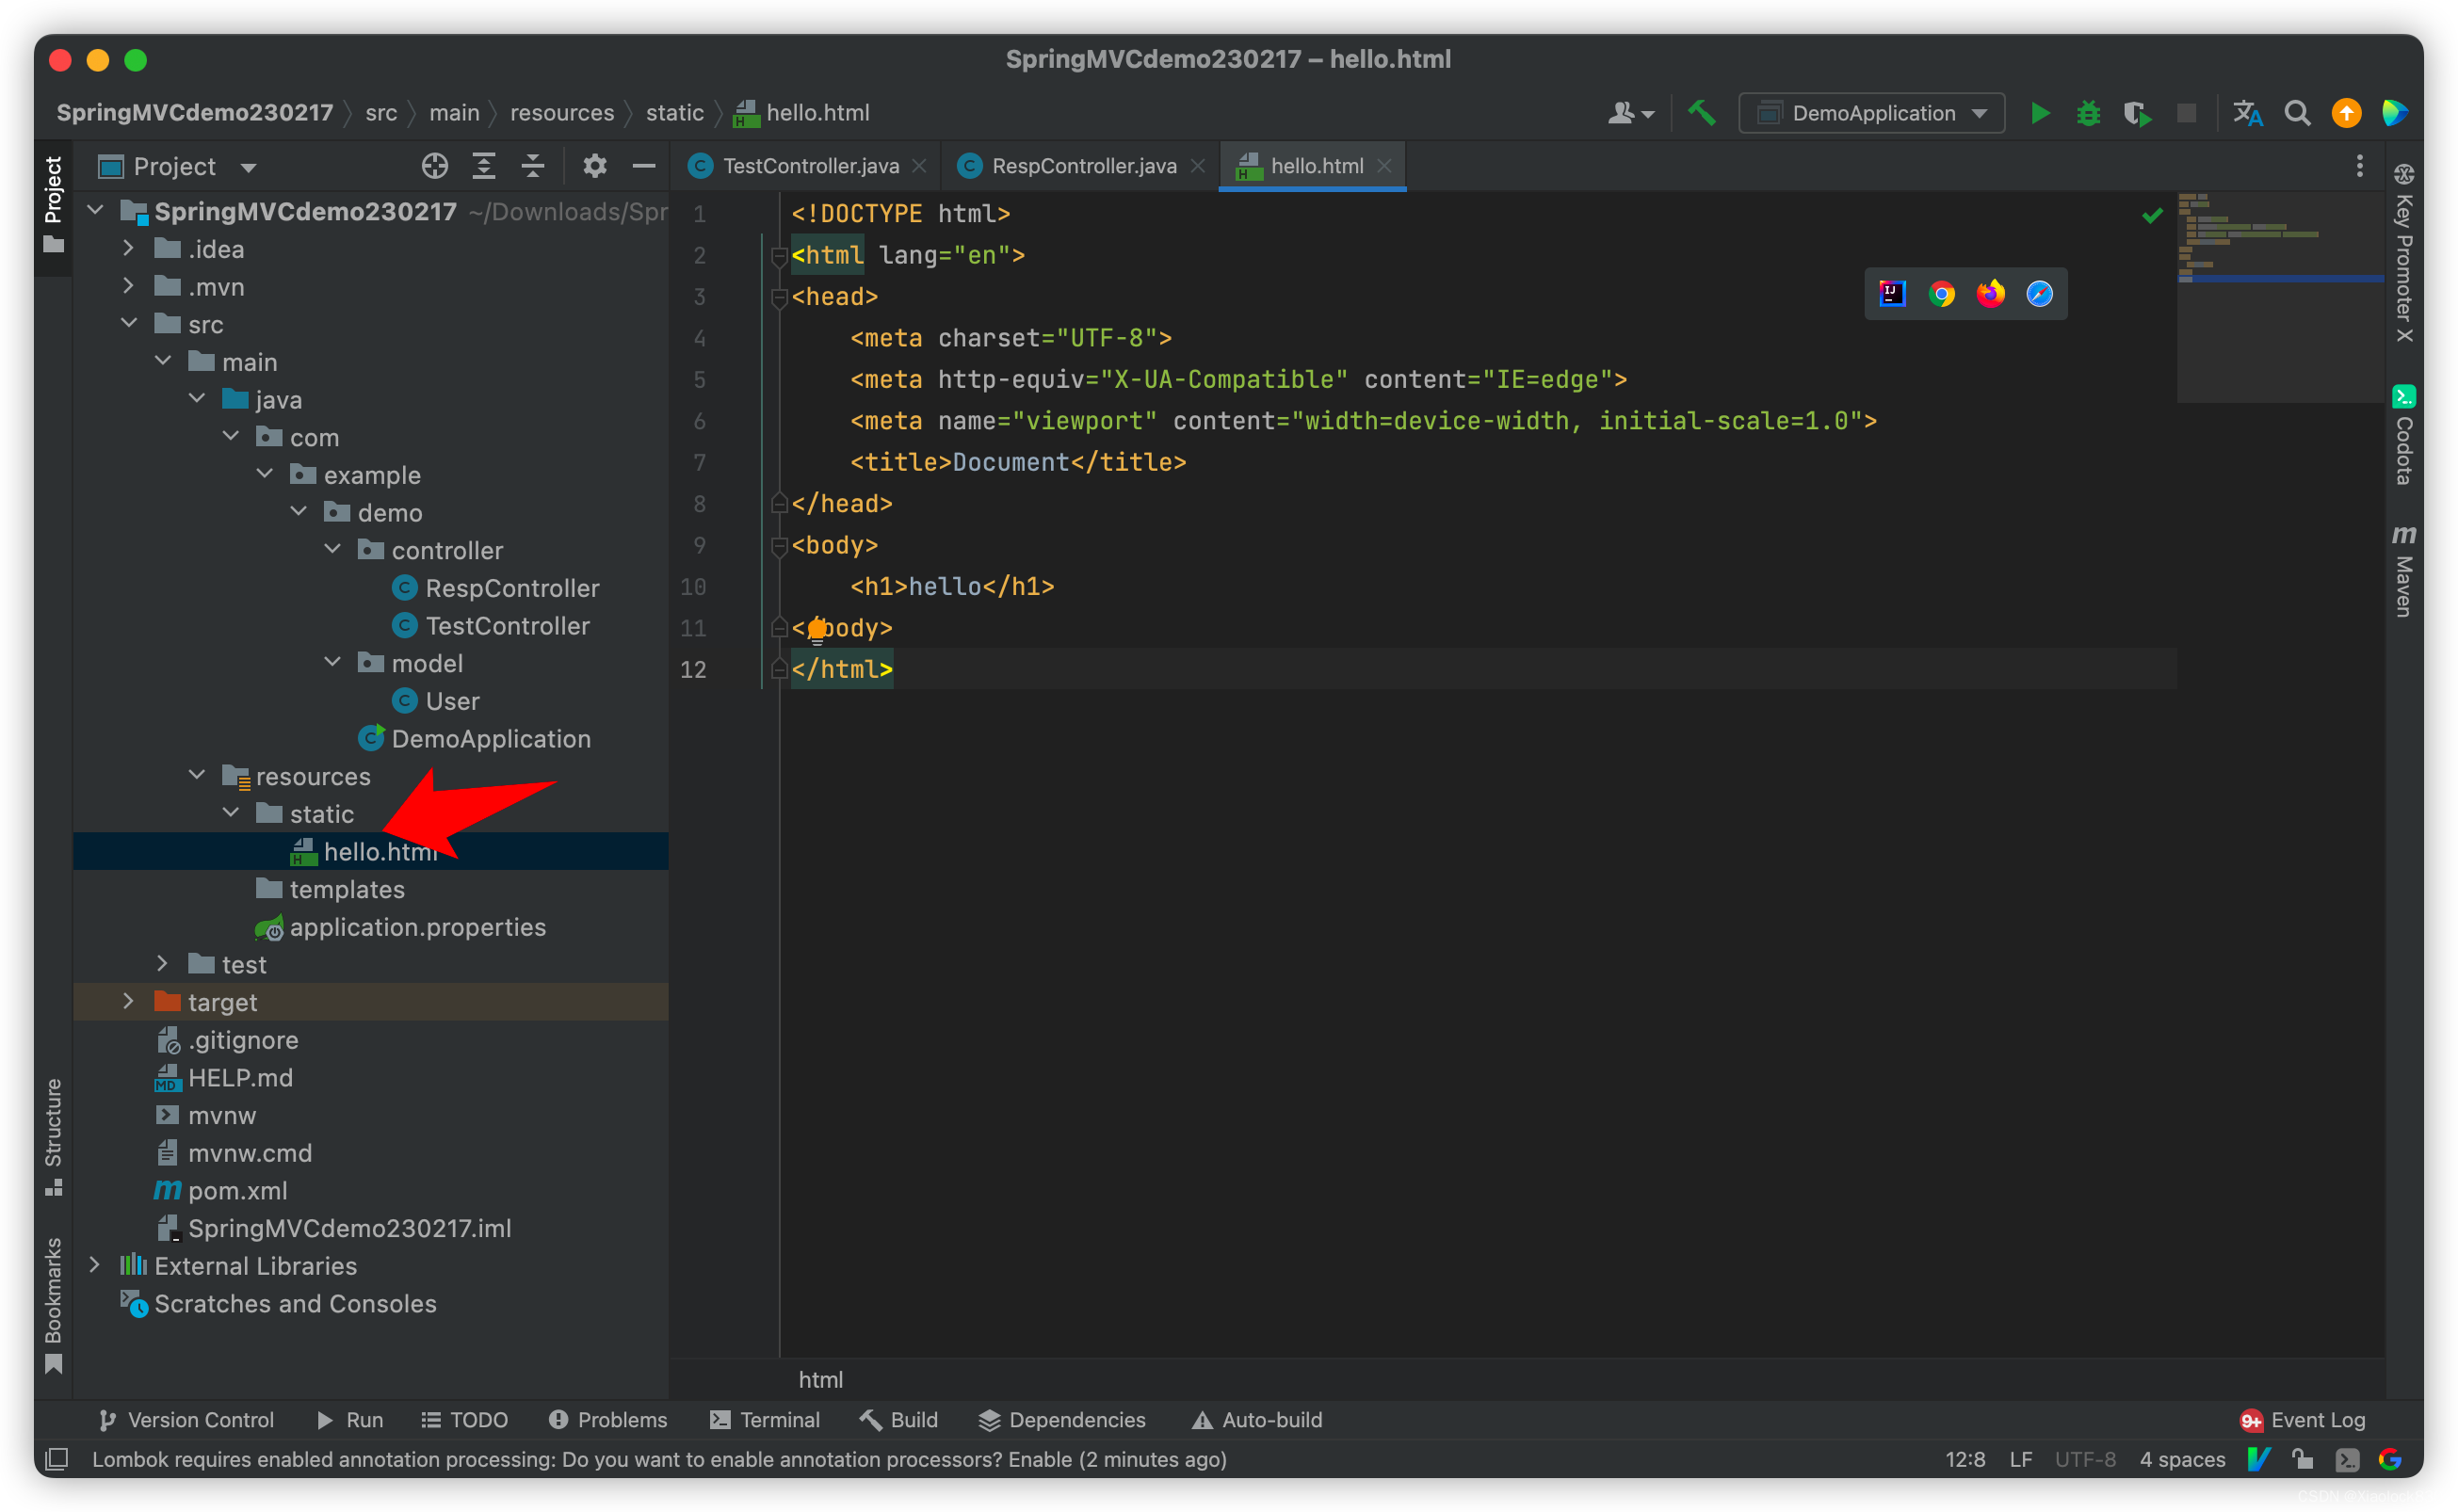
package com.example.demo.controller;

import org.springframework.stereotype.Controller;
import org.springframework.web.bind.annotation.RequestMapping;

@RequestMapping("/resp")
@Controller
public class RespController {
    @RequestMapping("/hi")
    public String hi(){
        return "/hello.html";
    }
}
