目录
一、安装 vite-plugin-svg-icons
二、创建图标文件夹
三、main.ts 引入注册脚本
四、vite.config.ts 插件配置
五、TypeScript支持
六、组件封装
七、使用
Element Plus 图标库往往满足不了实际开发需求,可以引用和使用第三方例如 iconfont 的图标,本节通过整合 vite-plugin-svg-icons 插件使用第三方图标库。
一、安装 vite-plugin-svg-icons
npm i fast-glob@3.2.11 -Dnpm i vite-plugin-svg-icons@2.0.1 -D二、创建图标文件夹
在src/assets文件夹下新建icons文件夹,用于存放下载的 SVG 图标
三、main.ts 引入注册脚本
// main.ts
import 'virtual:svg-icons-register';
四、vite.config.ts 插件配置
// vite.config.ts
import {UserConfig, ConfigEnv, loadEnv} from 'vite'
import vue from '@vitejs/plugin-vue'
import { createSvgIconsPlugin } from 'vite-plugin-svg-icons';

export default ({command, mode}: ConfigEnv): UserConfig => {
    // 获取 .env 环境配置文件
    const env = loadEnv(mode, process.cwd())

    return (
        {
            plugins: [
                vue(),
                createSvgIconsPlugin({
                    // 指定需要缓存的图标文件夹
                    iconDirs: [path.resolve(process.cwd(), 'src/assets/icons')],
                    // 指定symbolId格式
                    symbolId: 'icon-[dir]-[name]',
                })
            ]
        }
    )
}
五、TypeScript支持
// tsconfig.json
{
  "compilerOptions": {
    "types": ["vite-plugin-svg-icons/client"]
  }
}
六、组件封装
在src/components文件夹下新建SvgIcon文件夹,然后在SvgIcon文件夹下index.ts文件,内容如下:
<!--src/components/SvgIcon/index.vue-->
<template>
  <svg
      aria-hidden="true"
      class="svg-icon"
      :style="'width:' + size + ';height:' + size"
  >
    <use :xlink:href="symbolId" :fill="color"/>
  </svg>
</template>

<script setup lang="ts">
import {computed} from 'vue';

const props = defineProps({
  prefix: {
    type: String,
    default: 'icon'
  },
  iconClass: {
    type: String,
    required: false
  },
  color: {
    type: String
  },
  size: {
    type: String,
    default: '1em'
  }
});

const symbolId = computed(() => `#${props.prefix}-${props.iconClass}`);
</script>

<style scoped>
.svg-icon {
  overflow: hidden;
  fill: currentColor;
}
</style>
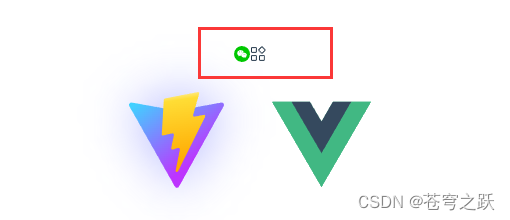
七、使用
<script setup lang="ts">
import SvgIcon from '@/components/SvgIcon/index.vue';
</script>
<template>
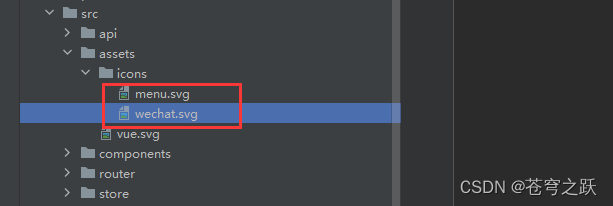
<svg-icon icon-class="wechat"/>
<svg-icon icon-class="menu"/>
</template>