步骤1:运行“Git-2.13.1-64-bit.exe”,并点击“运行”按钮(默认)

步骤2:许可信息页面,点击“Next”(默认)

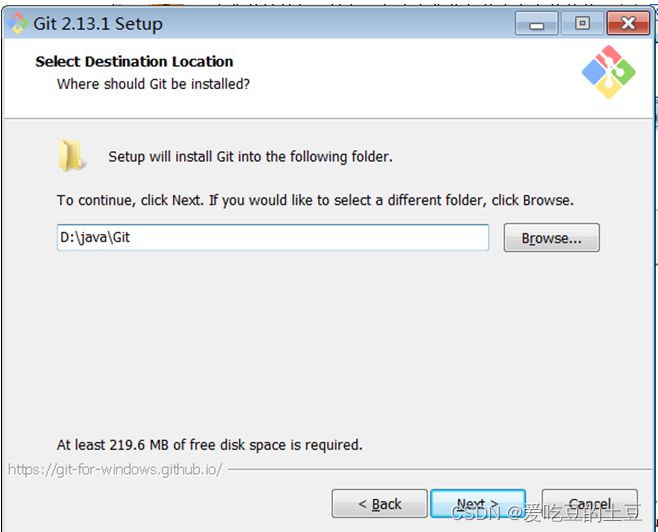
步骤3:选择安装路径(默认)
步骤4:选择需要安装的组件

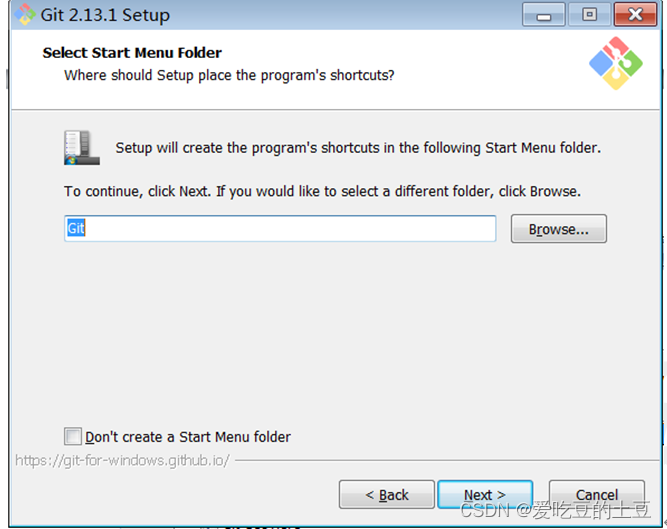
步骤5:选择开始菜单文件夹的名称
步骤6:设置系统环境变量PATH(默认)

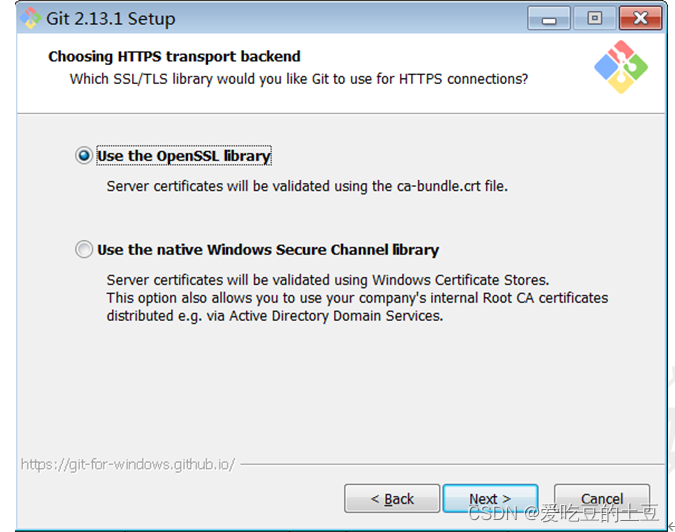
步骤7:选择HTTPS后端传输方式(默认)
步骤8:设置配置文件行结束转换(默认)

步骤9:配置 Git Bash 使用的终端仿真器(默认)

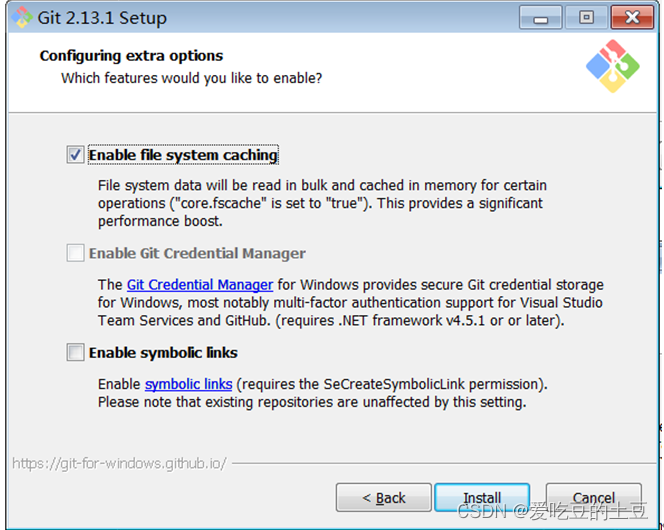
步骤10:配置附加选项(默认)
提供系统性能,某一些操作设置缓存
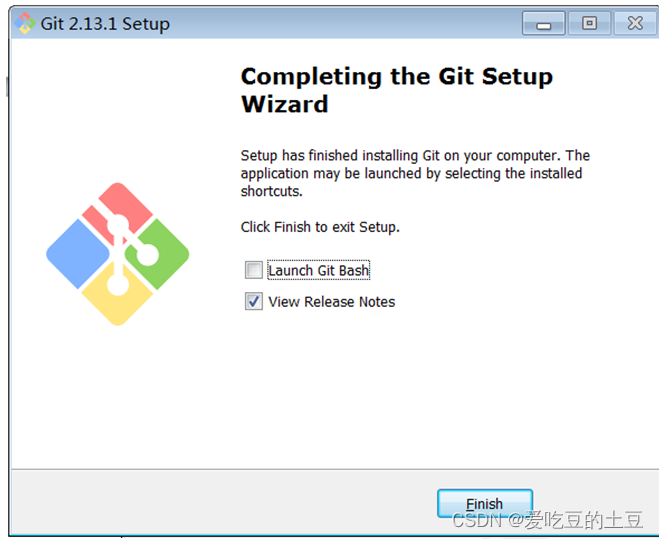
步骤11:完成安装