简介
canvas 是HTML5 提供的一种新标签,它可以支持 JavaScript 在上面绘画,控制每一个像素,它经常被用来制作小游戏,接下来我将用它来模仿制作一款叫flappy bird的小游戏。flappy bird(中文名:笨鸟先飞)是一款由来自越南的独立游戏开发者Dong Nguyen所开发的作品,于2013年5月24日上线,并在2014年2月突然暴红。
游戏规则
玩家只需要用一根手指来操控,点击或长按屏幕,小鸟就会往上飞,不断的点击就会不断的往高处飞。放松手指,则会快速下降。所以玩家要控制小鸟一直向前飞行,然后注意躲避途中高低不平的管子。小鸟安全飞过的距离既是得分。当然撞上就直接挂掉,只有一条命。
游戏素材
链接:pan.baidu.com/s/1JZR27H1K…
提取码:02ii
开始制作
初始化canvas画布
这里主要是创建画布,并调整画布大小,画布自适应屏幕大小。
<!DOCTYPE html>
<html lang="zh">
<head>
<meta charset="UTF-8">
<meta http-equiv="X-UA-Compatible" content="IE=edge">
<meta name="viewport" content="width=device-width, initial-scale=1.0">
<title>Document</title>
<style> body {
margin: 0;
padding: 0;
overflow: hidden;
} </style>
</head>
<body>
<canvas id="canvas">
当前浏览器不支持canvas,请更换浏览器查看。
</canvas>
<script> /** @type {HTMLCanvasElement} */
const canvas = document.querySelector('#canvas')
const ctx = canvas.getContext('2d')
canvas.width = window.innerWidth
canvas.height = window.innerHeight
window.addEventListener('resize', () => {
canvas.width = window.innerWidth
canvas.height = window.innerHeight
}) </script>
</body>
</html>
加载资源
图片等资源的加载是异步的,只有当所有的资源都加载完了才能开始游戏,所以这里需要对图片等资源进行统一的监控和管理。 将图片资源用json进行描述,通过fetch进行统一加载。
// 资源管理器
class SourceManager {
static images = {};
static instance = new SourceManager();
constructor() {
return SourceManager.instance;}
loadImages() {
return new Promise((resolve) => {
fetch("./assets/images/image.json")
.then((res) => res.json())
.then((res) => {
res.forEach((item, index) => {
const image = new Image();
image.src = item.url;
image.onload = () => {
SourceManager.images[item.name] = image;
ctx.clearRect(0, 0, canvas.width, canvas.height);
ctx.font = "24px 黑体";
ctx.textAlign = "center";
ctx.fillText(`资源加载中${index + 1}/${res.length}...`, canvas.width / 2, (canvas.height / 2) * 0.618);
if (index === res.length - 1) {
console.log(index, "加载完成");
resolve();
}
};
});
});
});}
}
async function main() {
// 加载资源
await new SourceManager().loadImages();
}
main();
背景
为了适应不同尺寸的屏幕尺寸和管子能正确渲染到对应的位置,不能将背景图片拉伸,要定一个基准线固定背景图片所在屏幕中的位置。我们发现背景图并不能充满整个画面,上右下面是空缺的,这个时候需要使用小手段填充上,这里就用矩形对上部进行填充。接下来,需要让背景有一种无限向左移动的效果,就要并排绘制3张背景图片,这样在渲染的时候,当背景向左移动的距离dx等于一张背景图的宽度时,将dx=0,这样就实现了无限向左移动的效果,类似于轮播图。
// 背景
class GameBackground {
constructor() {
this.dx = 0
this.image = SourceManager.images.bg_day
this.dy = 0.8 * (canvas.height - this.image.height)
this.render()}
update() {
this.dx -= 1
if (this.dx + this.image.width <= 0) {
this.dx = 0
}
this.render()}
render() {
ctx.fillStyle = '#4DC0CA'
ctx.fillRect(0, 0, canvas.width, 0.8 * (canvas.height - this.image.height) + 10)
ctx.drawImage(this.image, this.dx, this.dy)
ctx.drawImage(this.image, this.dx + this.image.width, this.dy)
ctx.drawImage(this.image, this.dx + this.image.width * 2, this.dy)}
}
let gameBg = null
main();
// 渲染函数
function render() {
ctx.clearRect(0, 0, canvas.width, canvas.height);
gameBg.update();
requestAnimationFrame(render)
}
async function main() {
// 加载资源
await new SourceManager().loadImages();
// 背景
gameBg = new GameBackground()
// 渲染动画
render()
}
地面
地面要在背景的基础上将地面图上边对齐基准线(canvas.height * 0.8),并把下面空缺的部分通过和填补背景上半部分一致的方式填上。同时使用与背景无限向左移动一样的方法实现地面的无限向左移动。
// 地面
class Land {
constructor() {
this.dx = 0;
this.dy = canvas.height * 0.8;
this.image = SourceManager.images.land;
this.render();}
update() {
this.dx -= 1.5;
if (this.dx + this.image.width <= 0) {
this.dx = 0;
}
this.render();}
render() {
ctx.fillStyle = "#DED895";
ctx.fillRect(
0,
canvas.height * 0.8 + this.image.height - 10,
canvas.width,
canvas.height * 0.2 - this.image.height + 10
);
ctx.drawImage(this.image, this.dx, this.dy);
ctx.drawImage(this.image, this.dx + this.image.width, this.dy);
ctx.drawImage(this.image, this.dx + this.image.width * 2, this.dy);}
}
let land = null
main();
// 渲染函数
function render() {
ctx.clearRect(0, 0, canvas.width, canvas.height);
gameBg.update();
requestAnimationFrame(render)
}
async function main() {
// 加载资源
await new SourceManager().loadImages();
// 此处省略其他元素
// 地面
land = new Land()
// 渲染动画
render()
}
管道
管道有上下两部分,上部分管道需要贴着屏幕的顶部渲染,下部分要贴着地面也就是基准线渲染,上下两部分的管道长度要随机生成,且两部分之间的距离不能小于80(我自己限制的);管道渲染速度为2s一次,并且也需要无限向左移动,这个效果和背景同理。
// 管道
class Pipe {
constructor() {
this.dx = canvas.width;
this.dy = 0;
this.upPipeHeight = (Math.random() * canvas.height * 0.8) / 2 + 30;
this.downPipeHeight = (Math.random() * canvas.height * 0.8) / 2 + 30;
if (canvas.height * 0.8 - this.upPipeHeight - this.downPipeHeight <= 80) {
console.log("///小于80了///");
this.upPipeHeight = 200;
this.downPipeHeight = 200;
}
this.downImage = SourceManager.images.pipe_down;
this.upImage = SourceManager.images.pipe_up;}
update() {
this.dx -= 1.5;// 记录管道四个点的坐标,在碰撞检测的时候使用this.upCoord = {tl: {x: this.dx,y: canvas.height * 0.8 - this.upPipeHeight,},tr: {x: this.dx + this.upImage.width,y: canvas.height * 0.8 - this.upPipeHeight,},bl: {x: this.dx,y: canvas.height * 0.8,},br: {x: this.dx + this.upImage.width,y: canvas.height * 0.8,},};this.downCoord = {bl: {x: this.dx,y: this.downPipeHeight,},br: {x: this.dx + this.downImage.width,y: this.downPipeHeight,},};
this.render();}
render() {
ctx.drawImage(
this.downImage,
0,
this.downImage.height - this.downPipeHeight,
this.downImage.width,
this.downPipeHeight,
this.dx,
this.dy,
this.downImage.width,
this.downPipeHeight
);
ctx.drawImage(
this.upImage,
0,
0,
this.upImage.width,
this.upPipeHeight,
this.dx,
canvas.height * 0.8 - this.upPipeHeight,
this.upImage.width,
this.upPipeHeight
);}
}
let pipeList = []
main();
function render() {
ctx.clearRect(0, 0, canvas.width, canvas.height);
// 此处省略其他元素渲染步骤
pipeList.forEach((item) => item.update());
requestAnimationFrame(render)
}
async function main() {
// 此处省略其他元素渲染步骤
// 管道
setInterval(() => {
pipeList.push(new Pipe());
// 清理移动过去的管道对象,一屏最多展示3组,所以这里取大于3
if (pipeList.length > 3) {
pipeList.shift();
}}, 2000);
// 渲染动画
render()
}
笨鸟
小鸟要有飞行的动作,这个通过不断重复渲染3张小鸟不同飞行姿势的图片来实现;还要通过改变小鸟的在Y轴的值来制作上升下坠的效果,并且能够通过点击或长按屏幕来控制小鸟的飞行高度。
// 小鸟
class Bird {
constructor() {
this.dx = 0;
this.dy = 0;
this.speed = 2;
this.image0 = SourceManager.images.bird0_0;
this.image1 = SourceManager.images.bird0_1;
this.image2 = SourceManager.images.bird0_2;
this.loopCount = 0;
this.control();
setInterval(() => {
if (this.loopCount === 0) {
this.loopCount = 1;
} else if (this.loopCount === 1) {
this.loopCount = 2;
} else {
this.loopCount = 0;
}
}, 200);}
// 添加控制小鸟的事件
control() {
let timer = true;
canvas.addEventListener("touchstart", (e) => {
timer = setInterval(() => {
this.dy -= this.speed;
});
e.preventDefault();
});
canvas.addEventListener("touchmove", () => {
clearInterval(timer);
});
canvas.addEventListener("touchend", () => {
clearInterval(timer);
});}
update() {
this.dy += this.speed;
// 记录小鸟四个点的坐标,在碰撞检测的时候使用
this.birdCoord = {
tl: {
x: this.dx,
y: this.dy,
},
tr: {
x: this.dx + this.image0.width,
y: this.dy,
},
bl: {
x: this.dx,
y: this.dy + this.image0.height,
},
br: {
x: this.dx + this.image0.width,
y: this.dy + this.image0.height,
},
};
this.render();}
render() {
// 渲染小鸟飞行动作
if (this.loopCount === 0) {
ctx.drawImage(this.image0, this.dx, this.dy);
} else if (this.loopCount === 1) {
ctx.drawImage(this.image1, this.dx, this.dy);
} else {
ctx.drawImage(this.image2, this.dx, this.dy);
}}
}
let bird = null
main();
function render() {
ctx.clearRect(0, 0, canvas.width, canvas.height);
// 省略其他元素渲染
bird.update();
requestAnimationFrame(render);
}
async function main() {
// 省略其他元素渲染
// 笨鸟
bird = new Bird()
// 渲染动画
render()
}
我们发现小鸟好像是只美国鸟,有点太freedom了~,不符合我们的游戏规则,要想办法控制一下。
碰撞检测
碰撞检测的原理就是不断检测小鸟图四个顶点坐标是否在任一管道所占的坐标区域内或小鸟图下方的点纵坐标小于地面纵坐标(基准线),在就结束游戏。上面管道和小鸟类中记录的坐标就是为了实现碰撞检测的。
let gameBg = null
let land = null
let bird = null
let pipeList = []
main();
function render() {
ctx.clearRect(0, 0, canvas.width, canvas.height);
gameBg.update();
land.update();
bird.update();
pipeList.forEach((item) => item.update());
requestAnimationFrame(render);
// 碰撞检测-地面
if (bird.dy >= canvas.height * 0.8 - bird.image0.height + 10) {
gg();}
//碰撞检测-管道
pipeList.forEach((item) => {
if (
bird.birdCoord.bl.x >= item.upCoord.tl.x - 35 &&
bird.birdCoord.bl.x <= item.upCoord.tr.x &&
bird.birdCoord.bl.y >= item.upCoord.tl.y + 10
) {
gg();
} else if (
bird.birdCoord.tl.x >= item.downCoord.bl.x - 35 &&
bird.birdCoord.tl.x <= item.downCoord.br.x &&
bird.birdCoord.tl.y <= item.downCoord.bl.y - 10
) {
gg();
}});
}
async function main() {
// 加载资源
await new SourceManager().loadImages();
// 背景
gameBg = new GameBackground()
// 地面
land = new Land()
// 笨鸟
bird = new Bird()
// 管道
setInterval(() => {
pipeList.push(new Pipe());
// 清理移动过去的管道对象,一屏最多展示3组,所以这里取大于3
if (pipeList.length > 3) {
pipeList.shift();
}}, 2000);
// 渲染动画
render()
}
function gg() {
const ggImage = SourceManager.images.text_game_over;
ctx.drawImage(
ggImage,
canvas.width / 2 - ggImage.width / 2,
(canvas.height / 2) * 0.618);
};
效果
增加碰撞检测后,小鸟碰到管道或地面就会提示失败。 此篇展示了基本的核心逻辑,完整游戏地址和源码在下方链接。
最近还整理一份JavaScript与ES的笔记,一共25个重要的知识点,对每个知识点都进行了讲解和分析。能帮你快速掌握JavaScript与ES的相关知识,提升工作效率。
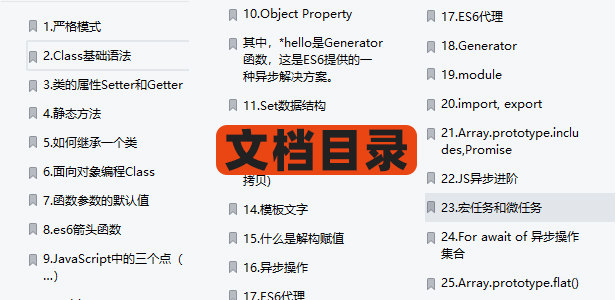
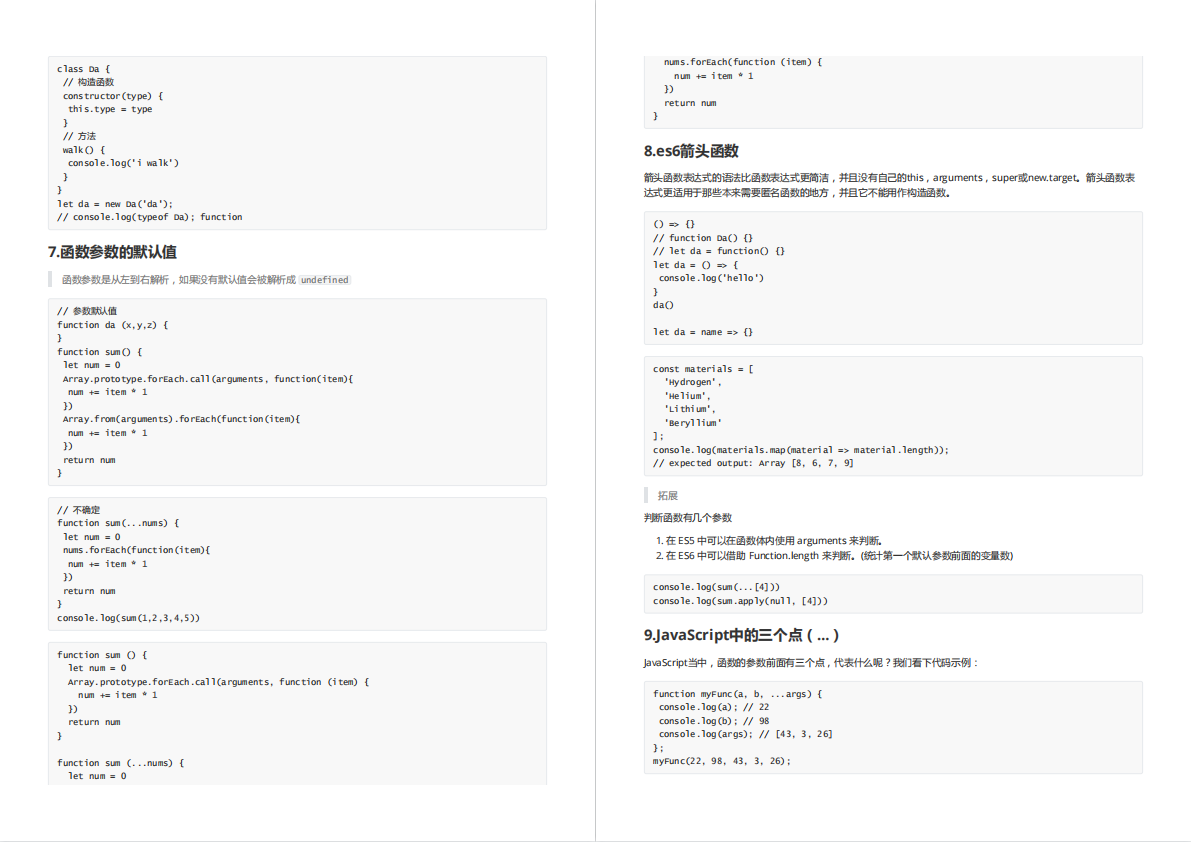


有需要的小伙伴,可以点击下方卡片领取,无偿分享


![[软件工程导论(第六版)]第3章 需求分析(课后习题详解)](https://img-blog.csdnimg.cn/4c778e1d5cb54e648742e2fea5fe8afc.png)