一、yum安装consul
#安装yum-utils
yum install -y yum-utils

#配置consul的下载仓库
yum-config-manager --add-repo https://rpm.releases.hashicorp.com/RHEL/hashicorp.repo

#必须上面步骤,不然会找不到仓库
yum -y install consul

#查看版本
consul -v
二、启动consul(单节点)
#创建consul目录
mkdir /home/consul-data

#后台启动
nohup consul  agent -server -data-dir=/home/consul-data/  -node=node1 -bind=0.0.0.0 -bootstrap-expect=1 -client=0.0.0.0 -ui > /home/consul-data/consul.log  &

#关闭防火墙或开放端口8500
systemctl stop firewalld-
–server 指定server agent
-
–data-dir l数据存储路径
-
–bootstrap-expect 期望的server节点数目,consul一直等到指定sever数目才会引导整个集群
-
–bind:该地址用来在集群内部的通讯,集群内的所有节点到地址都必须是可达的,默认是0.0.0.0
-
–node:节点在集群中的名称,在一个集群中必须是唯一的,默认是该节点的主机名
-
–ui: web的管理ui,查看服务和节点,可以通过访问:8500端口要访问UI
-
–client:提供HTTP、DNS、RPC等服务,默认是127.0.0.1,不对外提供服务,如果需要则改成0.0.0.0
单节点扩容(需要扩容时再做)
#扩容192.168.100.30
nohup consul agent -bind=0.0.0.0 -client=0.0.0.0 -data-dir=/home/consul-data/ -node=node2 -join=192.168.100.30 > /home/consul-data/consul.log 2>&1 &
三、访问consul
http://192.168.100.7:8500
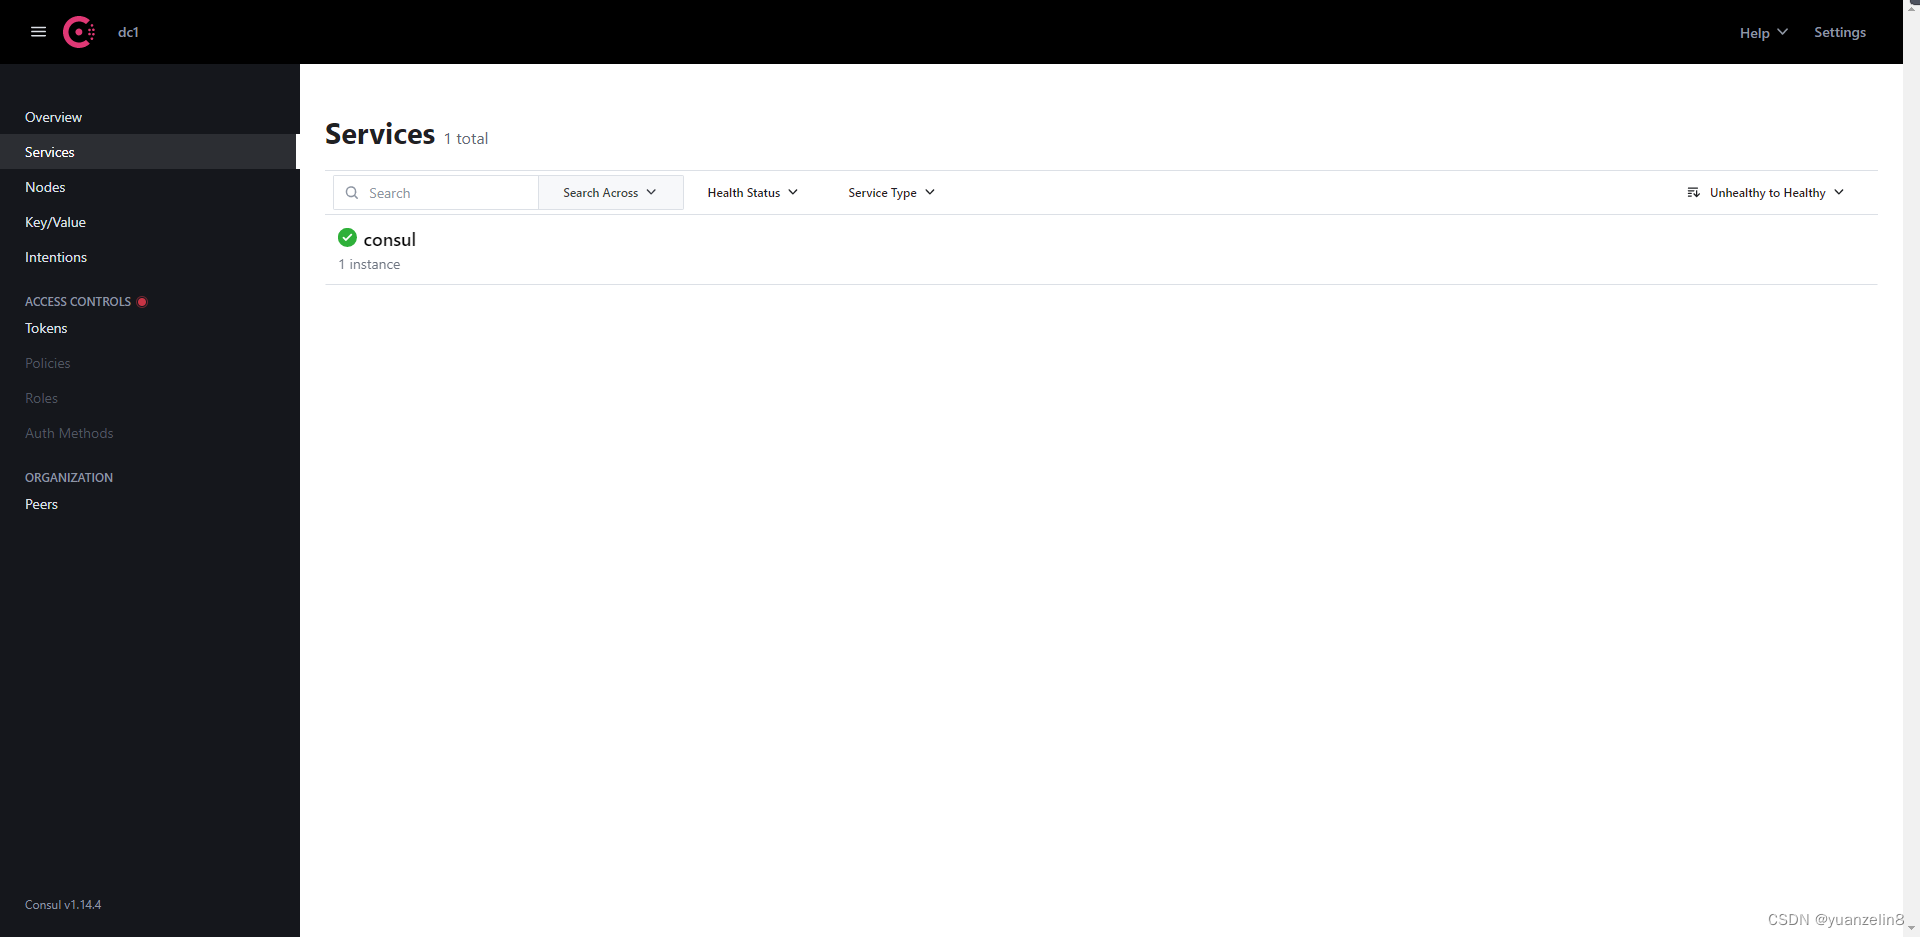
或使用命令访问
curl localhost:8500/v1/catalog/nodes
返回内容
[{"ID":"3f9f219a-f15e-82a9-0a23-889f324b1fe9","Node":"node1","Address":"192.168.100.7","Datacenter":"dc1","TaggedAddresses":{"lan":"192.168.100.7","lan_ipv4":"192.168.100.7","wan":"192.168.100.7","wan_ipv4":"192.168.100.7"},"Meta":{"consul-network-segment":""},"CreateIndex":12,"ModifyIndex":17}]
四、关闭consul
#关闭命令
consul leave

#后台启动使用这个
ps -ef | grep consul

kill -9 PID(Consul进程ID)
五、使用PostMan 注册Http服务
//地址  使用put请求

http://192.168.100.7:8500/v1/catalog/register

//发送json格式数据
//参数1
{"Datacenter": "dc1",
 "Node":"skus1",
 "Address":"192.168.100.37",
 "Service": {
	"Id" :"skuprice-skus1",
		"Service": "skuprice",
		"tags": ["prod"],
		"Port": 80
		}}
有几个注册几个
六、发现Http服务
http://192.168.100.7:8500/v1/catalog/service/skuprice
[{"ID":"","Node":"skus1","Address":"192.168.100.37","Datacenter":"dc1","TaggedAddresses":null,"NodeMeta":null,"ServiceKind":"","ServiceID":"skuprice-skus1","ServiceName":"skuprice","ServiceTags":["prod"],"ServiceAddress":"","ServiceWeights":{"Passing":1,"Warning":1},"ServiceMeta":{},"ServicePort":80,"ServiceSocketPath":"","ServiceEnableTagOverride":false,"ServiceProxy":{"Mode":"","MeshGateway":{},"Expose":{}},"ServiceConnect":{},"CreateIndex":96,"ModifyIndex":310},{"ID":"","Node":"skus2","Address":"192.168.100.39","Datacenter":"dc1","TaggedAddresses":null,"NodeMeta":null,"ServiceKind":"","ServiceID":"skuprice-skus2","ServiceName":"skuprice","ServiceTags":["prod"],"ServiceAddress":"","ServiceWeights":{"Passing":1,"Warning":1},"ServiceMeta":{},"ServicePort":80,"ServiceSocketPath":"","ServiceEnableTagOverride":false,"ServiceProxy":{"Mode":"","MeshGateway":{},"Expose":{}},"ServiceConnect":{},"CreateIndex":101,"ModifyIndex":308}]
七、删除http服务
http://192.168.100.7:8500/v1/agent/service/deregister/{ID}

