移动端触摸事件
example1:
<Button
  onPress={() => {
    Alert.alert('你点击了按钮!');
  }}
  title="点我!"
/>
Touchable 系列组件
TouchableHighlight 此组件的背景会在用户手指按下时变暗
TouchableNativeFeedback 会在用户手指按下时形成类似墨水涟漪的视觉效果。
TouchableOpacity 会在用户手指按下时降低按钮的透明度,而不会改变背景的颜色
TouchableWithoutFeedback 处理点击事件的同时不显示任何视觉反馈
在列表中上下滑动、在视图上左右滑动以及双指缩放
example2:
import React from 'react';
import { Image, ScrollView, Text } from 'react-native';

const logo = {
  uri: 'https://reactnative.dev/img/tiny_logo.png',
  width: 64,
  height: 64
};

export default App = () => (
  <ScrollView>
    <Text style={{ fontSize: 96 }}>Scroll me plz</Text>
    <Image source={logo} />
    <Image source={logo} />
    <Image source={logo} />
    <Image source={logo} />
    <Image source={logo} />
    <Text style={{ fontSize: 96 }}>If you like</Text>
    <Image source={logo} />
    <Image source={logo} />
    <Image source={logo} />
    <Image source={logo} />
    <Image source={logo} />
    <Text style={{ fontSize: 96 }}>Scrolling down</Text>
    <Image source={logo} />
    <Image source={logo} />
    <Image source={logo} />
    <Image source={logo} />
    <Image source={logo} />
    <Text style={{ fontSize: 96 }}>What's the best</Text>
    <Image source={logo} />
    <Image source={logo} />
    <Image source={logo} />
    <Image source={logo} />
    <Image source={logo} />
    <Text style={{ fontSize: 96 }}>Framework around?</Text>
    <Image source={logo} />
    <Image source={logo} />
    <Image source={logo} />
    <Image source={logo} />
    <Image source={logo} />
    <Text style={{ fontSize: 80 }}>React Native</Text>
  </ScrollView>
);1、ScrollView是一个通用的可滚动的容器,你可以在其中放入多个组件和视图,而且这些组件并不需要是同类型的。ScrollView 不仅可以垂直滚动,还能水平滚动(通过horizontal属性来设置)。
API:
(1) pagingEnabled属性 ,允许使用滑动手势对视图进行分页,在 Android 上也可以利用ViewPager组件水平滑动视图。
(2) maximumZoomScale和minimumZoomScale两者的属性, 您的用户能够利用捏合以及扩大手势来放大或缩小
注:ScrollView适合用来显示数量不多的滚动元素。放置在ScrollView中的所有组件都会被渲染,哪怕有些组件因为内容太长被挤出了屏幕外。如果你需要显示较长的滚动列表,那么应该使用功能差不多但性能更好的FlatList组件。下面我们来看看如何使用长列表。
2、几个适用于展示长列表数据的组件,一般而言我们会选用FlatList或是SectionList。
(1)FlatList更适于长列表数据,且元素个数可以增删。和ScrollView不同的是,FlatList并不立即渲染所有元素,而是优先渲染屏幕上可见的元素。
必须的两个属性是data和renderItem。data是列表的数据源,而renderItem则从数据源中逐个解析数据,然后返回一个设定好格式的组件来渲染。
example3:
import React from 'react';
import { FlatList, StyleSheet, Text, View } from 'react-native';

const styles = StyleSheet.create({
  container: {
   flex: 1,
   paddingTop: 22
  },
  item: {
    padding: 10,
    fontSize: 18,
    height: 44,
  },
});

const FlatListBasics = () => {
  return (
    <View style={styles.container}>
      <FlatList
        data={[
          {key: 'Devin'},
          {key: 'Dan'},
          {key: 'Dominic'},
          {key: 'Jackson'},
          {key: 'James'},
          {key: 'Joel'},
          {key: 'John'},
          {key: 'Jillian'},
          {key: 'Jimmy'},
          {key: 'Julie'},
        ]}
        renderItem={({item}) => <Text style={styles.item}>{item.key}</Text>}
      />
    </View>
  );
}

export default FlatListBasics;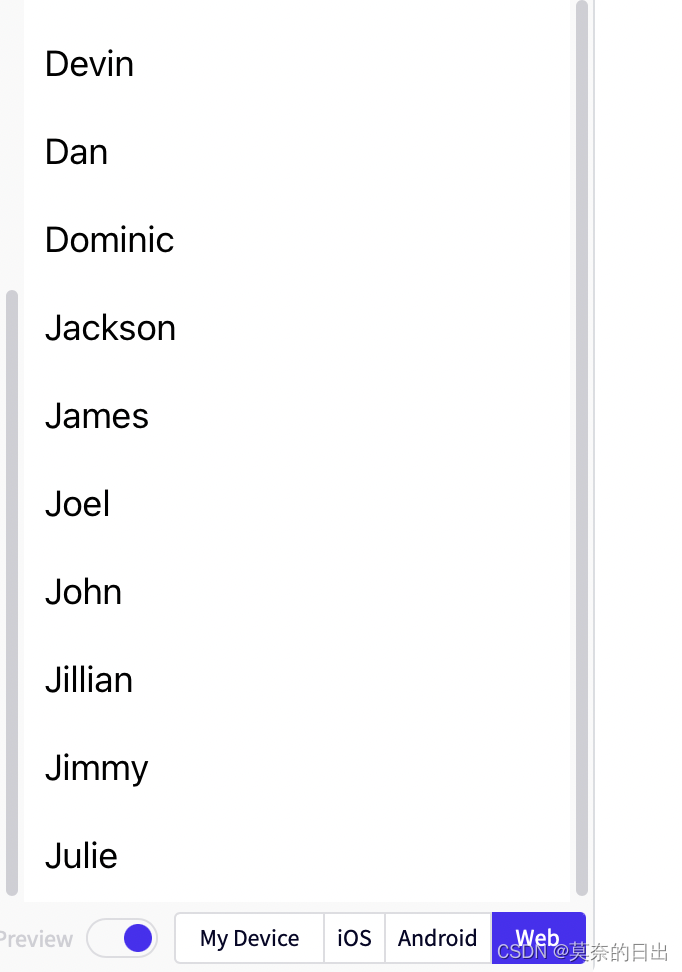
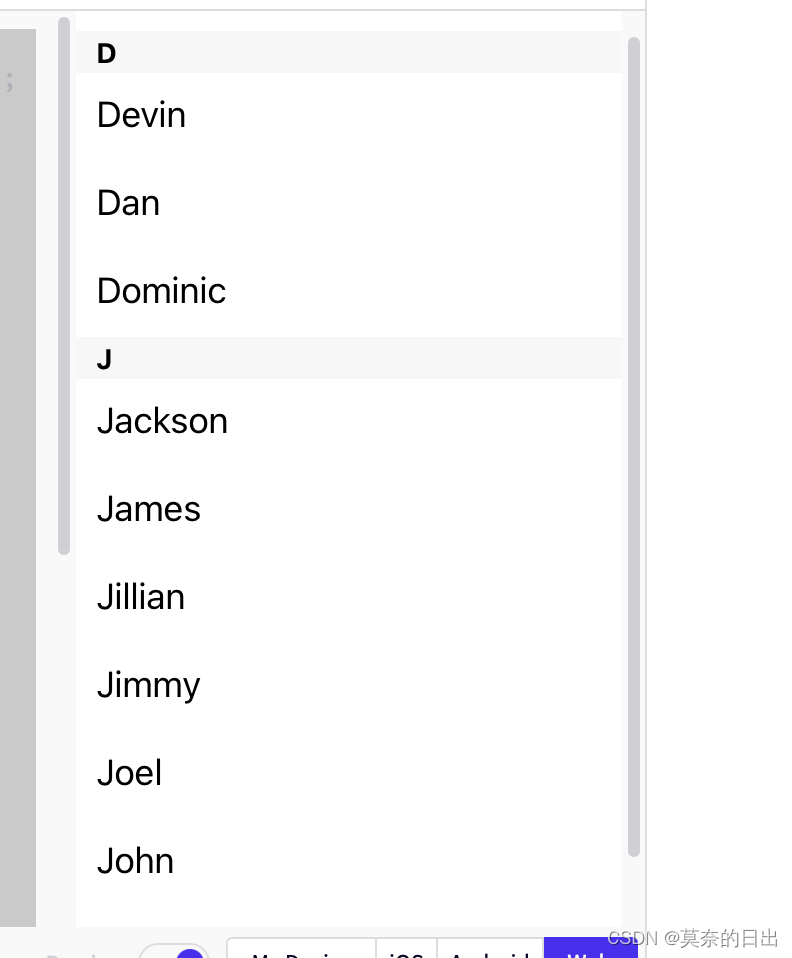
(2)要渲染的是一组需要分组的数据,也许还带有分组标签的,那么SectionList将是个不错的选择
example4:
import React from 'react';
import { SectionList, StyleSheet, Text, View } from 'react-native';

const styles = StyleSheet.create({
  container: {
   flex: 1,
   paddingTop: 22
  },
  sectionHeader: {
    paddingTop: 2,
    paddingLeft: 10,
    paddingRight: 10,
    paddingBottom: 2,
    fontSize: 14,
    fontWeight: 'bold',
    backgroundColor: 'rgba(247,247,247,1.0)',
  },
  item: {
    padding: 10,
    fontSize: 18,
    height: 44,
  },
})

const SectionListBasics = () => {
    return (
      <View style={styles.container}>
        <SectionList
          sections={[
            {title: 'D', data: ['Devin', 'Dan', 'Dominic']},
            {title: 'J', data: ['Jackson', 'James', 'Jillian', 'Jimmy', 'Joel', 'John', 'Julie']},
          ]}
          renderItem={({item}) => <Text style={styles.item}>{item}</Text>}
          renderSectionHeader={({section}) => <Text style={styles.sectionHeader}>{section.title}</Text>}
          keyExtractor={(item, index) => index}
        />
      </View>
    );
}

export default SectionListBasics;