一、下载与安装
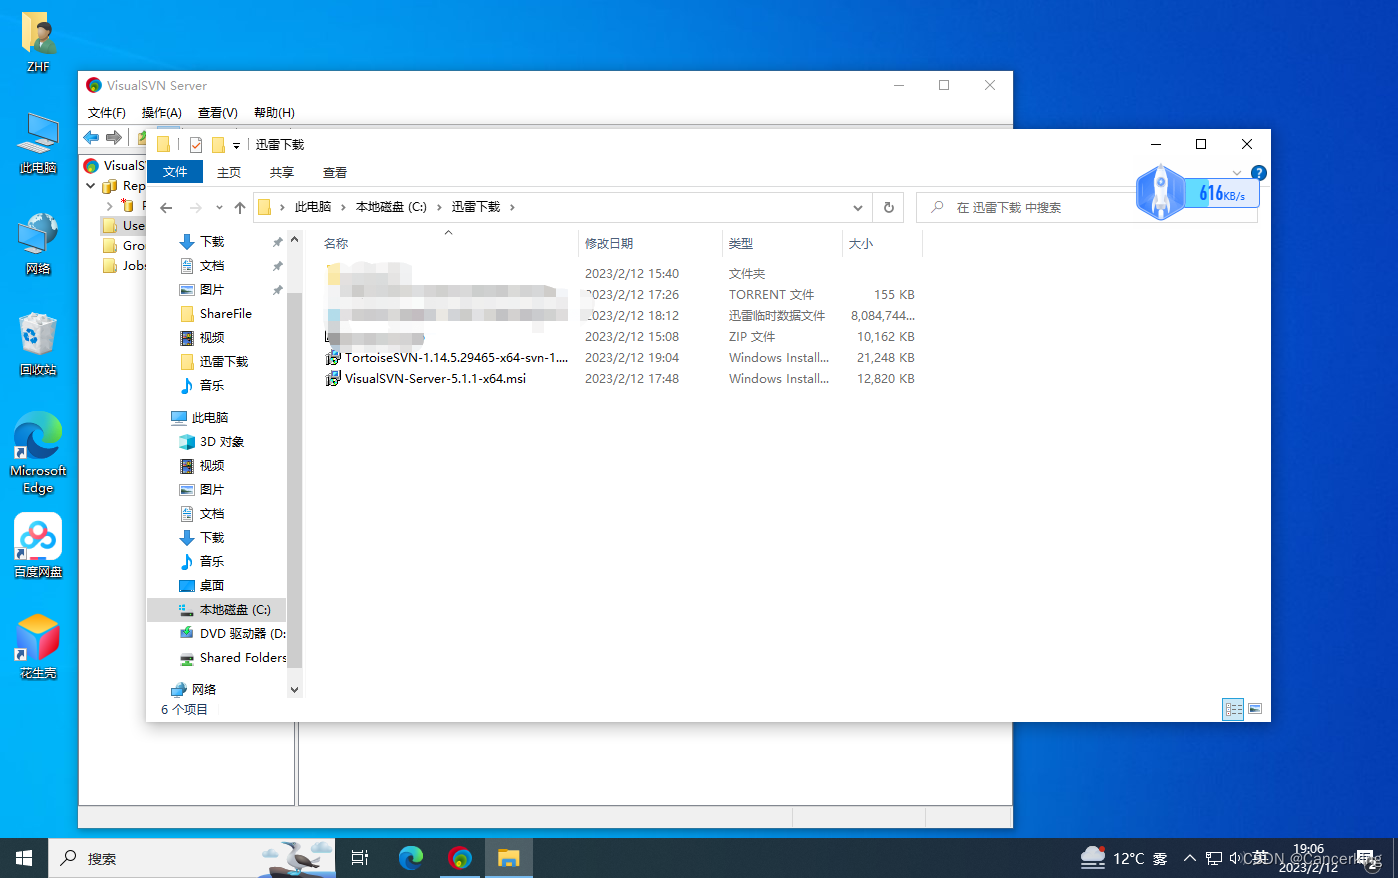
1、下载VisualSVN-Server-5.1.1-x64.msi 地址:Download | VisualSVN Server
2、找到最新版本SVN 5.1.1,直接双击它,弹出如下安装界面
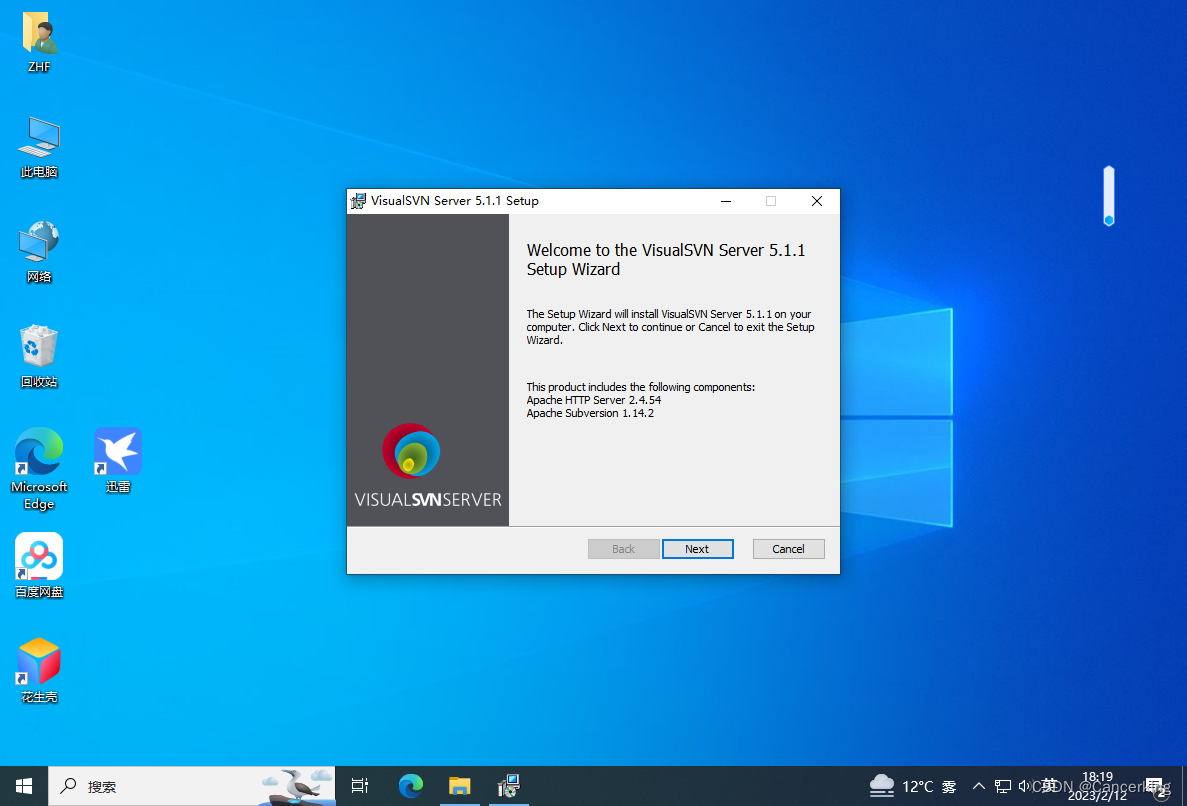
3、点击Next
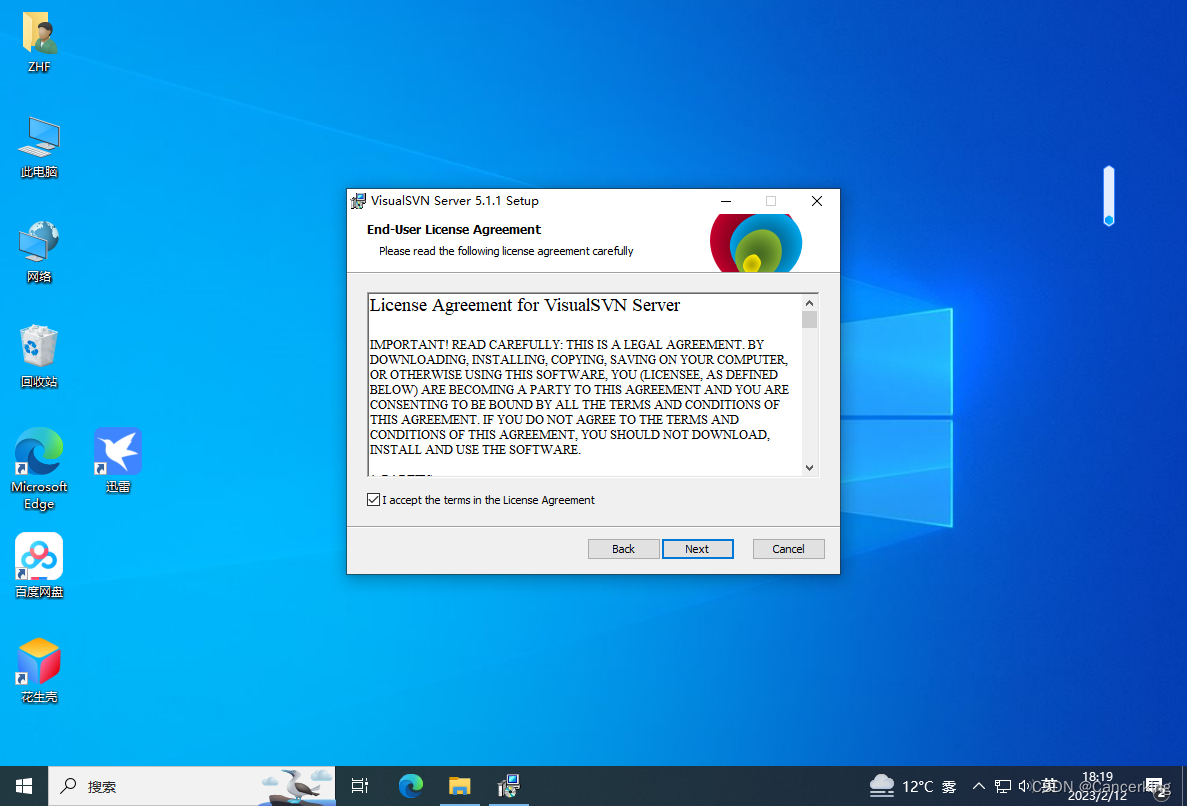
4、勾选我接受, 点击"Next"

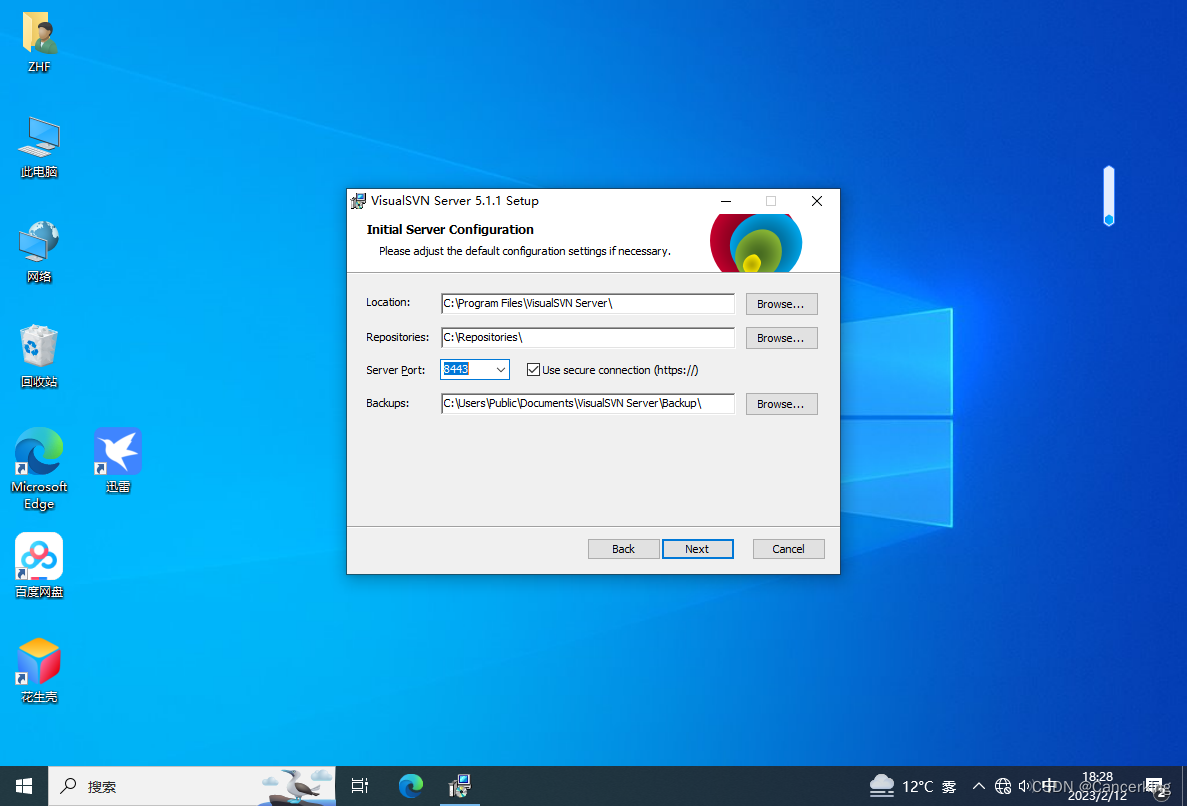
5、默认选项,点击"Next"。也可以更改安装路径。
Location:默认安装在C:\ProgramFiles\SVN Server\,
Repositories:更改为: D:\Repostorties\ (此处可以根据自已的爱好自定义更改)
Server Port: 默认为:443, 如果发现被占用,请改为: 8443,直接在Server Port中可以选择.
勾选: Use secure connection(https://)
Backups: 备份路径 (自定义更改)
6、点击“Next”

7、点击:"Next"
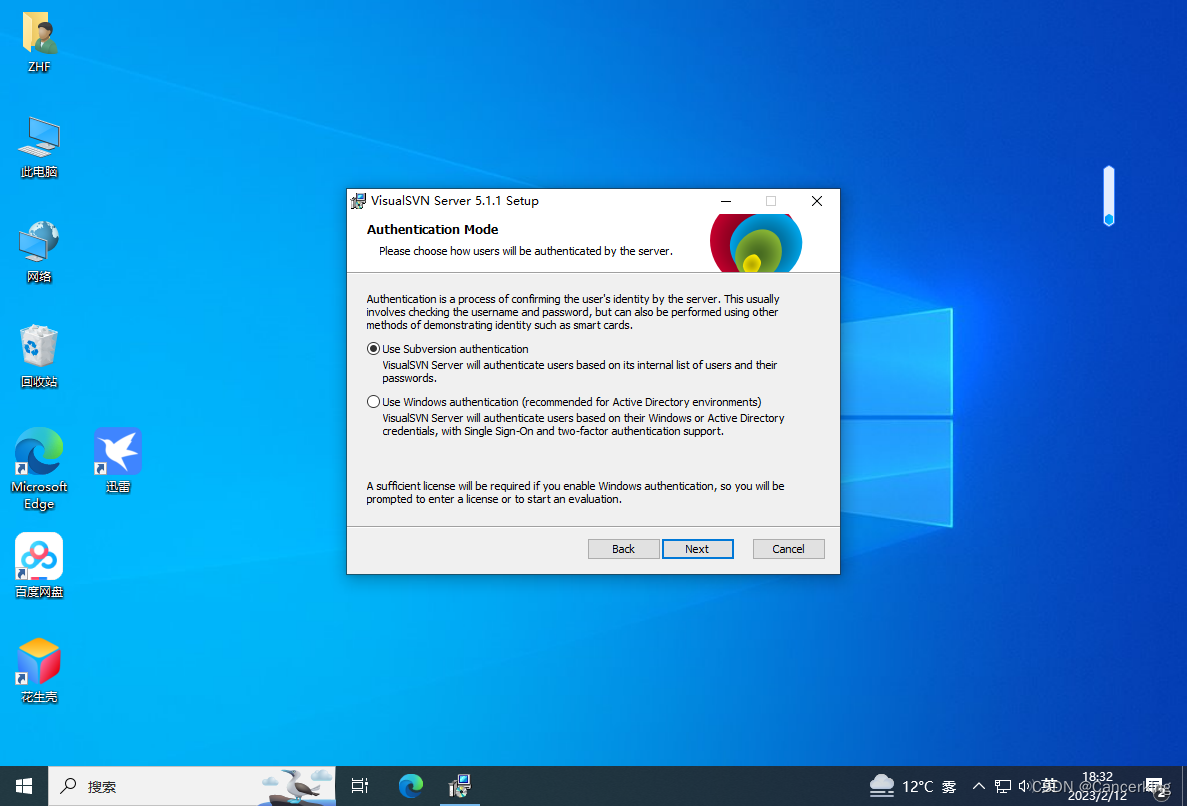
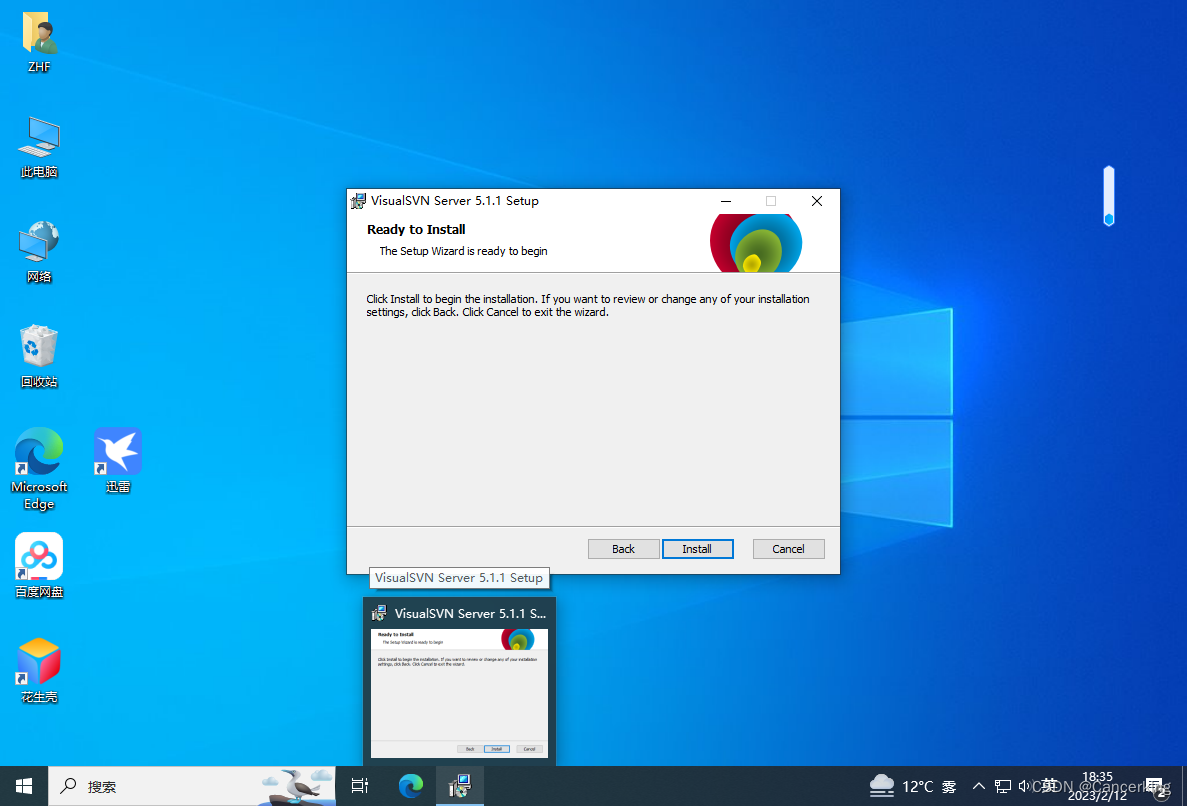
8、点击" Install"
9、结束之后,点击“finsh”
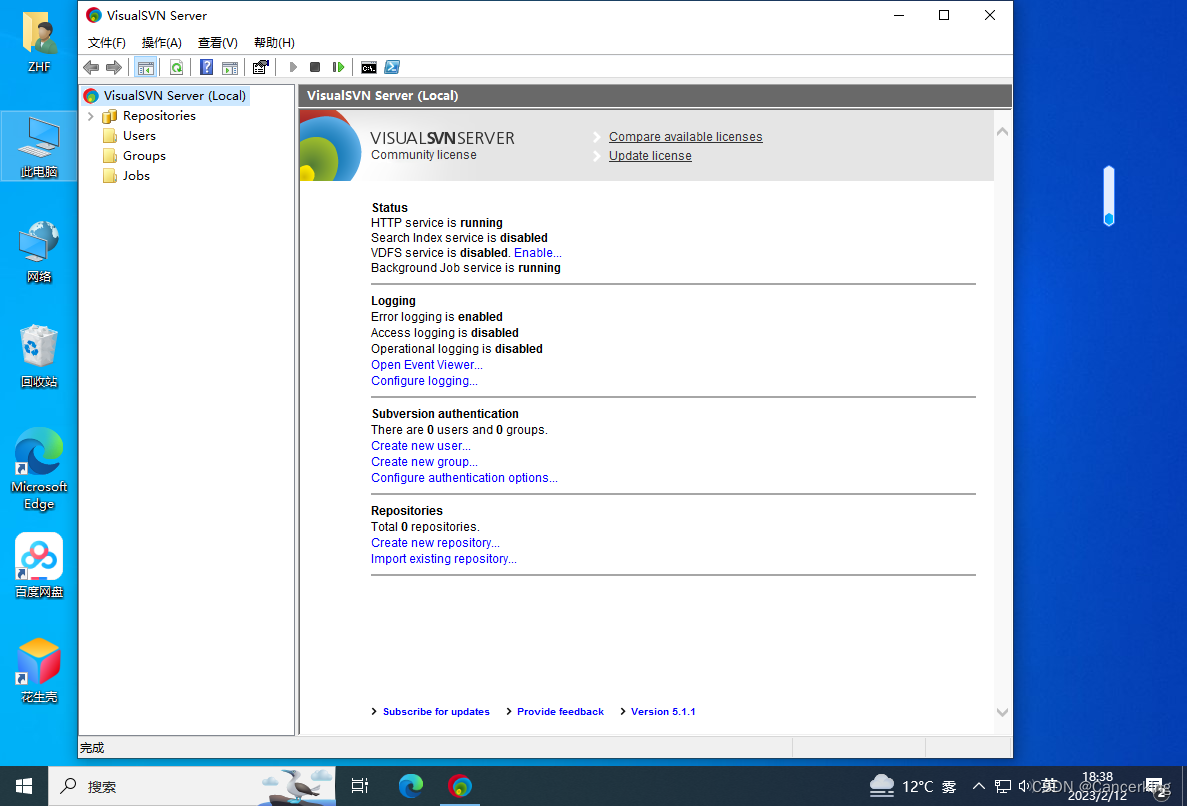
二、SVN Server配置
1、当以上安装完成时,默认勾选了开启SVN的Manager,如下图所示
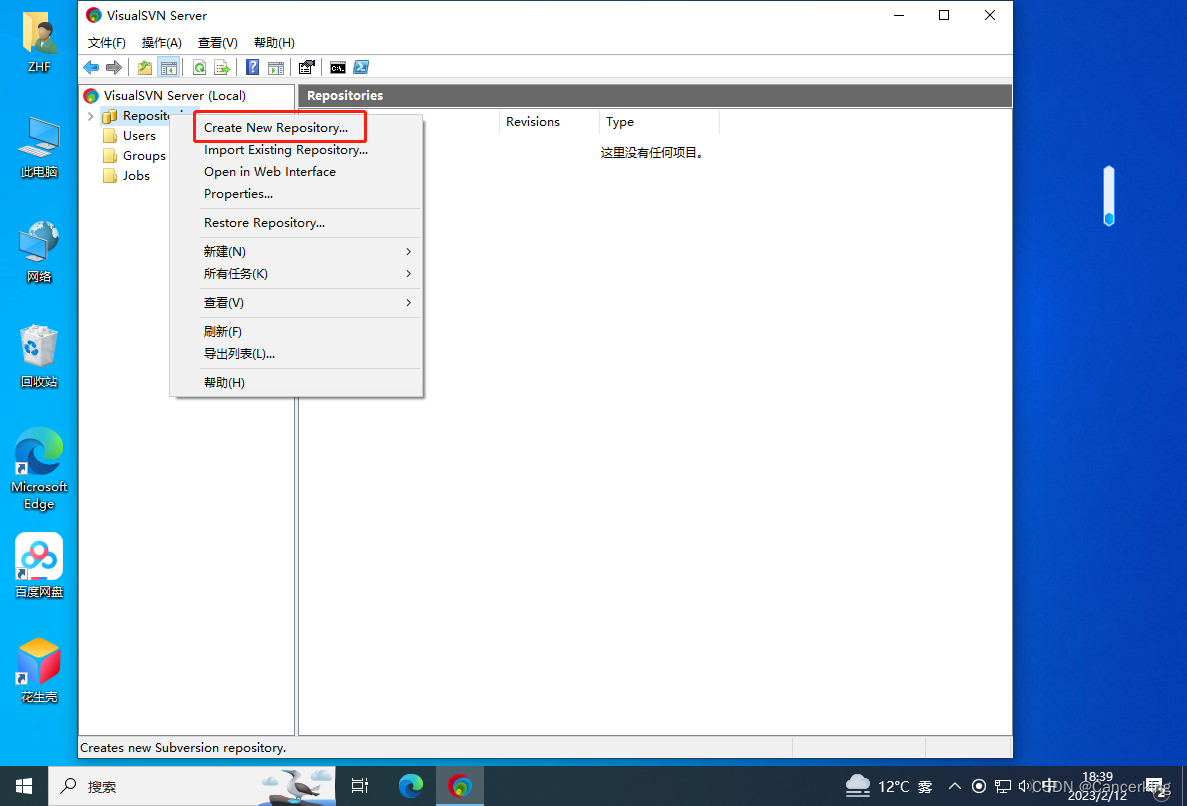
2、光标点击在Repository上,右键 ,选择 Create New Repository
3、默认选择,点击:"Next"

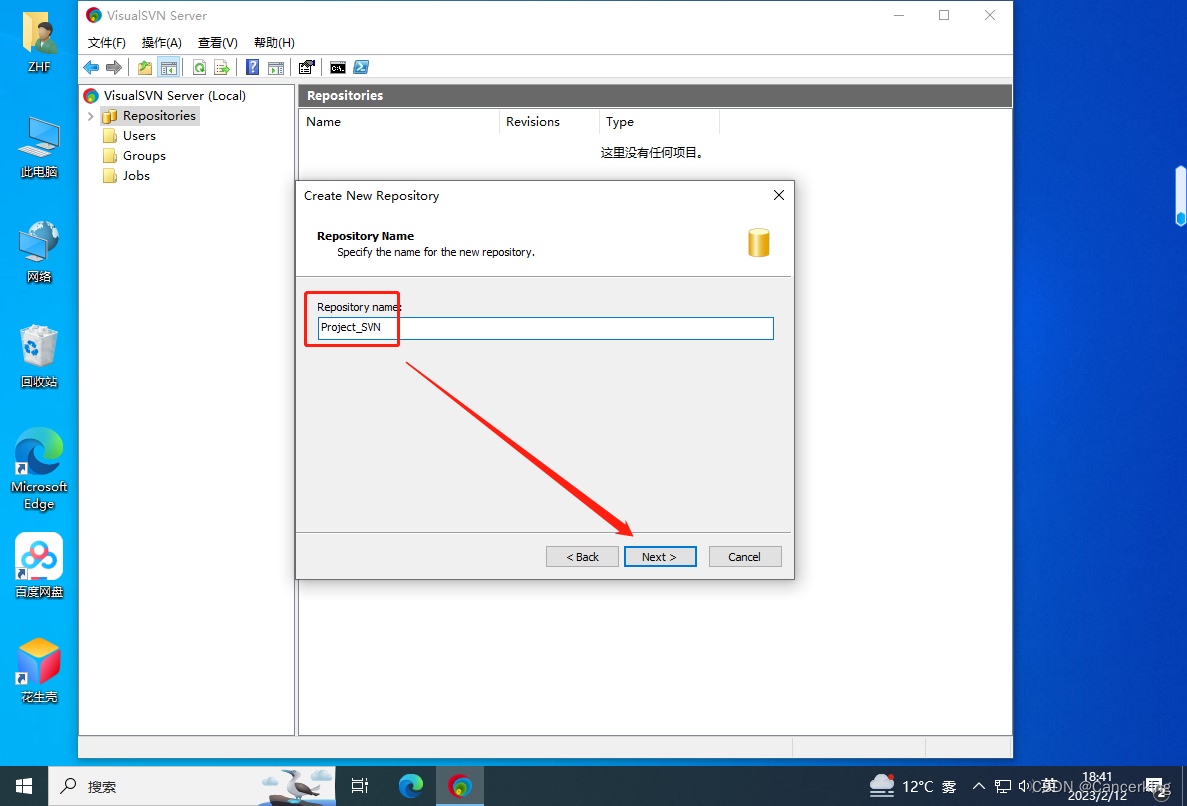
4、输入Repository name: 例如:Projcet_SVN , 点击: Next
5、可以默认为Empty repository, 但此处是选择Single-projet repository, 点击:Next

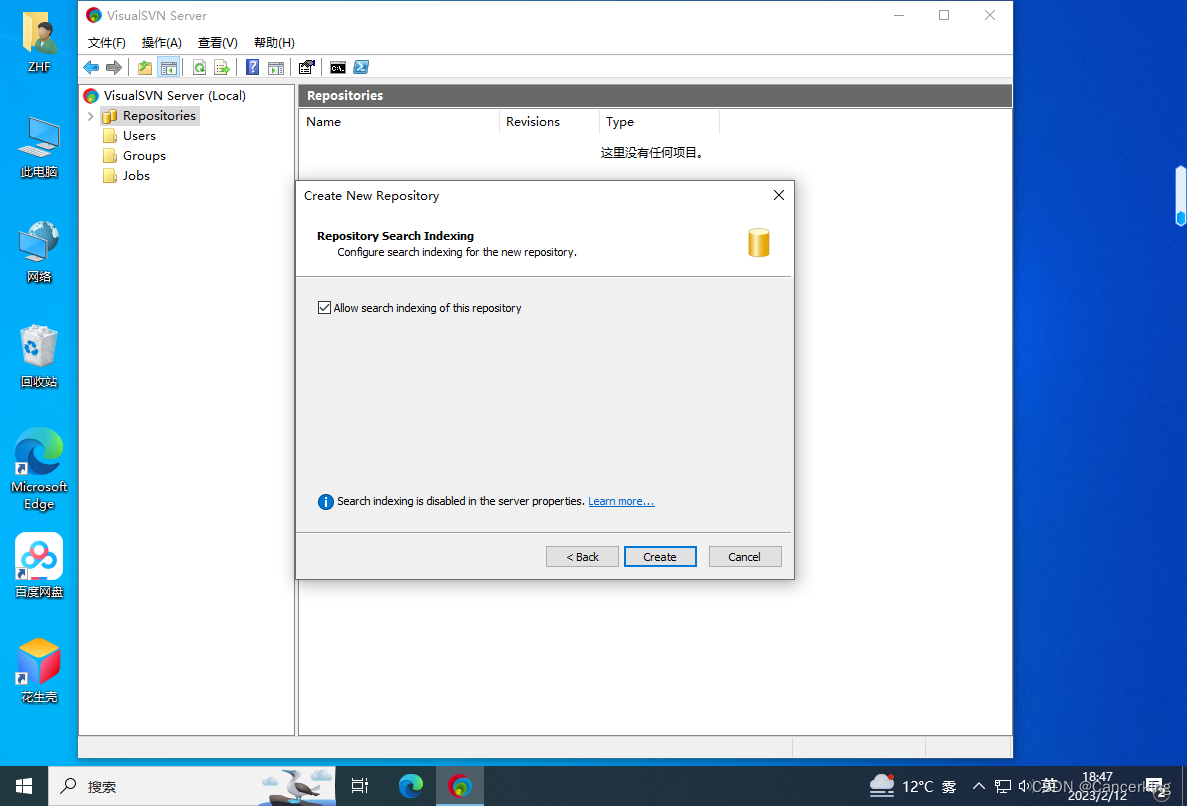
6、点击: "Next"

7 、点击:"Create"
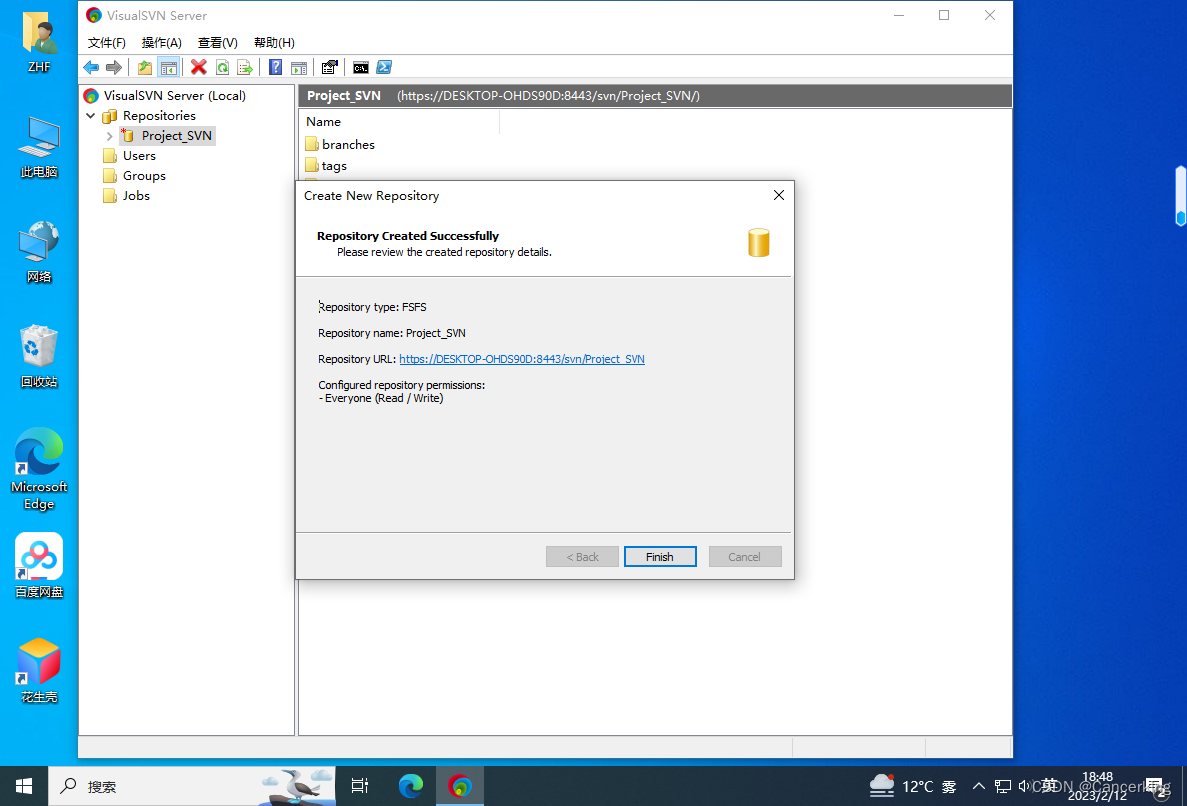
8、点击" finish" 完成SVN的配置.
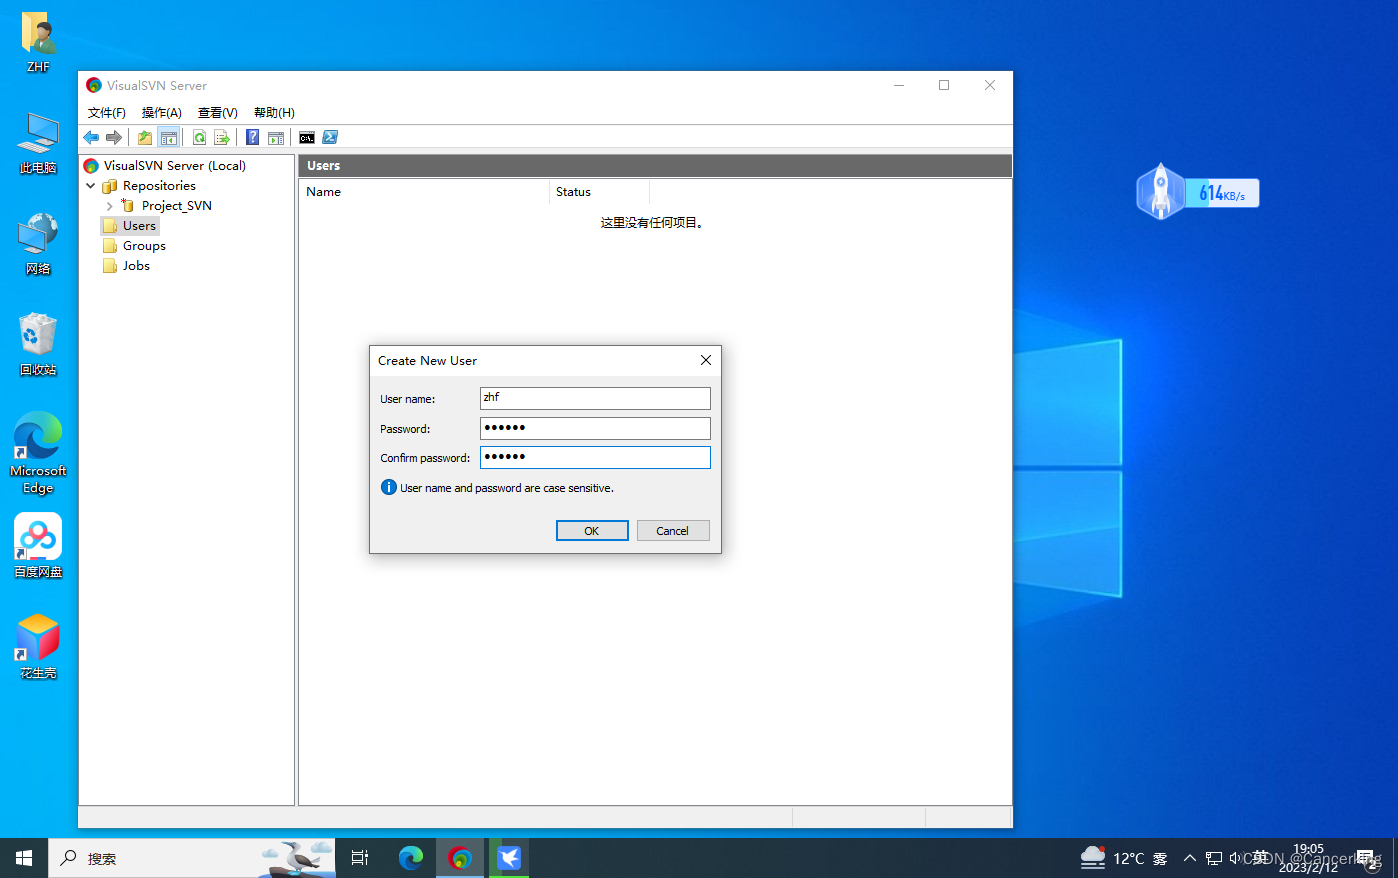
9、配置SVN Server 的管理中,创建一个User,选中 Users,右键:Create User
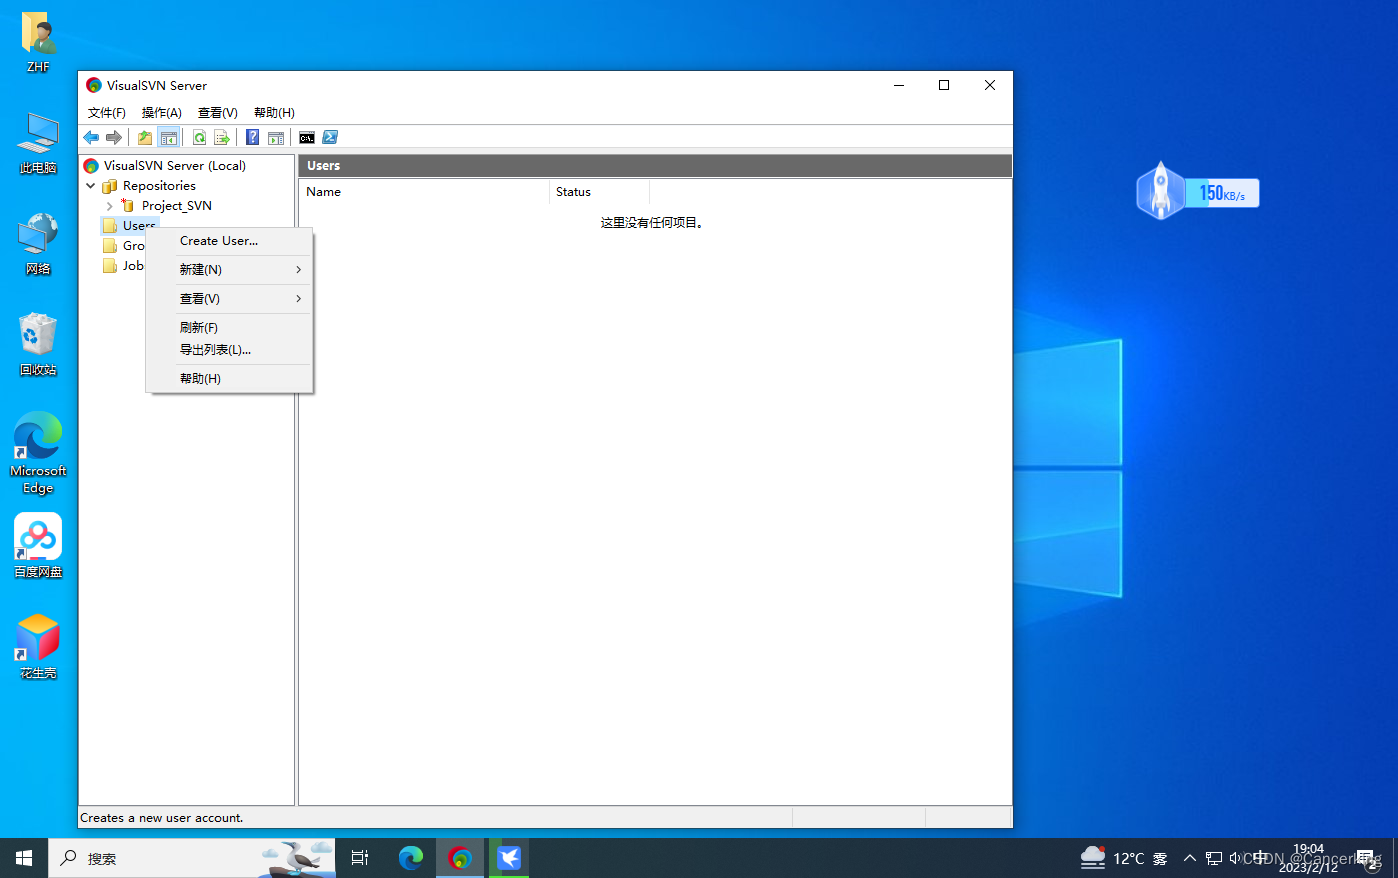
10、比如:创建用户名:zhf, 密码: 自已设定. 点击OK,
三、SVN Client的安装
1、下载 Downloading File /1.14.5/Application/TortoiseSVN-1.14.5.29465-x64-svn-1.14.2.msi - TortoiseSVN - OSDN
2、很简单,双击客户端安装文件,之后,几乎一律默认安装,点击 Next 到最后一步即可。
3、使用教程自行研究


![[MySQL教程②] - MySQL介绍和发展史](https://img-blog.csdnimg.cn/img_convert/cfd671ea384c882876037805e9673e57.png)