下载源码(当前版本3.8.5)RuoYi-Vue: 🎉 基于SpringBoot,Spring Security,JWT,Vue & Element 的前后端分离权限管理系统,同时提供了 Vue3 的版本 (gitee.com)
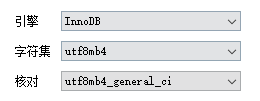
创建数据库(一定要是这三个,否则部署成功可能菜单乱码,我就是乱码后删库重新按照下图建的)

3. 项目导入IDEA,启动后端

4. 下载Node.js ,注意ruoyi3.8.5版本的前端只能试用node16或以下的版本,否则下载依赖正常,启动测试环境或打包就会报错
5. 安装前端依赖
5.1. 进入RuoYi-Vue-master\ruoyi-ui文件夹下打开cmd执行npm install下载依赖
如果是国内网络请使用以下来下载依赖(下载速度飞快,若依官网推荐的) :
npm install --registry=https://registry.npmmirror.com5.2 直接启动
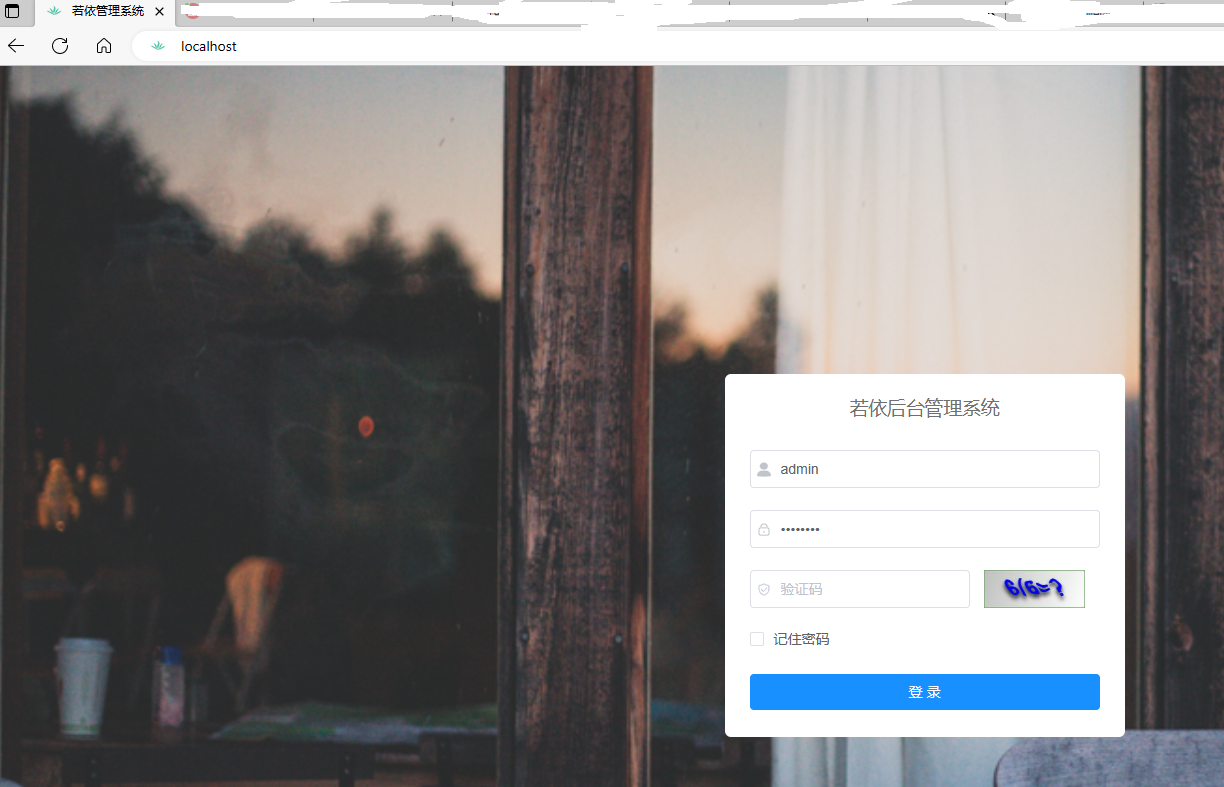
npm run dev启动成功后会自动打开浏览器,登录即可正常使用
以下是打包ruoyi前端后放入Nginx中启动
前端打包
npm run build:prod 2. 把打包后的dist文件夹移动到nginx下的html文件夹下:

3. 修改nginx的配置(nginx\conf\nginx.conf):
worker_processes  1;

events {
    worker_connections  1024;
}

http {
    include       mime.types;
    default_type  application/octet-stream;
    sendfile        on;
    keepalive_timeout  65;

    server {
        listen       80; #前端项目的端口
        server_name  localhost;
        location / {
                          #(html/dist即可,代表在nginx根目录下的html中dist文件夹)
        root   html/dist; #vue前端项目打包后的dist文件夹的地址的路径
        index  index.html index.htm;
        }

      location /prod-api/{
          proxy_set_header Host $http_host;
        proxy_set_header X-Real-IP $remote_addr;
        proxy_set_header REMOTE-HOST $remote_addr;
        proxy_set_header X-Forwarded-For $proxy_add_x_forwarded_for;
        proxy_pass http://localhost:8080/;       #后台项目的运行端口
}

        error_page   500 502 503 504  /50x.html;
        location = /50x.html {
            root   html;
        }
    }
}
4. 运行Nginx ,在Nginx根目录运行cmd,输入start nginx即可启动,1秒之后访问localhost即可(如需重启Nginx在cmd中输入nginx -s reload即可):