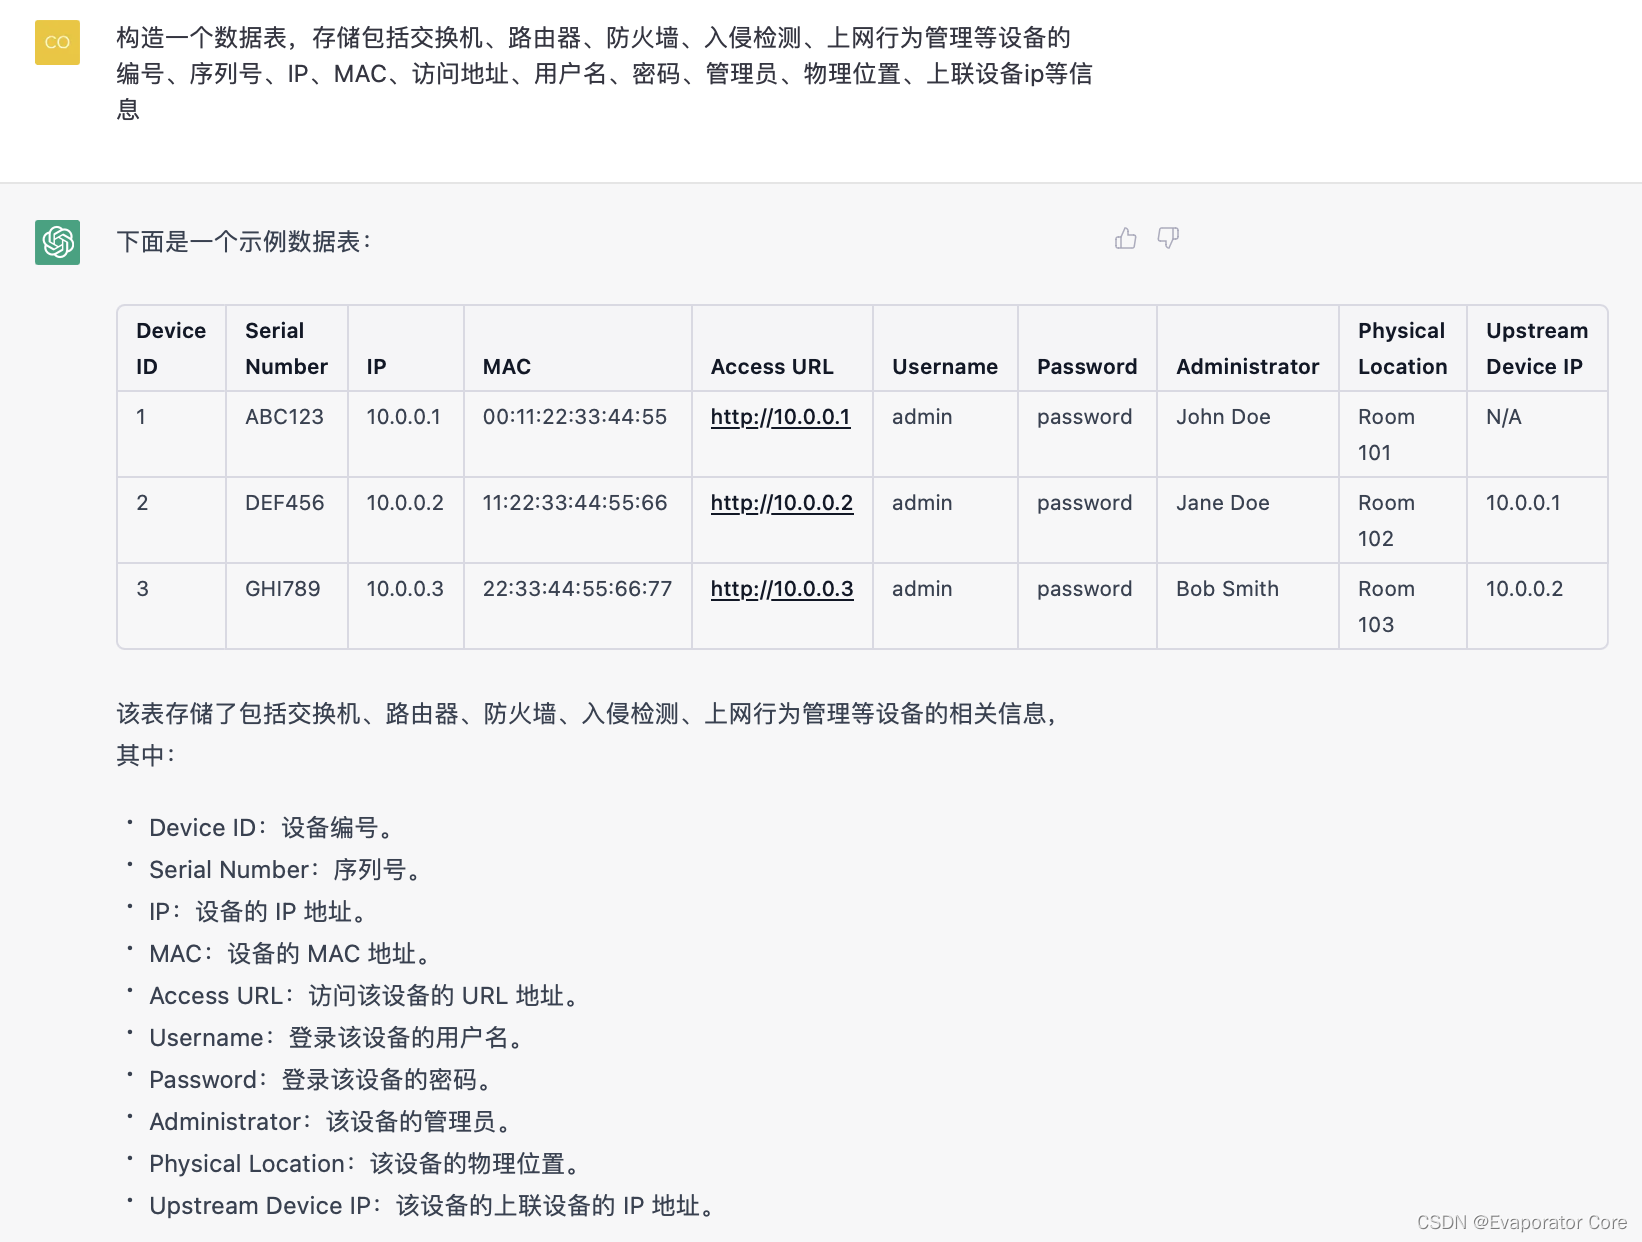
构造一个数据表,存储包括交换机、路由器、防火墙、入侵检测、上网行为管理等设备的编号、序列号、IP、MAC、访问地址、用户名、密码、管理员、物理位置、上联设备ip等信息
下面是一个示例数据表:
Device ID | Serial Number | IP | MAC | Access URL | Username | Password | Administrator | Physical Location | Upstream Device IP |
1 | ABC123 | 10.0.0.1 | 00:11:22:33:44:55 | http://10.0.0.1 | admin | password | John Doe | Room 101 | N/A |
2 | DEF456 | 10.0.0.2 | 11:22:33:44:55:66 | http://10.0.0.2 | admin | password | Jane Doe | Room 102 | 10.0.0.1 |
3 | GHI789 | 10.0.0.3 | 22:33:44:55:66:77 | http://10.0.0.3 | admin | password | Bob Smith | Room 103 | 10.0.0.2 |
该表存储了包括交换机、路由器、防火墙、入侵检测、上网行为管理等设备的相关信息,其中:
Device ID:设备编号。
Serial Number:序列号。
IP:设备的 IP 地址。
MAC:设备的 MAC 地址。
Access URL:访问该设备的 URL 地址。
Username:登录该设备的用户名。
Password:登录该设备的密码。
Administrator:该设备的管理员。
Physical Location:该设备的物理位置。
Upstream Device IP:该设备的上联设备的 IP 地址。
注意到,程序自动生成的编号只是一个自增id,而不是自定义设备的名称,同时,数据结构里没有设备类型,因此,做出如下修改。
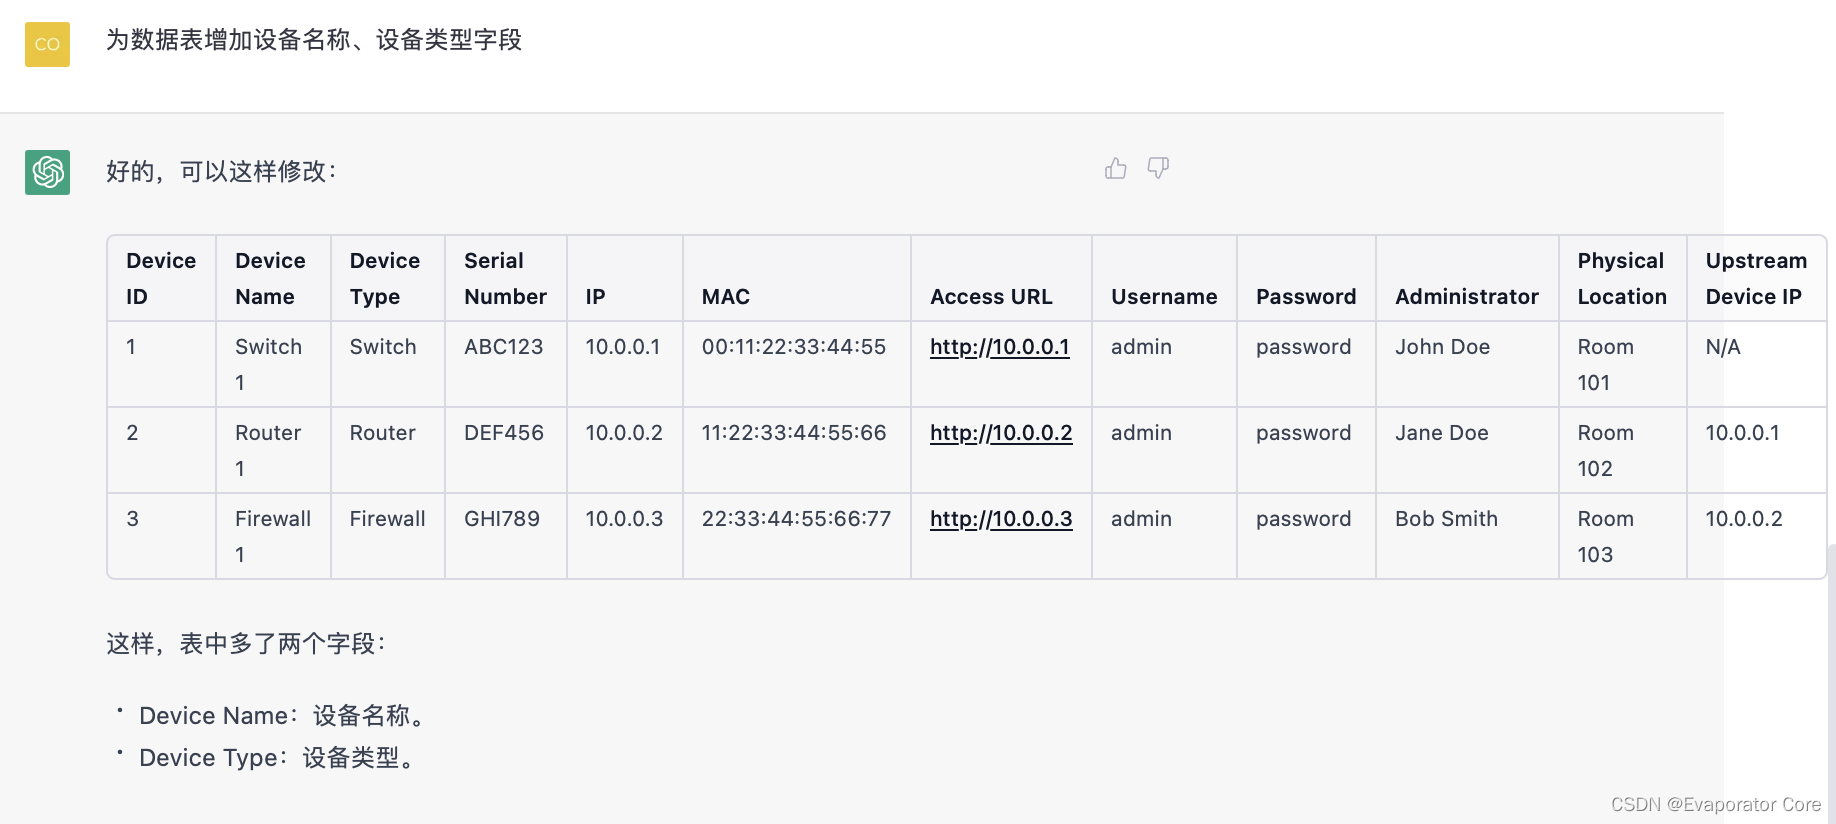
为数据表增加设备名称、设备类型字段
好的,可以这样修改:
Device ID | Device Name | Device Type | Serial Number | IP | MAC | Access URL | Username | Password | Administrator | Physical Location | Upstream Device IP |
1 | Switch 1 | Switch | ABC123 | 10.0.0.1 | 00:11:22:33:44:55 | http://10.0.0.1 | admin | password | John Doe | Room 101 | N/A |
2 | Router 1 | Router | DEF456 | 10.0.0.2 | 11:22:33:44:55:66 | http://10.0.0.2 | admin | password | Jane Doe | Room 102 | 10.0.0.1 |
3 | Firewall 1 | Firewall | GHI789 | 10.0.0.3 | 22:33:44:55:66:77 | http://10.0.0.3 | admin | password | Bob Smith | Room 103 | 10.0.0.2 |
这样,表中多了两个字段:
Device Name:设备名称。
Device Type:设备类型。
发现又忘掉上联设备的id了。
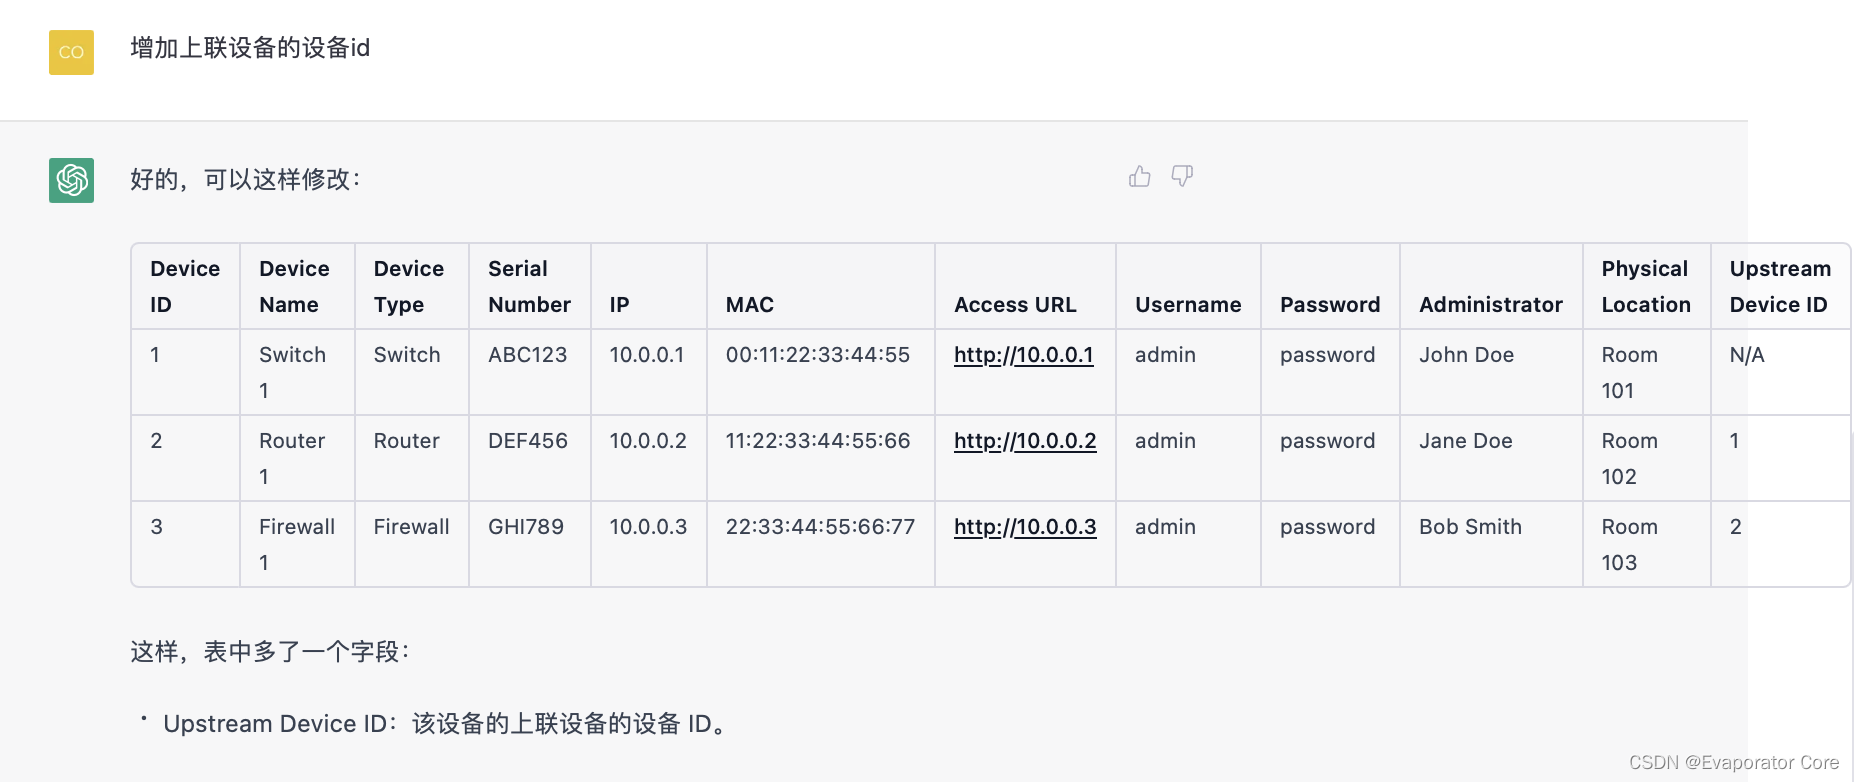
增加上联设备的设备id
好的,可以这样修改:
Device ID | Device Name | Device Type | Serial Number | IP | MAC | Access URL | Username | Password | Administrator | Physical Location | Upstream Device ID |
1 | Switch 1 | Switch | ABC123 | 10.0.0.1 | 00:11:22:33:44:55 | http://10.0.0.1 | admin | password | John Doe | Room 101 | N/A |
2 | Router 1 | Router | DEF456 | 10.0.0.2 | 11:22:33:44:55:66 | http://10.0.0.2 | admin | password | Jane Doe | Room 102 | 1 |
3 | Firewall 1 | Firewall | GHI789 | 10.0.0.3 | 22:33:44:55:66:77 | http://10.0.0.3 | admin | password | Bob Smith | Room 103 | 2 |
这样,表中多了一个字段:
Upstream Device ID:该设备的上联设备的设备 ID。
好了,可以将上述数据表转化为数据结构了。
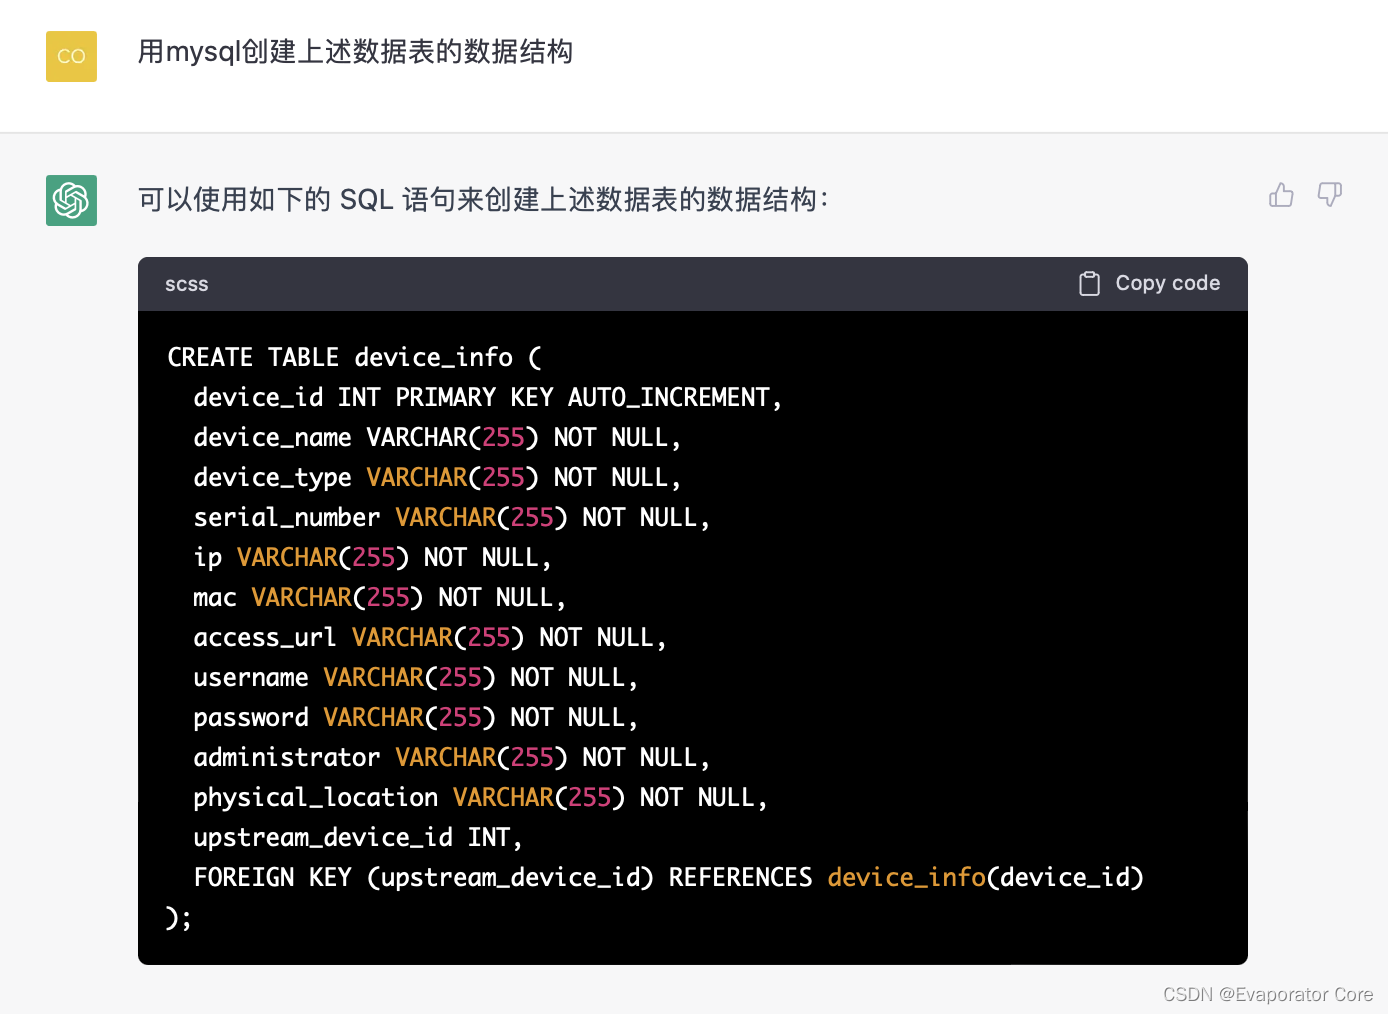
CREATE TABLE device_info (
  device_id INT PRIMARY KEY AUTO_INCREMENT,
  device_name VARCHAR(255) NOT NULL,
  device_type VARCHAR(255) NOT NULL,
  serial_number VARCHAR(255) NOT NULL,
  ip VARCHAR(255) NOT NULL,
  mac VARCHAR(255) NOT NULL,
  access_url VARCHAR(255) NOT NULL,
  username VARCHAR(255) NOT NULL,
  password VARCHAR(255) NOT NULL,
  administrator VARCHAR(255) NOT NULL,
  physical_location VARCHAR(255) NOT NULL,
  upstream_device_id INT,
  FOREIGN KEY (upstream_device_id) REFERENCES device_info(device_id)
);
在上面的 SQL 语句中:
device_id 字段是主键,且自动递增。
device_name、device_type、serial_number、ip、mac、access_url、username、password、administrator、physical_location 字段都不能为空。
upstream_device_id 字段是外键,关联到 device_info 表中的 device_id 字段。
接下来,创建一个管理后端,实现增删查改。
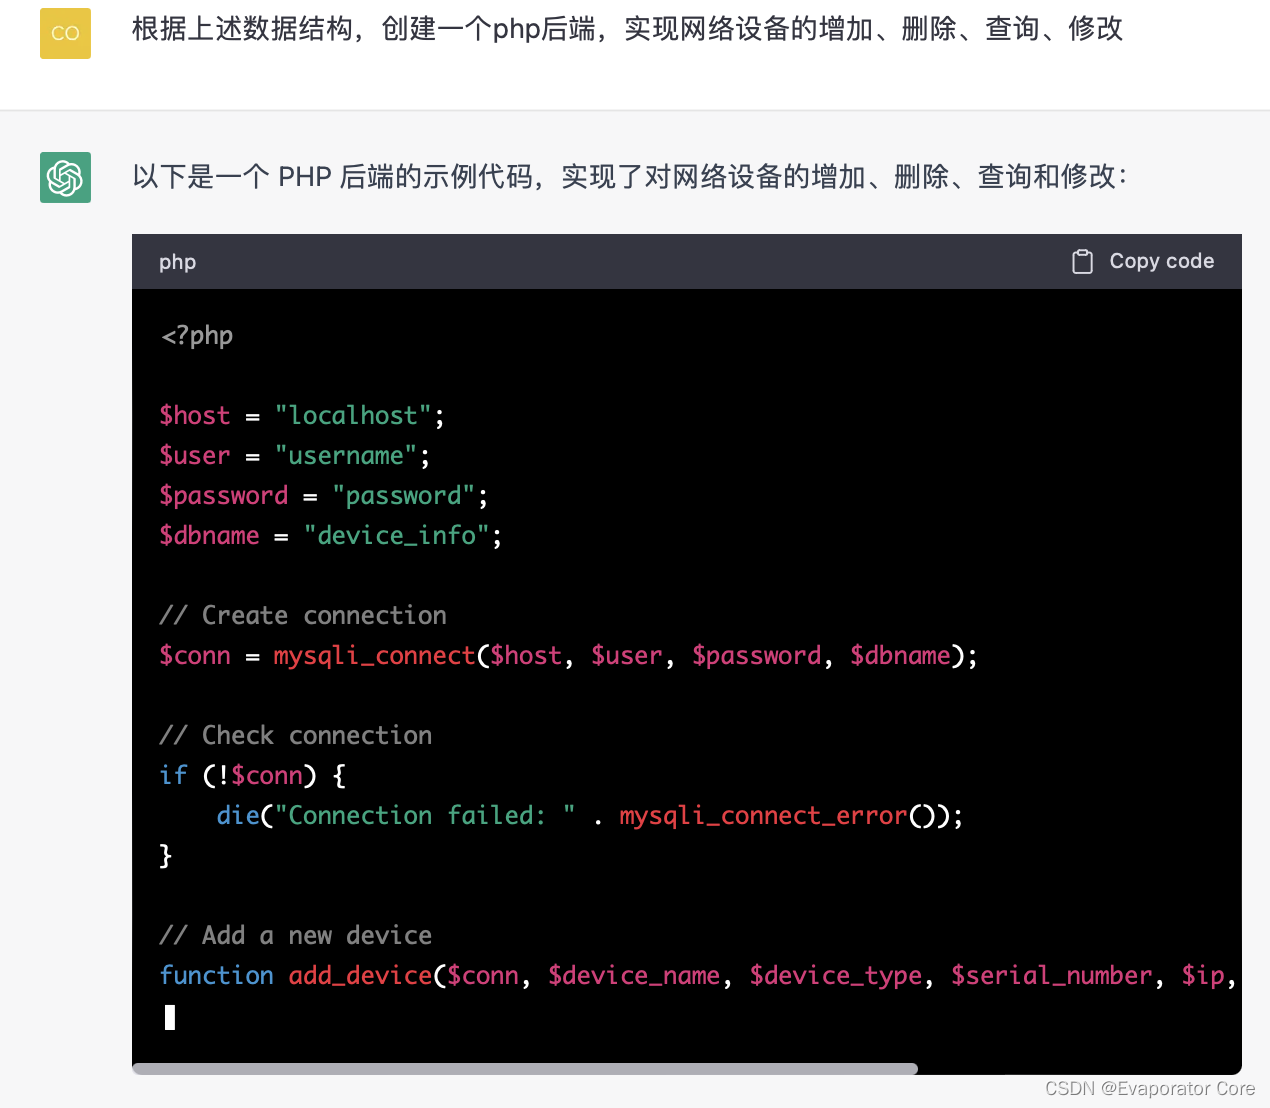
<?php

$host = "localhost";
$user = "username";
$password = "password";
$dbname = "device_info";

// Create connection
$conn = mysqli_connect($host, $user, $password, $dbname);

// Check connection
if (!$conn) {
    die("Connection failed: " . mysqli_connect_error());
}

// Add a new device
function add_device($conn, $device_name, $device_type, $serial_number, $ip, $mac, $access_url, $username, $password, $administrator, $physical_location, $upstream_device_id = null) {
    $query = "INSERT INTO device_info (device_name, device_type, serial_number, ip, mac, access_url, username, password, administrator, physical_location, upstream_device_id)
              VALUES ('$device_name', '$device_type', '$serial_number', '$ip', '$mac', '$access_url', '$username', '$password', '$administrator', '$physical_location', $upstream_device_id)";
    return mysqli_query($conn, $query);
}

// Delete a device
function delete_device($conn, $device_id) {
    $query = "DELETE FROM device_info WHERE device_id = $device_id";
    return mysqli_query($conn, $query);
}

// Update a device
function update_device($conn, $device_id, $device_name, $device_type, $serial_number, $ip, $mac, $access_url, $username, $password, $administrator, $physical_location, $upstream_device_id = null) {
    $query = "UPDATE device_info SET
              device_name = '$device_name',
              device_type = '$device_type',
              serial_number = '$serial_number',
              ip = '$ip',
              mac = '$mac',
              access_url = '$access_url',
              username = '$username',
              password = '$password',
              administrator = '$administrator',
              physical_location = '$physical_location',
              upstream_device_id = $upstream_device_id
              WHERE device_id = $device_id";
    return mysqli_query($conn, $query);
}

// Get all devices
function get_devices($conn) {
    $query = "SELECT * FROM device_info";
    $result = mysqli_query($conn, $query);
    return mysqli_fetch_all($result, MYSQLI_ASSOC);
}

// Get a device by device_id
function get_device($conn, $device_id) {
    $query = "SELECT * FROM device_info WHERE device_id = $device_
注意到,由于有最大长度限制,get_device函数没有写完。
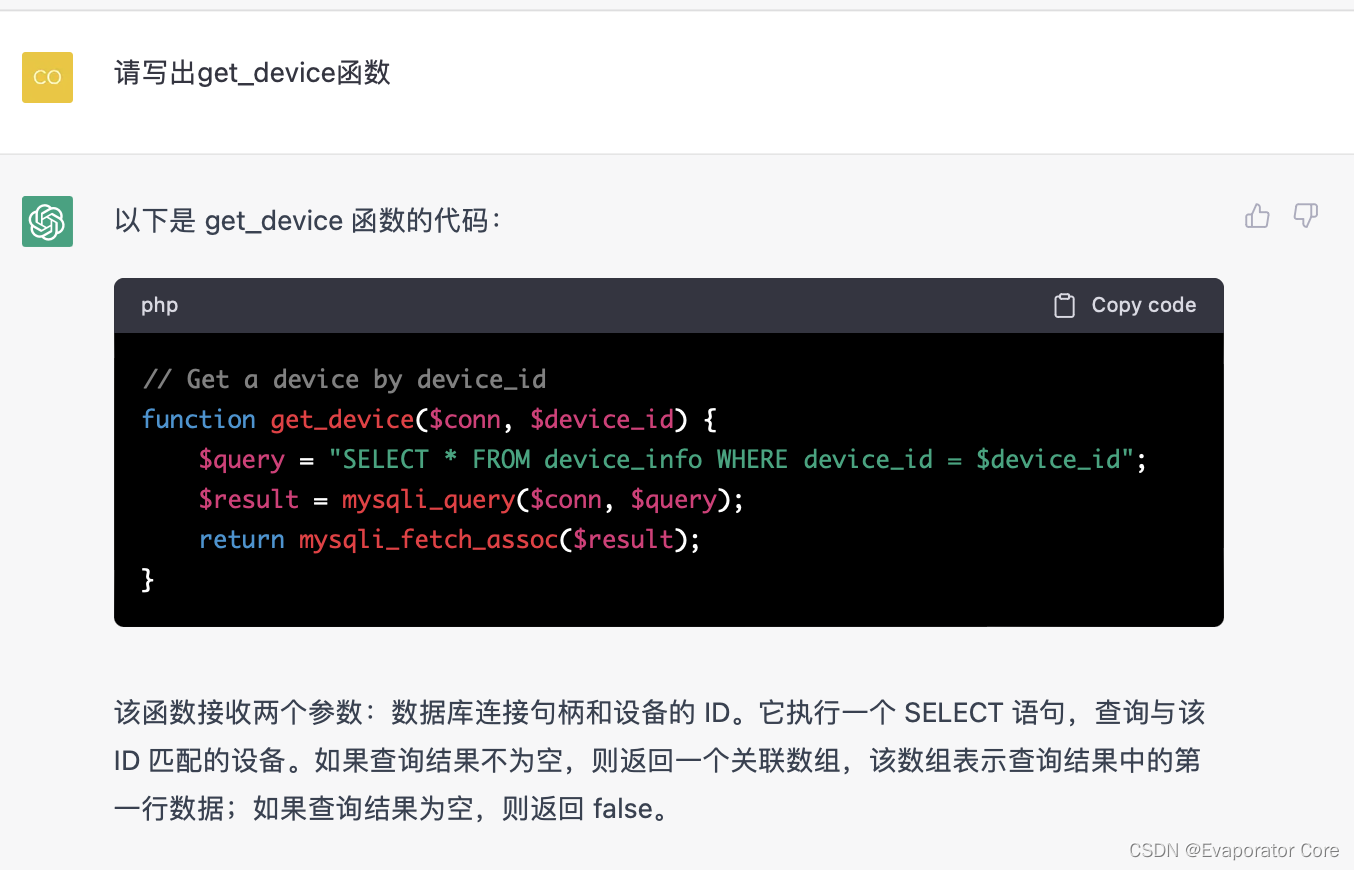
// Get a device by device_id
function get_device($conn, $device_id) {
    $query = "SELECT * FROM device_info WHERE device_id = $device_id";
    $result = mysqli_query($conn, $query);
    return mysqli_fetch_assoc($
有了后端的程序,我们可以进一步设计前端的界面。
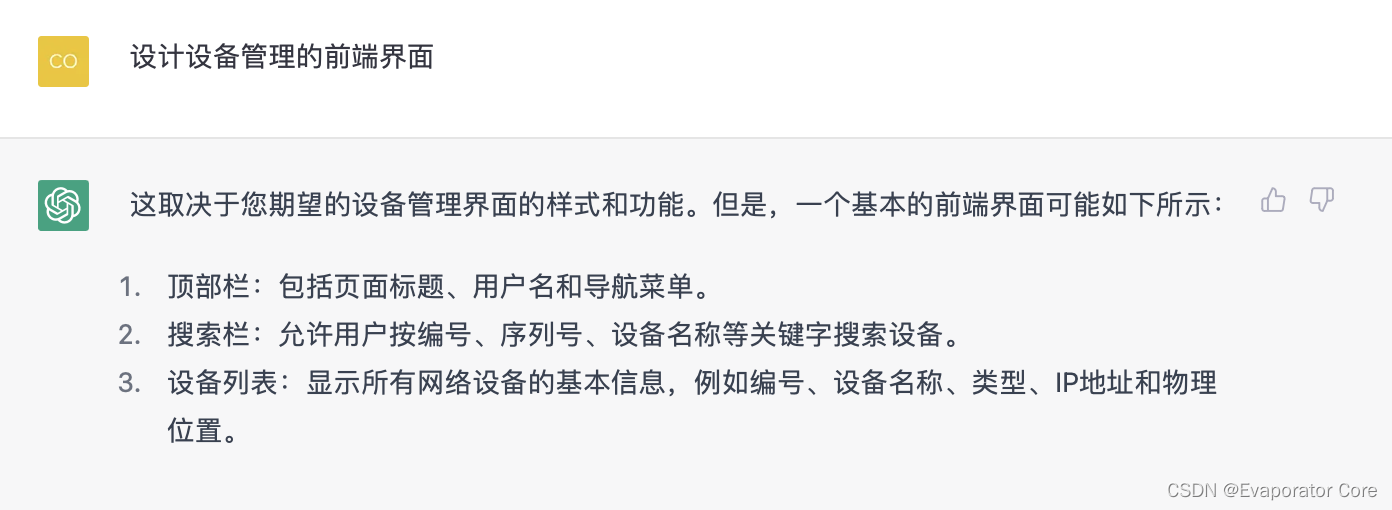
可以看到,程序给出了前端界面的组成部分,那么我们依次来实现。
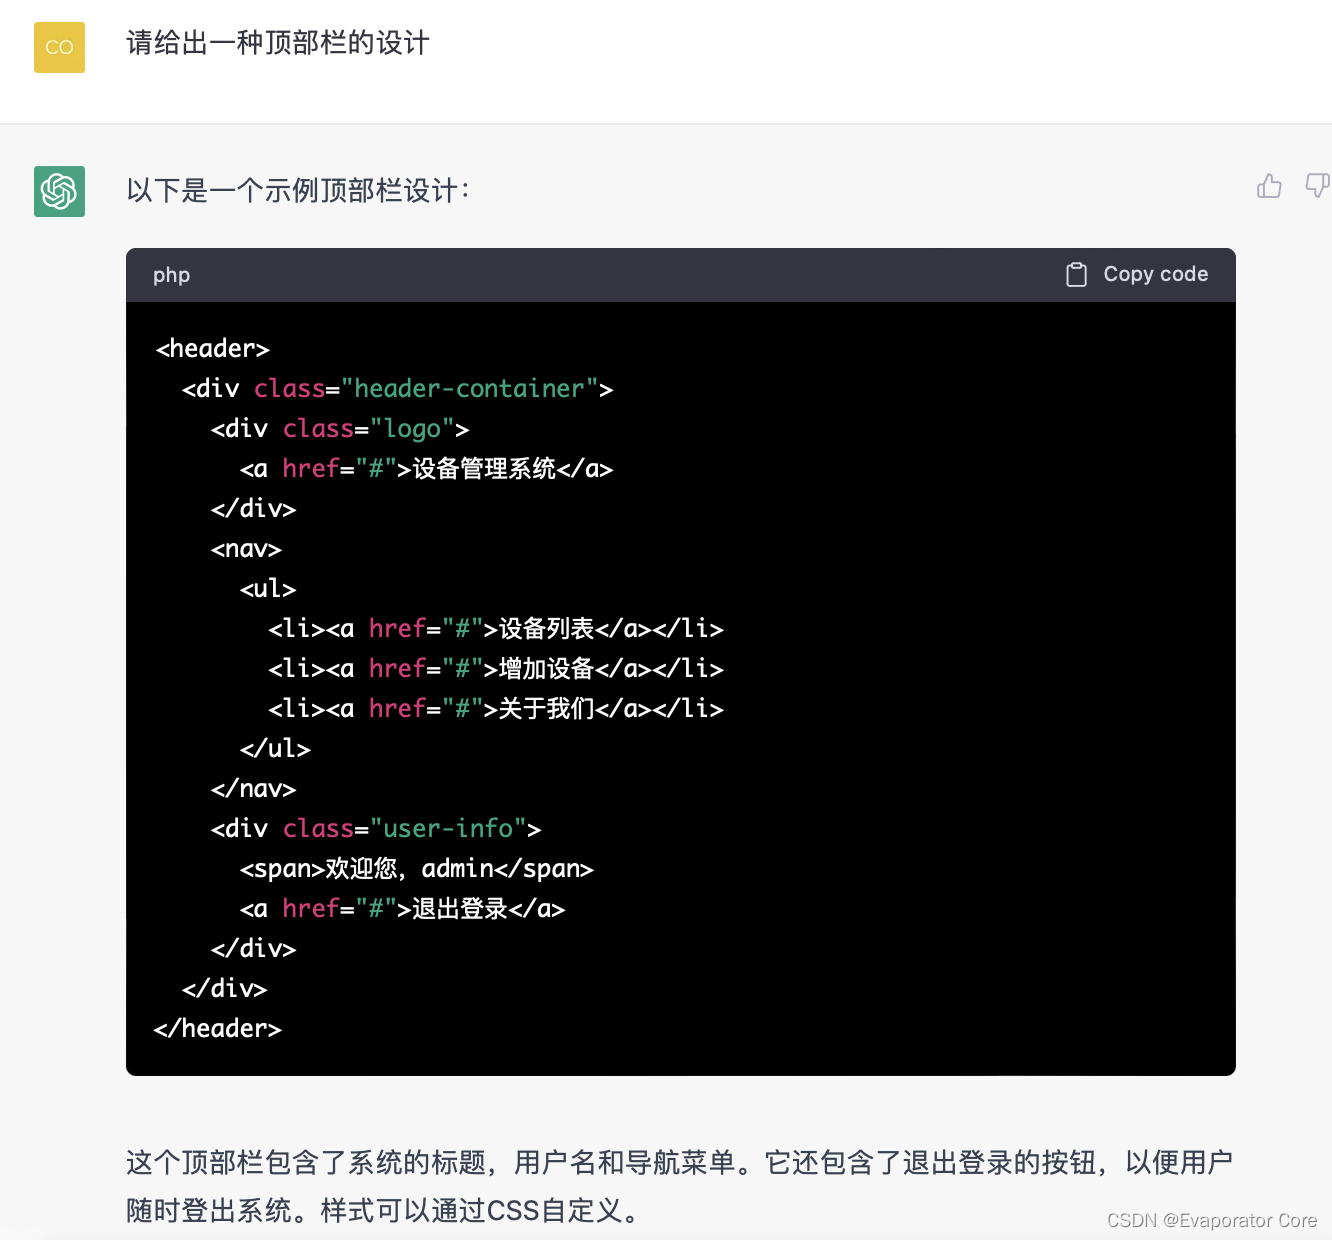
<header>
  <div class="header-container">
    <div class="logo">
      <a href="#">设备管理系统</a>
    </div>
    <nav>
      <ul>
        <li><a href="#">设备列表</a></li>
        <li><a href="#">增加设备</a></li>
        <li><a href="#">关于我们</a></li>
      </ul>
    </nav>
    <div class="user-info">
      <span>欢迎您,admin</span>
      <a href="#">退出登录</a>
    </div>
  </div>
</header>
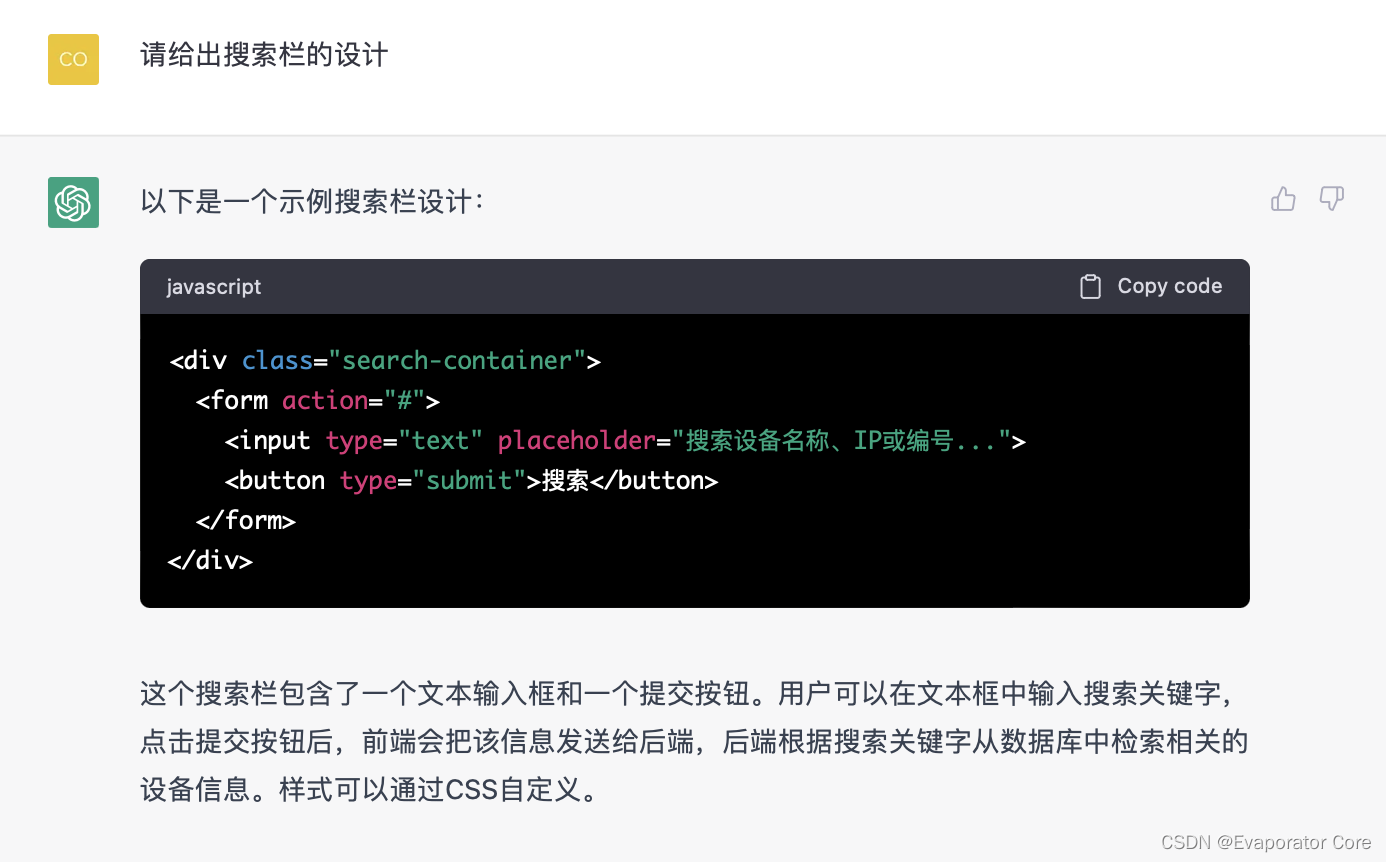
注意到,刚才的后端代码并没有实现搜索功能,所以让chatgpt来设计一个搜索函数。
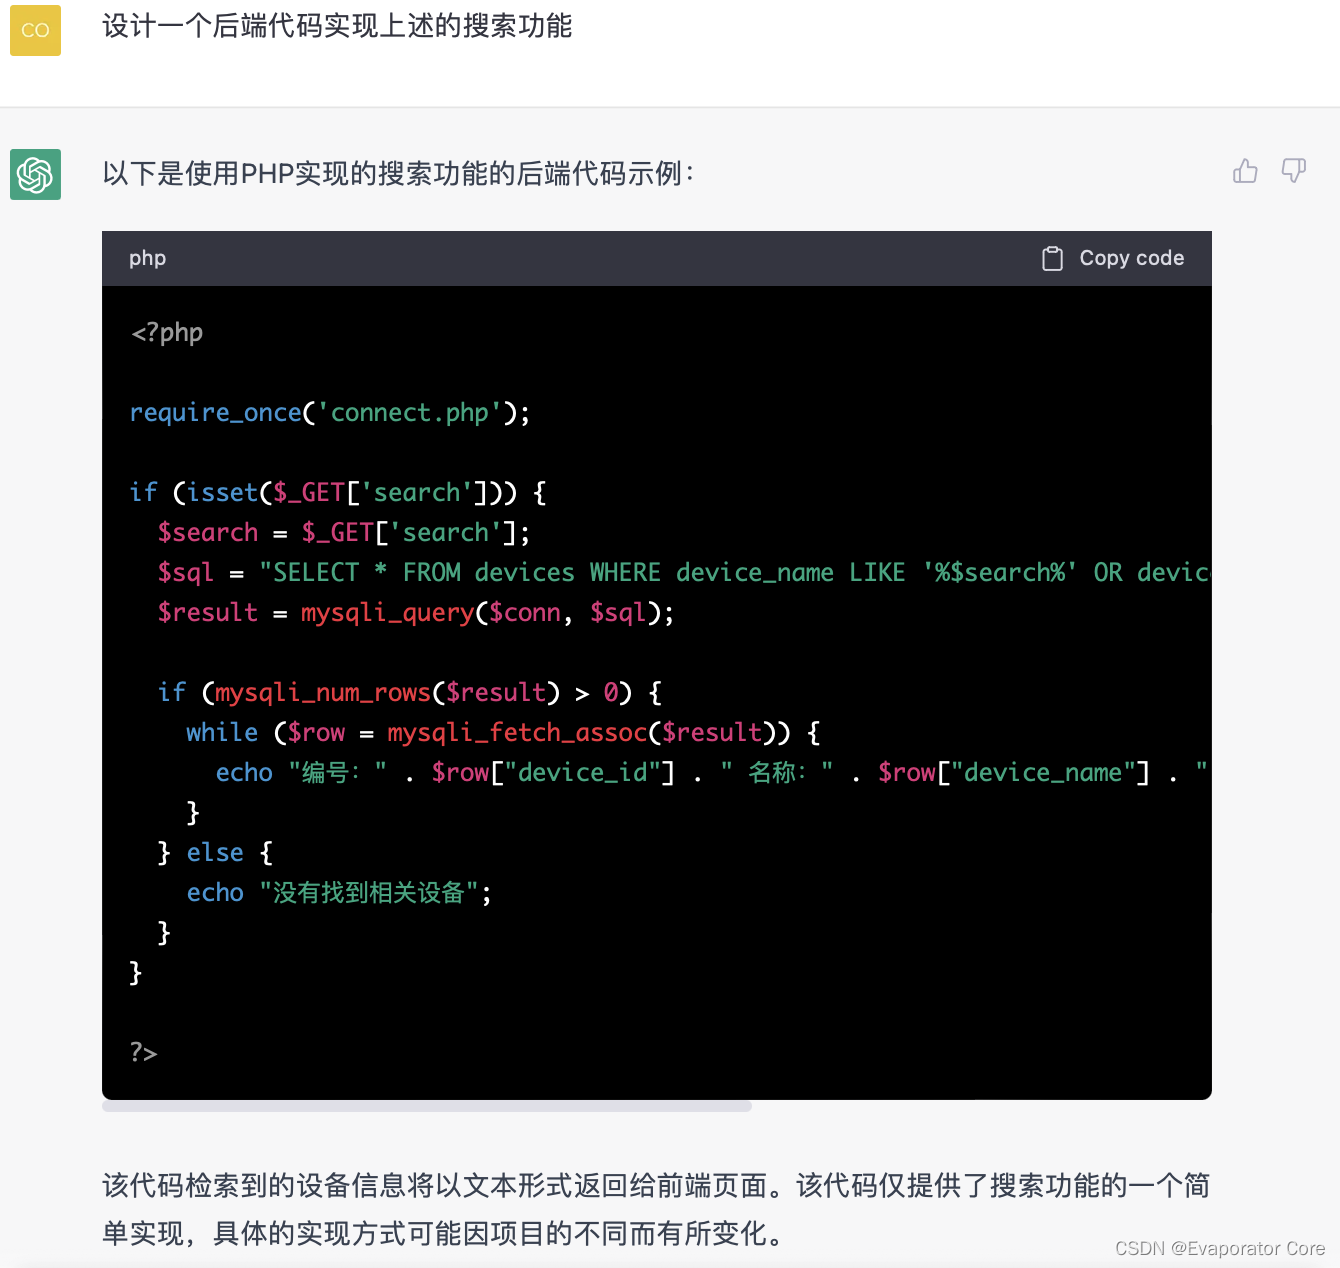
<?php

require_once('connect.php');

if (isset($_GET['search'])) {
  $search = $_GET['search'];
  $sql = "SELECT * FROM devices WHERE device_name LIKE '%$search%' OR device_ip LIKE '%$search%' OR device_id LIKE '%$search%'";
  $result = mysqli_query($conn, $sql);

  if (mysqli_num_rows($result) > 0) {
    while ($row = mysqli_fetch_assoc($result)) {
      echo "编号:" . $row["device_id"] . " 名称:" . $row["device_name"] . " IP地址:" . $row["device_ip"] . "<br>";
    }
  } else {
    echo "没有找到相关设备";
  }
}

?>
这一段实现的看起来不是特别好。
下面分别设计设备列表和添加设备的前端。
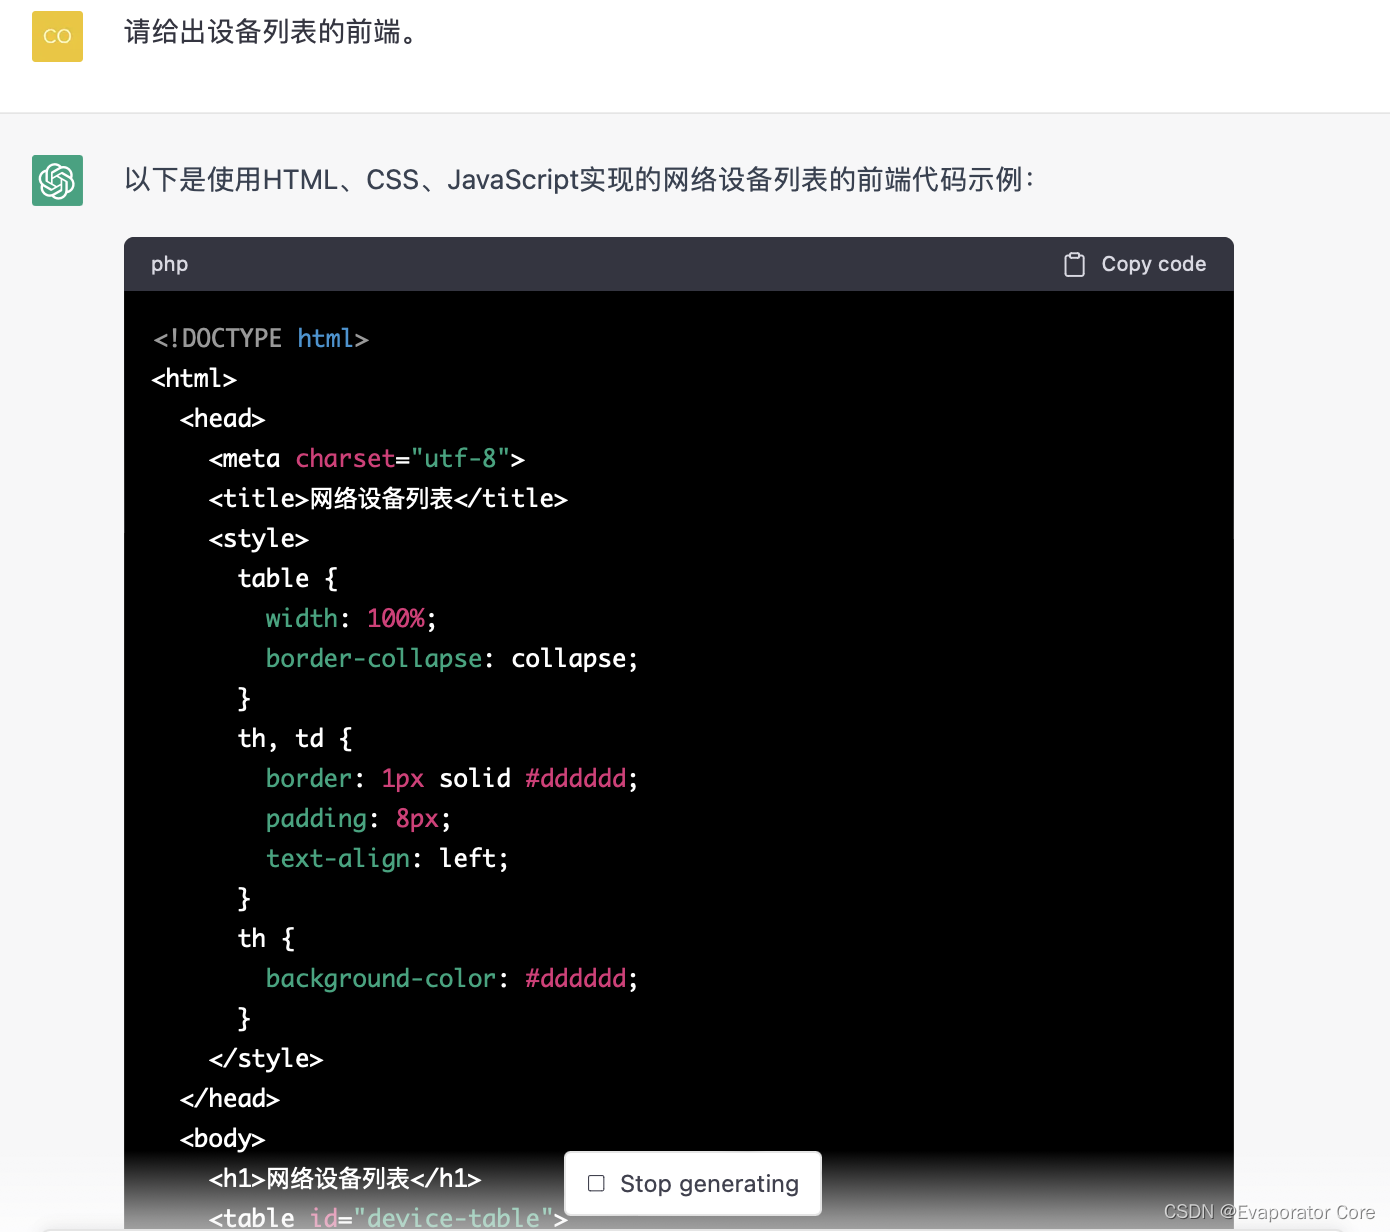
<!DOCTYPE html>
<html>
  <head>
    <meta charset="utf-8">
    <title>网络设备列表</title>
    <style>
      table {
        width: 100%;
        border-collapse: collapse;
      }
      th, td {
        border: 1px solid #dddddd;
        padding: 8px;
        text-align: left;
      }
      th {
        background-color: #dddddd;
      }
    </style>
  </head>
  <body>
    <h1>网络设备列表</h1>
    <table id="device-table">
      <tr>
        <th>编号</th>
        <th>名称</th>
        <th>IP地址</th>
      </tr>
    </table>
    <script>
      fetch('https://example.com/devices.php')
        .then(response => response.json())
        .then(devices => {
          const table = document.getElementById('device-table');
          for (const device of devices) {
            const row = table.insertRow();
            const cell1 = row.insertCell(0);
            const cell2 = row.insertCell(1);
            const cell3 = row.insertCell(2);
            cell1.innerHTML = device.device_id;
            cell2.innerHTML = device.device_name;
            cell3.innerHTML = device.device_ip;
          }
        });
    </script>
  </body>
</html>
该代码利用Fetch API从后端服务器获取设备信息,并在前端页面以表格的形式呈现出来。该代码仅提供了一个简单的实现,具体的实现方式可能因项目的不同而有所变化。
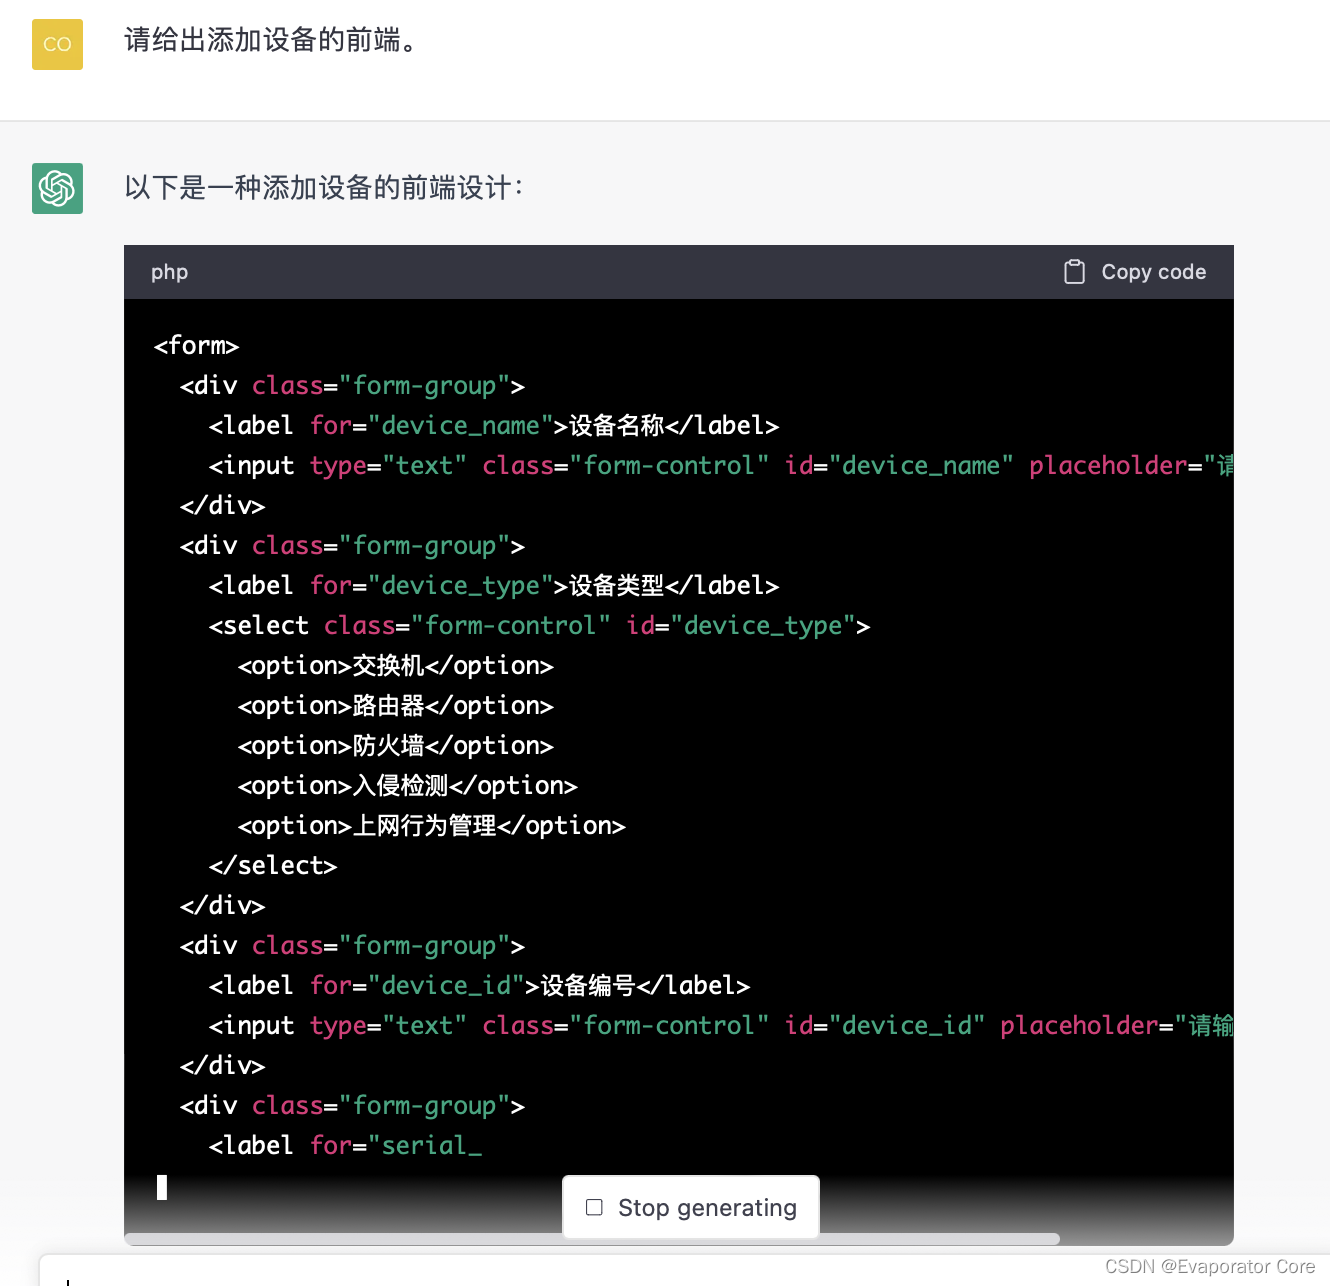
<form>
  <div class="form-group">
    <label for="device_name">设备名称</label>
    <input type="text" class="form-control" id="device_name" placeholder="请输入设备名称">
  </div>
  <div class="form-group">
    <label for="device_type">设备类型</label>
    <select class="form-control" id="device_type">
      <option>交换机</option>
      <option>路由器</option>
      <option>防火墙</option>
      <option>入侵检测</option>
      <option>上网行为管理</option>
    </select>
  </div>
  <div class="form-group">
    <label for="device_id">设备编号</label>
    <input type="text" class="form-control" id="device_id" placeholder="请输入设备编号">
  </div>
  <div class="form-group">
    <label for="serial_number">序列号</label>
    <input type="text" class="form-control" id="serial_number" placeholder="请输入序列号">
  </div>
  <div class="form-group">
    <label for="ip">IP地址</label>
    <input type="text" class="form-control" id="ip" placeholder="请输入IP地址">
  </div>
  <div class="form-group">
    <label for="mac">MAC地址</label>
    <input type="text" class="form-control" id="mac" placeholder="请输入MAC地址">
  </div>
  <div class="form-group">
    <label for="access_address">访问地址</label>
    <input type="text" class="form-control" id="access_address" placeholder="请输入访问地址">
  </div>
  <div class="form-group">
    <label for="username">用户名</label>
    <input type="text" class="form-control" id="username" placeholder="请输入用户名">
  </div>
  <div class="form-group">
    <label for="password">密码</label>
    <input type="password" class="form-control" id="password" placeholder="请输入密码">
  </div>
  <div class="form-group">
    <label
太长了,没显示完……
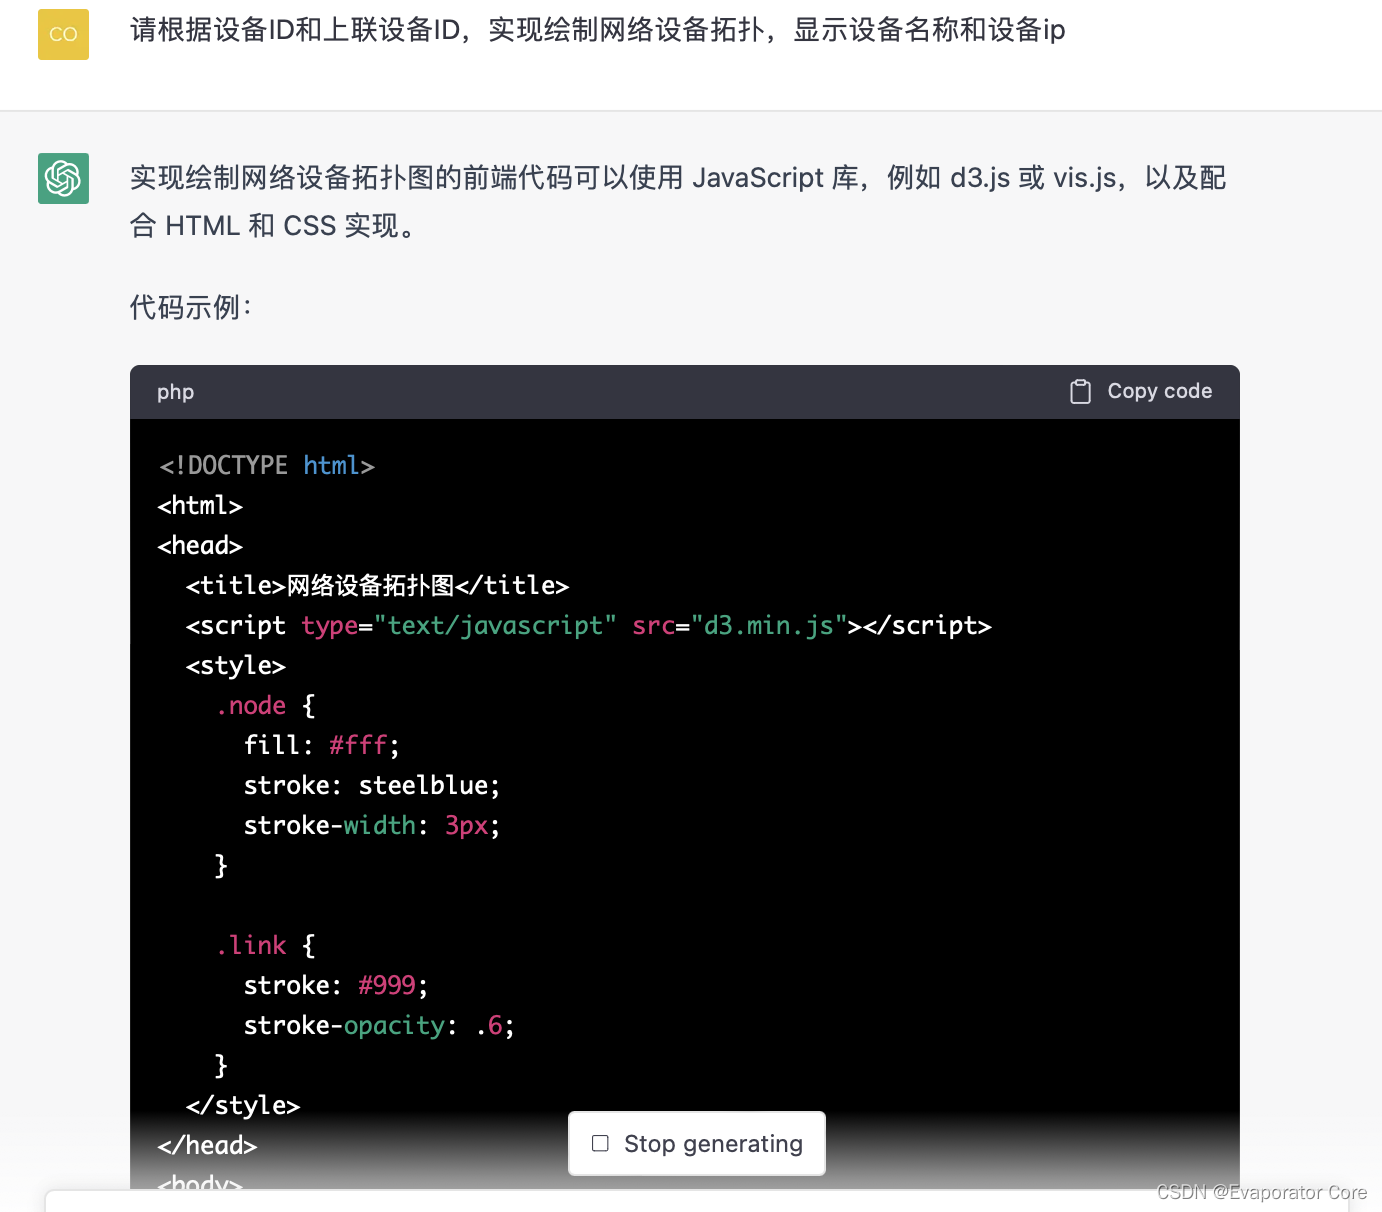
下面设计网络拓扑的生成方法,chatgpt给出了一种前端的实现方案。
