文章目录
文章目录
前言
一、创建 spring boot 工程
二、申请key
三、修改配置文件 application.properties
四、编写控制器(controller)
五、运行调试
前言
提示:随着人工智能的不断发展,ai这门技术也越来越重要,很多人都开启了拥抱ai,本文就介绍Spring Boot 整合 DeepSeek。
一、创建 spring boot 工程
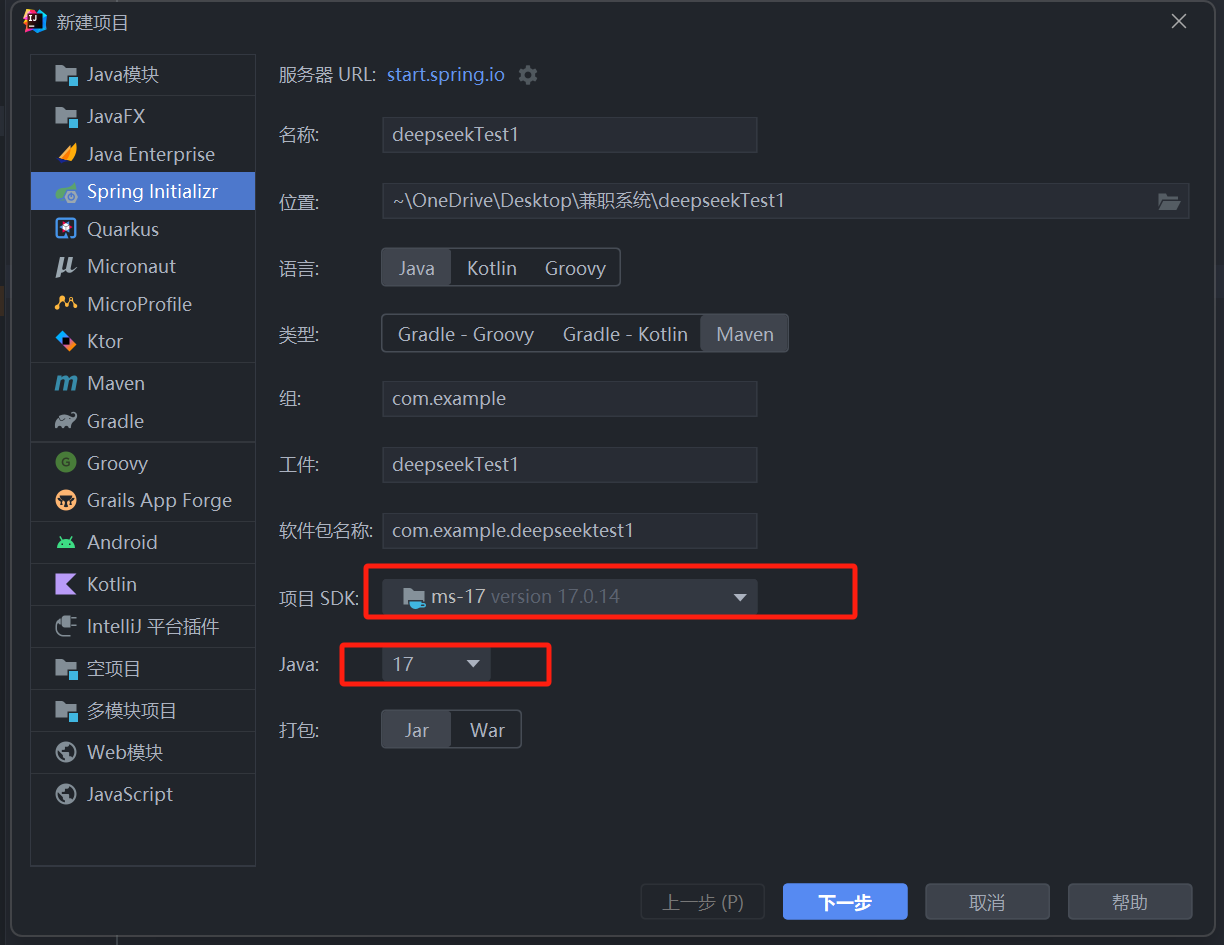
点击下一步 勾选 web和ai依赖
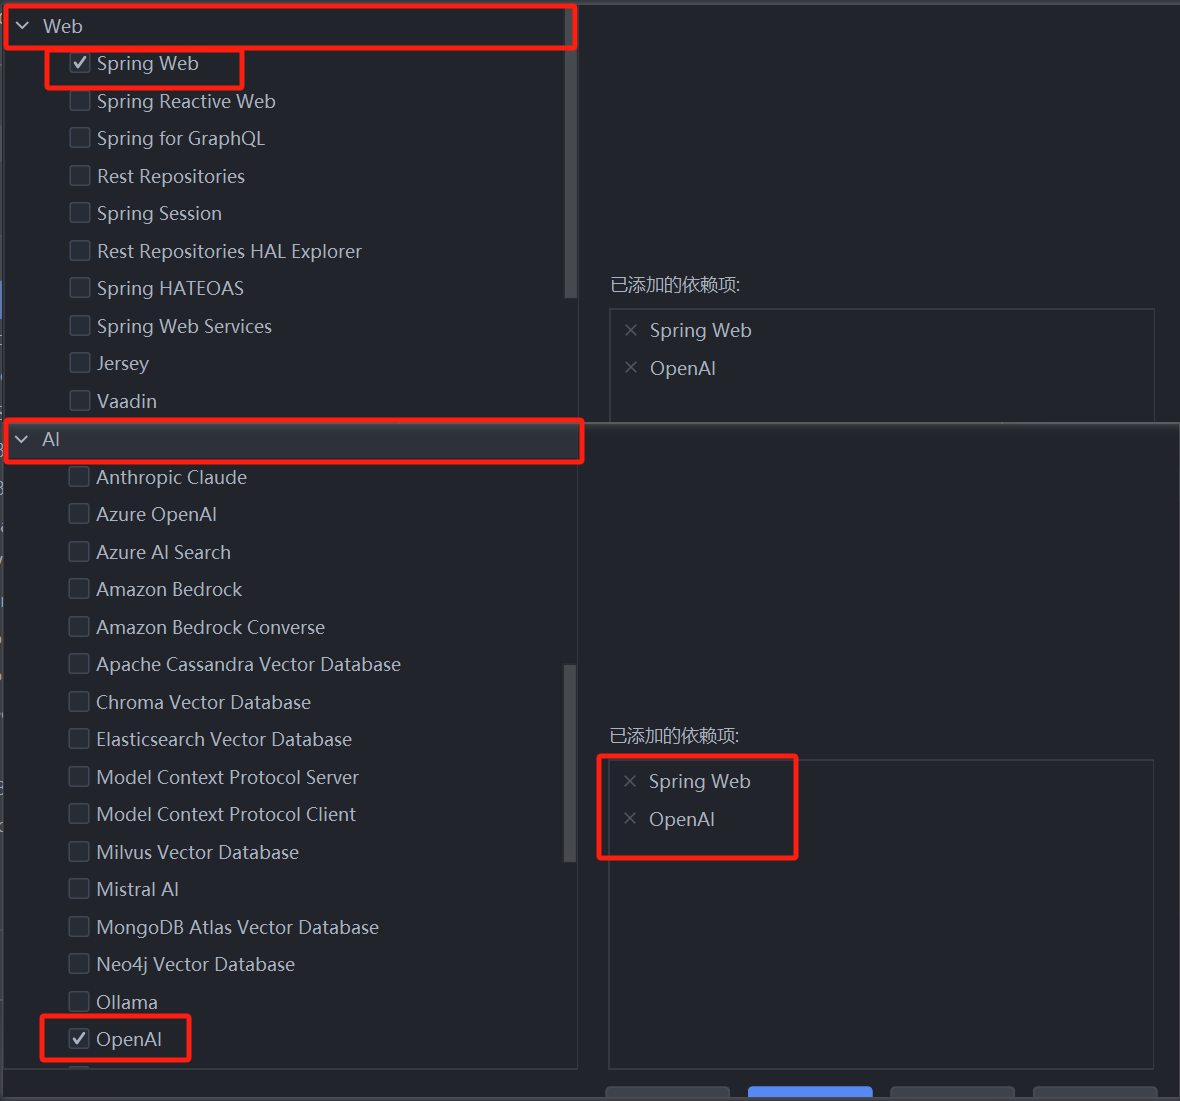
点击完成
注:jdk必须为17如果没有 自行下载
二、申请key
访问:DeepSeek 开放平台
登入进入以下页面 创建一个key 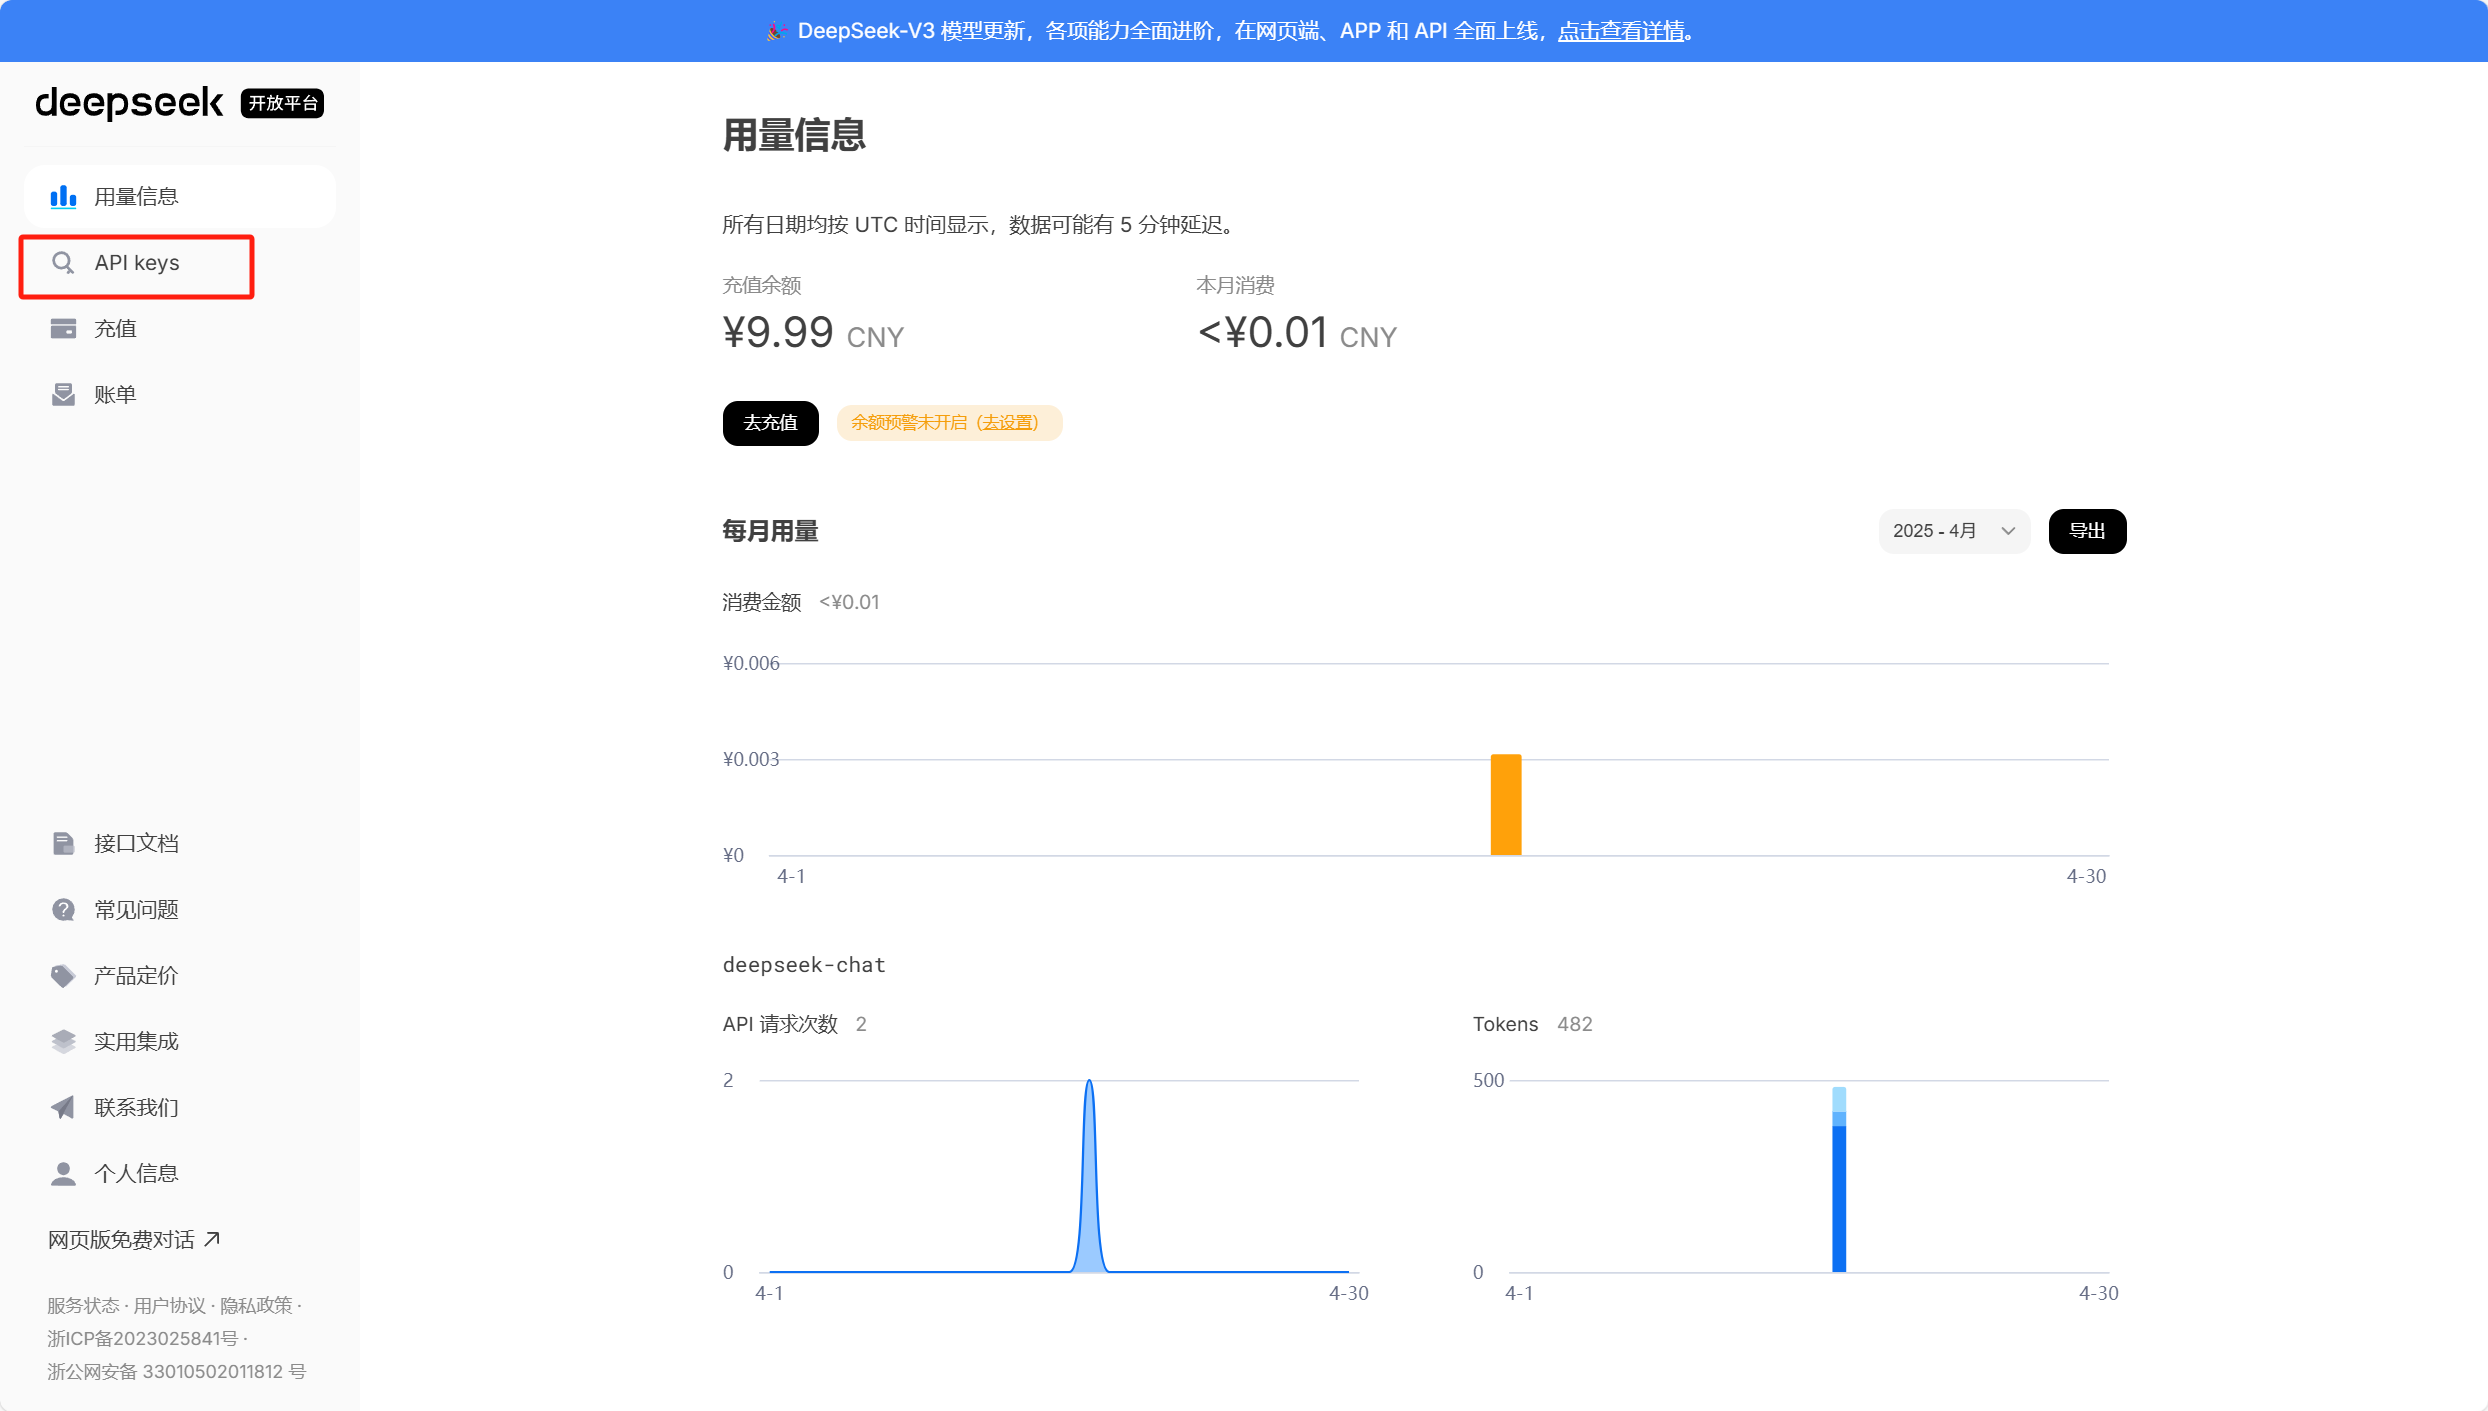
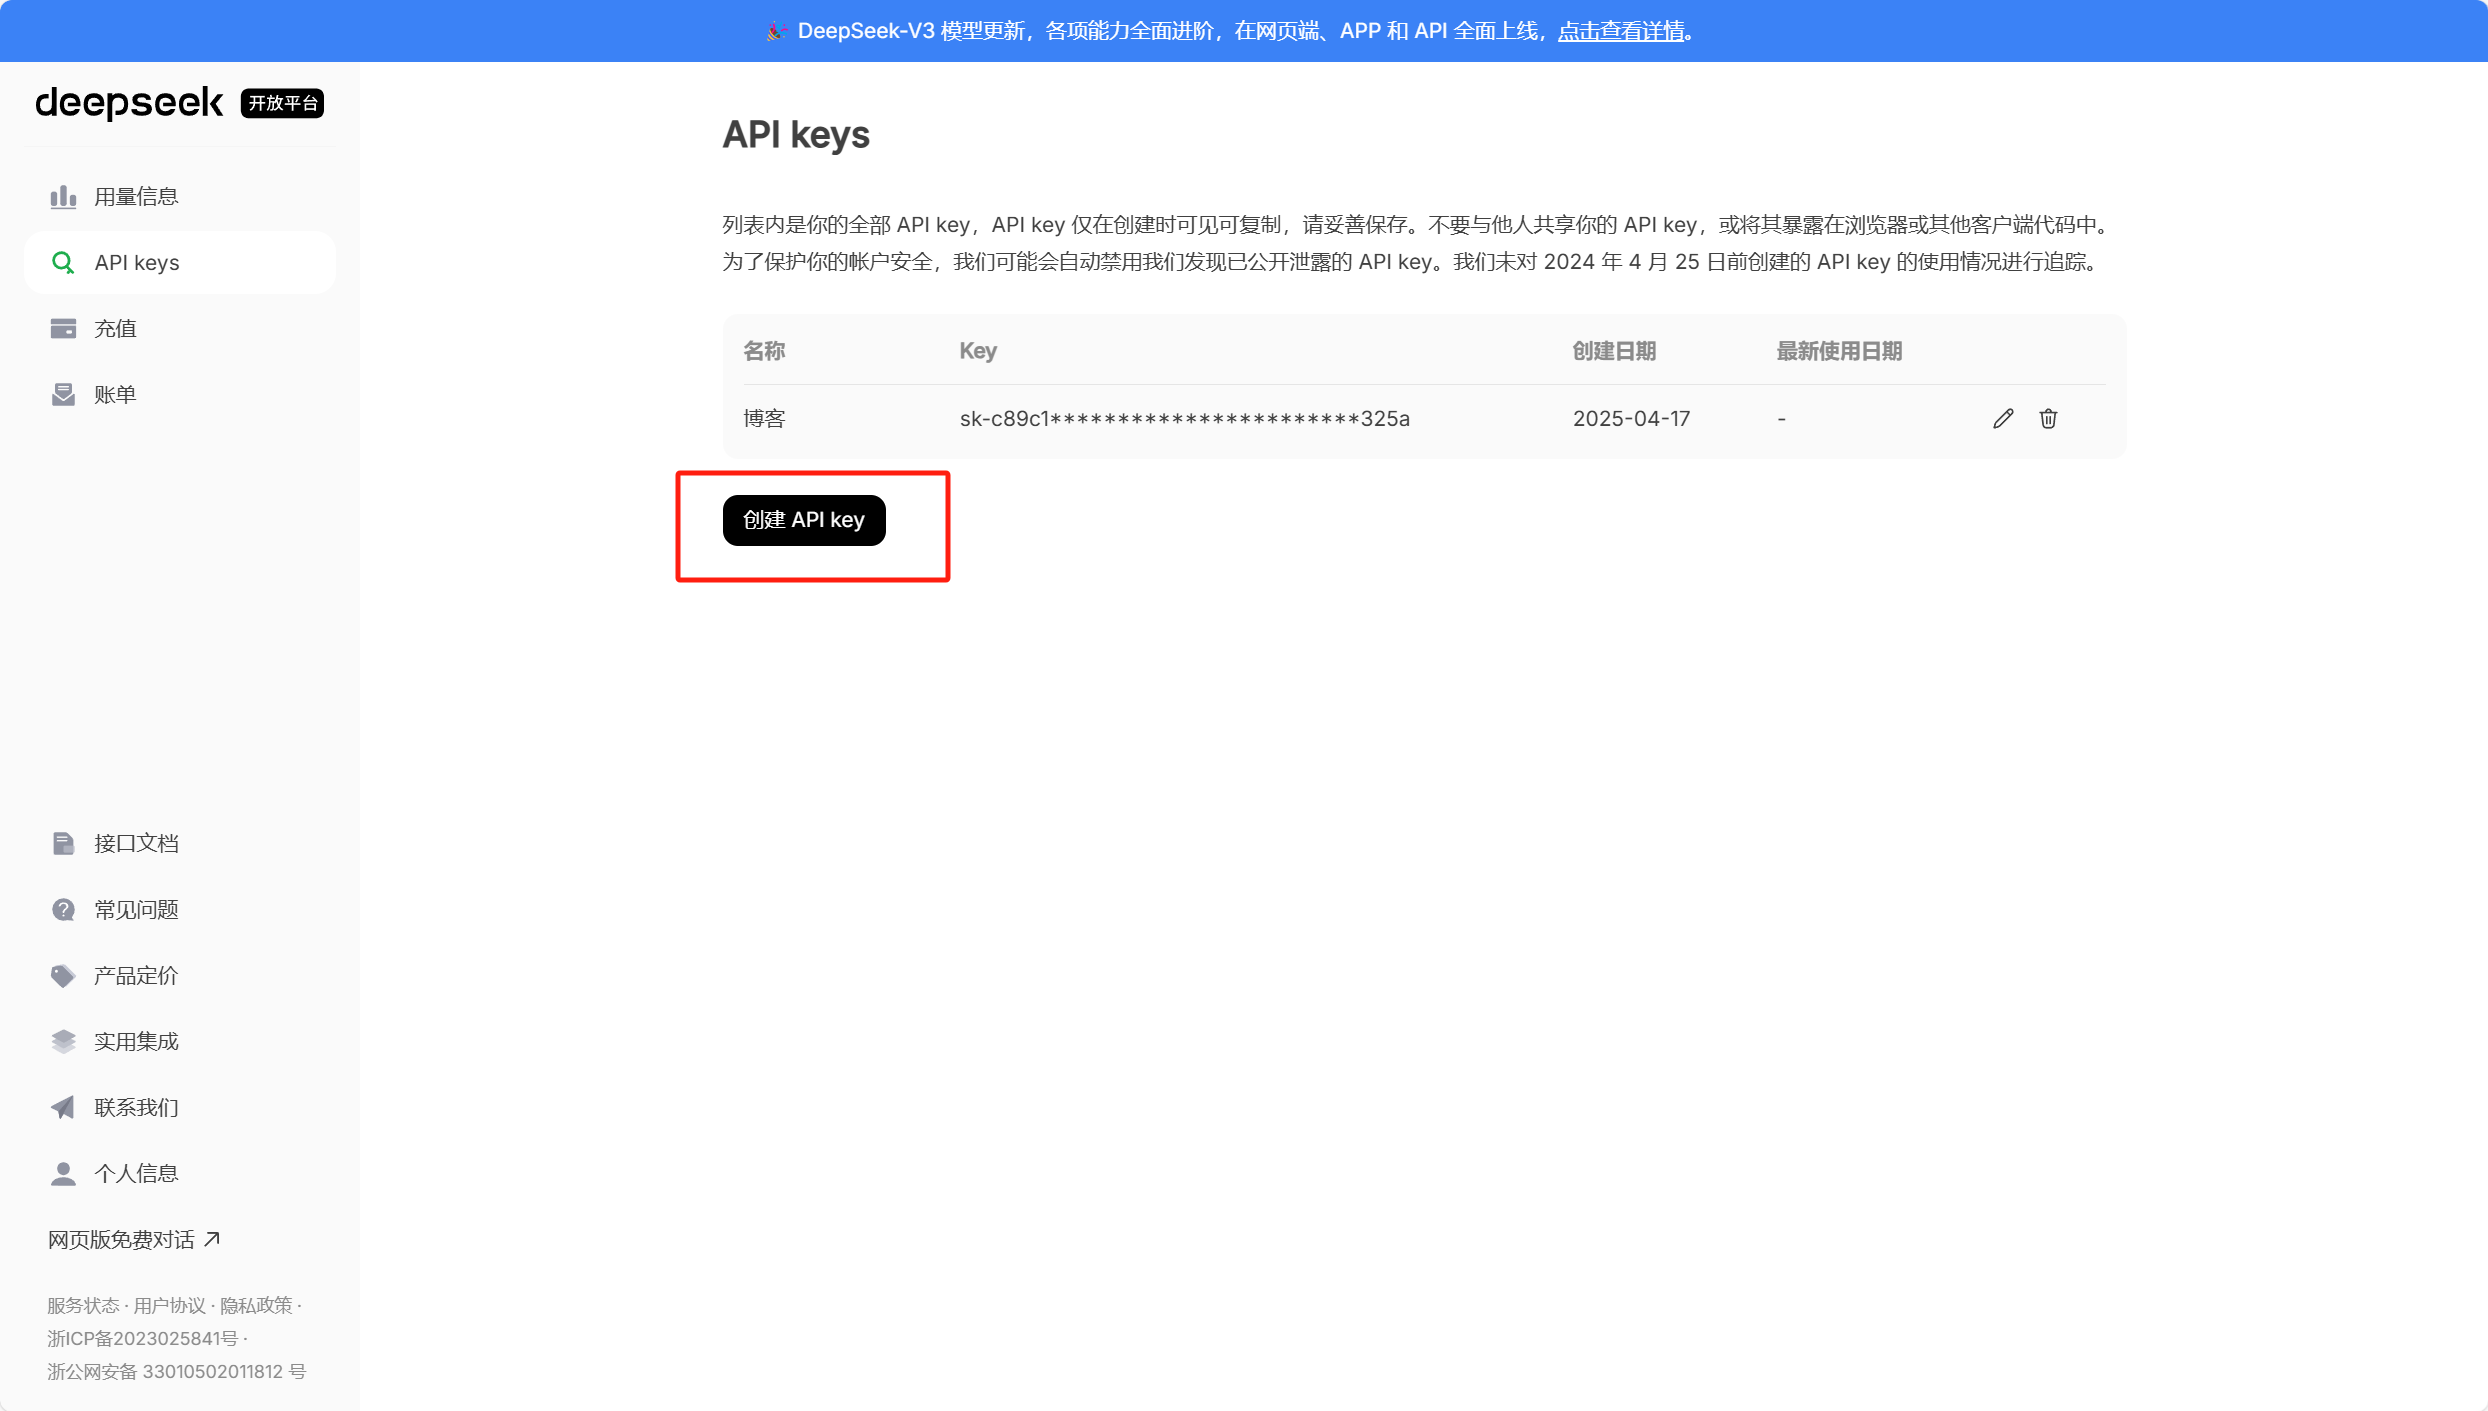
注:需要充值才能使用
三、修改配置文件
application.properties
spring.ai.openai.api-key=你申请的key
spring.ai.openai.base-url=https://api.deepseek.com
spring.ai.openai.chat.options.model=deepseek-chat
spring.ai.openai.chat.options.temperature=0.7

# The DeepSeek API doesn't support embeddings, so we need to disable it.
spring.ai.openai.embedding.enabled=false
四、编写控制器(controller)
@RestController
public class ChatController {

    // 注入OpenAI聊天模型实例,已通过配置文件完成API密钥等参数配置
    @Autowired
    private OpenAiChatModel chatModel;

    // 使用List维护对话上下文,包含系统消息和用户消息
    private List<Message> chatHistory = new ArrayList<>();

    // Bean初始化后自动执行,设置AI的初始角色
    @PostConstruct
    public void init() {
        // 添加系统消息定义AI行为准则
        chatHistory.add(new SystemMessage("You are a helpful assistant."));
    }

    // 处理GET请求的聊天接口,produces默认为application/json
    @GetMapping("/chat")
    public ChatResponse chat(String message) {
        System.out.println(message); // 打印调试信息

        // 将用户输入封装为消息对象并加入历史
        chatHistory.add(new UserMessage(message));

        // 构建包含完整对话历史的Prompt对象
        Prompt prompt = new Prompt(chatHistory);

        // 调用OpenAI模型生成响应(同步调用方式)
        ChatResponse response = chatModel.call(prompt);

        // 将AI响应加入对话历史以保持上下文连贯
        chatHistory.add(response.getResult().getOutput());

        return response; // 返回包含完整响应元数据的对象
    }
}
五、运行调试


![Warcraft Logs [Classic] [WCL] Usage Wizard <HTOC>](https://i-blog.csdnimg.cn/direct/cc90f124f0d647e3b464e87d68fd7679.png)