最近linux编译了ceres库,因为要涉及到一个程序源代码的编译,但是反复测试,一直各种错误,所以一个个问题排除;
虽然前面ceres库编译成功了,但是版本自定义扔进去的,所以在进行代码编译的时候各种报错。
参考链接:
1、abseil库的安装-Ubuntu18.04
2、Ubuntu安装使用Ceres Solver
我的相关博客:
Arm Linux ceres库编译(树莓派5上编译)
x86 Linux ceres库编译(麒麟V10 SP1)
目录
- 一、编译注意事项
- 1.1、关于版本号
- 1.1.1、absl版本
- 1.1.2、ceres版本
- 1.2、卸载及重装absl库
- 1.3、卸载及重装ceres库
- 1.4、absl测试代码
- 1.4.1、Hello_basl.cpp 文件
- 1.4.2、CMakeList.txt文件
- 1.4.3、编译方法
- 1.4.4、成功样例
- 1.5、ceres测试代码
- 1.5.1、test_ceres.cpp 文件
- 1.5.2、CMakeLists.txt文件
- 1.5.3、编译步骤
- 1.5.4、成功样例
- 1.5.5、失败案例
一、编译注意事项
1.1、关于版本号
编译ceres时候要注意版本号,很多错误都是由于版本差异太大导致源代码兼容问题,所以通过版本可以根据发布时间确定依赖环境的版本号,要不然即使编译成功了,后面在代码编译的时候也会出现兼容性问题,导致代码编译失败
1.1.1、absl版本
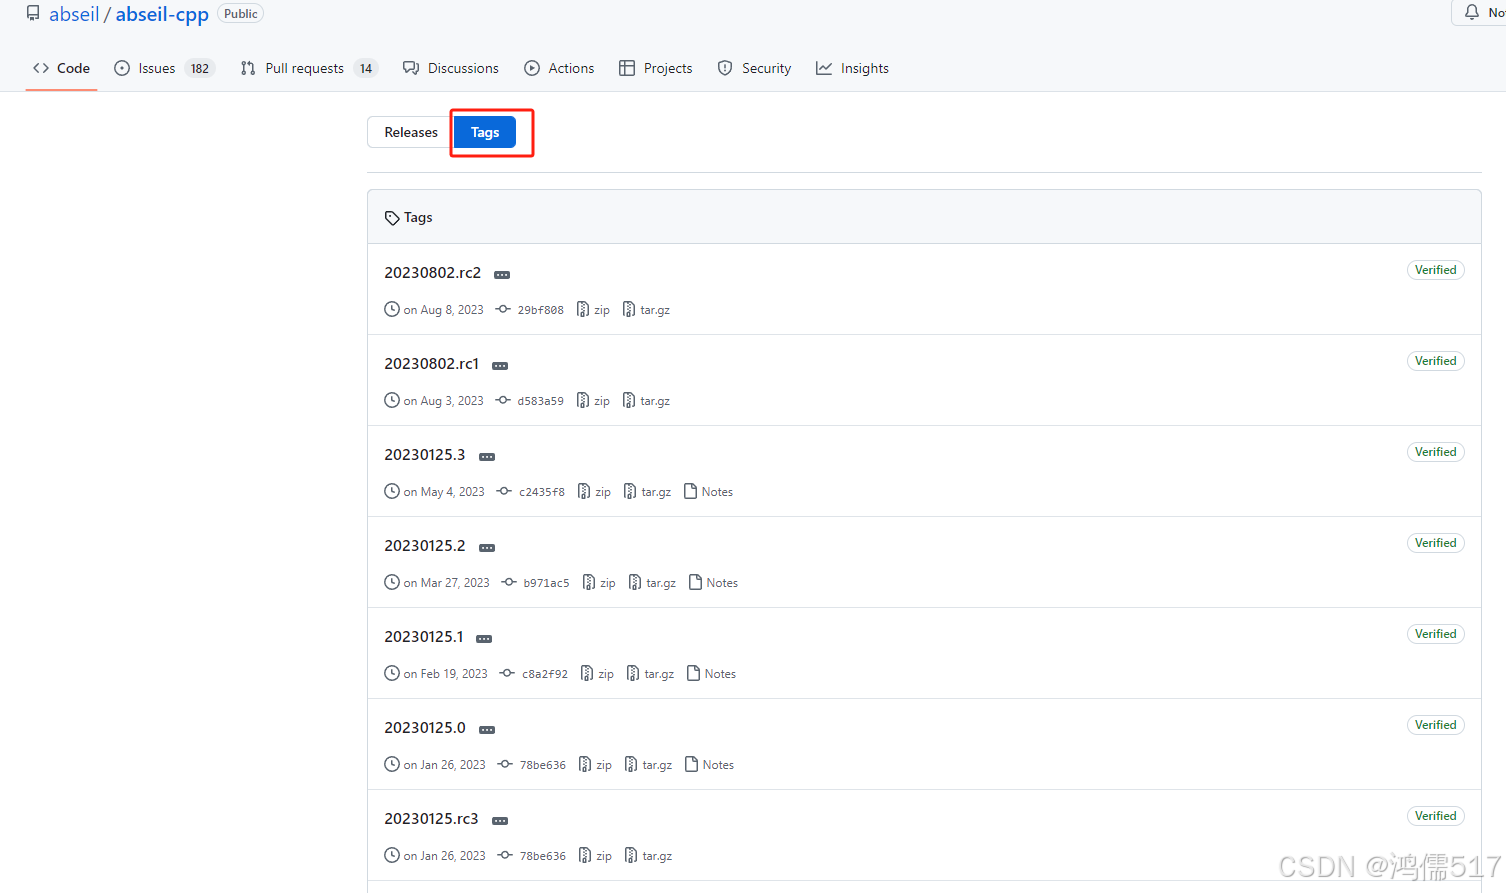
首先进入github仓库:https://github.com/abseil/abseil-cpp
点击Tags
1.1.2、ceres版本
按照这个思路,ceres库编译的时候可以先查一下ceres库的版本,根据发布时间,下载时间相近的库进行编译,环境问题应该可以解决
ceres github仓库:https://github.com/ceres-solver/ceres-solver

所以这里我下载了两套*.zip 代码重新编译
ceres-solver-2.2.0.zip
abseil-cpp-20230125.3.zip 或 abseil-cpp-20240722.1.zip
我虚拟机上使用 abseil-cpp-20240722.1.zip 和ceres 2.2.0 配套编译成功
1.2、卸载及重装absl库
卸载absl
sudo rm -rf /usr/local/lib/libabsl*
sudo rm -rf /usr/local/include/absl
sudo rm -rf /usr/local/lib/cmake/absl
sudo rm -f /usr/local/lib/pkgconfig/absl.pc

验证absl卸载干净了
ls /usr/local/lib | grep libabsl
ls /usr/local/include | grep absl

重装absl库
cd abseil-cpp-20240722.1
mkdir build
cmake .. -DCMAKE_INSTALL_PREFIX=/usr/local
make
sudo make install
注意,这里我没有设置 -DCMAKE_CXX_STANDARD=17 ,这段话的意思是使用C++17进行编译,如果这么设置在以后编译源代码使用C++11的时候就会编译出错,必须使用C++17,比较麻烦,所以这里我尝试去除掉,编译没有什么问题,在后面使用也没有什么问题
1.3、卸载及重装ceres库
卸载ceres库
sudo rm -rf /usr/local/include/ceres
sudo rm -rf /usr/local/lib/libceres*
sudo rm -rf  /usr/local/lib/cmake/Ceres

验证ceres库是否存在
ls /usr/local/include | grep ceres   # 应无输出
ls /usr/local/lib | grep libceres   # 应无输出

重装ceres库
cd ceres-solver-2.2.0
mkdir build
cd build

#不编译GTest库
cmake .. -DBUILD_TESTING=OFF
make
sudo make install
1.4、absl测试代码
1.4.1、Hello_basl.cpp 文件
#include <iostream>
#include <absl/strings/string_view.h>

using namespace std;

int main()
{
    absl::string_view sv = "hello world";

    cout<<sv<<endl;

    return 0;
}
1.4.2、CMakeList.txt文件
cmake_minimum_required(VERSION 3.16)
project(hello_absl)
find_package(absl REQUIRED COMPONENTS strings base str_format) # 声明依赖项:ml-citation{ref="1,4" data="citationList"}
add_executable(hello_absl Hello_basl.cpp)
target_link_libraries(hello_absl absl::strings absl::base absl::str_format)
1.4.3、编译方法
cmake .
make
1.4.4、成功样例
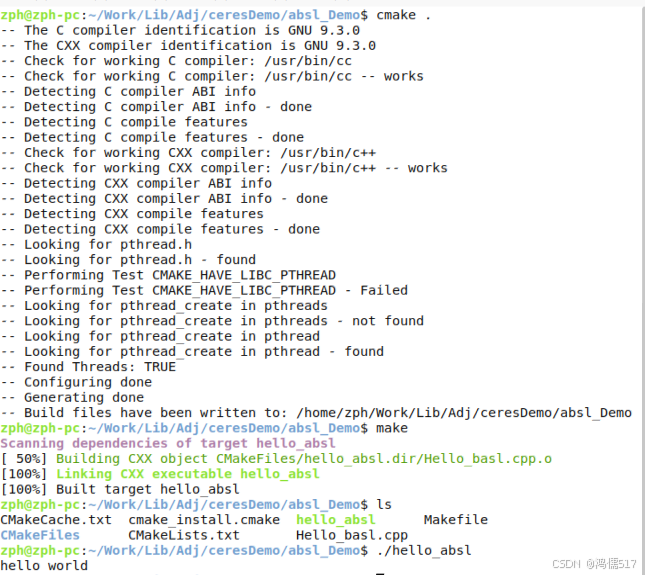
失败样例搞丢了,就是出现各种错误
1.5、ceres测试代码
1.5.1、test_ceres.cpp 文件
#include <ceres/ceres.h>
#include <iostream>

// 定义一个代价函数
struct CostFunctor {
    template <typename T>
    bool operator()(const T* const x, T* residual) const {
        residual[0] = 10.0 - x[0];
        return true;
    }
};

int main(int argc, char** argv) {
    google::InitGoogleLogging(argv[0]);

    // 初始值
    double initial_x = 5.0;
    double x = initial_x;

    // 构建最小二乘问题
    ceres::Problem problem;
    ceres::CostFunction* cost_function =
        new ceres::AutoDiffCostFunction<CostFunctor, 1, 1>(new CostFunctor);
    problem.AddResidualBlock(cost_function, nullptr, &x);

    // 配置并运行求解器
    ceres::Solver::Options options;
    options.linear_solver_type = ceres::DENSE_QR;
    options.minimizer_progress_to_stdout = true;
    ceres::Solver::Summary summary;
    ceres::Solve(options, &problem, &summary);

    std::cout << summary.BriefReport() << "\n";
    std::cout << "x : " << initial_x << " -> " << x << "\n";

    return 0;
}
1.5.2、CMakeLists.txt文件
cmake_minimum_required(VERSION 3.16)
project(hello_world)

set(absl_DIR "/usr/local/lib/cmake/absl")
find_package(Ceres REQUIRED)
message("Ceres: " ${CERES_LIBRARIES})
message("Ceres_DIR: " ${Ceres_DIR})

include_directories(
    ${CMAKE_CURRENT_SOURCE_DIR}/include
    /usr/local/include
    /usr/include/
    /usr/include/eigen3
)

set(CMAKE_BUILD_TYPE "Debug") # 默认是Release模式,设置为Debug才能调试
set(EXECUTABLE_OUTPUT_PATH ${PROJECT_SOURCE_DIR}/bin) # 设置可执行文件的输出目录

add_executable(hello_world test_ceres.cpp)

target_link_libraries(${PROJECT_NAME} PRIVATE Ceres::ceres)
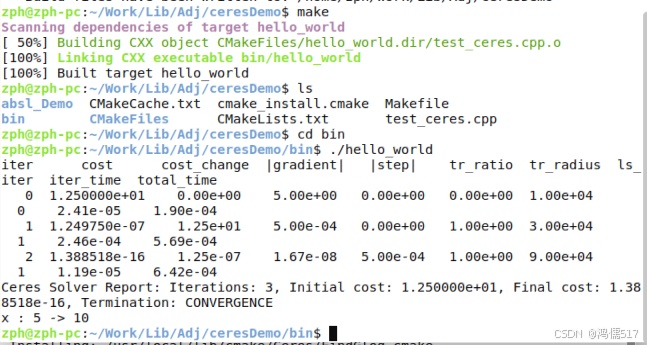
1.5.3、编译步骤
cmake .
make
make执行后会在当前目录生成./bin/hello_world程序
1.5.4、成功样例
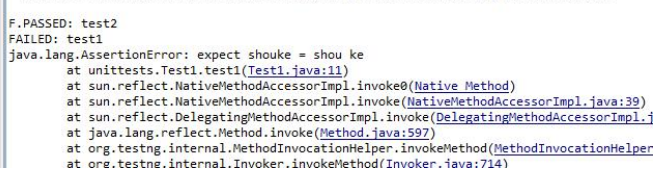
1.5.5、失败案例
那个成功案例是解决了这个失败后,这里的一个号是编译ceres时强制设置进去的,所以helloworld都编译不过去
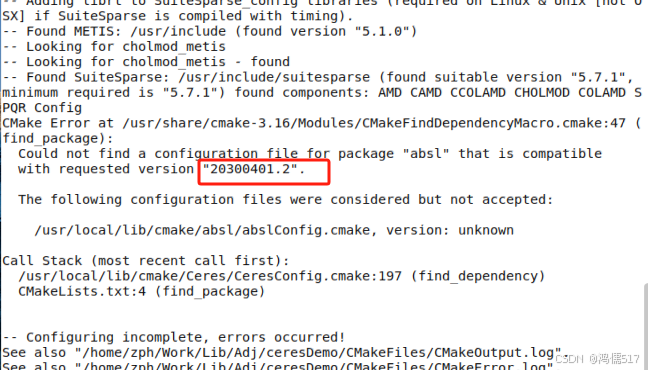
根据版本章节,根据ceres库的版本选择配套的absl版本,不用强制指定版本号也可以顺利编译过去,该问题自然消失了。
——辉 2025.4.16