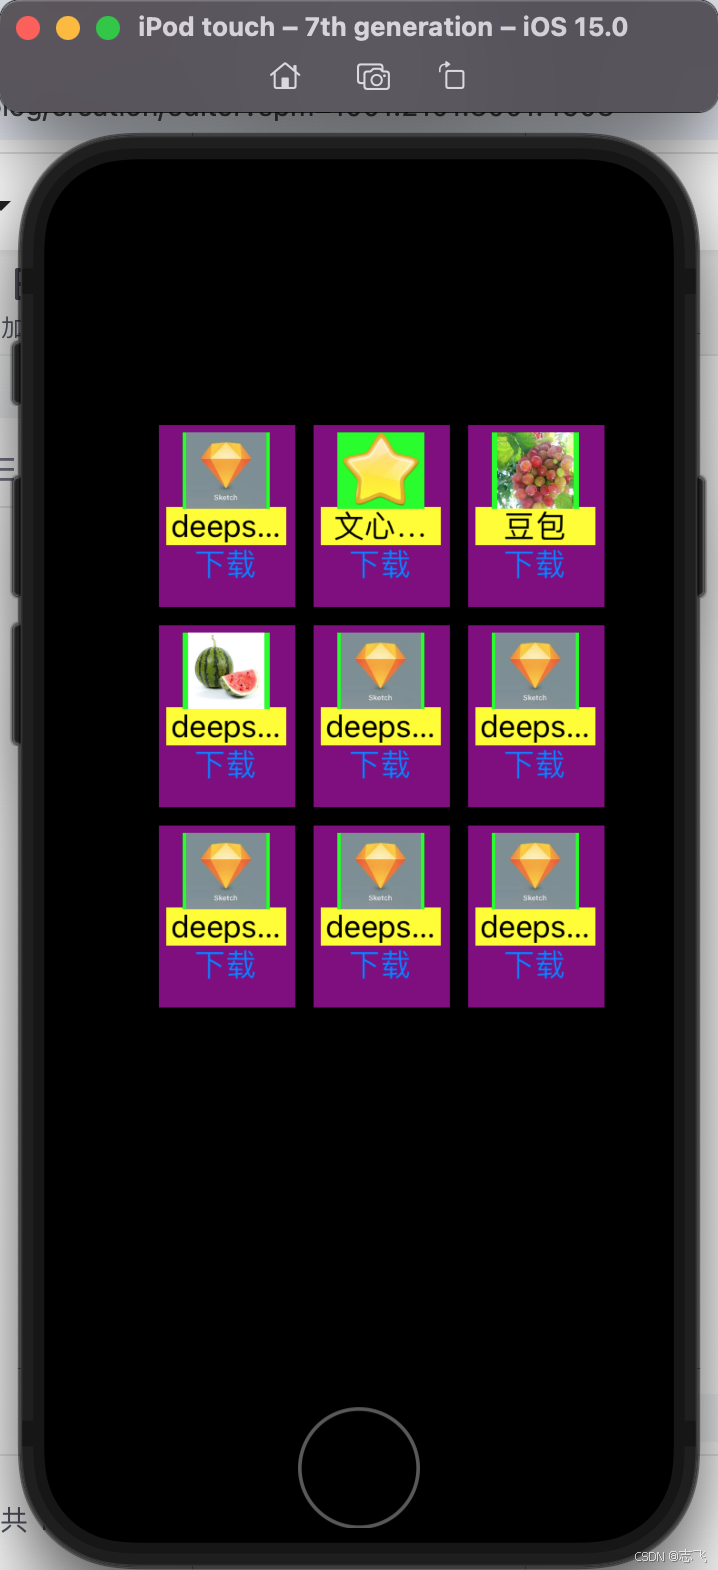
之前写过ios动态创建控件及添加事件,纯手工代码写控件,虽然比较灵活,但是就是代码量比较多。这次我们通过xib来创建app下载列表项 AppView.xib。一个imageview,一个label,一个button构成
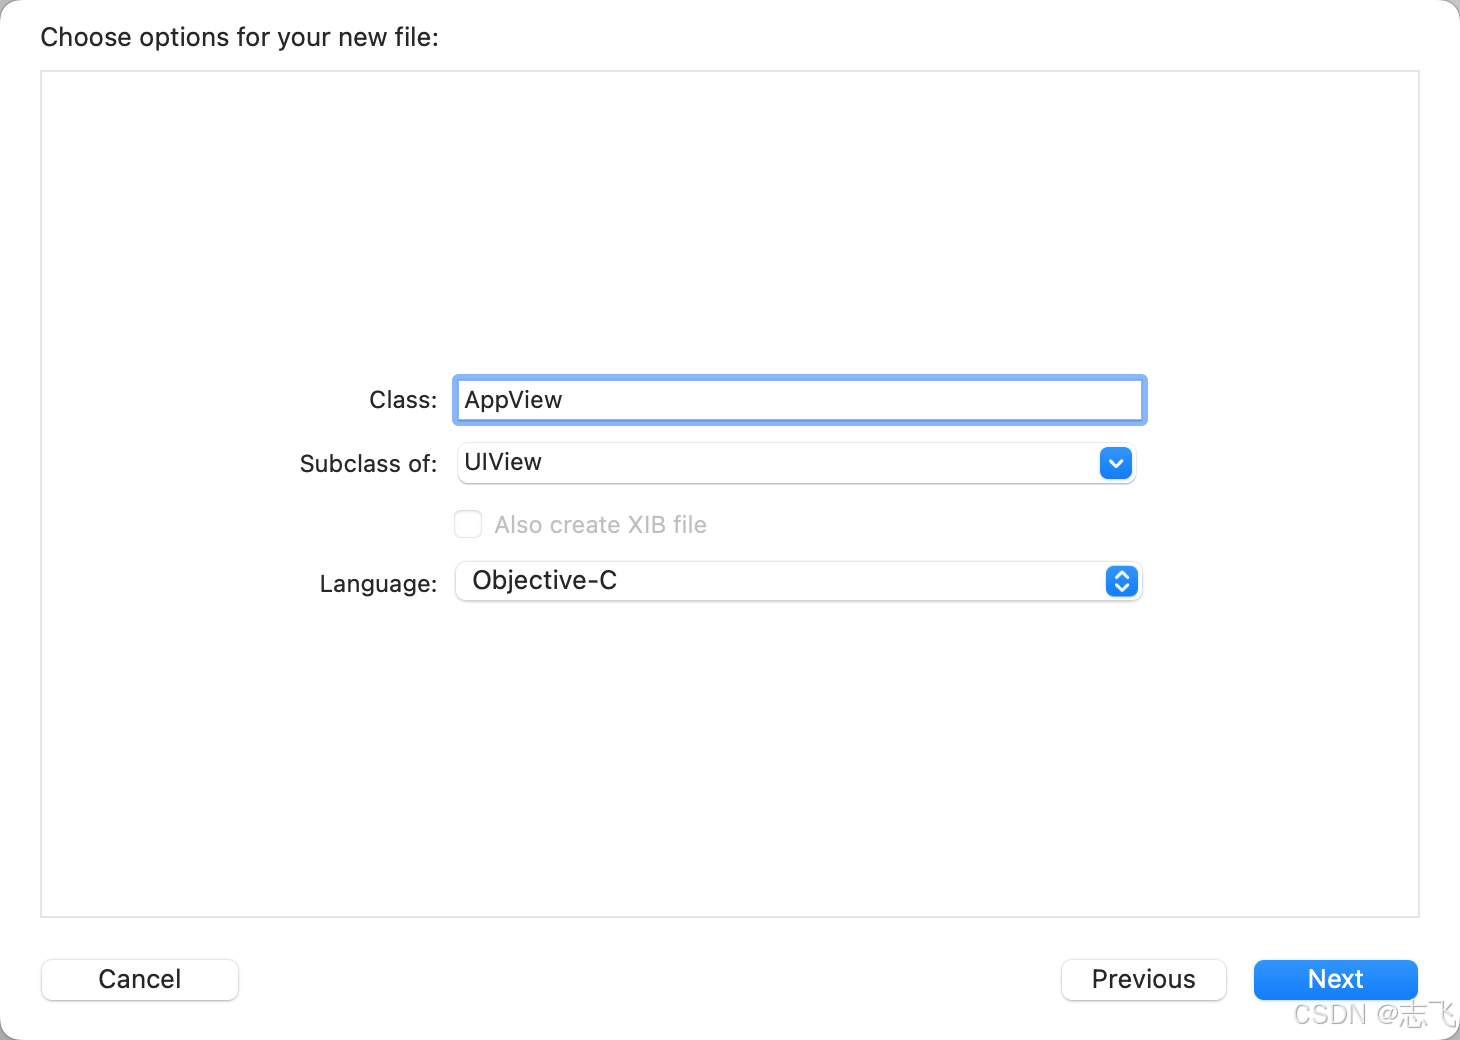
1.创建AppView.xib

2.再创建xib对应的mode,AppView.h 继承至UIView
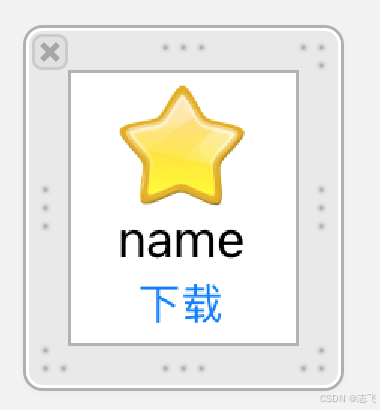
实现效果如下:
3.xib页面设计好了之后,将控件拖入AppView.h
//
//  AppView.h
//  iosstudy2024
//
//  Created by figo on 2025/2/10.
//

#import <UIKit/UIKit.h>

NS_ASSUME_NONNULL_BEGIN

@interface AppView : UIView
@property (weak, nonatomic) IBOutlet UIImageView *iconImg;
@property (weak, nonatomic) IBOutlet UILabel *appName;
@property (weak, nonatomic) IBOutlet UIButton *btnDownload;

@end

NS_ASSUME_NONNULL_END
4.列表配置文件icons.plist
<?xml version="1.0" encoding="UTF-8"?>
<!DOCTYPE plist PUBLIC "-//Apple//DTD PLIST 1.0//EN" "http://www.apple.com/DTDs/PropertyList-1.0.dtd">
<plist version="1.0">
<array>
	<dict>
		<key>name</key>
		<string>deepseek</string>
		<key>icon</key>
		<string>diamond</string>
	</dict>
	<dict>
		<key>name</key>
		<string>文心一言</string>
		<key>icon</key>
		<string>star</string>
	</dict>
	<dict>
		<key>name</key>
		<string>豆包</string>
		<key>icon</key>
		<string>grape</string>
	</dict>
	<dict>
		<key>name</key>
		<string>deepseek</string>
		<key>icon</key>
		<string>watermenon</string>
	</dict>
	<dict>
		<key>name</key>
		<string>deepseek</string>
		<key>icon</key>
		<string>diamond</string>
	</dict>
	<dict>
		<key>name</key>
		<string>deepseek</string>
		<key>icon</key>
		<string>diamond</string>
	</dict>
	<dict>
		<key>name</key>
		<string>deepseek</string>
		<key>icon</key>
		<string>diamond</string>
	</dict>
	<dict>
		<key>name</key>
		<string>deepseek</string>
		<key>icon</key>
		<string>diamond</string>
	</dict>
	<dict>
		<key>name</key>
		<string>deepseek</string>
		<key>icon</key>
		<string>diamond</string>
	</dict>
</array>
</plist>
5.添加控制器AppDownloadViewController.m
//
//  AppDownloadViewController.m
//  iosstudy2024
//
//  Created by figo on 2025/2/10.
//

#import "AppDownloadViewController.h"
#import "AppView.h"
@interface AppDownloadViewController ()
@property (nonatomic,strong) NSArray *iconArray;

@end

@implementation AppDownloadViewController
- (NSArray *)iconArray{
    if(_iconArray==nil){
        NSString *path=[[NSBundle mainBundle]pathForResource:@"icons.plist" ofType:nil];
        _iconArray=[NSArray arrayWithContentsOfFile:path];
    }
    return _iconArray;
}

- (void)viewDidLoad {
    [super viewDidLoad];
    // Do any additional setup after loading the view.
    //[self initApp];
    [self initAppUseXib];


}

-(void) initApp{
    // Do any additional setup after loading the view from its nib.
       NSUInteger count=self.iconArray.count;
       NSBundle *boundle=[NSBundle mainBundle];
       for(int a=0;a<count;a++){
           //添加外边框
           UIView *uiView=[UIView new];//new的方式

           uiView.backgroundColor=[UIColor blueColor];
           CGFloat x=50+(a%3)*(75+10);
           CGFloat y=50+(a/3)*(100+10);
           uiView.frame=CGRectMake(x, y, 75, 100);//x,y,w,h

           //外边框内部添加图片
           UIImageView *uiImageView=[UIImageView new];
           uiImageView.backgroundColor=[UIColor greenColor];
           CGFloat iconW=45;
           CGFloat iconH=45;
           CGFloat x1=(uiView.frame.size.width-iconW)*0.5;//相对坐标
           CGFloat y1=0;//相对坐标
           uiImageView.frame=CGRectMake(x1, y1, iconW, iconH);//x,y,w,h
           NSDictionary *dictionary=self.iconArray[a];
   //        NSString *imgPath = [NSString stringWithFormat:@"%@/%@.jpg", [[NSBundle mainBundle] resourcePath], dictionary[@"icon"]];
           NSString *imgPath=[[NSBundle mainBundle]pathForResource:dictionary[@"icon"] ofType:@".jpeg"];
           //照片拖入Assets.xcassets文件夹会找不到资源,注意需要项目下新建group命名为Supporting Files,再项目外新建文件夹比如icons,然后将图片放入icons,再将icons文件夹拖入Supporting Files才能找到,否则返回nil
           UIImage *uiImage=[UIImage imageWithContentsOfFile:imgPath];//imageWithContentsOfFile不会缓存,每次都重新加载图片
//           UIImage *uiImage=[UIImage imageNamed:dictionary[@"icon"]];//imageNamed会缓存,照片拖入Assets.xcassets文件夹即可,图片非常多,会占用很多内存

           uiImageView.image=uiImage;
           [uiView addSubview:uiImageView];

           //外边框内部标题
           UILabel *uiLabel=[UILabel new];
           uiLabel.backgroundColor=[UIColor yellowColor];
           CGFloat labelW=uiView.frame.size.width;
           CGFloat labelH=20;
           CGFloat x2=0;//相对坐标
           CGFloat y2=uiImageView.frame.size.height+5;//相对坐标
           uiLabel.frame=CGRectMake(x2, y2, labelW, labelH);//x,y,w,h
           uiLabel.text=dictionary[@"name"];
           [uiLabel setTextAlignment:NSTextAlignmentCenter];
           [uiView addSubview:uiLabel];


           //外边框内部添加按钮
           UIButton *uiButton=[UIButton new];
           uiButton.backgroundColor=[UIColor redColor];
           CGFloat buttonW=55;
           CGFloat buttonH=20;
           CGFloat x3=(75-55)*0.5;//相对坐标
           CGFloat y3=uiImageView.frame.size.height+uiLabel.frame.size.height+5+5;//相对坐标
           uiButton.frame=CGRectMake(x3, y3, buttonW, buttonH);//x,y,w,h
           [uiButton setTitle:@"下载" forState:UIControlStateNormal];
           [uiButton addTarget:self action:@selector(onclick:) forControlEvents:UIControlEventTouchUpInside];
           uiButton.tag=a;
           [uiView addSubview:uiButton];

           [self.view addSubview:uiView];

       }
}


-(void) initAppUseXib{
    // Do any additional setup after loading the view from its nib.
       NSUInteger count=self.iconArray.count;
       NSBundle *boundle=[NSBundle mainBundle];
       for(int a=0;a<count;a++){
           //添加外边框
           //通过xib文件获取的方式
           AppView *uiView=[[boundle loadNibNamed:@"AppView" owner:nil options:nil]lastObject];
           uiView.backgroundColor=[UIColor purpleColor];
           CGFloat x=50+(a%3)*(75+10);
           CGFloat y=50+(a/3)*(100+10);
           uiView.frame=CGRectMake(x, y, 75, 100);//x,y,w,h

           //外边框内部添加图片
           uiView.iconImg.backgroundColor=[UIColor greenColor];
           NSDictionary *dictionary=self.iconArray[a];
           NSString *imgPath=[[NSBundle mainBundle]pathForResource:dictionary[@"icon"] ofType:@".png"];
           //照片拖入Assets.xcassets文件夹会找不到资源,注意需要项目下新建group命名为Supporting Files,再项目外新建文件夹比如icons,然后将图片放入icons,再将icons文件夹拖入Supporting Files才能找到,否则返回nil
           UIImage *uiImage=[UIImage imageWithContentsOfFile:imgPath];//imageWithContentsOfFile不会缓存,每次都重新加载图片
//           UIImage *uiImage=[UIImage imageNamed:dictionary[@"icon"]];//imageNamed会缓存,照片拖入Assets.xcassets文件夹即可,图片非常多,会占用很多内存
           uiView.iconImg.image=uiImage;

           //外边框内部标题
           uiView.appName.backgroundColor=[UIColor yellowColor];
           uiView.appName.text=dictionary[@"name"];
           [uiView.btnDownload addTarget:self action:@selector(onclick:) forControlEvents:UIControlEventTouchUpInside];
           uiView.btnDownload.tag=a;
           [self.view addSubview:uiView];

       }
}

-(void)onclick:(UIButton *)uiButton{
    NSLog(@"%d点击下载",uiButton.tag);
}
@end
6.SceneDelegate.m修改当前controller为AppDownloadViewController
- (void)scene:(UIScene *)scene willConnectToSession:(UISceneSession *)session options:(UISceneConnectionOptions *)connectionOptions {

    AppDownloadViewController * viewController = [[AppDownloadViewController alloc]init];
    self.window.rootViewController=viewController;
}