keepalive+haproxy
客户端:192.168.168.21

haproxy1:192.168.168.43

haproxy2:192.168.168.44

vip:192.168.168.100

nginx1:192.168.168.31

nginx2:192.168.168.32

haproxy+keepalive做高可用

nginx做后台
haproxy1+haproxy2一起操作:
systemctl stop firewalld.service
setenforce 0
yum -y install keepalived
cd /etc/keepalived/
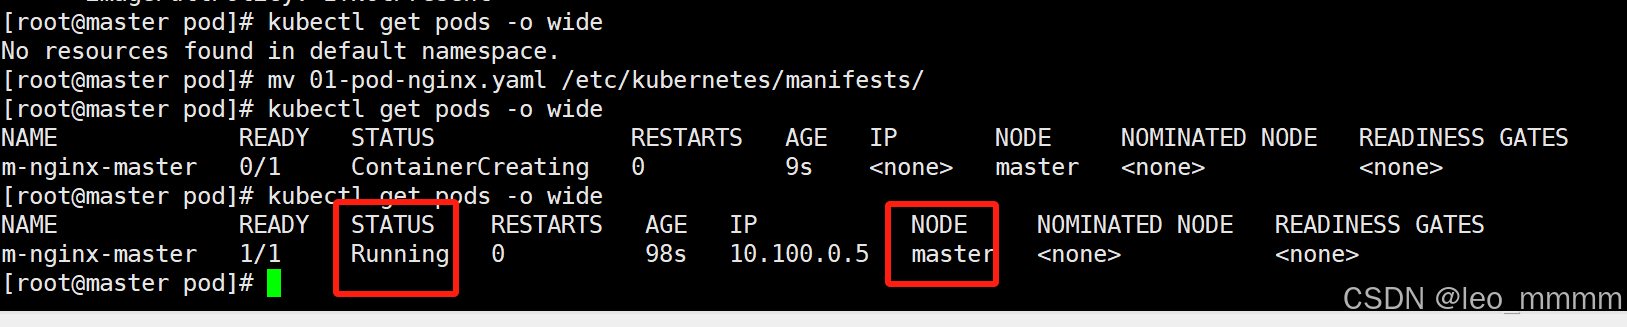
结束操作。
vim keepalved.service
! Configuration File for keepalived

global_defs {
   notification_email {
     acassen@firewall.loc
     failover@firewall.loc
     sysadmin@firewall.loc
   }
   notification_email_from Alexandre.Cassen@firewall.loc
   smtp_server 127.0.0.1
   smtp_connect_timeout 30
   router_id LVS_1
   vrrp_skip_check_adv_addr
   vrrp_strict
   vrrp_garp_interval 0
   vrrp_gna_interval 0
   vrrp_iptables
}
 vrrp_script check_haproxy {
     script "/opt/check_haproxy.sh"
      interval 5
}
vrrp_instance VI_1 {
    state MASTER
    interface ens33
    virtual_router_id 51
    priority 120
    advert_int 1
    authentication {
        auth_type PASS
        auth_pass 1111
    }
    virtual_ipaddress {
        192.168.168.100
}
         track_script {
         check_haproxy
}
}
脚本
vim /opt/check_haproxy.sh

#!/bin/bash
test=$(systemctl status haproxy.service | awk 'NR==3{print $2}')
if [ $test != 'active' ]
then
   systemctl stop keepalived
fi
haproxy1:
# this config needs haproxy-1.1.28 or haproxy-1.2.1

global
        #log loghost    local0 info
        maxconn 4096
        #最大连接数,linux推荐值1024
        #chroot /usr/share/haproxy
        uid 99
        gid 99
        daemon
        nbproc 6
        #haproxy的并发线程数,设置的数量最好是cpu的2倍或者是和cpu保持一致。
        #debug
        #quiet

defaults
#默认参数配置,连接配置,监听配置,代理转发配置
        log     global
        mode    http
        option  httplog
        option  dontlognull
        retries 3
        #检查节点服务器3次,连续3次失败,就认为节点服务器不可用
        redispatch
        #服务器负载很高时,自动结束当前队列中处理比较久的连接。
        maxconn 2000
        #最大连接数,这个数值可以和global中的一致,也可以比他小,但是不能超过他,一般设置成一致。
        #contimeout     5000
        #clitimeout     50000
        #srvtimeout     50000
        timeout http-request 10s
        #http请求的默认超时时间
        timeout queue 1m
        #在队列请求的超时时间
        timeout connect 10s
        #连接超时时间
        timeout client 1m
        #客户端的超时时间
        timeout server 1m
        #服务端的超时时间
        timeout http-keep-alive 10s
        #默认长连接的超时时间
        timeout check 10s
        #检查后端服务器的超时时间
#转发请求的配置,即可以是四层也可以是七层
#7层的配置:
listen  xy102 0.0.0.0:80
        option httpchk GET /index.html
        #设置转发请求的内容
        balance static-rr
        #轮询算法#
        server  rs01 192.168.168.31:80 check inter 2000 fall 3 weight 2
        server  rs02 192.168.168.32:80 check inter 2000 fall 3 weight 3
systemctl restart haproxy.service
systemctl restart keepalived.service
备服务器
scp root@192.168.168.43:/etc/keepalived/keepalived.conf /etc/keepalived/

vim keepalived.conf

! Configuration File for keepalived

global_defs {
   notification_email {
     acassen@firewall.loc
     failover@firewall.loc
     sysadmin@firewall.loc
   }
   notification_email_from Alexandre.Cassen@firewall.loc
   smtp_server 127.0.0.1
   smtp_connect_timeout 30
   router_id LVS_2
   vrrp_skip_check_adv_addr
   vrrp_strict
   vrrp_garp_interval 0
   vrrp_gna_interval 0
   vrrp_iptables
}

vrrp_instance VI_2 {
    state BACKUP
    interface ens33
    virtual_router_id 51
    priority 100
    advert_int 1
    authentication {
        auth_type PASS
        auth_pass 1111
    }
    virtual_ipaddress {
        192.168.168.100
    }
}

systemctl restart haproxy.service
systemctl restart keepalived.service
nginx1:

echo "this is nginx11" > /usr/local/nginx/html/index.html

systemctl restart nginx

nginx2

echo "this is nginx12" > /usr/local/nginx/html/index.html

systemctl restart nginx
haproxy1:
systemctl restart haproxy.service
systemctl restart keepalived.service
ip addr

haprox2:

客户端测试:

haproxy1:
systemctl stop haproxy.service
ip addr

haproxy2:
ip addr

客户端测试:


haproxy1:
systemctl restart haproxy.service
systemctl restart keepalived.service
ip addr

客户端测试: