阿里云短信发送
- 前置条件
- 接口说明
- 具体实现
- pom依赖
- yml
- 短信参数配置
- 发送方法

主页传送门:📀 传送
用阿里云的短信服务发送单条短信获取验证码。
前置条件
申请短信签名和短信模板

申请短信签名文档:签名申请
申请短信模板:模版申请

接口说明
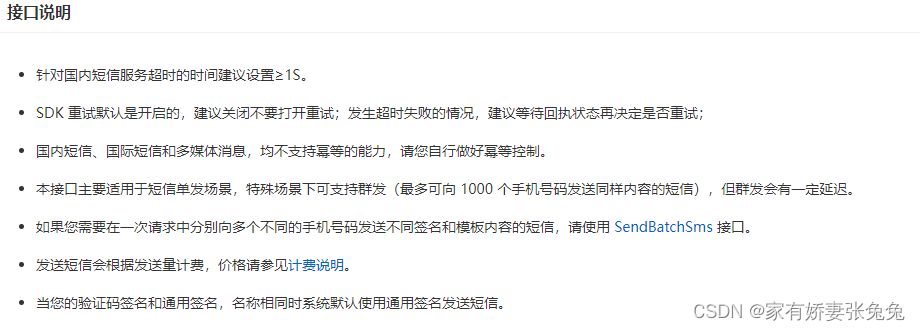
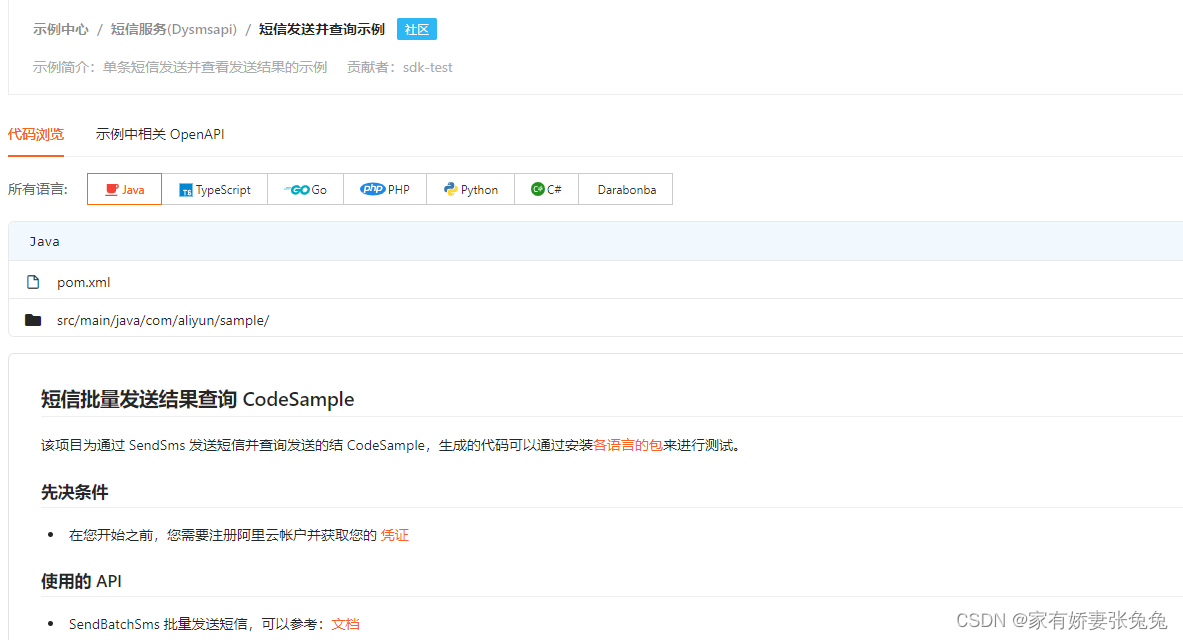
详细信息见文档:阿里云短信服务
具体实现
大致了解下后就该实际使用了。首先当然是引入依赖
pom依赖

		<!--阿里云短信-->
        <dependency>
            <groupId>com.aliyun</groupId>
            <artifactId>dysmsapi20170525</artifactId>
            <version>2.0.23</version>
        </dependency>
yml配置短信参数
yml
aliyun:
  smsbo:
    appId: # 阿里云的appid
    appSecret: # 阿里云的appSecret
    signName: # 签名名称
    templateCode: # 模板code
    templateParam: # 模板参数
短信参数配置
@Configuration
@Data
@ConfigurationProperties(prefix = "aliyun.smsbo")
public class SmsProperties {
    //  阿里云短信的appId
    private String appId;

    // 阿里云短信的AppSecret
    private String appSecret;

    // 阿里云短信的模板code
    private String templateCode;

	// 签名
	private String signName;

	// 模版参数
	private String templateParam;

}
发送方法
public String sendSms(String phoneNum) throws Exception {
        com.aliyun.teaopenapi.models.Config config = new com.aliyun.teaopenapi.models.Config();
        config.setAccessKeyId(smsProperties.getAppId());
        config.setAccessKeySecret(smsProperties.getAppSecret());
        config.setEndpoint("dysmsapi.aliyuncs.com"); // 默认值就好
        int[] arr = {1, 2, 3, 4, 5, 6, 7, 8, 9, 10};
        StringBuilder code = new StringBuilder();
        Random rnd = new Random();

        // 循环6次
        for (int i = 0; i < 6; i++) {
            code.append(arr[rnd.nextInt(arr.length)]);
        }
        String phoneCode = code.toString();

        Client client = new Client(config);
        SendSmsRequest sendSmsRequest = new SendSmsRequest();

        // 设置好我们要发送的号码
        sendSmsRequest.setPhoneNumbers(phoneNum)
                .setSignName(smsProperties.getSignName())
                .setTemplateCode(smsProperties.getTemplateCode())
                .setTemplateParam("{\"code\":" + phoneCode + "}");
        // 发送验证码
        SendSmsResponse response = client.sendSms(sendSmsRequest);
        if (response.getBody().code != null) {
            log.info("发送验证码成功:{}", phoneCode);
            return phoneCode;
        }
        return "";
    }
