1.安装docker
#删除已有docker
 systemctl stop docker
 yum remove docker \
                  docker-client \
                  docker-client-latest \
                  docker-common \
                  docker-latest \
                  docker-latest-logrotate \
                  docker-logrotate \
                  docker-engine
#安装docker
yum install -y docker-ce-20.10.10 docker-ce-cli-20.10.10  containerd.io
2.安装docker-compose
#下载
curl -L "https://get.daocloud.io/docker/compose/releases/download/v1.25.2/docker-compose-$(uname -s)-$(uname -m)" -o
或
wget https://github.com/goharbor/harbor/releases/download/v2.1.1/harbor-offline-installer-v2.11.0.tgz

/usr/local/bin/docker-compose
#授权
chmod +x /usr/local/bin/docker-compose
#查看版本
docker-compose --version
3.下载harbor以及安装harbor
#github官网下载,传到服务器
#解压缩
tar -zxvf harbor-offline-installer-v2.3.3.tgz

#拷贝模板文件
cp harbor.yml.tmpl harbor.yml

vi harbor.yml
#编辑harbor.yml文件
#本机地址或域名
hostname: 192.168.152.70

#使用http方式
# http related config
http:
  # port for http, default is 80. If https enabled, this port will redirect to https port
  port: 80

# https related config
https:
  # https port for harbor, default is 443
 # port: 443
  # The path of cert and key files for nginx
 # certificate: /your/certificate/path
 # private_key: /your/private/key/path
  # enable strong ssl ciphers (default: false)
  # strong_ssl_ciphers: false

# # Harbor will set ipv4 enabled only by default if this block is not configured
# # Otherwise, please uncomment this block to configure your own ip_family stacks
# ip_family:
#   # ipv6Enabled set to true if ipv6 is enabled in docker network, currently it affected the nginx related component
#   ipv6:
#     enabled: false
#   # ipv4Enabled set to true by default, currently it affected the nginx related component
#   ipv4:
#     enabled: true


# # Uncomment following will enable tls communication between all harbor components
# internal_tls:
#   # set enabled to true means internal tls is enabled
#   enabled: true
#   # put your cert and key files on dir
#   dir: /etc/harbor/tls/internal


# Uncomment external_url if you want to enable external proxy
# And when it enabled the hostname will no longer used
# external_url: https://reg.mydomain.com:8433

# The initial password of Harbor admin
# It only works in first time to install harbor
# Remember Change the admin password from UI after launching Harbor.
harbor_admin_password: admin  #首页密码 账号admin

# Harbor DB configuration
database:
  # The password for the root user of Harbor DB. Change this before any production use.
  password: root
4.docker登录以及打包推送
docker login 192.168.152.50
输入账号密码

出现访问https方式,修改/etc/docker/daemon.json,添加
"insecure-registries" : ["192.168.152.70", "0.0.0.0"]

docker pull nginx
docker tag nginx:latest 192.168.152.70:80/library/nginx:latest
docker push 192.168.152.70:80/library/nginx:latest
aliyun登录
登录
docker login --username=用户名 registry.cn-hangzhou.aliyuncs.com
拉去
docker pull registry.cn-hangzhou.aliyuncs.com/命名空间/仓库名:[镜像版本号]
推送
$ docker login --username=用户名 registry.cn-hangzhou.aliyuncs.com
$ docker tag [ImageId] registry.cn-hangzhou.aliyuncs.com/命名空间/仓库名:[镜像版本号]
$ docker push registry.cn-hangzhou.aliyuncs.com/命名空间/仓库名:[镜像版本号]
5.harbor可能因为docker重启而挂掉使用docker-comper启动harbor
#docker-compose.yml的目录执行
docker-compose down
docker-compose up -d  //-d以守护线程方式执行
kubesphere使用harbor
见官网添加 Harbor 镜像仓库目录
https://v3-2.docs.kubesphere.io/zh/docs/project-user-guide/configuration/image-registry/
1.创建保密字段
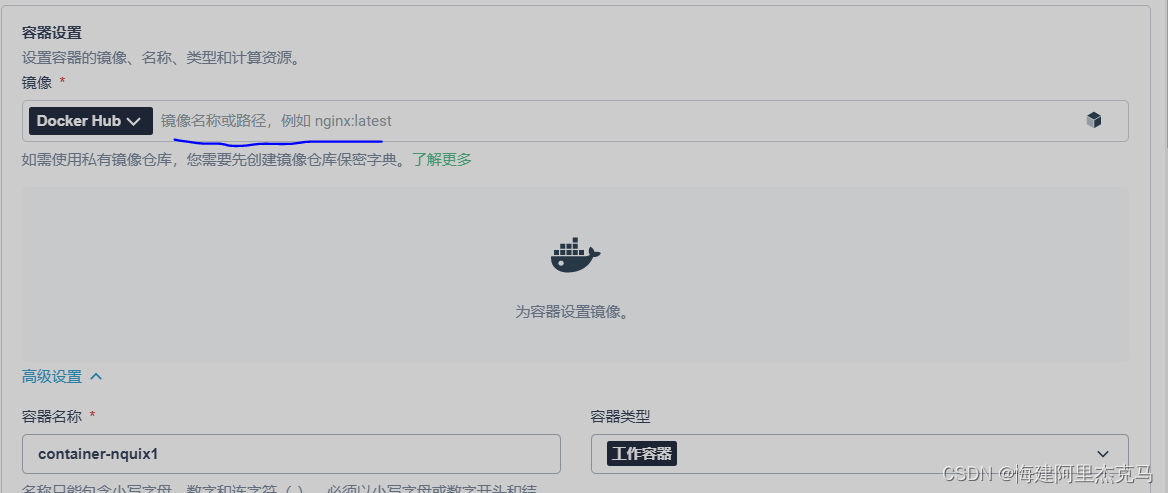
2.容器创建切换私库地址
kubesphere使用aliyun个人镜像仓库
不需要创建保密字段选择docker hub在查找镜像是带上aliyun地址如
registry.cn-hangzhou.aliyuncs.com/命名空间/仓库名称:版本号
