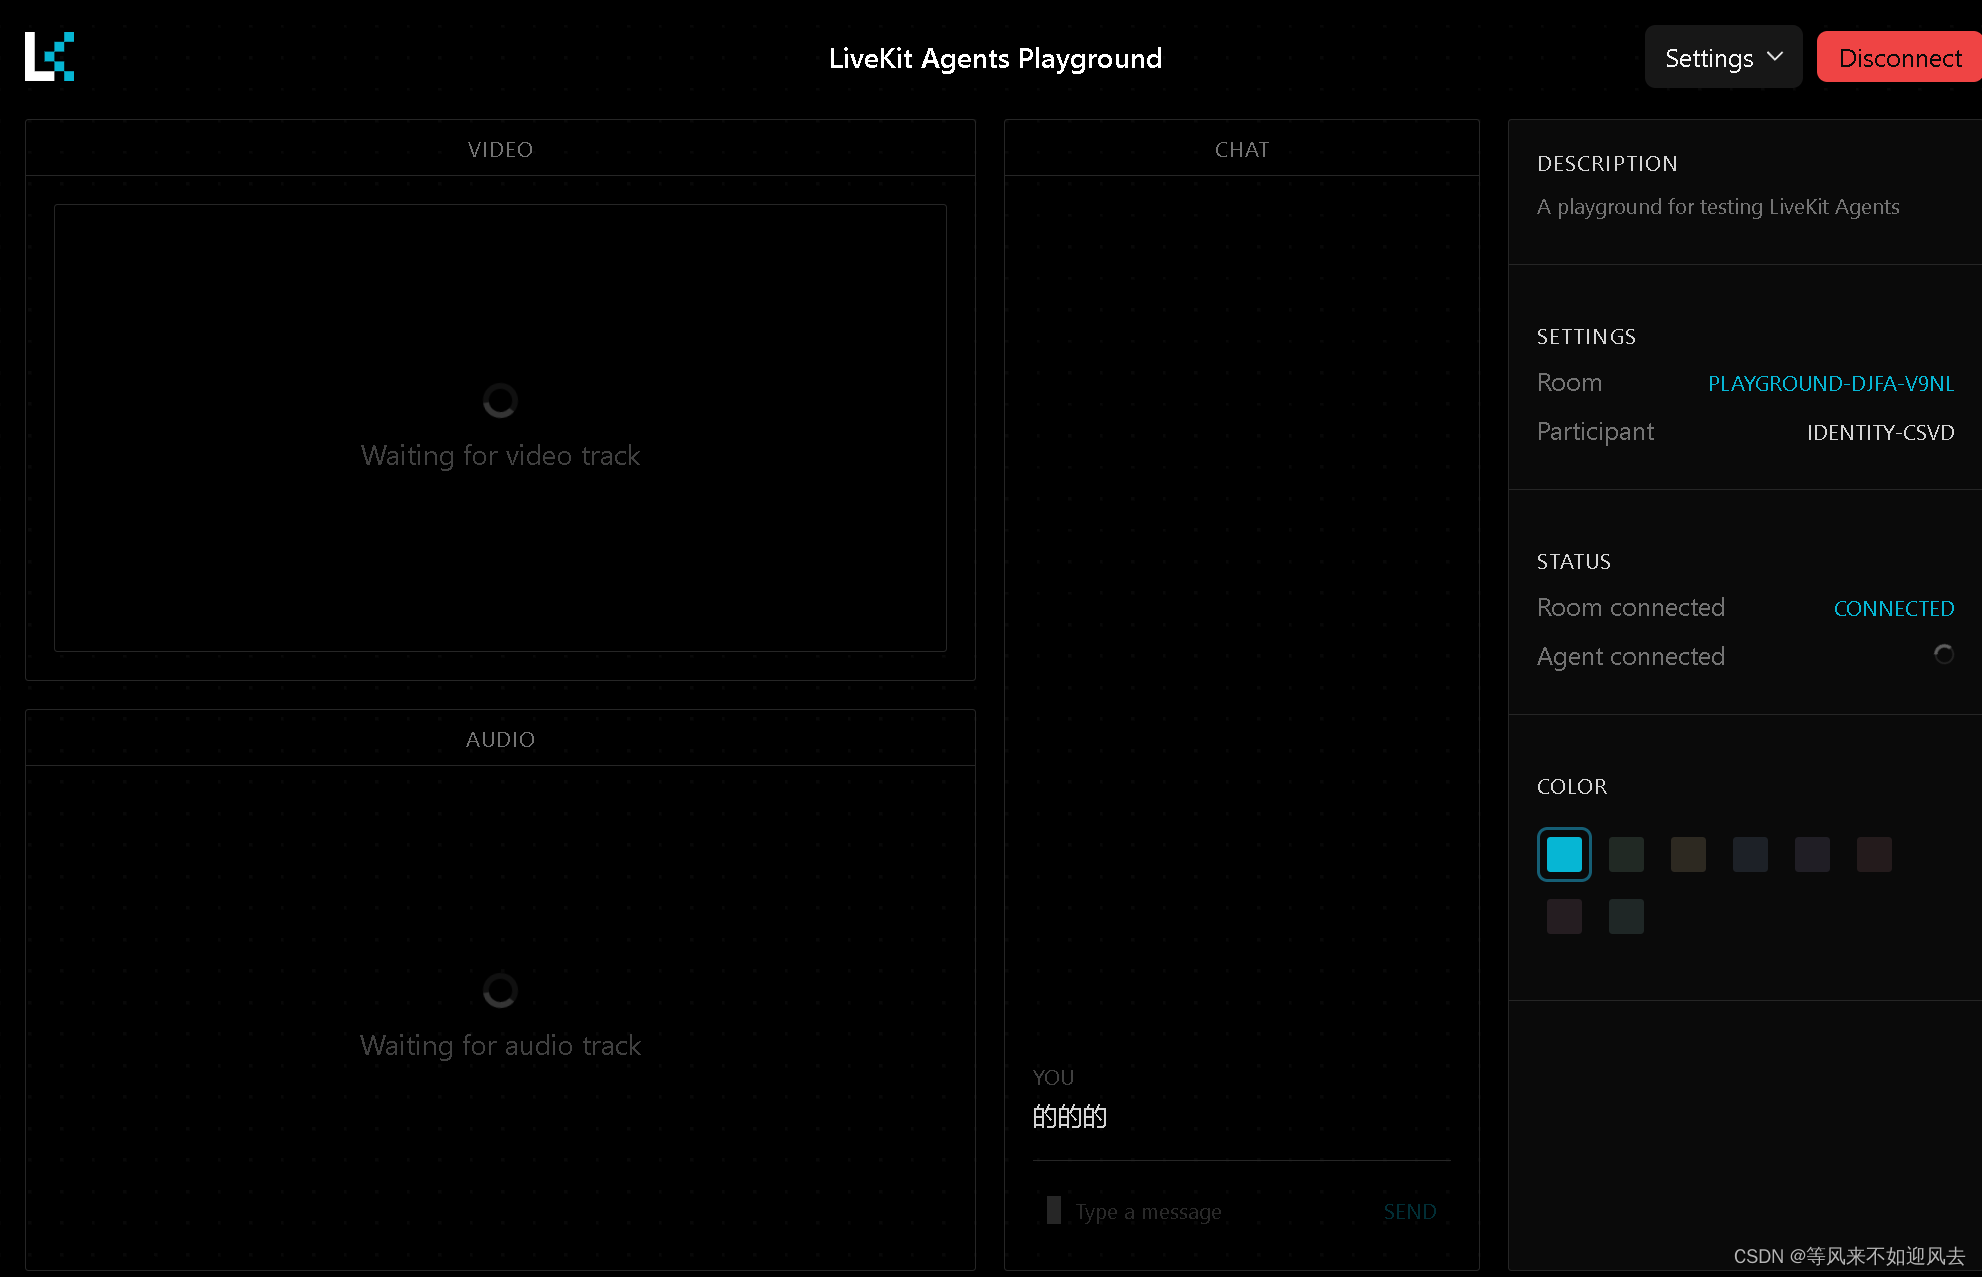
title: ‘LiveKit Agent Playground’
- playground
- LiveKit Community
playground的环境变量:LiveKit API
# LiveKit API Configuration
LIVEKIT_API_KEY=YOUR_API_KEY
LIVEKIT_API_SECRET=YOUR_API_SECRET

# Public configuration
NEXT_PUBLIC_LIVEKIT_URL=wss://YOUR_LIVEKIT_URL

# Application Configuration
NEXT_PUBLIC_APP_CONFIG="
title: 'LiveKit Agent Playground'
description: 'LiveKit Agent Playground allows you to test your LiveKit Agent integration by connecting to your LiveKit Cloud or self-hosted instance.'
github_link: 'https://github.com/livekit/agents-playground'
video_fit: 'cover' # 'contain' or 'cover'
settings:
  editable: true # Should the user be able to edit settings in-app
  theme_color: 'cyan'
  chat: true  # Enable or disable chat feature
  outputs:
    audio: true # Enable or disable audio output
    video: true # Enable or disable video output
  inputs:
    mic: true    # Enable or disable microphone input
    camera: true # Enable or disable camera input
    sip: true    # Enable or disable SIP input
"
先下载模型,然后启动agent
- D:\XTRANS\pythonProject\LIVEKIT\agents\examples\voice-assistant\Dockerfile

- 依赖于agent和多个插件
livekit-agents~=0.7.dev0
livekit-plugins-openai~=0.5.dev0
livekit-plugins-deepgram~=0.5.dev0
livekit-plugins-elevenlabs~=0.5.dev0
livekit-plugins-silero~=0.5.dev0
最简单的simple-color仅用了livekit-agents~=0.7.dev0
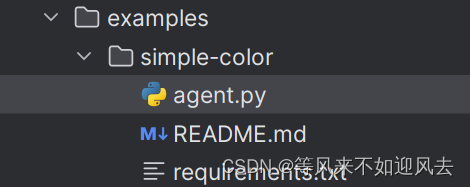
- 看下需要的库:
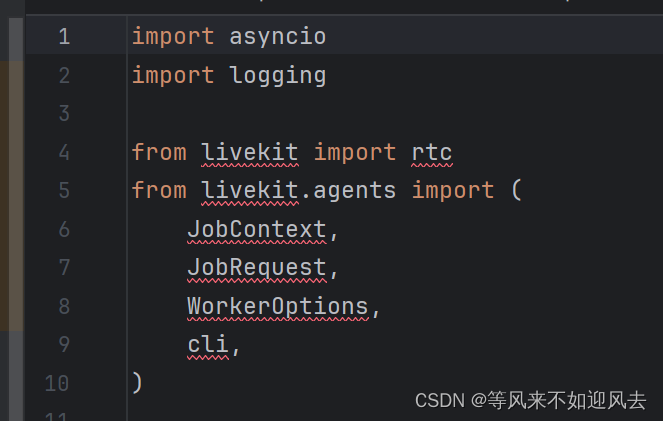

- WorkerOptions 没看到啊:
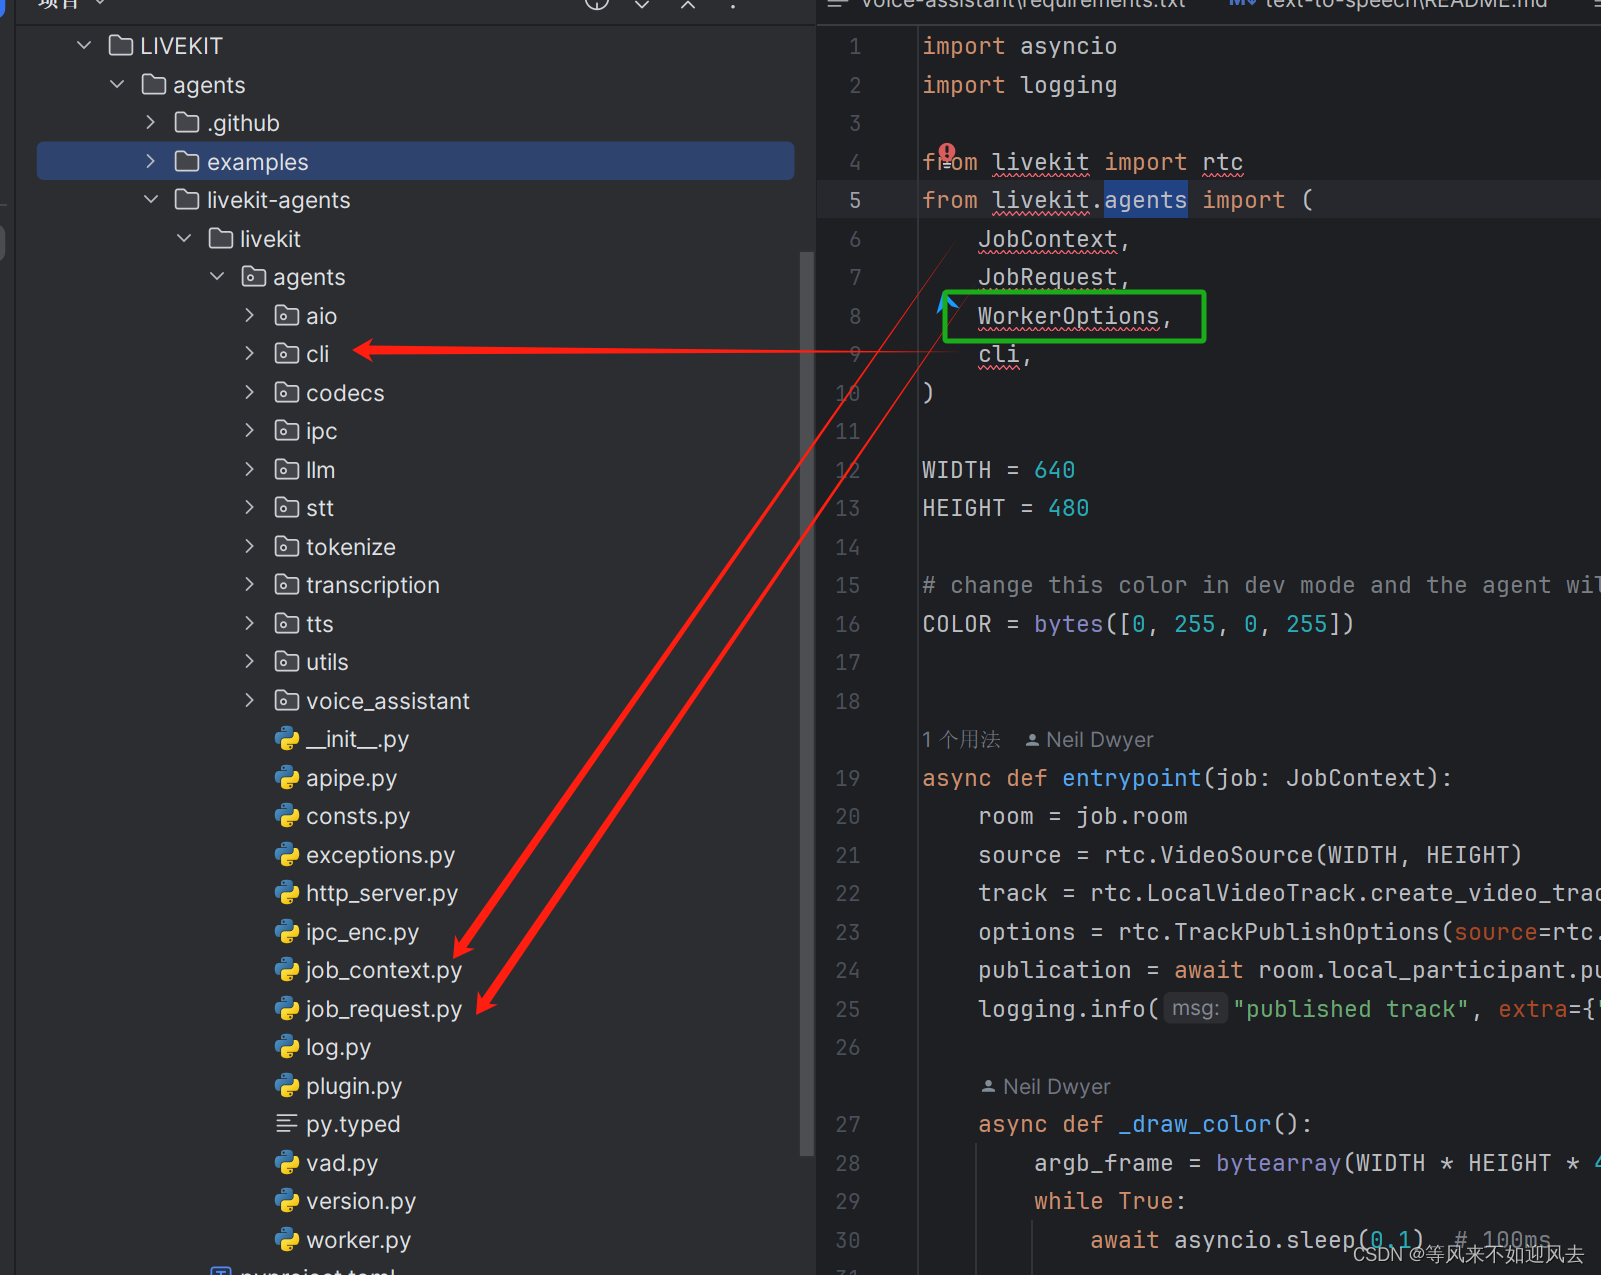
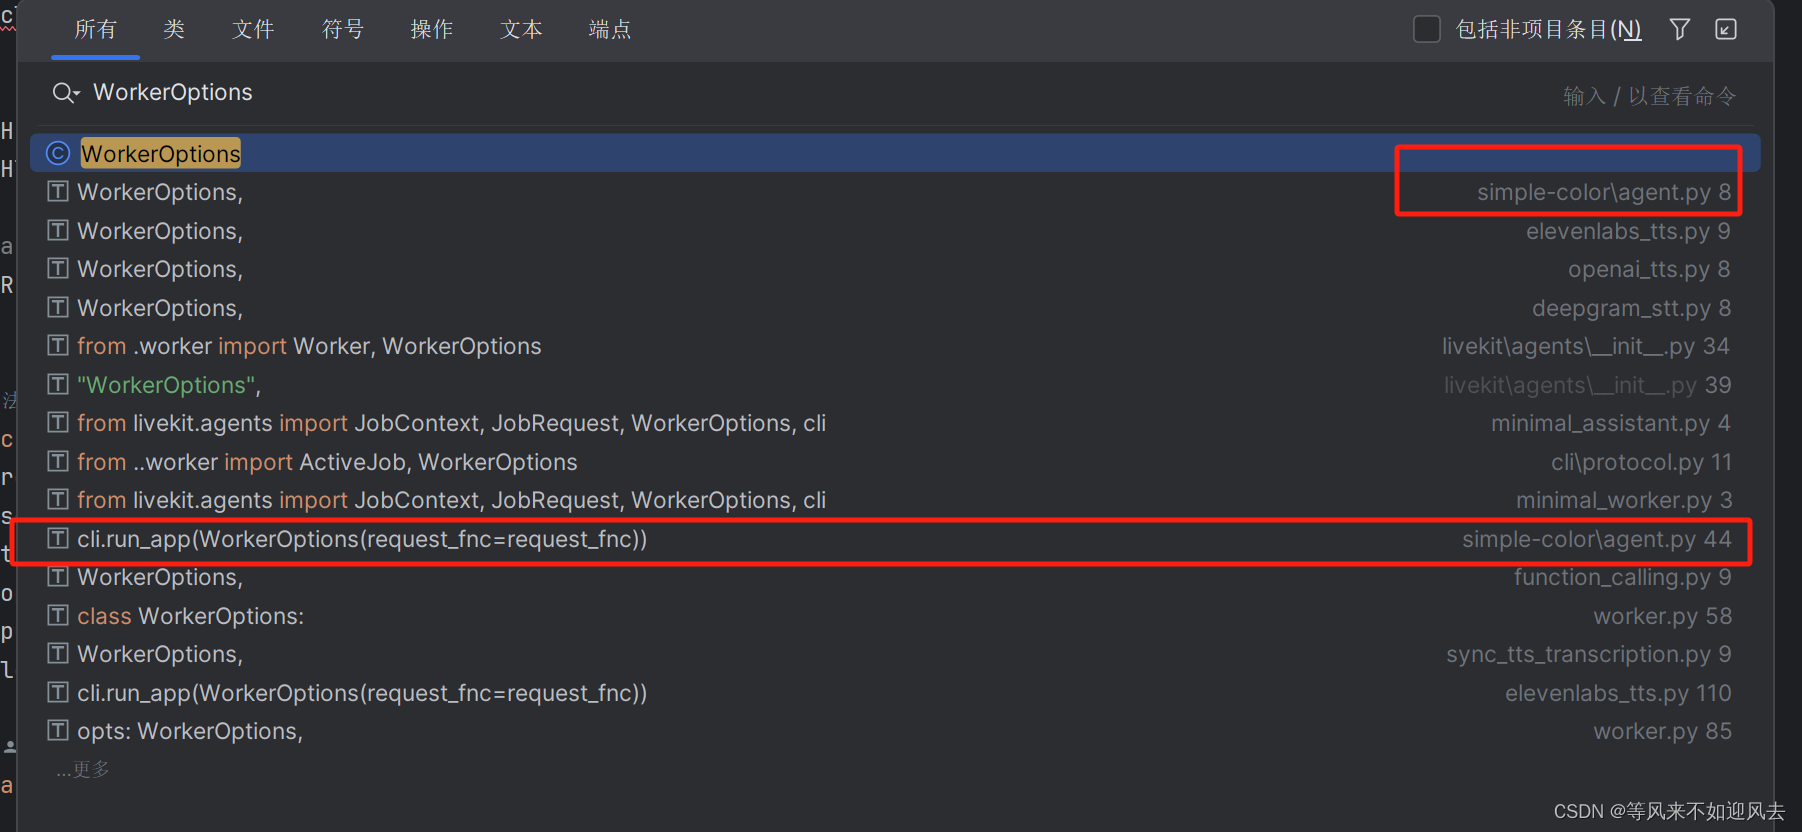
- 在woker.py中:

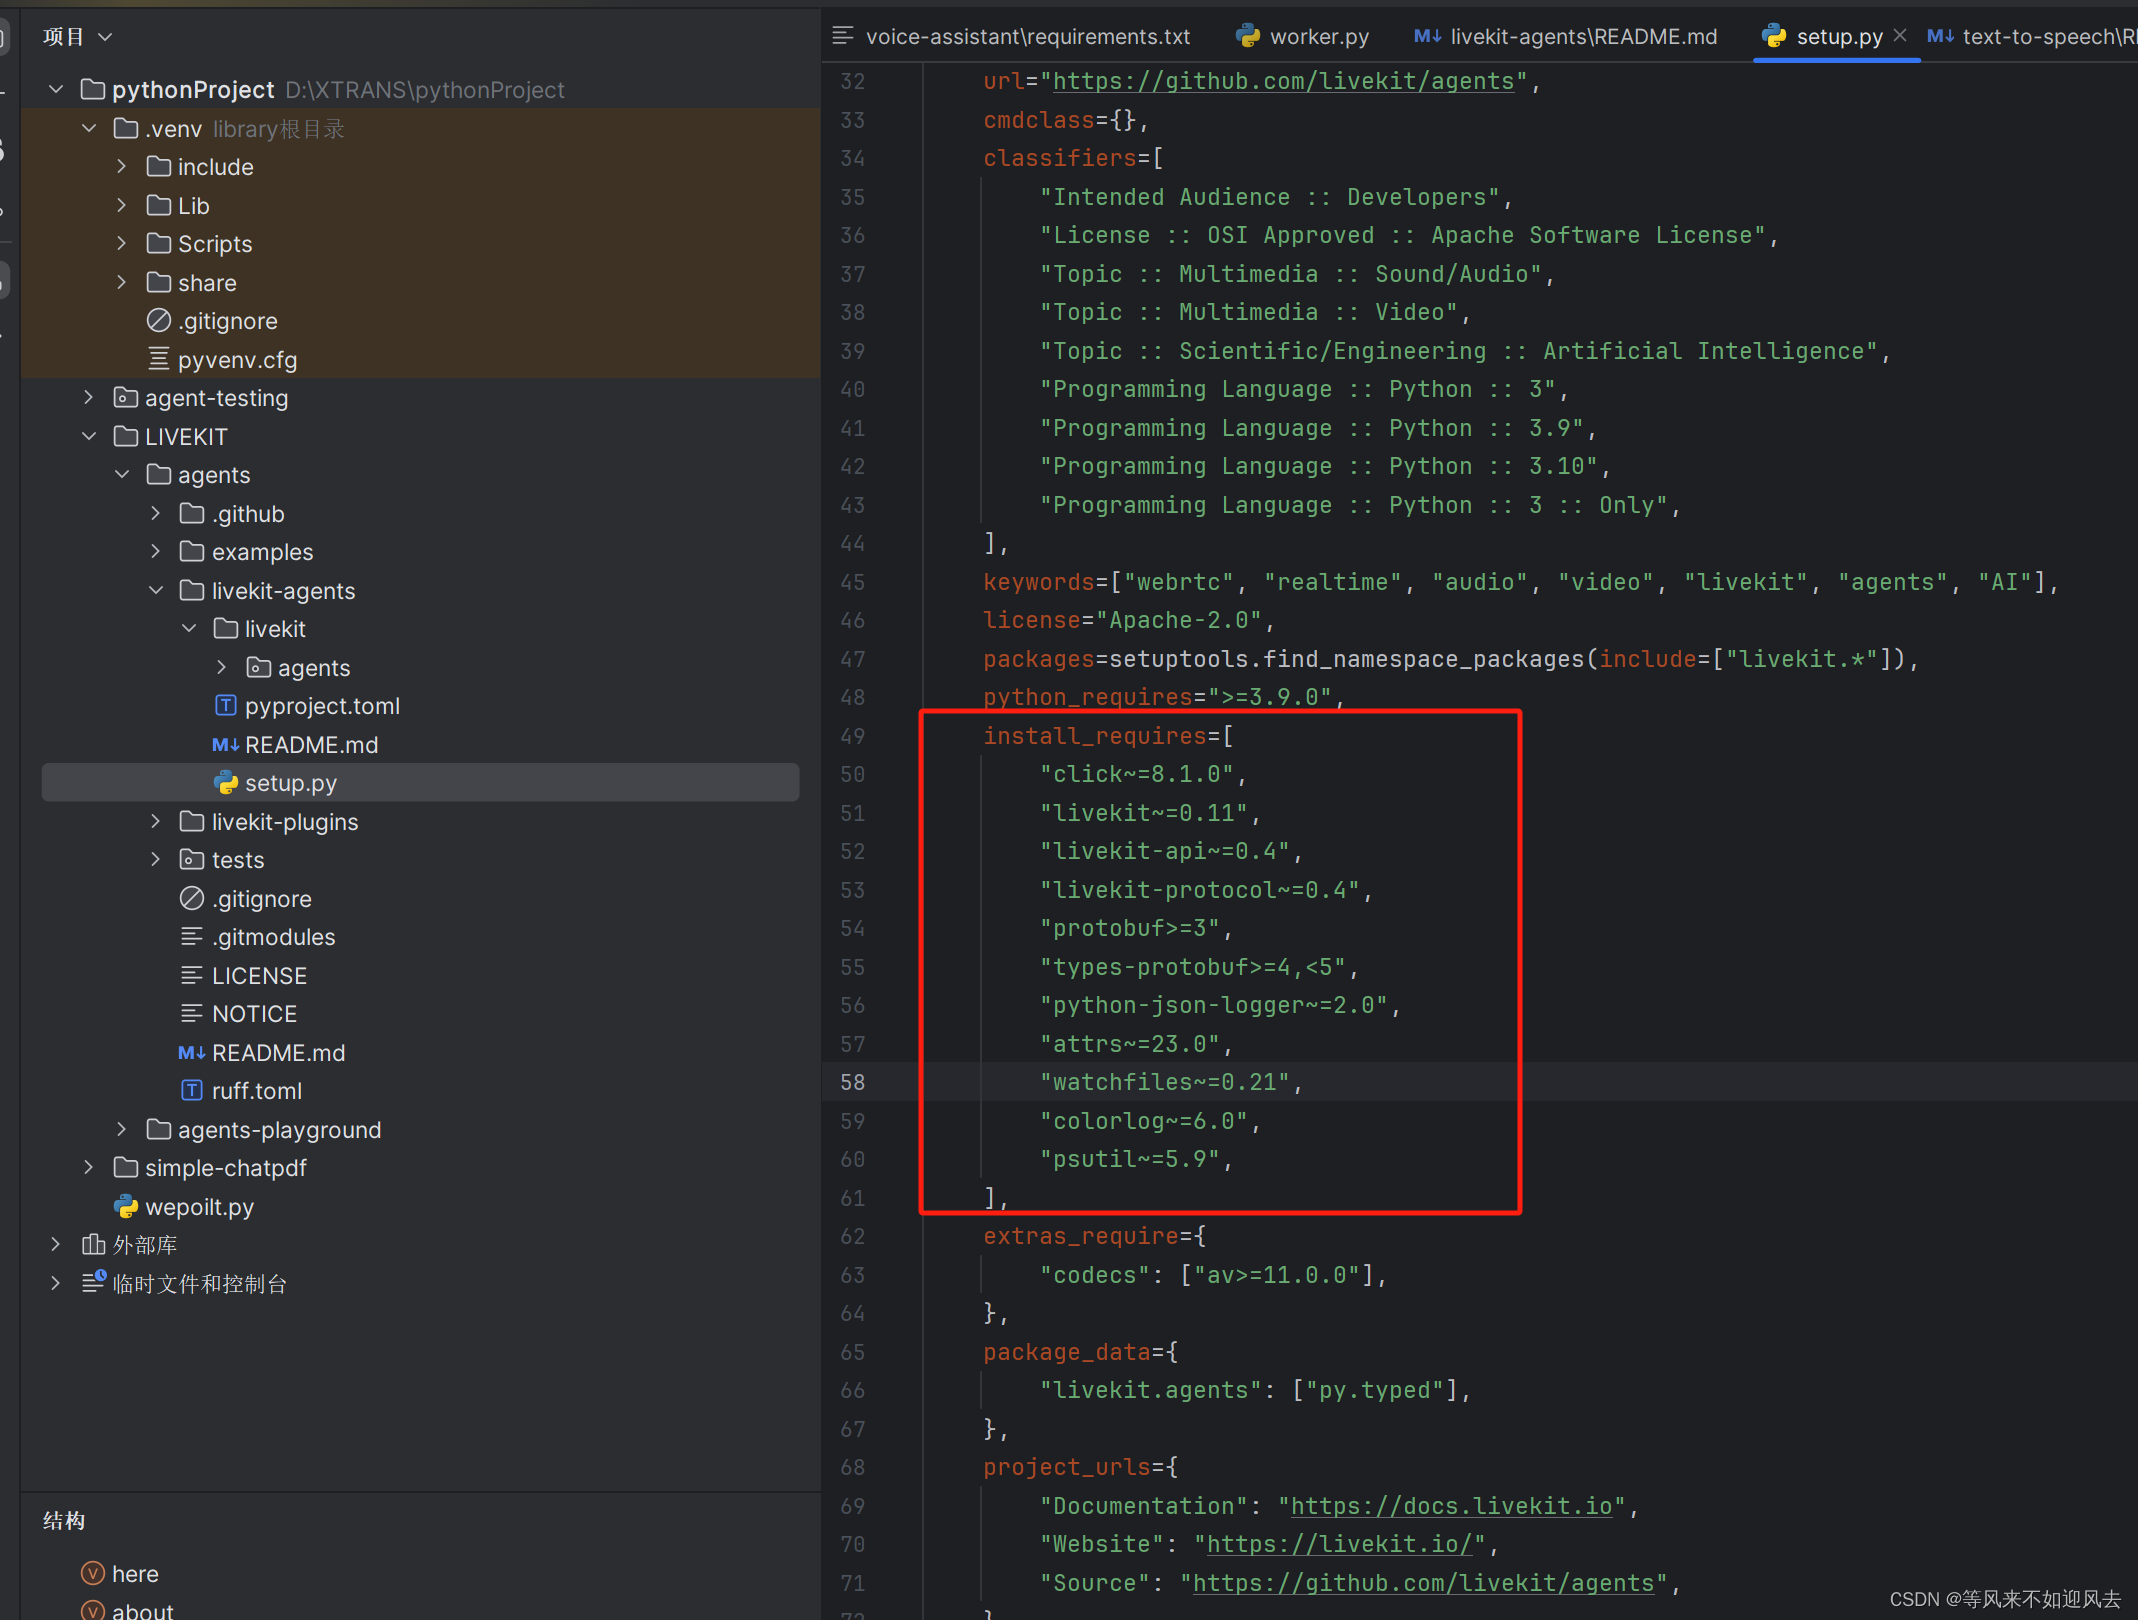
-
在Python中,使用setuptools.setup的install_requires参数是为了指定项目安装时必须安装的依赖库。这些依赖被自动从Python的包索引库(如PyPI)下载和安装。每个依赖可以指定版本号,以确保与项目的兼容性。
-
关于install_requires中的版本指定,如livekit~=0.11,这表示安装livekit这个库时,**会自动选择0.11.x系列的最新版本,**其中x是该系列中的任意一个小修复版本号。这样做可以避免引入重大更改,同时保证获得重要的错误修复。
如果你不想使用来自仓库(如PyPI)的livekit库,而是想使用本地的livekit源码
-
如果你不想使用来自仓库(如PyPI)的livekit库,而是想使用本地的livekit源码,你可以通过以下几种方法实现:
-
本地安装:如果你有livekit的源码,可以在其源码目录下运行pip install .或python setup.py install来安装。这样,livekit将被安装到你的环境中,就像它是从PyPI下载的一样。
-
开发模式安装:使用pip install -e .(其中.指当前目录,需要在包含setup.py的目录中执行)。这种方法会将库安装在“可编辑”模式下,意味着你对本地源码的任何修改都会立即反映在你的Python环境中,不需要重新安装。
-
直接修改install_requires:你也可以在setup.py的install_requires中直接指定本地路径或通过特定的链接来引用依赖,例如使用本地路径:
install_requires=[
    "click~=8.1.0",
    "livekit @ file:///path/to/your/livekit",
    ...
]
-
这里的路径需要指向包含setup.py文件的本地livekit库的根目录。
-
选择哪种方法取决于你的具体需求和工作流。如果你正在开发和测试修改后的库,建议使用开发模式安装。如果只是一次性使用或确保环境的一致性,则可以使用本地安装。如果要在多个项目中重用本地库,修改install_requires可能更为方便。
开发模式
- 假如新建了一个包,咱既要让它工作又要让它方便编辑后的修改立刻生效,这里就需要说道开发者模式,原理大概类似把当前的源码文件夹指向site-pacakges,所以修改能立即被应用。
python setup.py develop
开发者模式安装,当然也可以卸载
python setup.py develop --uninstall
开发完后打包分发
python setup.py sdist
GPT:推荐pip install -e

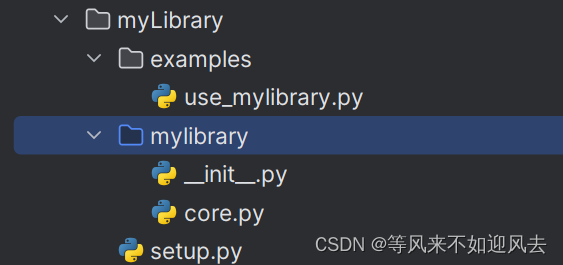
myproject/
│
├── mylibrary/
│ ├── mylibrary/
│ │ ├── init.py
│ │ └── core.py
│ └── setup.py
│
└── examples/
└── use_mylibrary.py
-
在这个结构中,mylibrary是你要开发的库,examples文件夹包含一个示例脚本,演示如何使用这个库。
-
步骤 1: 设置库的setup.py
在mylibrary/setup.py中,你需要定义库的安装配置,例如: -
from setuptools import setup, find_packages
setup(
    name="mylibrary",
    version="0.1.0",
    packages=find_packages(),
    install_requires=[
        # 在这里列出需要的依赖库
    ]
)
- 步骤 2: 安装库为开发模式
在mylibrary目录下,运行以下命令来安装库为开发模式:
pip install -e .
-
这样,任何在mylibrary库中做的修改都会立即反映在使用该库的任何Python环境中。
-
步骤 3: 创建示例脚本
在examples/use_mylibrary.py中,你可以使用mylibrary中定义的功能,例如:
from mylibrary.core import some_function

def main():
    print(some_function())

if __name__ == "__main__":
    main()
-
这个脚本调用了mylibrary中的一个函数,并打印其结果。
-
步骤 4: 运行示例
-
确保已经按照开发模式安装了mylibrary,然后你可以直接从examples目录运行use_mylibrary.py,看到库函数的效果:
python use_mylibrary.py
- 这样,你就设置了一个使用本地库源码的开发环境,可以自由地修改库的代码并直接在示例应用中测试更改。
python编码过程中copilot一直提建议


开发者模式
要再有setup.py的路径下执行
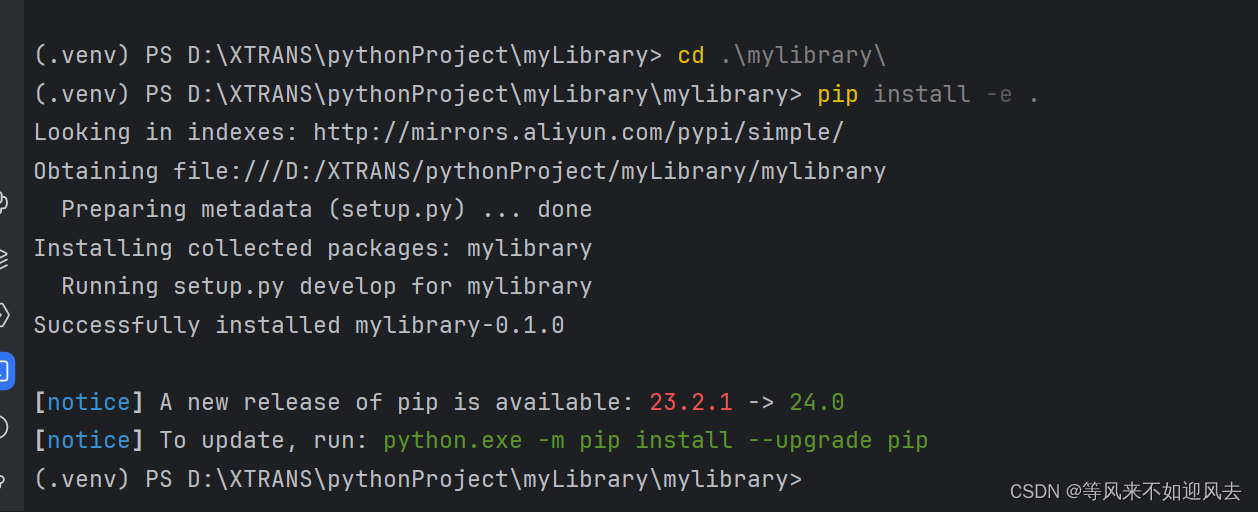
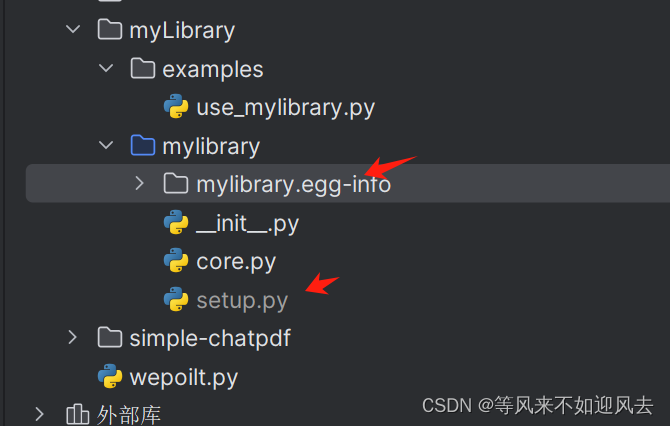
(.venv) PS D:\XTRANS\pythonProject\myLibrary> cd .\mylibrary\
(.venv) PS D:\XTRANS\pythonProject\myLibrary\mylibrary> pip install -e .
Looking in indexes: http://mirrors.aliyun.com/pypi/simple/
Obtaining file:///D:/XTRANS/pythonProject/myLibrary/mylibrary
  Preparing metadata (setup.py) ... done
Installing collected packages: mylibrary
  Running setup.py develop for mylibrary
Successfully installed mylibrary-0.1.0

[notice] A new release of pip is available: 23.2.1 -> 24.0
[notice] To update, run: python.exe -m pip install --upgrade pip
(.venv) PS D:\XTRANS\pythonProject\myLibrary\mylibrary>
没找到

setup.py 路径不对
调整
再次安装
编译生成
这次可以了







![[leetcode hot 150]第五十六题,合并区间](https://img-blog.csdnimg.cn/direct/a0b5bbedfefc4f6abd29eb76d6c55f24.png)
