🔥 本文由 程序喵正在路上 原创,CSDN首发!
💖 系列专栏:Flutter学习
🌠 首发时间:2024年5月26日
🦋 欢迎关注🖱点赞👍收藏🌟留言🐾
目录
- AppBar、TabBar和TabBarView
- MaterialApp去掉debug图标
- AppBar自定义顶部按钮图标、颜色
- TabBar组件
- TabBar、TabBarView实现类似头条顶部导航
- BottomNavigationBar的页面中使用TabBar
- PreferredSize组件
- 自定义KeepAliveWrapper缓存页面
- 监听TabController改变事件
AppBar、TabBar和TabBarView
MaterialApp去掉debug图标
return MaterialApp(
  title: 'Flutter Demo',
  theme: ThemeData(
    primarySwatch: Colors.blue,
  ),
  debugShowCheckedModeBanner: false,	//去掉Debug图标
  home: const HomePage(),
);
AppBar自定义顶部按钮图标、颜色
AppBar 常用属性:
| 属性 | 描述 |
|---|---|
| leading | 在标题前面显示的一个控件,在首页通常显示应用的 logo;在其他页面通常显示未返回按钮 |
| title | 标题,通常显示为当前界面的标题文字,可以放组件 |
| actions | 通常使用 IconButton 来表示,可以放按钮组 |
| bottom | 通常放 tabBar,标题下面显示一个 Tab 导航栏 |
| backgroundColor | 导航背景颜色 |
| iconTheme | 图标样式 |
| centerTitle | 标题是否居中显示 |
import 'package:flutter/material.dart';
void main() {
runApp(const MyApp());
}
class MyApp extends StatelessWidget {
const MyApp({super.key});
Widget build(BuildContext context) {
return MaterialApp(
title: 'Flutter Demo',
theme: ThemeData(
primarySwatch: Colors.blue,
),
debugShowCheckedModeBanner: false, //去掉Debug图标
home: const HomePage(),
);
}
}
class HomePage extends StatefulWidget {
const HomePage({super.key});
State<HomePage> createState() => _HomePageState();
}
class _HomePageState extends State<HomePage> {
Widget build(BuildContext context) {
return Scaffold(
appBar: AppBar(
backgroundColor: Colors.red,
leading: IconButton( //左侧按钮
icon: const Icon(Icons.menu),
onPressed: () {
print('menu Pressed');
}),
title: const Text('AppBar'),
actions: [ //右侧按钮
IconButton(
icon: const Icon(Icons.search),
onPressed: () {
print('Search Pressed');
}),
IconButton(
icon: const Icon(Icons.more_horiz),
onPressed: () {
print('more_horiz Pressed');
})
],
),
body: const Text("头条滑动导航"),
);
}
}

TabBar组件
TabBar 常见属性:
| 属性 | 描述 |
|---|---|
| tabs | 显示的标签内容,一般使用 Tab 对象,也可以是其他的 Widget |
| controller | TabController 对象 |
| isScrollable | 是否可滚动 |
| indicatorColor | 指示器颜色 |
| indicatorWeight | 指示器高度 |
| indicatorPadding | 底部指示器的Padding |
| indicator | 指示器decoration,例如边框等 |
| indicatorSize | 指示器的大小计算方式,TabBarIndicatorSize.lable:跟文字等宽;TabBarIndicatorSize.tab:跟每个 tab 等宽 |
| labelColor | 被选中的 label 的颜色 |
| labelStyle | 被选中的 label 的 style |
| labelPadding | 每个 label 的 padding 值 |
| unselectedLabelColor | 未被选中的 label 的颜色 |
| unselectedLabelStyle | 未被选中的 label 的 style |
TabBar、TabBarView实现类似头条顶部导航
-
混入
SingleTickerProviderStateMixinclass _HomePageState extends State<HomePage> with SingleTickerProviderStateMixin {} -
定义 TabController
late TabController _tabController; //生命周期函数:当组件初始化的时候就会触发 //输入inits可快速生成该方法 void initState() { super.initState(); _tabController = TabController(length: 3, vsync: this); } -
配置
TabBar和TabBarView在
Scaffold的bottom属性中配置TabBar,在body属性中配置TabBarViewimport 'package:flutter/material.dart'; void main() { runApp(const MyApp()); } class MyApp extends StatelessWidget { const MyApp({super.key}); Widget build(BuildContext context) { return MaterialApp( title: 'Flutter Demo', theme: ThemeData( primarySwatch: Colors.blue, ), debugShowCheckedModeBanner: false, //去掉Debug图标 home: const HomePage(), ); } } class HomePage extends StatefulWidget { const HomePage({super.key}); State<HomePage> createState() => _HomePageState(); } class _HomePageState extends State<HomePage> with SingleTickerProviderStateMixin { late TabController _tabController; //生命周期函数:当组件初始化的时候就会触发 //输入inits可快速生成该方法 void initState() { super.initState(); _tabController = TabController(length: 8, vsync: this); } Widget build(BuildContext context) { return Scaffold( appBar: AppBar( title: const Text('Flutter Demo'), backgroundColor: Colors.blue, leading: IconButton( icon: const Icon(Icons.menu), onPressed: () { print('menu Pressed'); }), actions: [ IconButton( icon: const Icon(Icons.search), onPressed: () { print('Search Pressed'); }), IconButton( icon: const Icon(Icons.more_horiz), onPressed: () { print('more_horiz Pressed'); }) ], bottom: TabBar( isScrollable: true, //导航栏及页面是否可以滚动 indicatorColor: Colors.white, indicatorWeight: 2, indicatorPadding: const EdgeInsets.all(5), indicatorSize: TabBarIndicatorSize.tab, indicator: BoxDecoration( color: Colors.white, borderRadius: BorderRadius.circular(10), ), labelColor: Colors.blue, unselectedLabelColor: Colors.white, labelStyle: const TextStyle(fontSize: 14), unselectedLabelStyle: const TextStyle(fontSize: 12), controller: _tabController, tabs: const [ Tab(child: Text("关注")), Tab(child: Text("推荐")), Tab(child: Text("视频")), Tab(child: Text("财经")), Tab(child: Text("科技")), Tab(child: Text("热点")), Tab(child: Text("国际")), Tab(child: Text("更多")), ], ), ), body: TabBarView( controller: _tabController, children: [ ListView( children: const [ListTile(title: Text("我是关注列表"))], ), ListView( children: const [ListTile(title: Text("我是推荐列表"))], ), ListView( children: const [ListTile(title: Text("我是视频列表"))], ), ListView( children: const [ListTile(title: Text("我是财经列表"))], ), ListView( children: const [ListTile(title: Text("我是科技列表"))], ), ListView( children: const [ListTile(title: Text("我是热点列表"))], ), ListView( children: const [ListTile(title: Text("我是国际列表"))], ), ListView( children: const [ListTile(title: Text("我是更多列表"))], ), ], ), ); } }
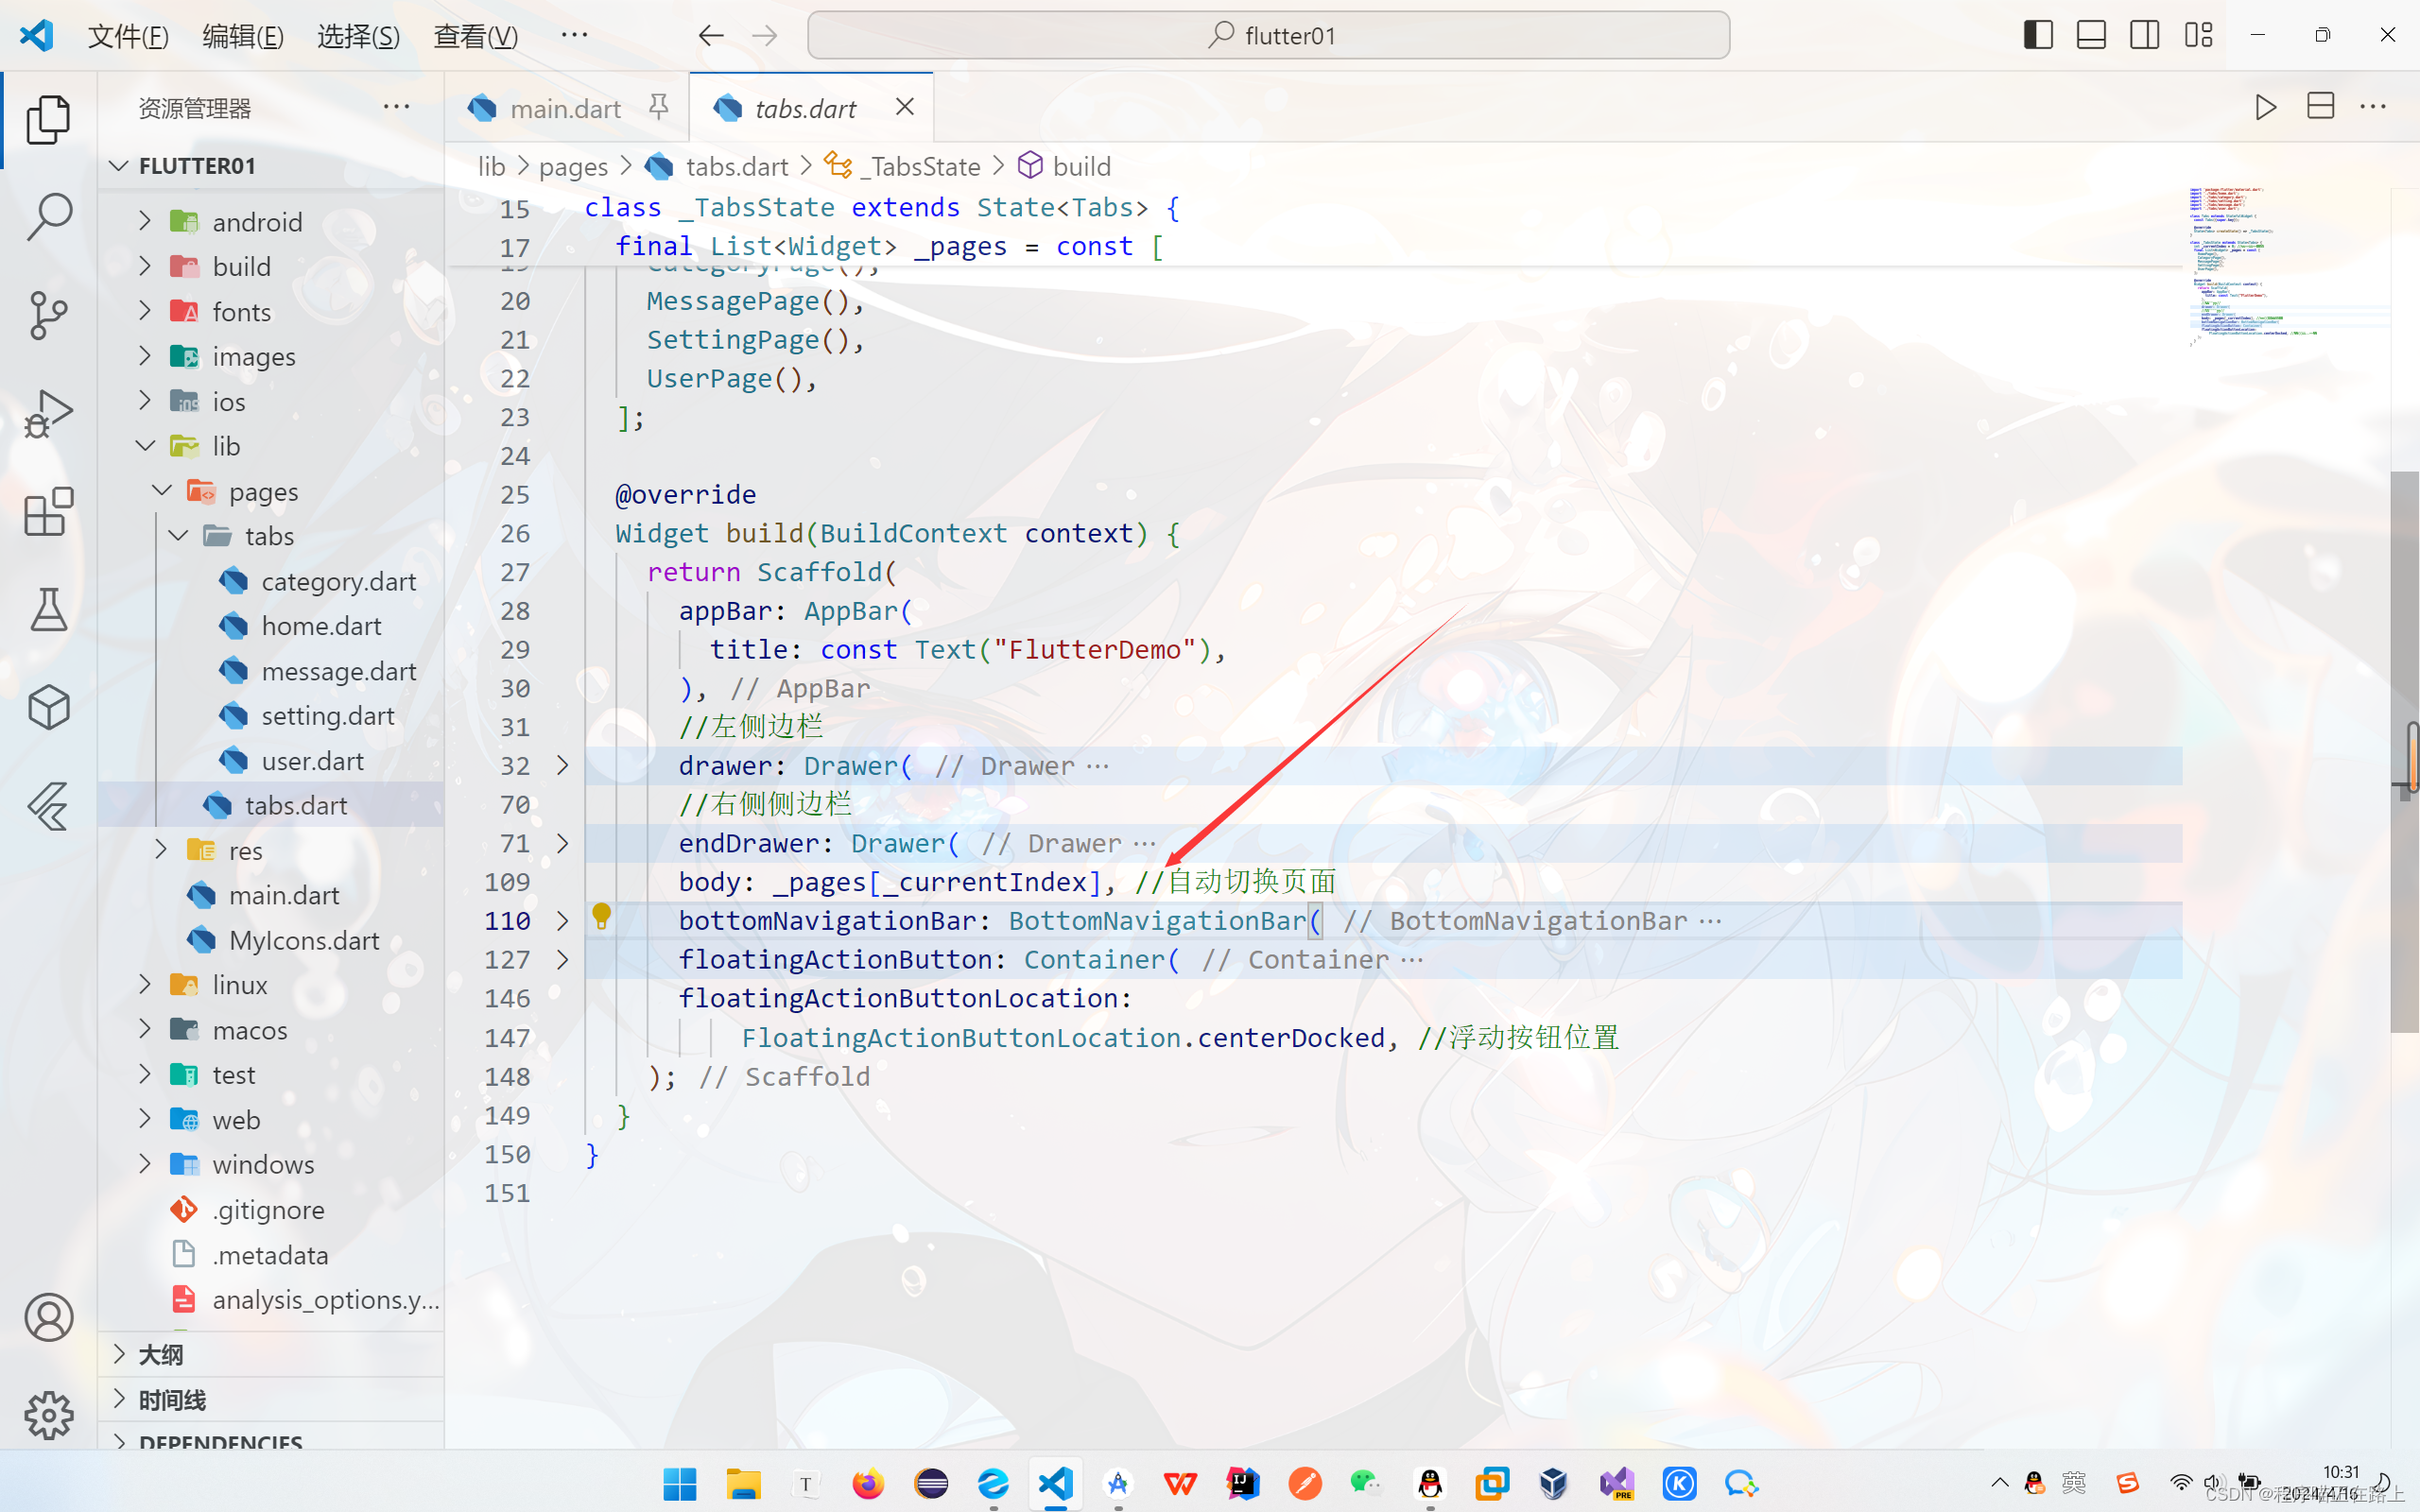
BottomNavigationBar的页面中使用TabBar
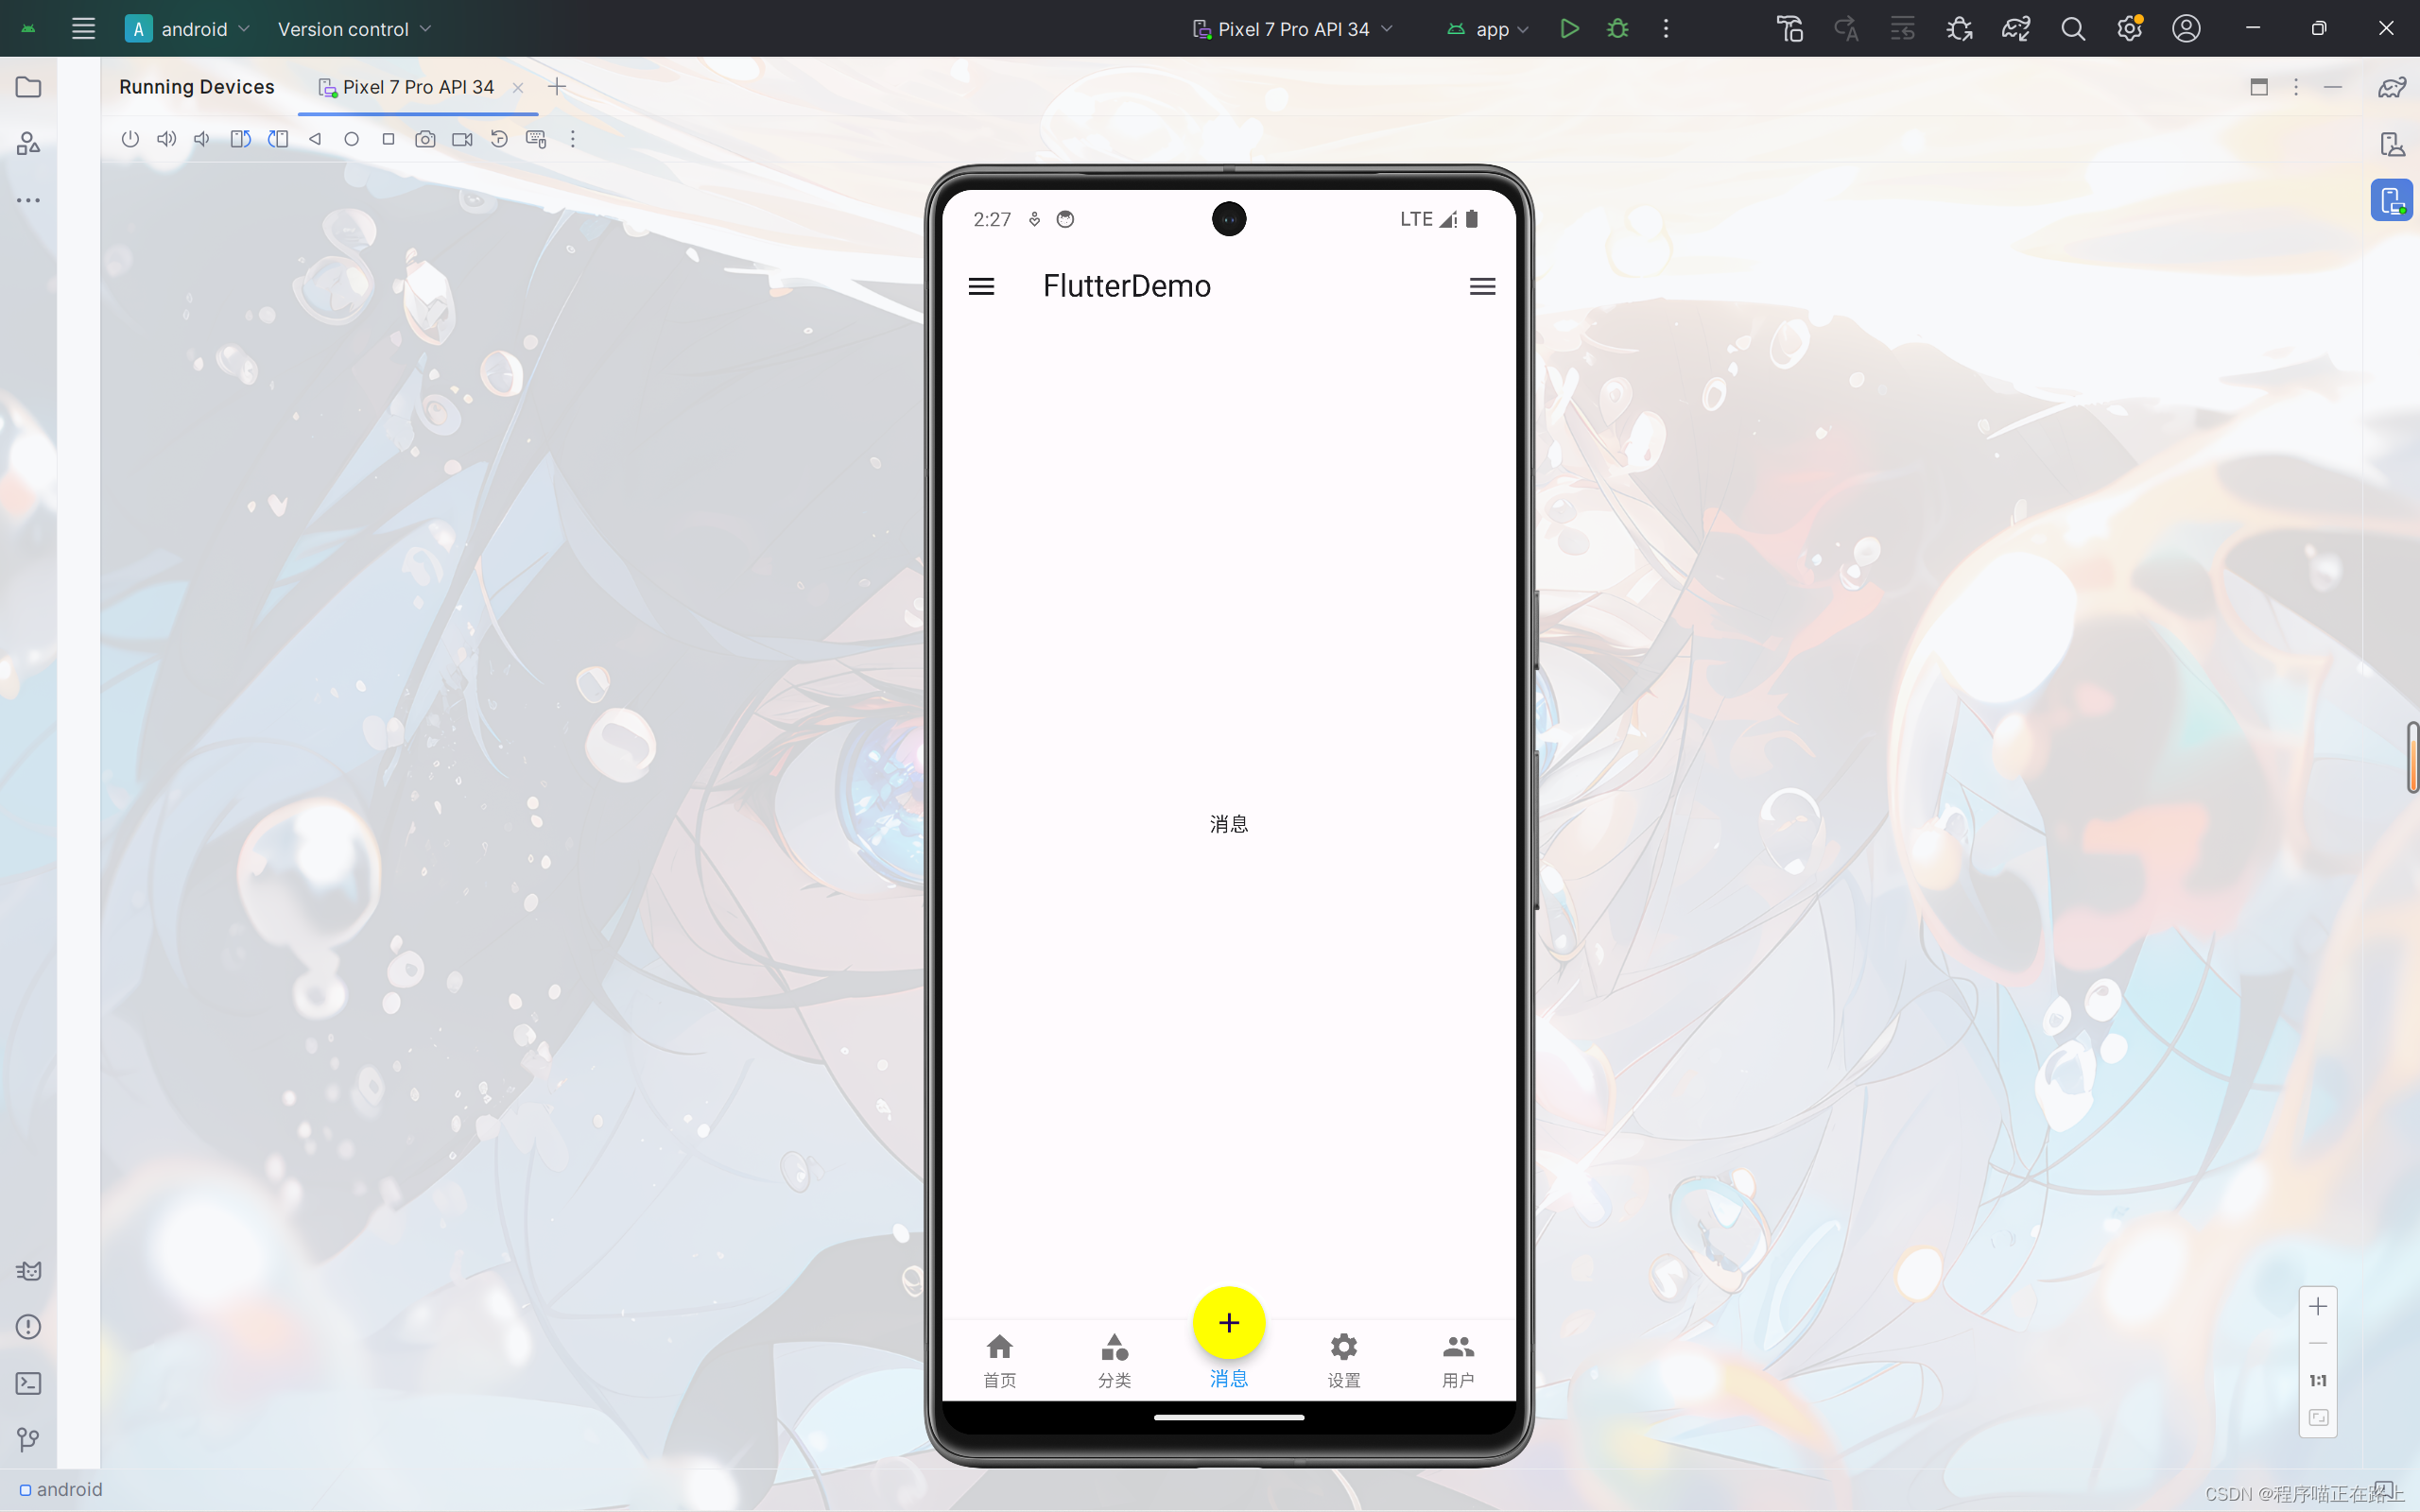
回到前面仿闲鱼首页底部导航这个程序,如果我们想在这个页面使用 TabBar,那么我们就需要在 tabs.dart 中的 Scaffold 的 body 属性中添加 TarBarView 组件,但是 body 中我们已经写了自动切换页面的代码,无法再添加 TarBarView 组件,这个时候该怎么办呢?
其实,我们可以来到 home.dart 这个页面,在这里再套一层 Scaffold,然后在这里配置 TarBar,步骤和前面一样,我们将代码复制过来,然后为了让导航栏可以显示在最上面,我们可以将 TarBar 直接写在 title 里面
修改后的 home.dart:
import 'package:flutter/material.dart';
class HomePage extends StatefulWidget {
const HomePage({super.key});
State<HomePage> createState() => _HomePageState();
}
class _HomePageState extends State<HomePage>
with SingleTickerProviderStateMixin {
late TabController _tabController;
void initState() {
super.initState();
_tabController = TabController(length: 8, vsync: this);
}
Widget build(BuildContext context) {
return Scaffold(
appBar: PreferredSize(
preferredSize: const Size.fromHeight(40),
child: AppBar(
backgroundColor: Colors.white,
elevation: 1, //阴影
title: SizedBox(
height: 30,
child: TabBar(
isScrollable: true, //导航栏及页面是否可以滚动
indicatorColor: Colors.red,
labelColor: Colors.red,
unselectedLabelColor: Colors.black,
labelStyle: const TextStyle(fontSize: 14),
unselectedLabelStyle: const TextStyle(fontSize: 14),
controller: _tabController,
tabs: const [
Tab(child: Text("关注")),
Tab(child: Text("推荐")),
Tab(child: Text("视频")),
Tab(child: Text("财经")),
Tab(child: Text("科技")),
Tab(child: Text("热点")),
Tab(child: Text("国际")),
Tab(child: Text("更多")),
],
),
),
),
),
body: TabBarView(
controller: _tabController,
children: [
ListView(
children: [
Padding(
padding: const EdgeInsets.all(15),
child: Column(
children: [
Image.network(
"https://xixi-web-tlias.oss-cn-guangzhou.aliyuncs.com/1.jpg"),
const SizedBox(height: 10),
Image.network(
"https://xixi-web-tlias.oss-cn-guangzhou.aliyuncs.com/2.jpg"),
const SizedBox(height: 10),
Image.network(
"https://xixi-web-tlias.oss-cn-guangzhou.aliyuncs.com/3.jpg"),
const SizedBox(height: 10),
Image.network(
"https://xixi-web-tlias.oss-cn-guangzhou.aliyuncs.com/4.jpg"),
const SizedBox(height: 10),
Image.network(
"https://xixi-web-tlias.oss-cn-guangzhou.aliyuncs.com/5.jpg"),
const SizedBox(height: 10),
Image.network(
"https://xixi-web-tlias.oss-cn-guangzhou.aliyuncs.com/6.jpg"),
],
),
),
],
),
ListView(
children: const [ListTile(title: Text("我是推荐列表"))],
),
ListView(
children: const [ListTile(title: Text("我是视频列表"))],
),
ListView(
children: const [ListTile(title: Text("我是财经列表"))],
),
ListView(
children: const [ListTile(title: Text("我是科技列表"))],
),
ListView(
children: const [ListTile(title: Text("我是热点列表"))],
),
ListView(
children: const [ListTile(title: Text("我是国际列表"))],
),
ListView(
children: const [ListTile(title: Text("我是更多列表"))],
),
],
),
);
}
}
效果:

PreferredSize组件
PreferredSize 组件可以配置 appBar 的高度
Scaffold(
  appBar: PreferredSize(
    preferredSize: const Size.fromHeight(40),
    child: AppBar(),
  ),
  body: TabBarView(),
);
自定义KeepAliveWrapper缓存页面
在前面实现的顶部导航中,如果我们在关注页面滑动到底部,然后我们再点击其他页面,接着我们返回关注页面,会发现它自动恢复到起始的状态。如果我们想让关注页面不恢复,该怎么做呢?
在 Flutter 中,我们可以通过 AutomaticKeepAliveClientMixin 来快速实现页面缓存功能,但是通过混入的方式实现不是很优雅, 所以我们有必要对AutomaticKeepAliveClientMixin 混入进行封装。
我们将其封装成一个类或者叫组件 KeepAliveWrapper,在 lib 目录下新建 tools 目录,在 tools 下新建 keepAliveWrapper.dart 文件,内容如下:
import 'package:flutter/material.dart';
class KeepAliveWrapper extends StatefulWidget {
const KeepAliveWrapper(
{super.key, this.child, this.keepAlive = true});
final Widget? child;
final bool keepAlive;
State<KeepAliveWrapper> createState() => _KeepAliveWrapperState();
}
class _KeepAliveWrapperState extends State<KeepAliveWrapper>
with AutomaticKeepAliveClientMixin {
Widget build(BuildContext context) {
super.build(context);
return widget.child!;
}
bool get wantKeepAlive => widget.keepAlive;
void didUpdateWidget(covariant KeepAliveWrapper oldWidget) {
if (oldWidget.keepAlive != widget.keepAlive) {
// keepAlive 状态需要更新,实现在 AutomaticKeepAliveClientMixin 中
updateKeepAlive();
}
super.didUpdateWidget(oldWidget);
}
}
然后,在需要使用的地方 home.dart 导入该文件,在需要缓存的代码外面套上一层 KeepAliveWrapper 即可:
import 'package:flutter/material.dart';
import '../../tools/keepAliveWrapper.dart'; //导入
class HomePage extends StatefulWidget {
const HomePage({super.key});
State<HomePage> createState() => _HomePageState();
}
class _HomePageState extends State<HomePage>
with SingleTickerProviderStateMixin {
late TabController _tabController;
void initState() {
super.initState();
_tabController = TabController(length: 8, vsync: this);
}
Widget build(BuildContext context) {
return Scaffold(
appBar: PreferredSize(
preferredSize: const Size.fromHeight(40),
child: AppBar(
backgroundColor: Colors.white,
elevation: 1, //阴影
title: SizedBox(
height: 30,
child: TabBar(
isScrollable: true, //导航栏及页面是否可以滚动
indicatorColor: Colors.red,
labelColor: Colors.red,
unselectedLabelColor: Colors.black,
labelStyle: const TextStyle(fontSize: 14),
unselectedLabelStyle: const TextStyle(fontSize: 14),
controller: _tabController,
tabs: const [
Tab(child: Text("关注")),
Tab(child: Text("推荐")),
Tab(child: Text("视频")),
Tab(child: Text("财经")),
Tab(child: Text("科技")),
Tab(child: Text("热点")),
Tab(child: Text("国际")),
Tab(child: Text("更多")),
],
),
),
),
),
body: TabBarView(
controller: _tabController,
children: [
//缓存第一个页面
KeepAliveWrapper(
child: ListView(
children: [
Padding(
padding: const EdgeInsets.all(15),
child: Column(
children: [
Image.network(
"https://xixi-web-tlias.oss-cn-guangzhou.aliyuncs.com/1.jpg"),
const SizedBox(height: 10),
Image.network(
"https://xixi-web-tlias.oss-cn-guangzhou.aliyuncs.com/2.jpg"),
const SizedBox(height: 10),
Image.network(
"https://xixi-web-tlias.oss-cn-guangzhou.aliyuncs.com/3.jpg"),
const SizedBox(height: 10),
Image.network(
"https://xixi-web-tlias.oss-cn-guangzhou.aliyuncs.com/4.jpg"),
const SizedBox(height: 10),
Image.network(
"https://xixi-web-tlias.oss-cn-guangzhou.aliyuncs.com/5.jpg"),
const SizedBox(height: 10),
Image.network(
"https://xixi-web-tlias.oss-cn-guangzhou.aliyuncs.com/6.jpg"),
],
),
),
],
),
),
ListView(
children: const [ListTile(title: Text("我是推荐列表"))],
),
ListView(
children: const [ListTile(title: Text("我是视频列表"))],
),
ListView(
children: const [ListTile(title: Text("我是财经列表"))],
),
ListView(
children: const [ListTile(title: Text("我是科技列表"))],
),
ListView(
children: const [ListTile(title: Text("我是热点列表"))],
),
ListView(
children: const [ListTile(title: Text("我是国际列表"))],
),
ListView(
children: const [ListTile(title: Text("我是更多列表"))],
),
],
),
);
}
}
监听TabController改变事件
在 initState 方法中,我们可以通过调用 addListener 方法来监听 TabController 的改变事件,包括点击、滑动等
void initState() {
super.initState();
_tabController = TabController(length: 8, vsync: this);
//监听_tabController的改变事件
_tabController.addListener(() {
if (_tabController.animation!.value == _tabController.index) {
print(_tabController.index); //获取点击或滑动页面的索引值
}
});
}
当我们点击或滑动到其他页面时,我们就可以获取到对应页面的索引值