window10下安装ubuntu系统以及docker使用
- 1. 启用适用于Linux的Windwos子系统
- 2.下载Linux内核更新包
- 3.将 WSL 2 设置为默认版本
- 4.安装Ubuntu<br />直接去Microsoft store里面直接搜索Ubuntu进行安装。
- 5.可能出现的问题
- 1.win10启动ubuntu报错 参考的对象类型不支持尝试的操作.
- 2.docker服务启动不起来问题排查解决。
- 6.安装docker
- 7.使用docker
1. 启用适用于Linux的Windwos子系统
首先,win10的子系统开启前,需要进行一系列操作,并重启计算机,过程如下:
打开win10开发人员模式,在设置–>更新和安全–>针对开发人员,中勾选开发人员模式。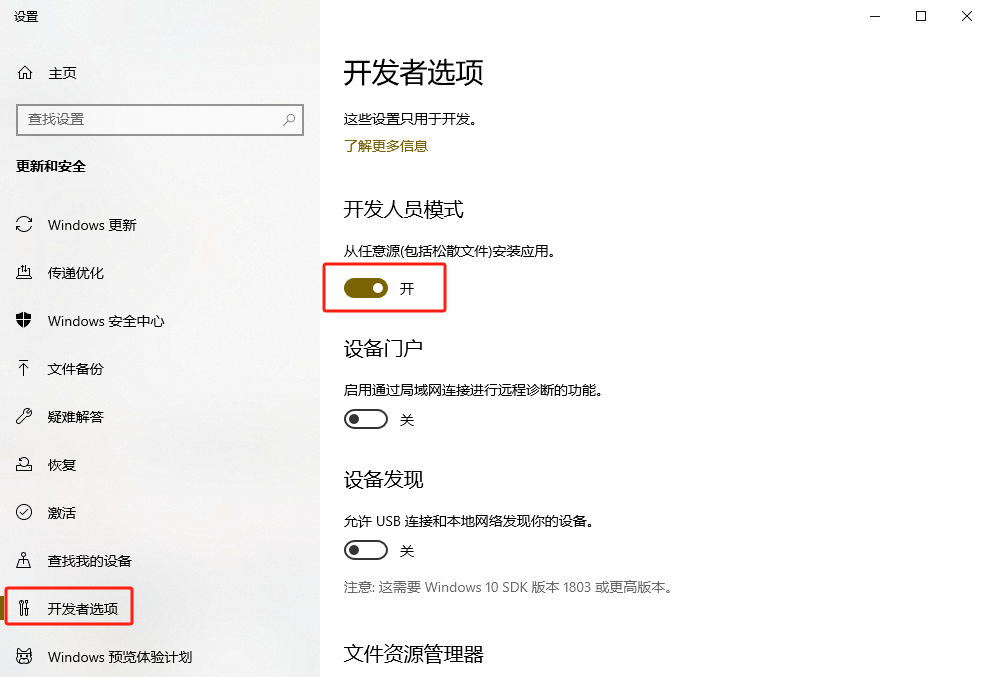
然后在控制面板中勾选添加Linux子系统。依次进入控制面板–>程序–>启用或关闭windows功能,勾选适用于windows的linux的子系统以及虚拟机平台,点击确定。之后重启电脑。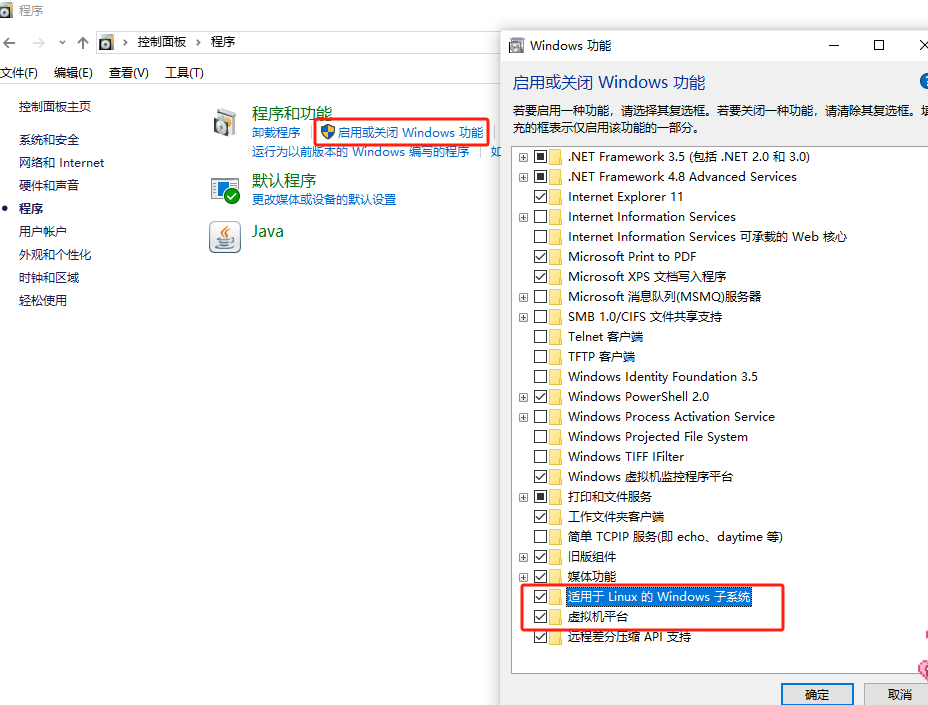
重启后就可以安装Linux子系统了。
2.下载Linux内核更新包
更多详情参考官方文档:适用于 Linux 的 Windows 子系统文档
下载链接:https://wslstorestorage.blob.core.windows.net/wslblob/wsl_update_x64.msi
下载完成双击安装
4. 将 WSL 2 设置为默认版本
打开 PowerShell,然后在安装新的 Linux 发行版时运行以下命令,将 WSL 2 设置为默认版本:
PowerShell复制
wsl --set-default-version 2
3.将 WSL 2 设置为默认版本
打开 PowerShell,然后在安装新的 Linux 发行版时运行以下命令,将 WSL 2 设置为默认版本:
wsl --set-default-version 2
可以打开 PowerShell 命令行并输入以下命令检查分配给每个已安装的 Linux 分发版的 WSL 版本:
wsl -l -v

4.安装Ubuntu
直接去Microsoft store里面直接搜索Ubuntu进行安装。
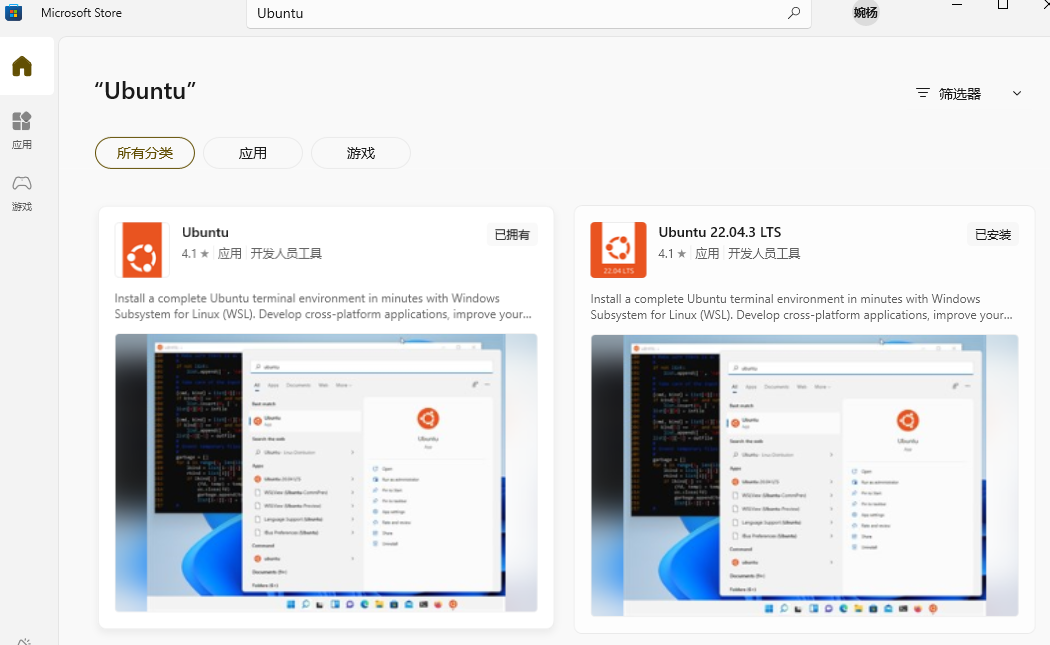
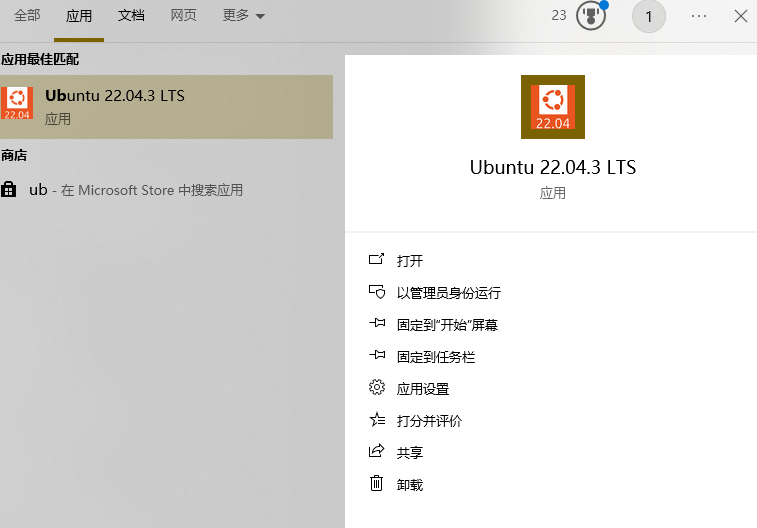
首次启动新安装的 Linux 分发版时,将打开一个控制台窗口,系统会要求你等待一分钟或两分钟,以便文件解压缩并存储到电脑上。 未来的所有启动时间应不到一秒。
然后,需要为新的 Linux 分发版创建用户帐户和密码
5.可能出现的问题
1.win10启动ubuntu报错 参考的对象类型不支持尝试的操作.
解决方案:
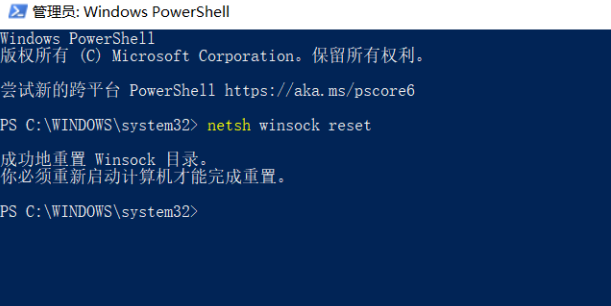
1.通过管理员身份打开Windows PowerShell
打开之后输入以下命令重置Winsock目录。
netsh winsock reset
2.docker服务启动不起来问题排查解决。
sudo service docker start启动服务,显示 * Starting Docker: docker,
sudo service docker status 查看服务状态的时候却是 * Docker is not running。
使用docker version看到docker的服务端根本没有启动起来。服务端显示:Cannot connect to the Docker daemon at unix:///var/run/docker.sock. Is the docker daemon running?
通过 sudo dockerd命令查看日志内容如下:
$ cat /var/log/docker.log
...
Sep 13 20:47:37 xxx dockerd: failed to start daemon: Error initializing network controller: error
 obtaining controller instance: failed to create NAT chain DOCKER: iptables failed: iptables -t nat -N D
OCKER: iptables v1.4.21: can't initialize iptables table `nat': Table does not exist (do you need to ins
mod?)
解决方案:
1.首先,将iptables用iptables-legacy替换:
sudo update-alternatives --set iptables /usr/sbin/iptables-legacy
2.开启 ipv4 的包转发功能:
sudo sed -i 's/#net.ipv4.ip_forward=1/net.ipv4.ip_forward=1/g' /etc/sysctl.conf`
3.退出重新启动ubuntu 22.04 LST即可。
6.安装docker
#Step1:更新系统软件包
sudo apt update

#Step2:安装依赖包【用于通过HTTPS来获取仓库】
sudo apt install apt-transport-https ca-certificates curl software-properties-common

#Step3:添加Docker官方GPG密钥
sudo -i
curl -fsSL https://mirrors.aliyun.com/docker-ce/linux/ubuntu/gpg | gpg --dearmor -o /etc/apt/trusted.gpg.d/docker-ce.gpg

#Step4:验证
sudo apt-key fingerprint 0EBFCD88
0EBFCD88 是公钥的指纹。执行这个命令后,系统会显示与该指纹相关的公钥信息。

#Step4:添加Docker阿里稳定版软件源
sudo add-apt-repository "deb [arch=amd64] https://mirrors.aliyun.com/docker-ce/linux/ubuntu $(lsb_release -cs) stable"

#Step5:再次更新软件包
sudo apt update

#Step6:安装默认最新版
sudo apt install docker-ce docker-ce-cli containerd.io

#Step7:测试,安装好后默认启动
sudo docker run hello-world
如果输出“Hello from Docker!”则表示Docker已经成功安装。

#Step8:查看有哪些镜像
sudo docker images

#Step9:配置用户组
sudo usermod -aG docker galaxfy
su - galaxfy  # 刷新shell状态
docker images # 验证

#Step10:其他docker运行命令
查看状态:sudo service docker status
启动:sudo service docker start
开机自启:sudo service enable docker
停止:sudo service stop docker
查看docker日志  sudo dockerd


其他:安装特定版docker
sudo apt-cache madison docker-ce  # 显示可用版本
sudo apt-get install docker-ce=<VERSION_STRING> docker-ce-cli=<VERSION_STRING> containerd.io # 将需要的版本替换VERSION_STRING进行安装,例如 5:20.10.17~3-0~ubuntu-focal
7.使用docker

# 构建 Docker 镜像 执行 Makefile 中定义的与构建 Docker 镜像相关的命令
make coker
# 查看本地已经存在的镜像 名称、标签、镜像 ID、创建时间以及所占用的空间
root@LAPTOP-6S9PKSTR:/mnt/d/Jwork/api/workflow# docker images
REPOSITORY                        TAG       IMAGE ID       CREATED        SIZE
xxx.com/build-biz-test   WC-1122   da4c841c15f1   21 hours ago   90.9MB
# docker rmi -f [imageId] 强制删除 Docker 镜像
docker rmi -f da4c841c15f1

#给一个镜像添加一个新的标签
#xxx.com 是阿里云的 Docker 镜像仓库地址,/aaa-dev/user-manual 是镜像名称,WC-1122 是标签。
docker tag xxx.com/build-biz-test:WC-1122
111.51.55/build-biz-test:WC-1122


#docker save -o <output-file.tar> <image-name>
#将 Docker 镜像保存为一个 tar 归档文件。 -o 选项指定了输出文件的名称或路径
docker save -o build-biz-test.tar xxx.com/build-biz-test:WC-1122
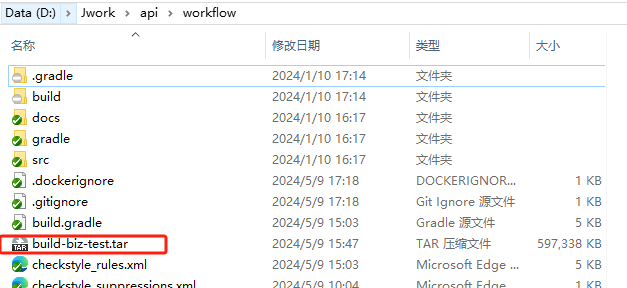

把这个包加入到自己的服务器里面。进入到你放文件的位置。
#从一个 tar 归档文件中加载 Docker 镜像。
docker load -i build-biz-test.tar
#将本地的 Docker 镜像推送到远程 Docker 镜像仓库
docker push <image-name>
#从远程 Docker 镜像仓库中拉取(下载)一个 Docker 镜像到本地系统
docker pull <image-name>
#编辑 Kubernetes 中的一个部署(Deployment)资源对象 更改为刚推送的镜
kubectl edit deploy my-deployment

