一、chatGlm的环境部署
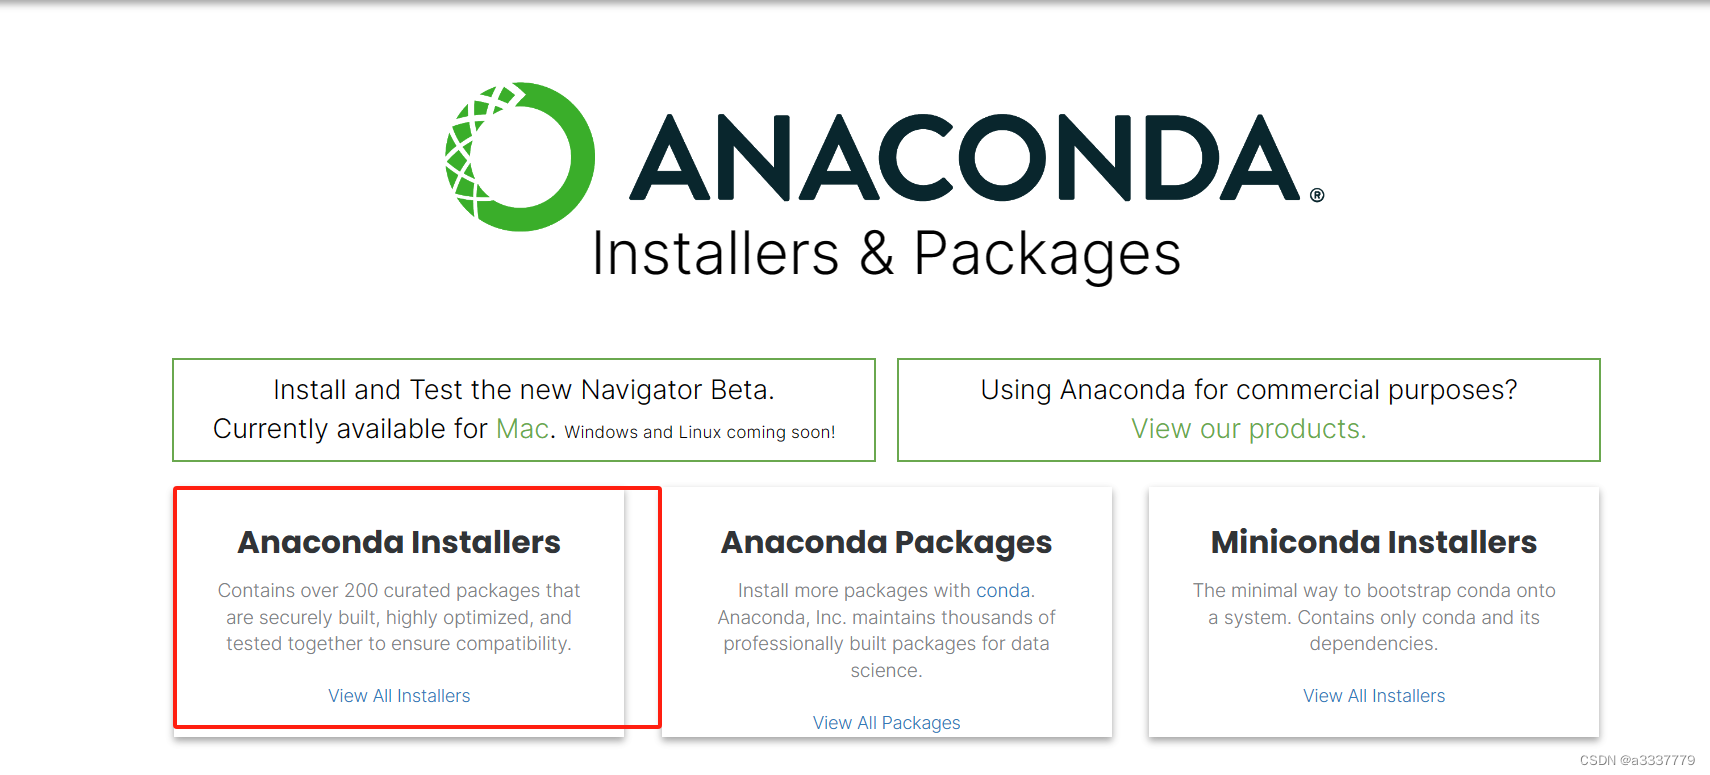
1.安装anocoda
下载安装anaconda。具体教程详见官网教程。
2.安装CUDA
1)首先在终端查看你的Nividian版本,命令如下:
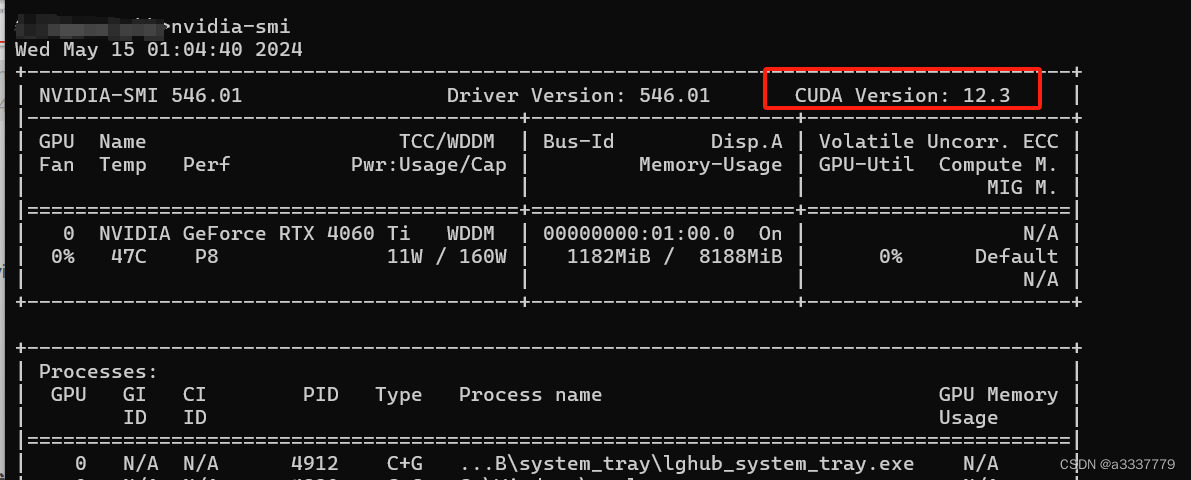
2)如果你没有下载你要去下载cuda下载网站,这里是12.3是因为我cuda version版本12.3,之后傻瓜式下一步安装

3)安装完之后,要看系统变量有没有这两个变量。

3.安装pytorch
1)cmd输入命令,这是创建名为ChatGLMModel 的虚拟环境:
conda create --name ChatGLMModel python==3.8.10
- 激活ChatGLMModel的环境
conda activate ChatGLMModel
3)开始安装pytorch
如果电脑配置了GPU,要注意需安装GPU版本的pytorch,具体可登录官网链接:
这里要注意选择你是什么系统,cuda是安装了什么版本(博主前面选择的是12.1),然后复制下面红框中的命令到终端就可以安装了。切记切记要使用pip的,千万,千万,千万不要用conda的安装方式,因为它下载的一直都是CPU版本的。
`
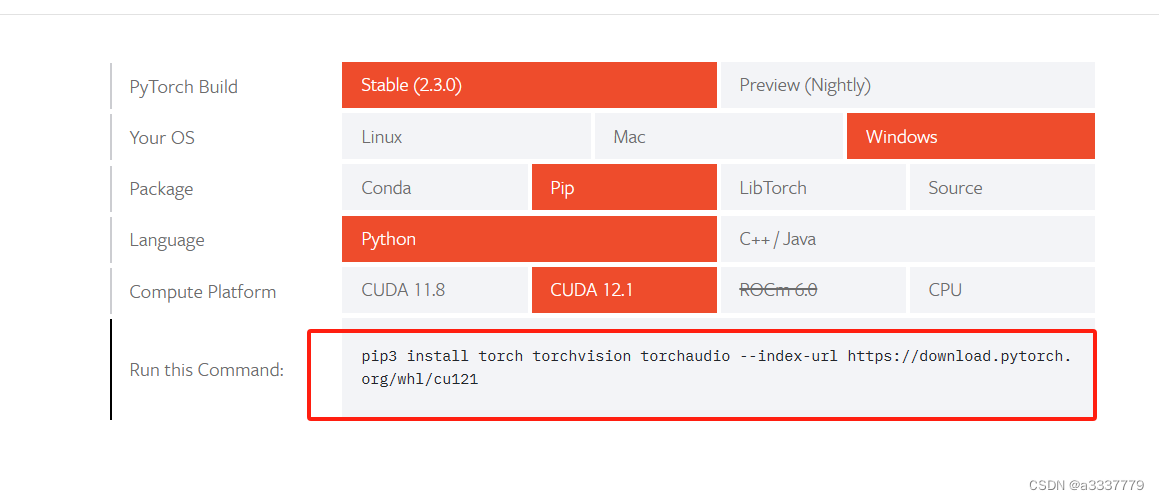
pip3 install torch torchvision torchaudio --index-url https://download.pytorch.org/whl/cu121
在终端输入python,然后依次输入下面代码,验证torch-GPU版本是不是成功
import torch
torch.cuda.is_available()  ## 输出应该是True

4.下载模型
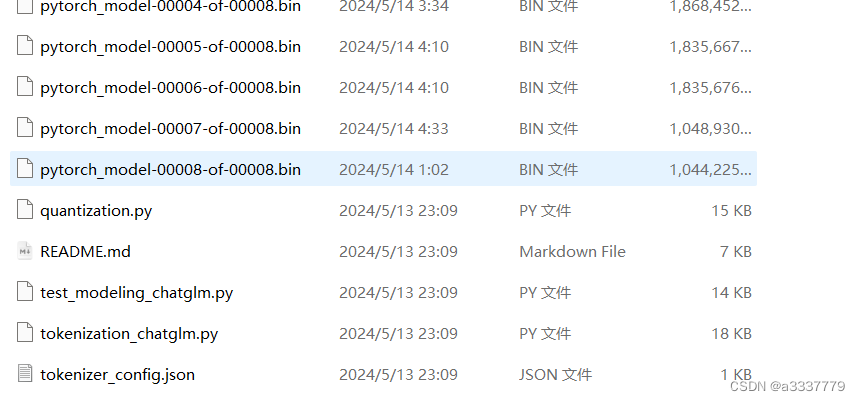
1)本来下载模型要到hugging face上的,但是他被封了只能去其他网站可去这个HF Mirror网站下载除pytorch_model之外的文件,然后去这个清华网站下载这个文件pytorch_model
,因为有两个问题第一HF Mirror下载速度很慢,那些模型太大;第二git clone大文件会报错
5.从github下载
1)从这个github网站下载ChatGLM-6B也可以用git
git clone https://github.com/THUDM/ChatGLM-6B.git
2)部署环境,在终端下打开ChatGLM-6B安装的目录,然后运行下面命令,安装相关库
pip install -r requirements.txt
二、chatGlmd的运行
1.运行前准备
在运行之前,需要先修改web_demo.py文件中的模型地址,具体为第5行与第6行,具体如下:

tokenizer = AutoTokenizer.from_pretrained("model", trust_remote_code=True)
model = AutoModel.from_pretrained("model", trust_remote_code=True).half().cuda()
根据实际显卡显存,可以更改第6行关于model运行方式:
# 6G 显存可以 4 bit 量化
model = AutoModel.from_pretrained("model", trust_remote_code=True).half().quantize(4).cuda()

# 10G 显存可以 8 bit 量化
model = AutoModel.from_pretrained("model", trust_remote_code=True).half().quantize(8).cuda()

# 14G 以上显存可以直接不量化,博主显存为16G选择的就是这个
model = AutoModel.from_pretrained("model", trust_remote_code=True).half().cuda()
2.运行
在终端输入命令,注意不要用python3,因为可能会使用到其它环境下的python或者在pycharm运行即可
python web_demo.py
三.遇到的一些问题
1.grd版本过高
(chatglm) [root@localhost ChatGLM2-6B]# python web_demo.py
Loading checkpoint shards: 100%|█████████████████████████████████████████████████████████████████████████████████████████████████████████████████████████████████████████████████████████████████████████████| 7/7 [00:37<00:00,  5.31s/it]
Traceback (most recent call last):
  File "/opt/ChatGLM2-6B/web_demo.py", line 89, in <module>
    user_input = gr.Textbox(show_label=False, placeholder="Input...", lines=10).style(
AttributeError: 'Textbox' object has no attribute 'style'
1)pip list查看本地已经安装的工具包版本,我的是4.2.0
2)这表示没有style这个参数,所以我们要降版本
pip install gradio==3.40.0


![[HUBUCTF 2022 新生赛]ezsql](https://img-blog.csdnimg.cn/img_convert/c703fab826f9d41c6602e558aa649da7.png)
