Nacos的学习
1、下载地址
https://github.com/alibaba/nacos/releases/tag/2.1.1

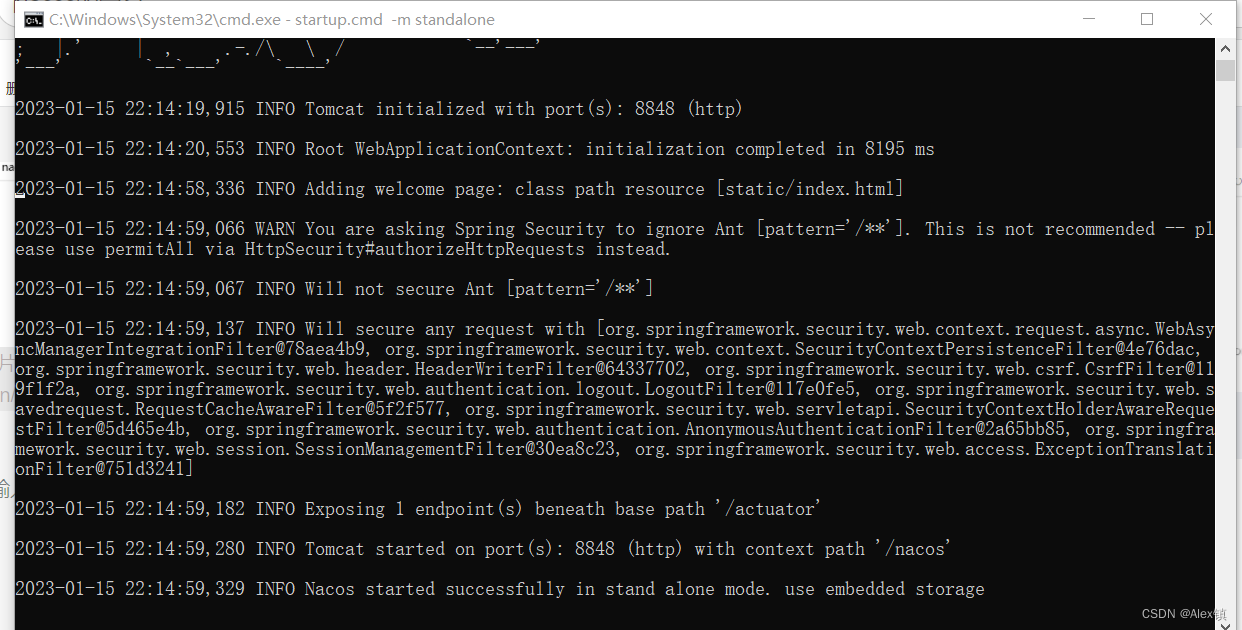
在bin目录中输入命令 startup.cmd -m standalone
输入localhost:8848/nacos
账号:nacos,密码:nacos

2、Spring与Nacos
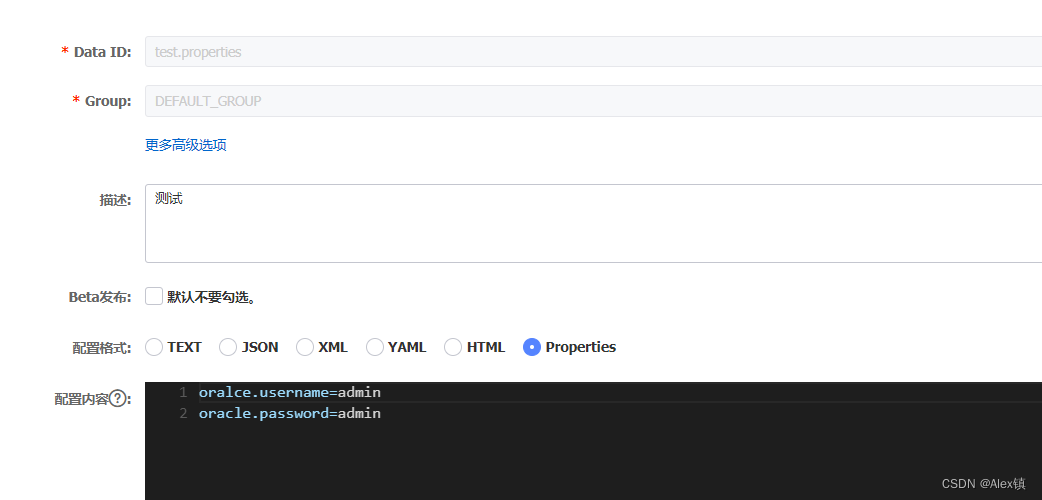
(1)新增一个配置
(2)导包
    <parent>
        <groupId>org.springframework.boot</groupId>
        <artifactId>spring-boot-starter-parent</artifactId>
        <version>2.3.12.RELEASE</version>
        <relativePath/> <!-- lookup parent from repository -->
    </parent>
    <groupId>com.ycz</groupId>
    <artifactId>Nacos-study</artifactId>
    <version>0.0.1-SNAPSHOT</version>
    <name>Nacos-study</name>
    <description>Nacos-study</description>
    <properties>
        <java.version>8</java.version>
    </properties>
    <dependencies>
        <dependency>
            <groupId>org.springframework.boot</groupId>
            <artifactId>spring-boot-starter-web</artifactId>
        </dependency>

        <dependency>
            <groupId>org.springframework.boot</groupId>
            <artifactId>spring-boot-starter-test</artifactId>
            <scope>test</scope>
        </dependency>

        <dependency>
            <groupId>com.alibaba.nacos</groupId>
            <artifactId>nacos-spring-context</artifactId>
            <version>1.1.1</version>
        </dependency>
    </dependencies>
(3)配置
package com.ycz.nacosstudy.config;

import com.alibaba.nacos.api.annotation.NacosProperties;
import com.alibaba.nacos.spring.context.annotation.config.EnableNacosConfig;
import com.alibaba.nacos.spring.context.annotation.config.NacosPropertySource;
import org.springframework.context.annotation.ComponentScan;

@ComponentScan("com.ycz.nacosstudy")
@EnableNacosConfig(globalProperties = @NacosProperties(serverAddr = "127.0.0.1:8848"))
@NacosPropertySource(dataId = "test.properties" , autoRefreshed = true)
public class AppConfig {
}
(4)service
package com.ycz.nacosstudy.service;

import org.springframework.beans.factory.annotation.Value;
import org.springframework.stereotype.Component;

@Component
public class UserService {
    @Value("${oracle.username}")
    private String username;

    @Value("${oracle.password}")
    private String password;

    public void test(){
        System.out.println(username);
        System.out.println(password);
    }


}
(5)测试
package com.ycz.nacosstudy;

import com.ycz.nacosstudy.config.AppConfig;
import com.ycz.nacosstudy.service.UserService;
import org.springframework.context.annotation.AnnotationConfigApplicationContext;

public class Test {
    public static void main(String[] args) {
        AnnotationConfigApplicationContext annotationConfigApplicationContext =
                new AnnotationConfigApplicationContext(AppConfig.class);
        UserService userService =
                annotationConfigApplicationContext.getBean(UserService.class);
        userService.test();
    }
}
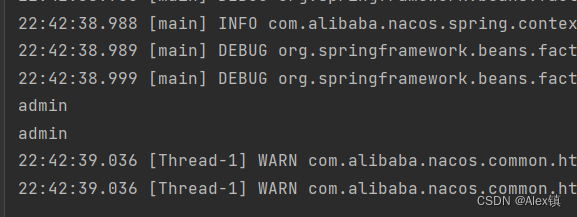
结果:
3、Springboot+Nacos
(1)导包
   <parent>
        <groupId>org.springframework.boot</groupId>
        <artifactId>spring-boot-starter-parent</artifactId>
        <version>2.3.12.RELEASE</version>
        <relativePath/> <!-- lookup parent from repository -->
    </parent>
    <groupId>com.ycz</groupId>
    <artifactId>Nacos-study</artifactId>
    <version>0.0.1-SNAPSHOT</version>
    <name>Nacos-study</name>
    <description>Nacos-study</description>
    <properties>
        <java.version>8</java.version>
    </properties>
    <dependencies>
        <dependency>
            <groupId>org.springframework.boot</groupId>
            <artifactId>spring-boot-starter-web</artifactId>
        </dependency>

        <dependency>
            <groupId>org.springframework.boot</groupId>
            <artifactId>spring-boot-starter-test</artifactId>
            <scope>test</scope>
        </dependency>

        <dependency>
            <groupId>com.alibaba.boot</groupId>
            <artifactId>nacos-config-spring-boot-starter</artifactId>
            <version>0.2.12</version>
        </dependency>
    </dependencies>
(2)配置
nacos.config.context-path=127.0.0.1:8848
nacos.config.data-id=test.properties
nacos.config.auto-refresh=true
nacos.config.bootstrap.enable=true
(3)controller
package com.ycz.nacosstudy.Controller;

import org.springframework.beans.factory.annotation.Value;
import org.springframework.web.bind.annotation.GetMapping;
import org.springframework.web.bind.annotation.RestController;

@RestController
public class UserController {

    @Value("${oracle.username}")
    private String username;

    @Value("${oracle.password}")
    private String password;

    @GetMapping("test")
    public String test(){
        return username + password;
    }

}
(4)测试 http://localhost:8080/test
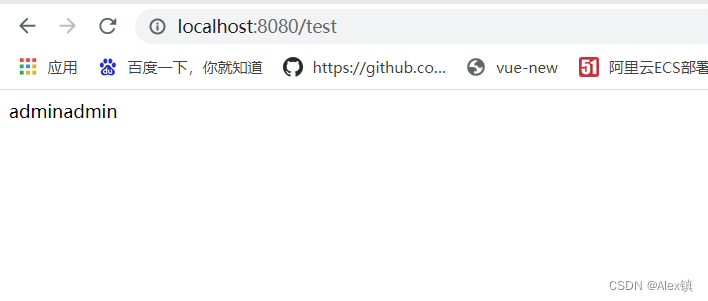
现在如果nacos中配置修改的话,再刷新页面还是旧的
所以现在要改一下注解
(5)将@Value改成@NacosValue
package com.ycz.nacosstudy.Controller;

import com.alibaba.nacos.api.config.annotation.NacosValue;
import org.springframework.beans.factory.annotation.Value;
import org.springframework.web.bind.annotation.GetMapping;
import org.springframework.web.bind.annotation.RestController;

@RestController
public class UserController {

    @NacosValue(value = "${oracle.username}" , autoRefreshed = true)
    private String username;

    @NacosValue(value =  "${oracle.password}" , autoRefreshed = true)
    private String password;

    @GetMapping("test")
    public String test(){
        return username + password;
    }

}
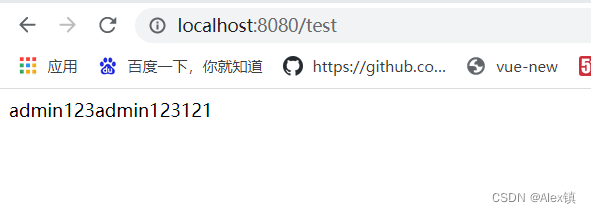
再测试,是可以的
4、springcloud+nacos
(1)导包
<parent>
        <groupId>org.springframework.boot</groupId>
        <artifactId>spring-boot-starter-parent</artifactId>
        <version>2.3.12.RELEASE</version>
        <relativePath/> <!-- lookup parent from repository -->
    </parent>
    <groupId>com.ycz</groupId>
    <artifactId>Nacos-study</artifactId>
    <version>0.0.1-SNAPSHOT</version>
    <name>Nacos-study</name>
    <description>Nacos-study</description>
    <properties>
        <java.version>8</java.version>
    </properties>
    <dependencies>
        <dependency>
            <groupId>org.springframework.boot</groupId>
            <artifactId>spring-boot-starter-web</artifactId>
        </dependency>

        <dependency>
            <groupId>org.springframework.boot</groupId>
            <artifactId>spring-boot-starter-test</artifactId>
            <scope>test</scope>
        </dependency>

        <dependency>
            <groupId>com.alibaba.cloud</groupId>
            <artifactId>spring-cloud-starter-alibaba-nacos-config</artifactId>
            <version>2.2.8.RELEASE</version>
        </dependency>
    </dependencies>
(2)配置
spring.application.name=test.properties
spring.cloud.nacos.config.context-path=127.0.0.1:8848
spring.cloud.nacos.config.refresh-enabled=true
(3)controller
package com.ycz.nacosstudy.Controller;

import org.springframework.beans.factory.annotation.Value;
import org.springframework.cloud.context.config.annotation.RefreshScope;
import org.springframework.web.bind.annotation.GetMapping;
import org.springframework.web.bind.annotation.RestController;

@RestController
@RefreshScope //自动刷新注解
public class UserController {

    @Value(value = "${oracle.username}")
    private String username;

    @Value(value =  "${oracle.password}")
    private String password;

    @GetMapping("test")
    public String test(){
        return username + password;
    }

}
(4)测试
(5)我们可以配置一个公共的配置类,这样就不用在每个类中都加@RefreshScope
package com.ycz.nacosstudy.config;

import org.springframework.beans.factory.annotation.Value;
import org.springframework.cloud.context.config.annotation.RefreshScope;
import org.springframework.stereotype.Component;

@RefreshScope
@Component
public class CommonConfig {

    @Value(value = "${oracle.username}")
    private String username;

    @Value(value =  "${oracle.password}")
    private String password;

    public String getUsername() {
        return username;
    }

    public void setUsername(String username) {
        this.username = username;
    }

    public String getPassword() {
        return password;
    }

    public void setPassword(String password) {
        this.password = password;
    }
}
package com.ycz.nacosstudy.Controller;

import com.ycz.nacosstudy.config.CommonConfig;
import org.springframework.beans.factory.annotation.Autowired;
import org.springframework.beans.factory.annotation.Value;
import org.springframework.cloud.context.config.annotation.RefreshScope;
import org.springframework.web.bind.annotation.GetMapping;
import org.springframework.web.bind.annotation.RestController;

@RestController

public class UserController {

    @Autowired
    private CommonConfig config;

    @GetMapping("test")
    public String test(){
        return config.getUsername() + config.getPassword();
    }

}
测试:
一般我们需要配置多套环境


加上spring.profiles.active=prod就可以了
测试

