查看别名type ll
ll 是 ls -l --color=auto' 的别名
设置别名alias
alias ym='yum install -y'
使用别名ym nginx
取消别名unalias ym
基于LNMP做一个wordpress
nginx
mysql 5.7
PHP 7.4+
1、linux基本环境
修改主机名
hostnamectl set-hostname $name
关闭防火墙及selinux
systemctl stop firewalld
systemctl disable firewalld
setenforce 0
配置本地yum源
curl -o yum-server.sh http://10.36.178.200/yum-server.sh
sh yum-server.sh
安装工具
yum install -y vim wget unzip
2、安装Nginx服务
yum install -y nginx
启动nginx服务
systemctl start nginx
3、安装数据库
yum install -y mysql-server
启动数据库
systemctl start mysqld
获取数据库初始化密码
grep "password" /var/log/mysqld.log
修改数据库密码
mysqladmin -uroot -p'$获取的初始化密码' password '$new_password'
创建数据库:wordpress
mysql -uroot -p'$new_password' -e 'create database wordpress'
4、 安装php
yum install php80-php-xsl php80-php php80-php-cli php80-php-devel php80-php-gd php80-php-pdo php80-php-mysql php80-php-fpm -y
启动php
systemctl start php80-php-fpm
5、修改nginx配置文件
/etc/nginx/nginx.conf
server {
        listen      80;
        server_name localhost;
        location / {
			root /usr/share/nginx/html;
			index index.php;
		}
        location ~ \.php$ {
            root          /usr/share/nginx/html;  #指定网站目录
            fastcgi_pass   127.0.0.1:9000;    #指定访问地址
            fastcgi_index  index.php;		#指定默认文件
            fastcgi_param  SCRIPT_FILENAME  $document_root$fastcgi_script_name; #站点根目录,取决于root配置项
            include        fastcgi_params;  #包含nginx常量定义
        		}
        }
6、重启nginx
systemctl restart nginx
7、上传wordpress包到服务器
8、解压上传的wordpress压缩包
unzip wordpress-6.5.2-zh_CN.zip
9、清理nginx网站发布目录下的所有资源
rm -rf /usr/share/nginx/html/*
10、拷贝wordpree目录中的所有资源到/usr/share/nginx/html/
cp -r wordpress/* /usr/share/nginx/html/
11、修改html目录权限
chmod -R 777 /usr/share/nginx/html/
12、浏览器访问服务器ip,在浏览器中进行部署
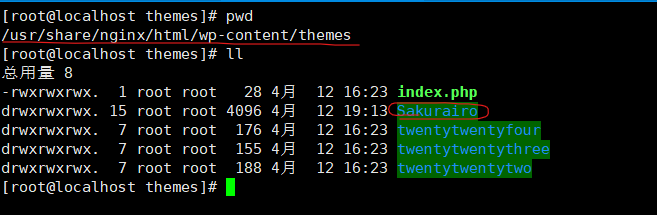
自选主题上传到服务器下面路径处


12.1 添加看板娘
[root@chaosaigc ~]# wget https://github.com/mumuhaha487/KanBanMusume/archive/refs/heads/master.zip
[root@chaosaigc ~]# cp master.zip /usr/share/nginx/html/ [root@chaosaigc ~]# cd /usr/share/nginx/html/
[root@chaosaigc html]# unzip master.zip  # 将解压之后的目录修改成live2d
设置头文件
打开 wp-content/themes/[WordPress使用的主题名称]/header.php
在和之中添加以下代码,将代码中 src 属性的 url 更换成你自己的

再打开同目录下的footer.php文件 在前面加入如下内容(要把“var home_Path”改为你的域名)


声明:来源(Source):https://blog.chaosaigc.com/214100146.html
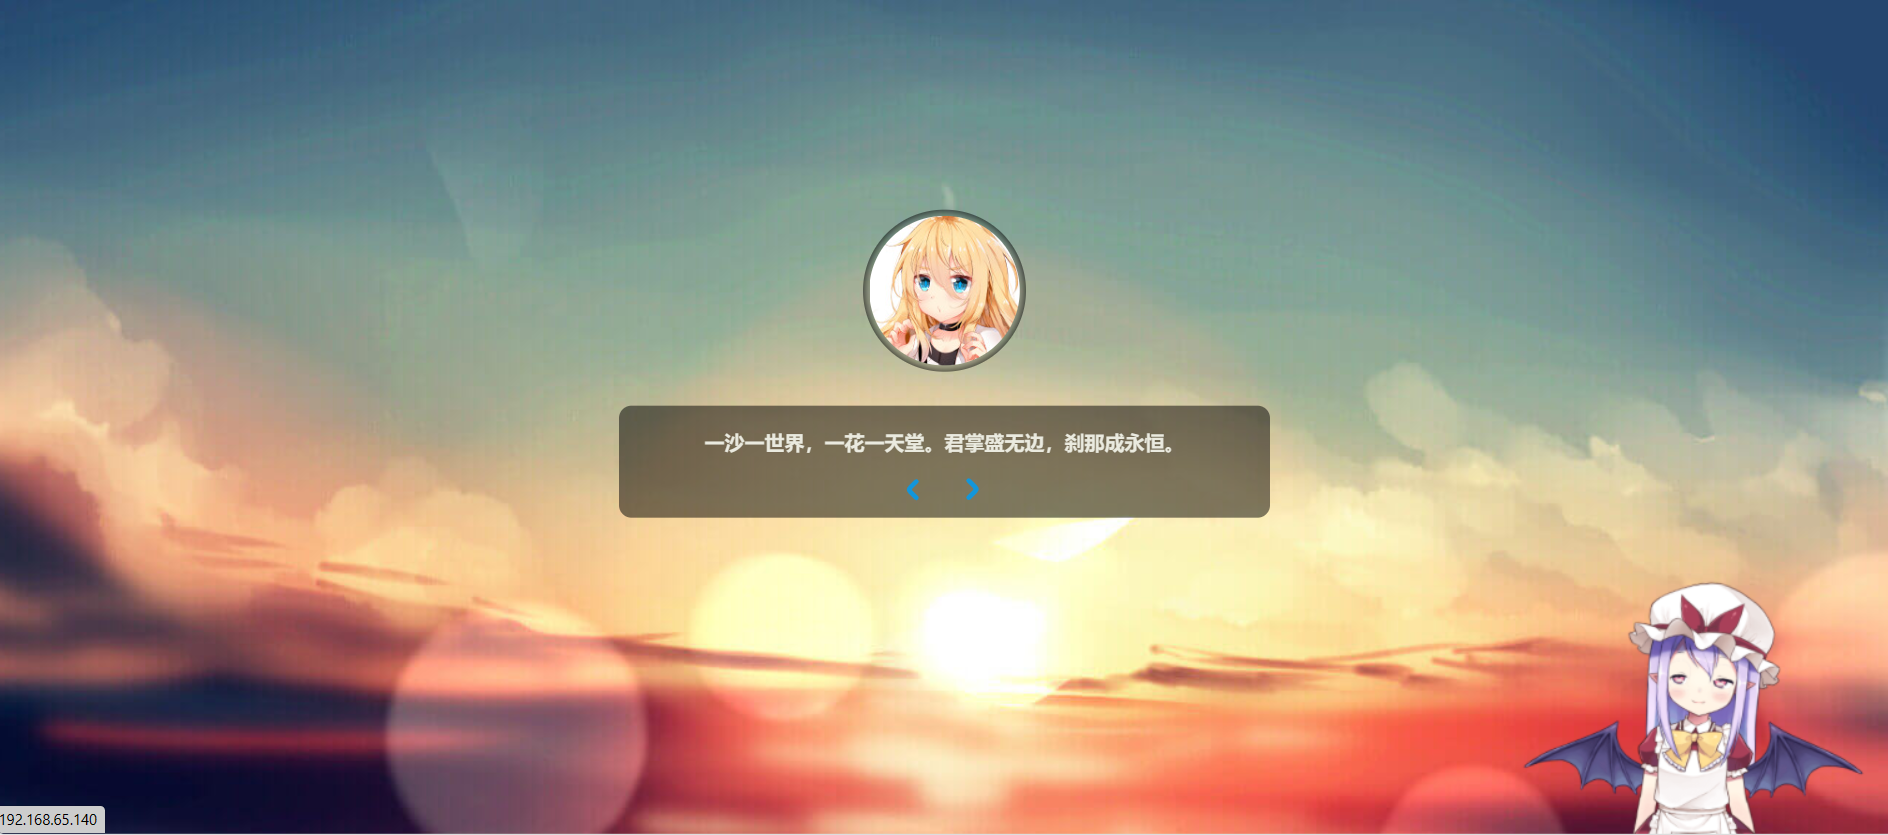
12.2 修改看板娘所在位置
修改看板娘所在位置,当前在右侧 打开/usr/share/nginx/html/live2d/css/live2d.css
#landlord {    user-select: none;
position: fixed;
right: 20px;     #如需改到左侧,将right,修改为left
bottom: 0;
width: 280px;
height: 250px;
z-index: 10000;
font-size: 0;
transition: all .3s ease-in-out; }