本篇文章中的图片均为深色背景,请于深色模式下观看
说明:本篇文章的内容为vue前端的开发记录,作者在这方面的底蕴有限,所以仅作为参考
文章目录
- 一、安装配置nodejs,vue
- 二、vue项目目录结构
- 三、前期注意事项
- 0、组件
- 1、数不清的报错
- 2,什么是前后端分离开发
- 3,vue文件结构
- 三、router
一、安装配置nodejs,vue
这些都是基础的东西,建议去其他作者的帖子里看怎么安装配置,很简单的,这里就不再赘述了。
二、vue项目目录结构
这里我们使用vscode的是编译器,这个我用得惯
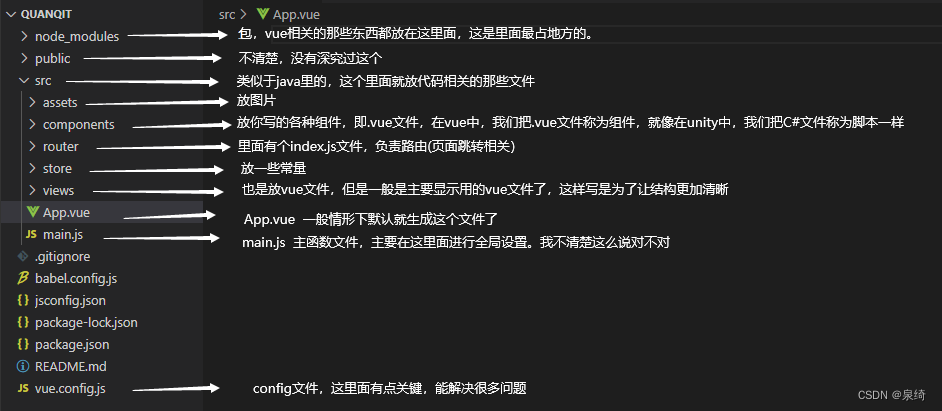
项目目录结构如下:
三、前期注意事项
0、组件
.vue文件一般被叫做组件
1、数不清的报错
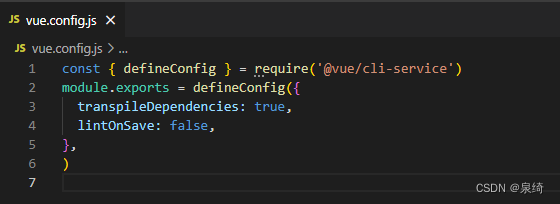
请在vue.config.js文件中加入一句
lintOnSave: false,
结果如图所示:
2,什么是前后端分离开发
在我看来,前后端分离开发也就是用vue进行前端开发。为什么这么说呢?我接触到的Vue项目,在运行时是单独在服务器上跑的,后端项目也是单独在一个服务器上跑的。此时此刻,我在修改前端的时候后端不会停止运行,同样的,我在修改后端的时候,前端也不会停止运行,这就分离开了。
3,vue文件结构
<template>
<!--   这个部分类比于前端的html部分  -->
</template>

<script>
// 这个部分是js脚本部分
</script>

<style>
/* 这个部分是css */
</style>
三、router
在我看来,这是vue中很特别很重要的一个东西。学名"路由"
在vue项目中,我就靠router进行页面跳转,进行一些骚操作
router的index.js文件内容如下:
这里面父子组件还是很震撼我的,在后面的部分会细讲
import { createRouter, createWebHashHistory } from 'vue-router'

const routes = [
    {
        //父组件
        path: '/parent',
        component: () => import('@/views/parent.vue'),
        children: [
            {
                //子组件1
                path: '/childrenHello',
                component: () => import('@/components/childrenHello.vue'),
            },
        ],
    }, {},
]

const router = createRouter({
    history: createWebHashHistory(),
    routes: routes
});

export default router
父组件:
<!-- 父组件 -->
<template>
    <h>父组件</h>
    <div>
        <router-view></router-view>
    </div>
</template>


<script>

</script>

<style></style>
子组件:
<template>
    <div>
        子组件1,你好
    </div>
</template>

<style></style>
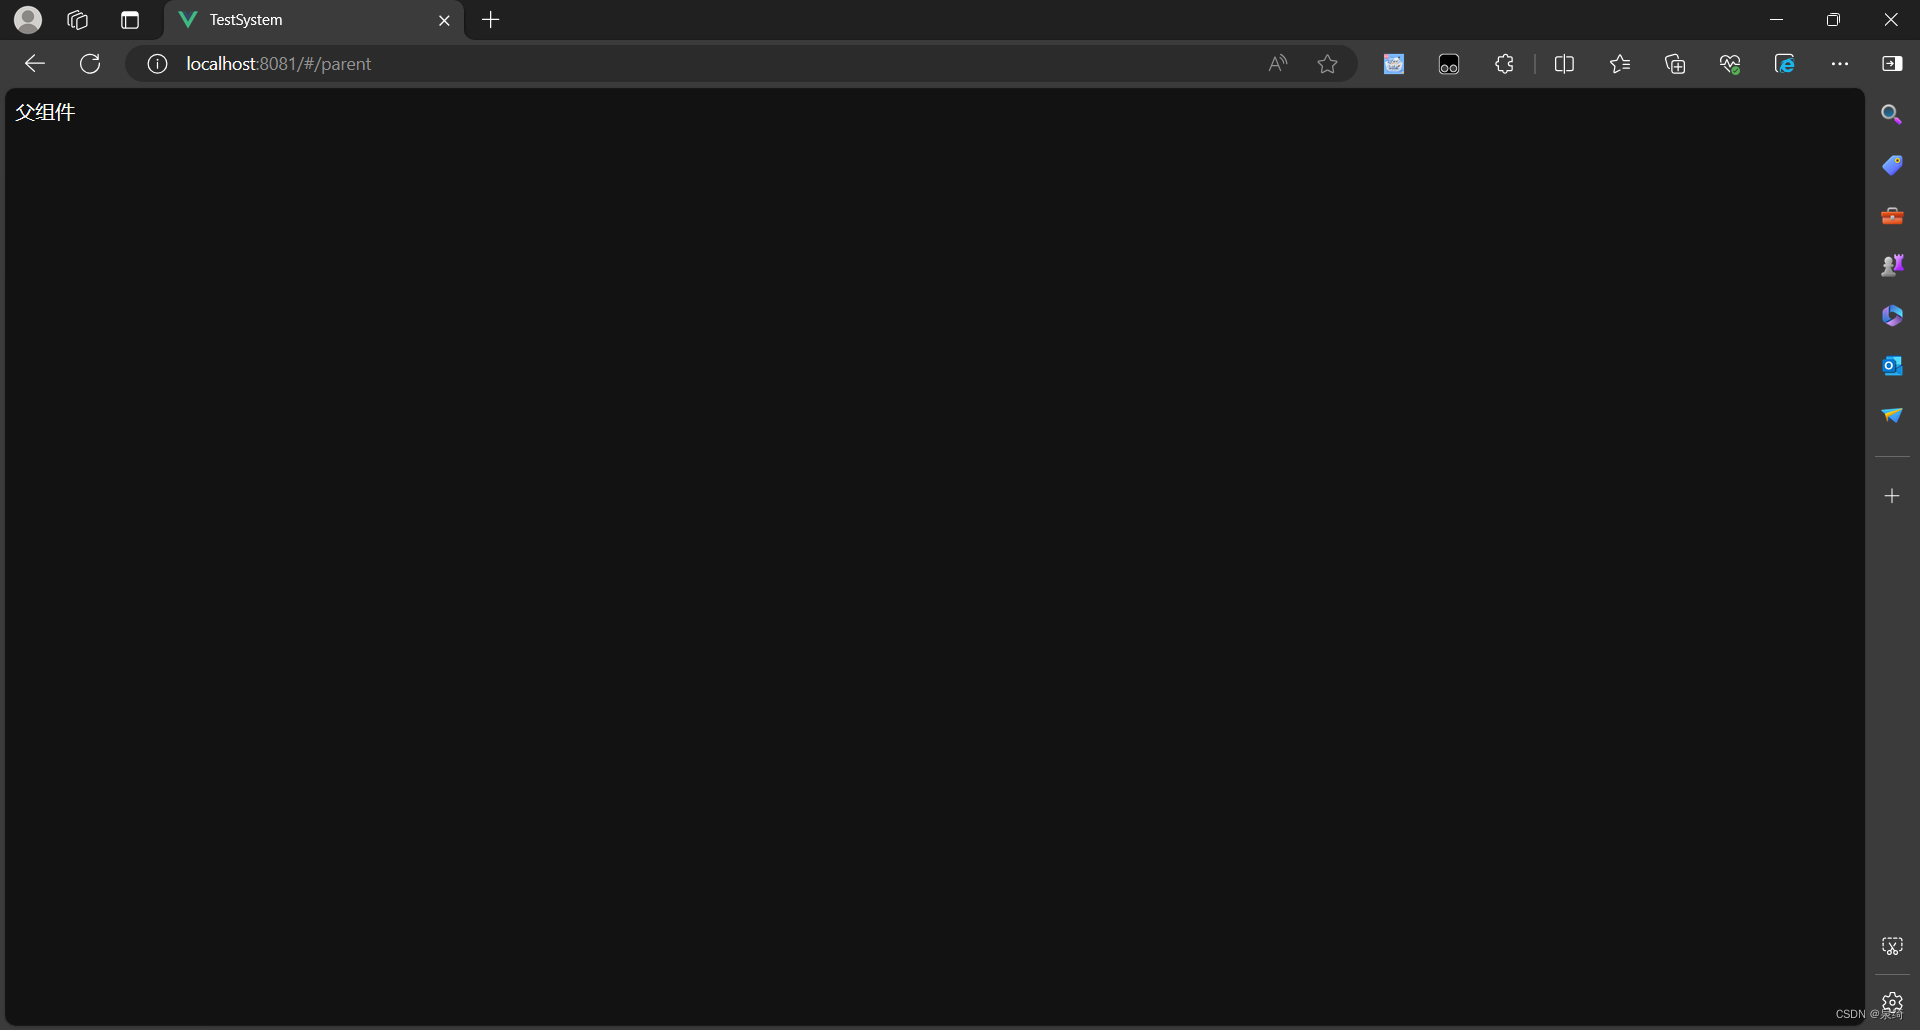
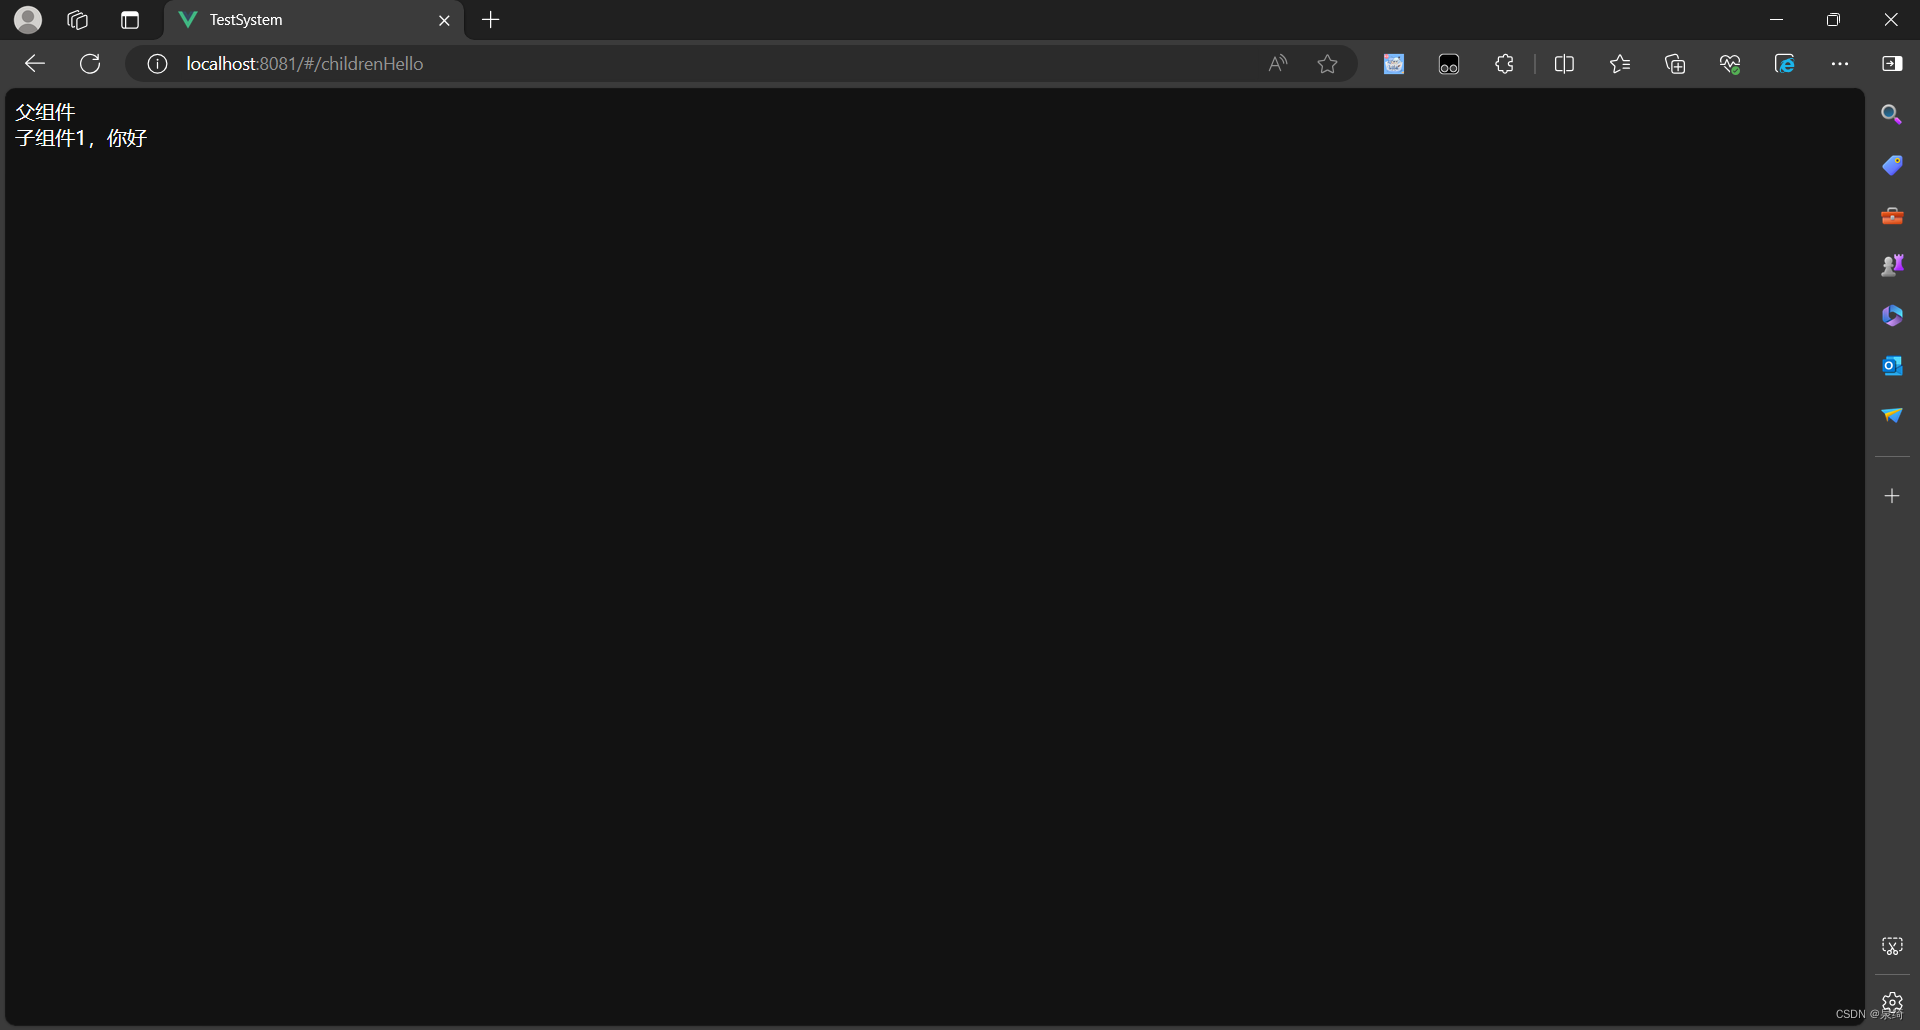
父组件中的<router-view></router-view>作用:
访问到子路由时,<router-view></router-view>将在父组件中加载子组件中的内容
效果:
- 访问
http://localhost:8081/#/parent
2.访问:http://localhost:8081/#/childrenHello
今天就先到此为止了。
