一切以官方文档为主
官方文档![]() https://developer.android.com/guide/topics/resources/drawable-resource?hl=zh-cn#Shape
https://developer.android.com/guide/topics/resources/drawable-resource?hl=zh-cn#Shape
什么是可绘制形状
可以理解为用xml文件来描述一个简单的Drawable图形,比如说以下这段xml就可以用来描述一个白色的圆形:
<?xml version="1.0" encoding="utf-8"?>
<shape xmlns:android="http://schemas.android.com/apk/res/android"
    android:shape="oval">
    <solid android:color="@color/white" />
</shape>
标准语法一览
<?xml version="1.0" encoding="utf-8"?>
<shape
    xmlns:android="http://schemas.android.com/apk/res/android"
    android:shape=["rectangle" | "oval" | "line" | "ring"] >
    <corners
        android:radius="integer"
        android:topLeftRadius="integer"
        android:topRightRadius="integer"
        android:bottomLeftRadius="integer"
        android:bottomRightRadius="integer" />
    <gradient
        android:angle="integer"
        android:centerX="float"
        android:centerY="float"
        android:centerColor="integer"
        android:endColor="color"
        android:gradientRadius="integer"
        android:startColor="color"
        android:type=["linear" | "radial" | "sweep"]
        android:useLevel=["true" | "false"] />
    <padding
        android:left="integer"
        android:top="integer"
        android:right="integer"
        android:bottom="integer" />
    <size
        android:width="integer"
        android:height="integer" />
    <solid
        android:color="color" />
    <stroke
        android:width="integer"
        android:color="color"
        android:dashWidth="integer"
        android:dashGap="integer" />
</shape>
控制形状
其中 Shape 根标签下的 shape 属性决定了这个Drawable的形状 , 如图所示一共有四种可选值 ,分别是:
-
Rectangle 矩形
-
Oval 椭圆/圆形
-
Line 线
-
Ring 圆环
不同的形状下有不同的特定标签来决定其效果。
通用属性
除了特定的标签属性之外,还有一些通用的标签属性来决定一些通用的效果。
Size
最基础的属性,用来确定图形所处的矩形范围大小,具体就两个子属性:
<size>
    android:height尺寸。形状的高度,采用尺寸值或尺寸资源的形式。
    android:width尺寸。形状的宽度,采用尺寸值或尺寸资源的形式。
Padding
顾名思义,Padding属性是来确定图形填充的内边界的,具体如下:
<padding>
    android:left尺寸。左侧内边距,采用尺寸值或尺寸资源的形式。
    android:top尺寸。顶部内边距,采用尺寸值或尺寸资源的形式。
    android:right尺寸。右侧内边距,采用尺寸值或尺寸资源的形式。
    android:bottom尺寸。底部内边距,采用尺寸值或尺寸资源的形式。
Solid & Stroke
这两个属性放在一起说,前者是用来确定填充图形的颜色,后者用来确定描述图形轮廓线的属性,比如说同一个xml文件,若我们定义了Solid,其效果为下:

若我们定义了Stroke,效果则为:
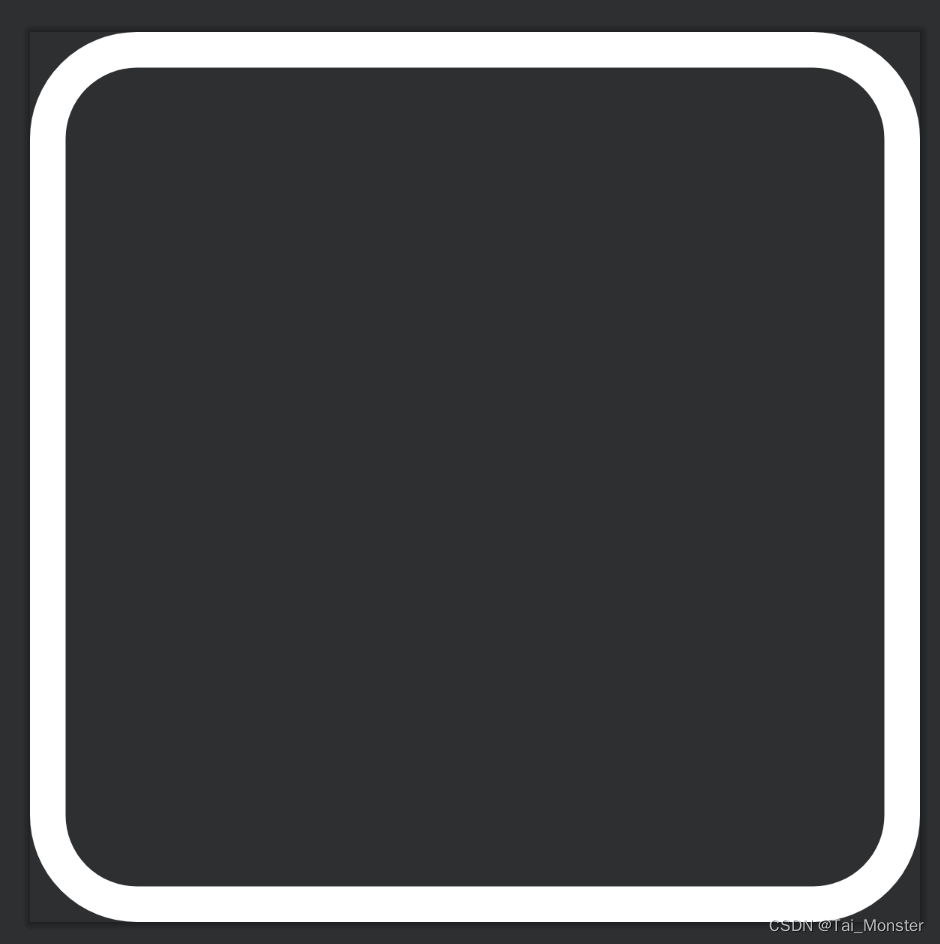
可以看到,差别即为一个填充图形,一个对图形描边。
不过,我们也可以既对其描边又对其填充:

两个标签的描述详细如下:
<solid>
    android:color颜色。应用于形状的颜色,采用十六进制值或颜色资源的形式。

<stroke>
    android:width尺寸。线的宽度,采用尺寸值或尺寸资源的形式。
    android:color颜色。线的颜色,采用十六进制值或颜色资源的形式。
    android:dashGap尺寸。短划线的间距,采用尺寸值或尺寸资源的形式。仅在已设置 android:dashWidth 的情况下有效。
    android:dashWidth尺寸。每个短划线的长度,采用尺寸值或尺寸资源的形式。仅在已设置 android:dashGap 的情况下有效。
至于stroke属性的dash,我们可以测试一下效果:
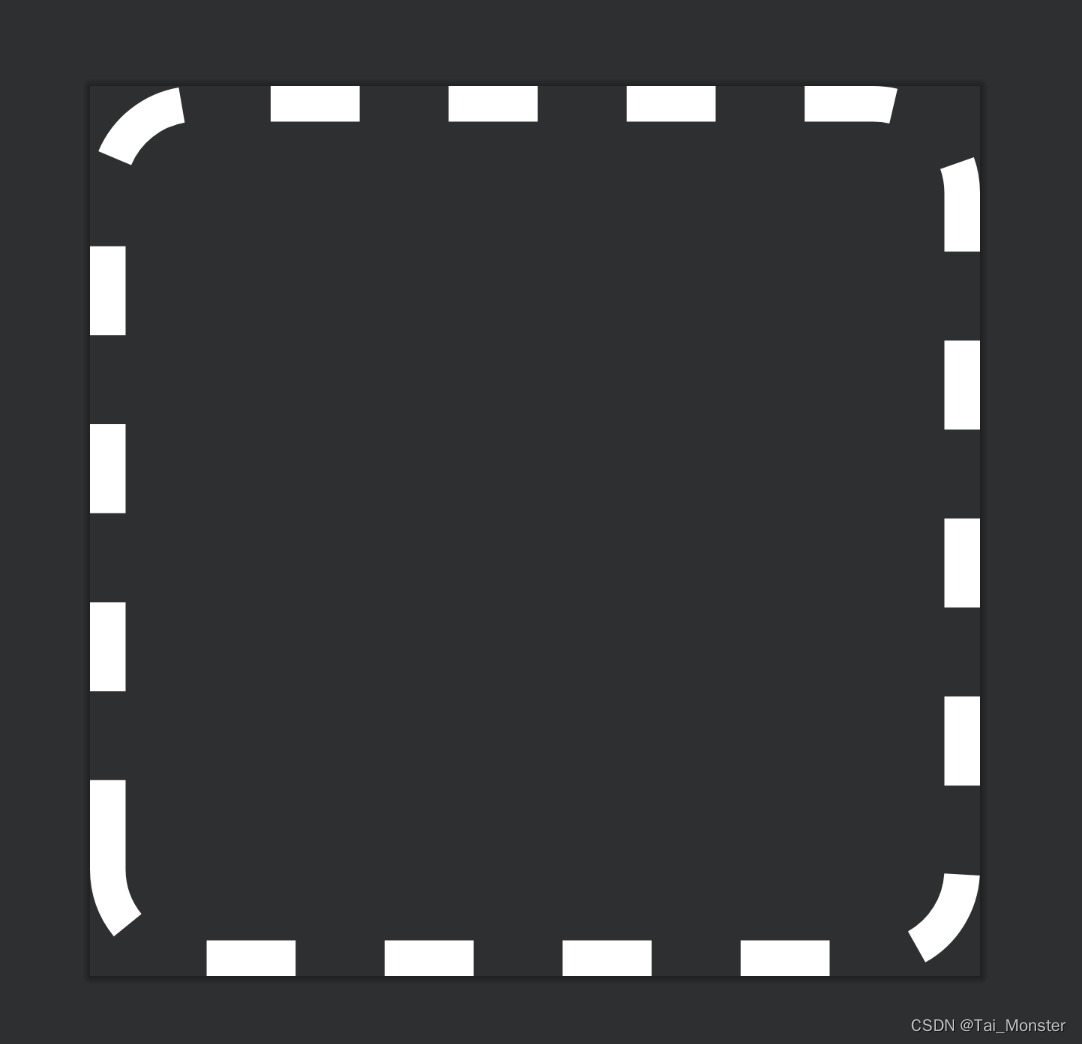
可以看到实际上就是一个虚线的效果。
Gradient
渐变标签,简而言之就是我们可以设置图形的填充颜色,其实这个就是相当于为图形的solid标签设置了一个渐变颜色,该如何理解呢?之前我们在Solid&Stroke标签中提到过,我们可以既对其描边,又对其填充,这里我们也同时设置stroke标签和gradient标签,效果如下:
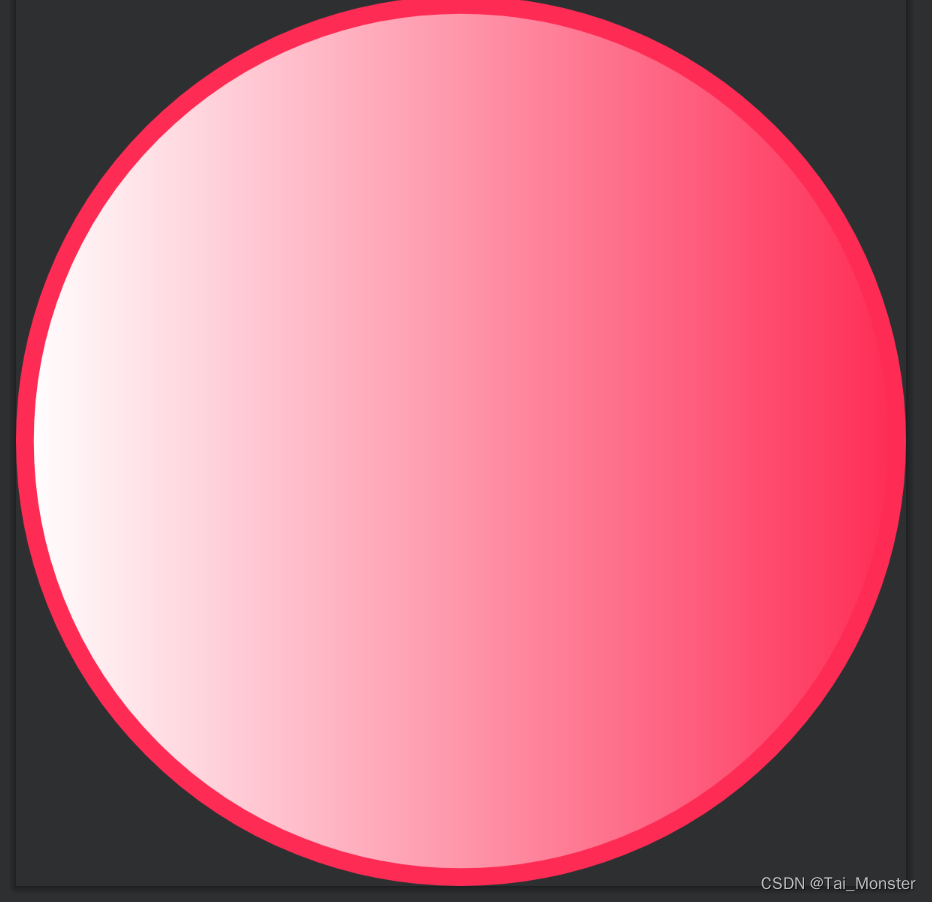
具体标签如下:
<gradient>
    android:angle整数。渐变的角度(以度为单位)。0 为从左到右,90 为从下到上。该属性值必须是 45 的倍数。默认值为 0。android:centerX浮点数。渐变中心的相对 X 轴位置 (0 - 1.0)。
    android:centerY浮点数。渐变中心的相对 Y 轴位置 (0 - 1.0)。
    android:centerColor颜色。起始颜色与结束颜色之间的可选颜色,采用十六进制值或颜色资源的形式。
    android:endColor颜色。结束颜色,采用十六进制值或颜色资源的形式。
    android:gradientRadius浮点数。渐变的半径。仅当 android:type="radial" 时适用。
    android:startColor颜色。起始颜色,采用十六进制值或颜色资源的形式。
    android:type关键字。要应用的渐变图案的类型。
    android:useLevel布尔值。如果此属性用作 LevelListDrawable,该值为 true。
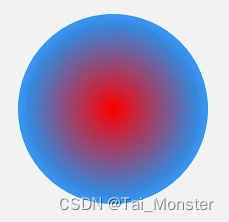
这个标签相比之前的标签来说复杂一点,我们来简要说明一下,以我的理解,如有错误还请指出。首先说明一下type属性,该属性决定了颜色渐变的方式:

这个类似于自定义View中的着色器的渐变模式,我们借用朱凯老师的自定义View中的效果图:
-
线性渐变:
-

-
径向渐变:
-
-
扇形渐变:
-

其中startColor,endColor, centerColor,三个属性确定的是渐变起始位置,结束位置,和中间位置的颜色,这三个属性也是渐变中都有效的属性。
对于线性渐变来说,其特定的属性是angle,其确定的是颜色渐变的方向,这样说可能比较抽象。比如说默认情况下,angle属性为0,即渐变方向为0度角方向(X轴正向):

当我们设置angle属性为45度时,效果就如下:
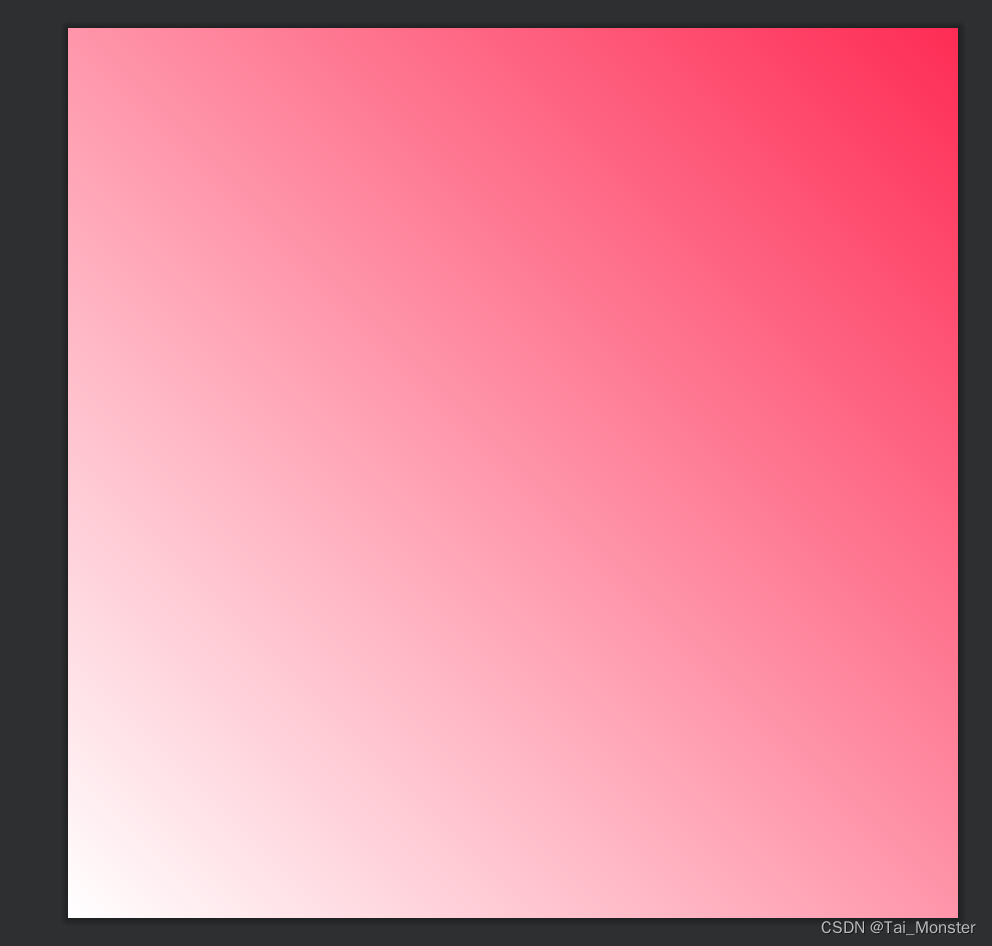
总结一下,我们可以以图形左下角为坐标原点,以angle属性的角度方向引出一条射线(即极坐标系下),射线起点的颜色为startColor,延射出的方向向endColor渐变。
特有属性
Corners
该标签是专门为矩形,即shape为rectangle时设计的,它的效果也很简单,就是为矩形图形设置圆角,我们可以直观地感受一下,比如当我们设置了以下一段xml时:
<?xml version="1.0" encoding="utf-8"?>
<shape xmlns:android="http://schemas.android.com/apk/res/android"
    android:shape="rectangle"
    >
    <corners
        android:topLeftRadius="2dp"
        android:topRightRadius="4dp"
        android:bottomLeftRadius="6dp"
        android:bottomRightRadius="8dp"
        />
    <size
        android:width="50dp"
        android:height="50dp"
        />
    <gradient
        android:angle="45"
        android:startColor="@color/white"
        android:endColor="#FE2C55"
        android:gradientRadius="20dp"
        />
</shape>
最终呈现出来的效果如下:
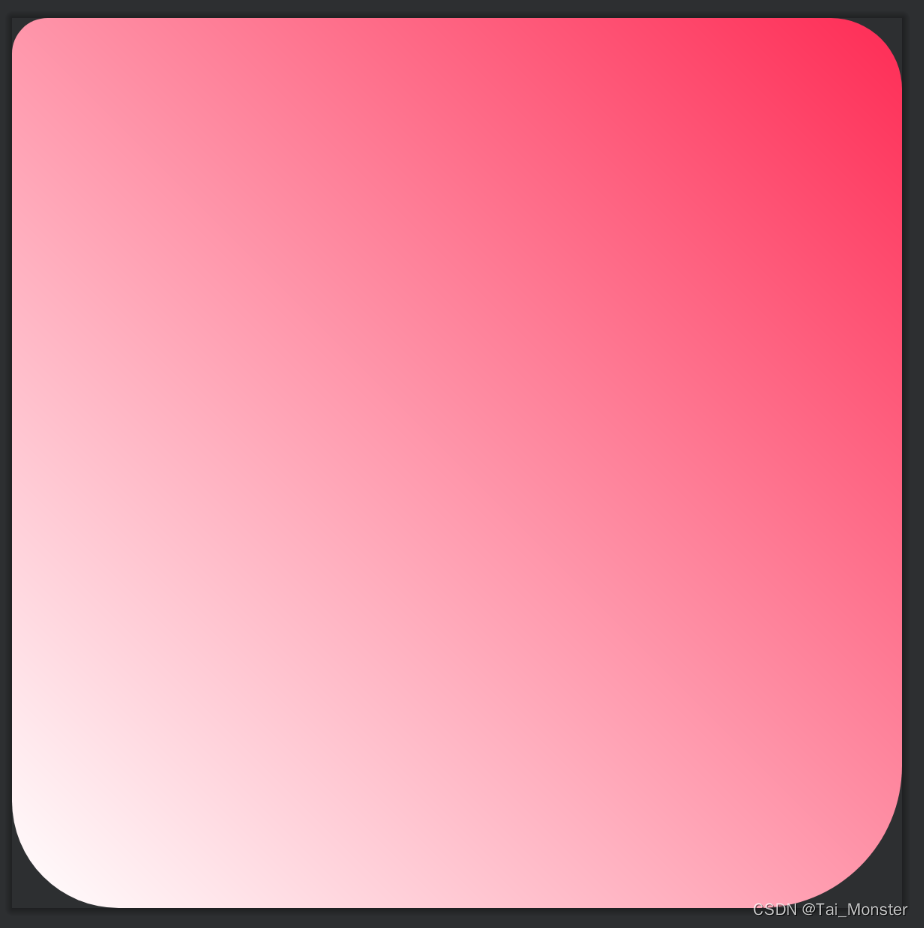
可以看到四个圆角都按照我们的corners标签里设置的值来显示。
corners标签具体有五个可选的属性:
<corners>为形状创建圆角。仅当形状为矩形时适用。
    android:radius尺寸。所有角的半径,采用尺寸值或尺寸资源的形式。每个角的此属性都会被以下属性替换。
    android:topLeftRadius尺寸。左上角的半径,采用尺寸值或尺寸资源的形式。
    android:topRightRadius尺寸。右上角的半径,采用尺寸值或尺寸资源的形式。
    android:bottomLeftRadius尺寸。左下角的半径,采用尺寸值或尺寸资源的形式。
    android:bottomRightRadius尺寸。右下角的半径,采用尺寸值或尺寸资源的形式。
下边的四个属性我们都用过了,第一个属性是为所有的四个圆角设置统一的一个值,不过当下边的四个属性被设置的时候,会优先展示下边的四个属性,也就是说第一个属性会失效。
Ring下的标签
这个标签比较迷,首先来根据官网上的文档给出解释:

根据这个描述,理论上来说其效果应该是描述一个类似于圆环的东西,但是实际效果却是这样:

显示的是一个类似于菱形的东西,实机效果也是如此,所以说还是不建议用这种方法来展示环状,我们可以用stroke属性来实现环,比如:

其他属性
除了文档中介绍的几种属性之外,我们在shape根标签下还可以设置其他的几种属性:
<shape xmlns:android="http://schemas.android.com/apk/res/android"
    android:shape="oval"
    android:dither="true" //是否开启图像抖动
    android:tintMode="multiply" //着色模式
    android:tint="@color/white" //着色器
    android:visible="true" //是否可见
    android:opticalInsetLeft="@dimen/cardview_compat_inset_shadow" //光学插值 - 不太懂
    android:opticalInsetBottom="@dimen/cardview_compat_inset_shadow"
    android:opticalInsetRight="@dimen/cardview_compat_inset_shadow"
    android:opticalInsetTop="@dimen/cardview_compat_inset_shadow"
    >
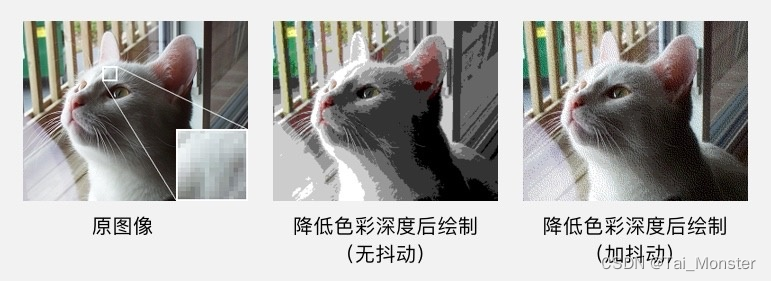
这里简单介绍一下图像抖动:
指把图像从较高色彩深度(即可用的颜色数)向较低色彩深度的区域绘制时,在图像中有意地插入噪点,通过有规律地扰乱图像来让图像对于肉眼更加真实的做法。在实际的应用场景中,抖动更多的作用是在图像降低色彩深度绘制时,避免出现大片的色带与色块。
