文章目录
- Linux
- 编译
- 调试
- 配置OpenCV
- Win10
- 编译调试
- 配置OpenCV
- 参考
最近在做深度学习的C++部署相关工作,于是写下这篇文档记录环境配置的过程。环境配置是一项非常繁琐的工作,无论从大学做相关作业还是到工作上。做这项工作需要技术的同时,还需要点运气。当然遇到无法解决的玄学问题,最终只有一个办法:重启设备。
本篇文章以环境为设置分为两个环境进行部署,一个是Linux和Win10部署的部分。Linux部分部署时因为无论是端侧部署应用还是服务端部署应用都会涉及到Linux。而Windows部署则是为了方便我在自己笔记本上进行学习练习才记录下来的。那么现在就开始我们的环境配置部署之路。
无论是Linux还是Win10环境,先写一个测试的hello world代码:
#include<iostream>
using namespace std;
int main(){
    cout<<"hello world"<<endl;
}
Linux
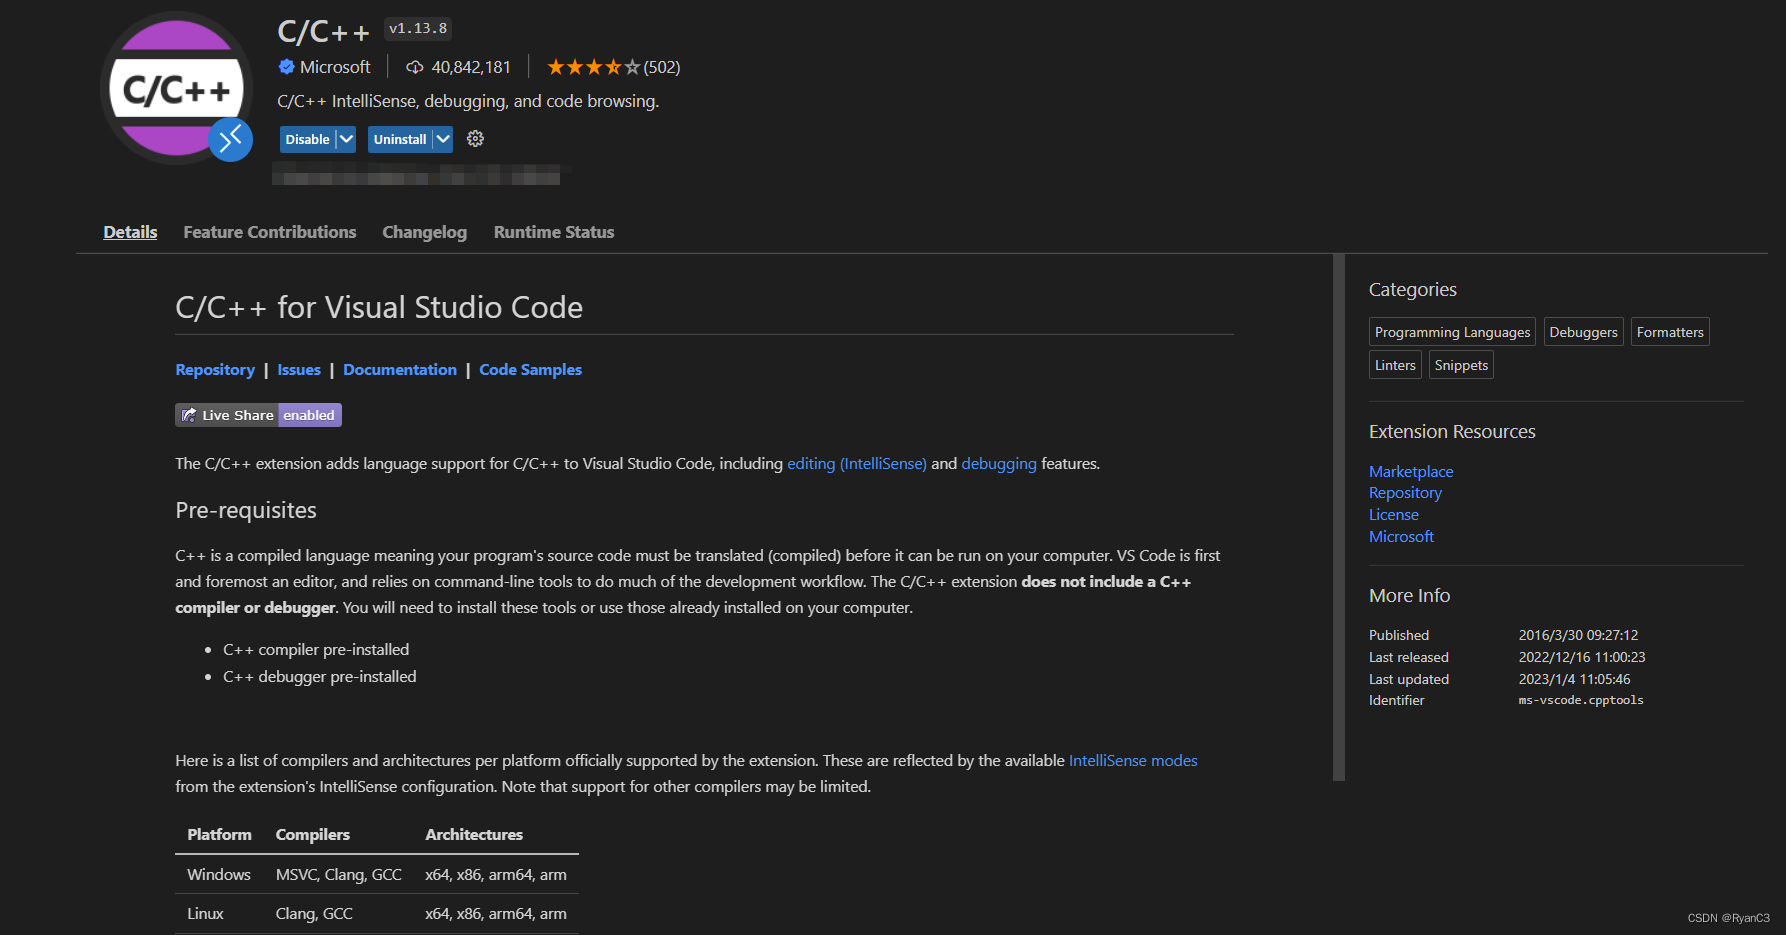
我的Linux版本是:Linux ubuntu 5.15.0-56-generic #62-Ubuntu SMP Tue Nov 22 19:54:14 UTC 2022 x86_64 x86_64 x86_64 GNU/Linux。通过Win10设备上的VSCode连接到服务器上的。要配置C++环境,那么要先把vscode上的C++扩展安装好,如下图所示:
在配置好vscode的环境后,需要在当前项目的.vscode文件夹下配置task.json、launch.json和c_cpp_properties.json文件,其中task.json用于编译器配置,launch.json用于调试器设置,c_cpp_properties.json用于编译器路径和IntelliSense设置。
编译
新建task.json文件,该文件是告诉vscode如何编译程序,大概用途是使用g++编译器编译源文件为可执行文件。task内容如下:
{
    "version": "2.0.0",
    "tasks": [
      {
        "type": "shell",
        "label": "g++ build active file",
        "command": "/usr/bin/g++",
        "args": ["-g", "${file}", "-o", "${fileDirname}/${fileBasenameNoExtension}"],
        "options": {
          "cwd": "/usr/bin"
        },
        "problemMatcher": ["$gcc"],
        "group": {
          "kind": "build",
          "isDefault": true
        }
      }
    ]
}
command 变量指定了那个编译器会被使用,这里就是 /usr/bin 目录下的 g++ 编译器;args 这个参数列表给出了我们需要传递给g++编译器的命令参数,需要符合g++命令行的参数顺序,${file} 代表目前编辑器打开的文件,${fileDirname} 代表当前活跃文件的目录,${fileBasenameNoExtension} 为生成的文件名,与被编译的文件名相同。label 变量的值为终端任务中名字,你可以任意修改;group 变量中的 "isDefault":true 代表了当按下Ctrl+Shift+B时,会对当前活跃的文件进行编译,仅仅是为了方便。关于更多的变量定义可以参考:Variables Reference
用VS Code打开tmp.cpp 源文件,并处于编辑界面,按下 Ctrl+Shift+B键 (或者在 主菜单->终端->运行生成任务 ),tasks.json 就会被执行。
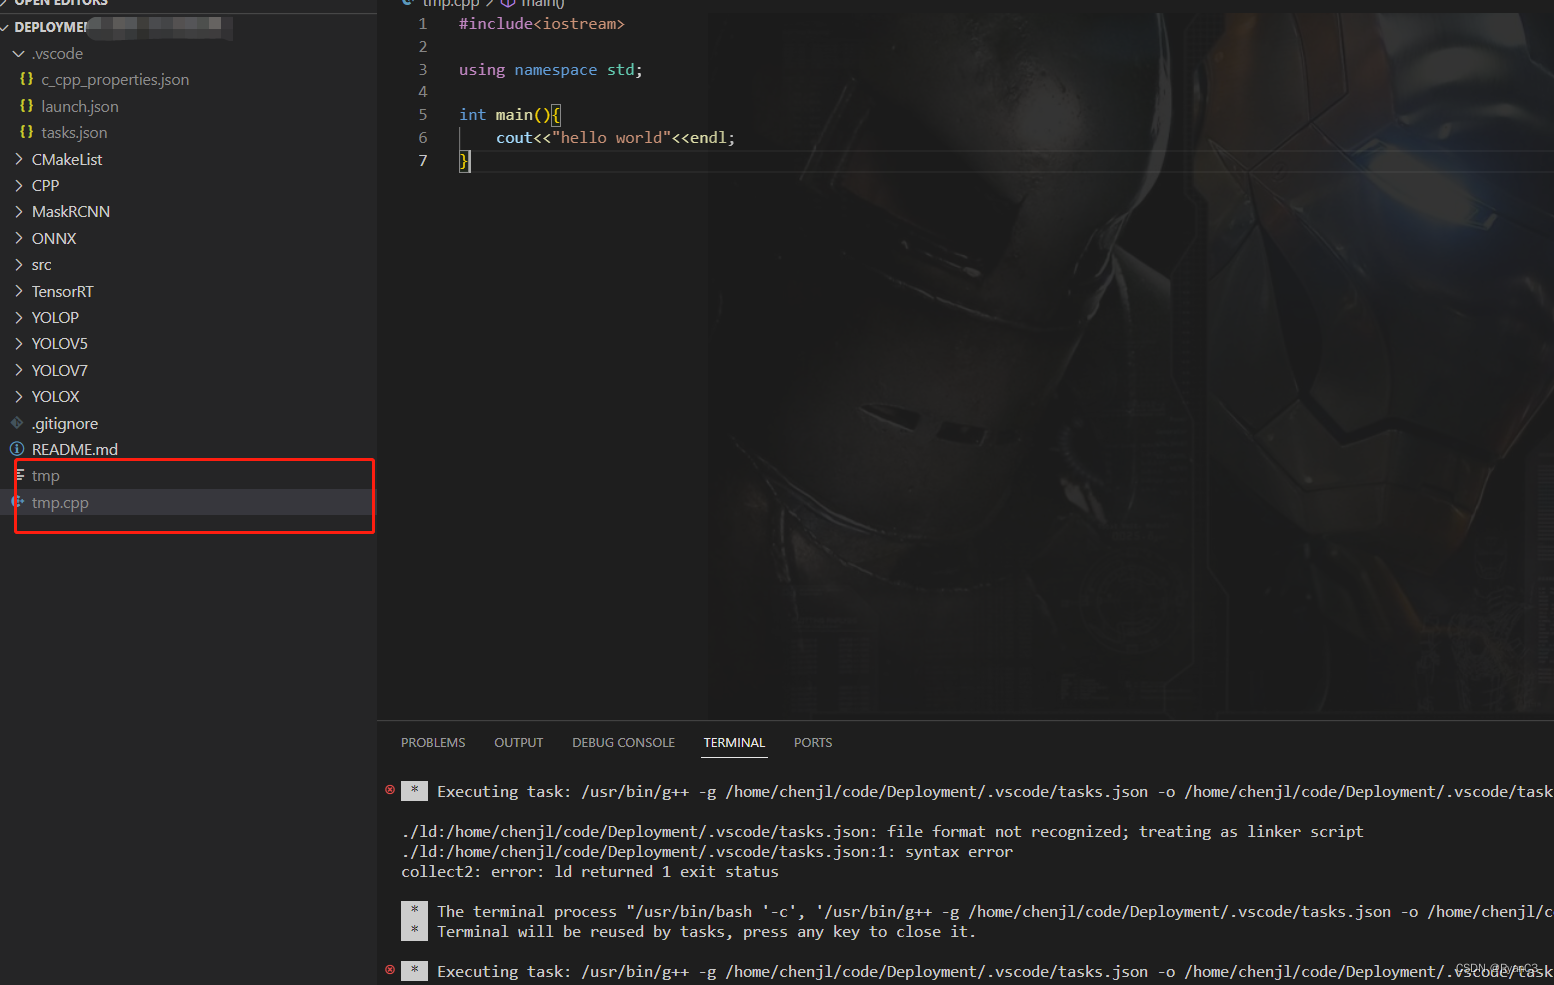
运行该文件,输出hello world。
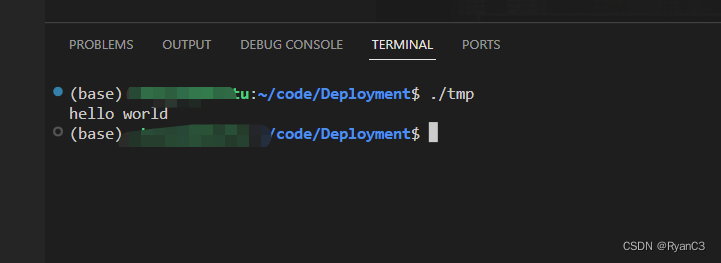
要注意:要让tmp.cpp(即你要编译的文件)处于活跃状态。
调试
调试文件主要使用launch.json文件,该文件配置VS Code下的GDB调试器。GDB调试器安装命令:apt-get install build-essential gdb。
launch.json内容:
{
    "configurations": [
        {
            "name": "(gdb) Launch",
            "type": "cppdbg",
            "request": "launch",
            "program": "${fileDirname}/${fileBasenameNoExtension}",
            "args": [],
            "stopAtEntry": false,
            "cwd": "${workspaceFolder}",
            "environment": [],
            "externalConsole": false,
            "MIMode": "gdb",
            "setupCommands": [
                {
                    "description": "Enable pretty-printing for gdb",
                    "text": "-enable-pretty-printing",
                    "ignoreFailures": true
                },
                {
                    "description": "Set Disassembly Flavor to Intel",
                    "text": "-gdb-set disassembly-flavor intel",
                    "ignoreFailures": true
                }
            ],
            "preLaunchTask": "g++ build active file",
            "miDebuggerPath": "/usr/bin/gdb"
        }
    ],
    "version": "2.0.0"
}
其中,program变量指定你想要调试的文件,这里被设置为活跃文件夹${fileDirname}下的活跃文件${fileBasenameNoExtension},如果tmp.cpp处于活跃, 那么tmp会被调试。默认情况下,C++ 扩展不会添加断点到源文件中,stopAtEntry默认被设置为flase,如果设置为true的话,那么调试器会在main方法入口暂停。
配置OpenCV
如果你需要更多关于 C/C++ 扩展的使用,你可以创建一个c_cpp_properties.json文件,这个可以让你去改变一些设置,例如编译器的路径、C++ 标准等。你可以在 VS Code 中按下 Ctrl+Shift+P键,并在命令行中输入C/C++,可以在下拉菜单中选择C/C++配置,这样在 .vscode文件夹下出现c_cpp_properties.json文件,同时在 VS Code 界面出现一个设置窗口,你可以按照你的需要在里面修改一些 C/C++ 的配置。
要配置opencv,当然要先安装好OpenCV,可参考该文章:笔记—Linux安装OpenCV及VSCode的配置编译和实践出真知——Ubuntu 18.04 VSCODE配置OpenCV4.5运行YOLO4模型。
新建c_cpp_properties.json文件,内容如下:
{
    "configurations": [
        {
            "name": "Linux",
            "includePath": [
                "${workspaceFolder}/**",
                "/usr/include/opencv2"
            ],
            "defines": [],
            "compilerPath": "/usr/bin/gcc",
            "cStandard": "gnu17",
            "cppStandard": "gnu++17",
            "intelliSenseMode": "linux-gcc-x64"
        }
    ],
    "version": 4
}
主要是inclodePath要包含opencv头文件的路径。
修改task.json文件,因为需要加入opencv的动态链接库:
{
    "version": "2.0.0",
    "tasks": [
      {
        "type": "shell",
        "label": "g++ build active file",
        "command": "/usr/bin/g++",
        "args": [
          "-g",
          "${file}",
          "-o",
          "${fileDirname}/${fileBasenameNoExtension}",
          "`pkg-config", "--cflags", "--libs", "opencv4`",
          // "-I", "/usr/local/include",
          // "-I", "/usr/local/include/opencv4",
          // "-I", "/usr/local/include/opencv4/opencv2",
          // "-L", "/usr/local/lib",
          // "-l", "opencv_core",
          // "-l", "opencv_imgproc",
          // "-l", "opencv_imgcodecs",
          // "-l", "opencv_video",
          // "-l", "opencv_ml",
          // "-l", "opencv_highgui",
          // "-l", "opencv_objdetect",
          // "-l", "opencv_flann",
          // "-l", "opencv_imgcodecs",
          // "-l", "opencv_photo",
          // "-l", "opencv_videoio"
        ],
        "options": {
          "cwd": "/usr/bin"
        },
        "problemMatcher": ["$gcc"],
        "group": {
          "kind": "build",
          "isDefault": true
        }
      }
    ]
}
最终像上述的编译调试运行以下程序代码即可:
#include <iostream>
#include <opencv2/opencv.hpp>

using namespace cv;
using namespace std;

int main(int argc,char** argv){

    std::cout<<"111"<< std::endl;
    cv::Mat src = cv::imread("./src/model_optimize.jpg");
    cv::resize(src,src,cv::Size(500,800));
    imwrite("./test.jpg", src);
    return 0;
}
Win10
要在Win10上调试C++程序,那么就要先安装好MinGW并进行配置。在这一步这里就不展开了。
编译调试
编译调试跟Linux原理差不多,将task.json以及launch.json里面的g++和gdb路径配置好即可,文件内容如下:
task.json:
{
    "version": "2.0.0",
    "tasks": [
      {
        "type": "shell",
        "label": "g++ build active file",
        "command": "C:/mingw64/bin/g++.exe",
        "args": [
          "-g",
          "${file}",
          "-o",
          "${fileDirname}/${fileBasenameNoExtension}"
          // "-I", "/usr/local/include",
          // "-I", "/usr/local/include/opencv4",
          // "-I", "/usr/local/include/opencv4/opencv2",
          // "-L", "/usr/local/lib",
          // "-l", "opencv_core",
          // "-l", "opencv_imgproc",
          // "-l", "opencv_imgcodecs",
          // "-l", "opencv_video",
          // "-l", "opencv_ml",
          // "-l", "opencv_highgui",
          // "-l", "opencv_objdetect",
          // "-l", "opencv_flann",
          // "-l", "opencv_imgcodecs",
          // "-l", "opencv_photo",
          // "-l", "opencv_videoio"
        ],
        "options": {
          "cwd": "C:/mingw64/bin"
        },
        "problemMatcher": ["$gcc"],
        "group": {
          "kind": "build",
          "isDefault": true
        }
      }
    ]
}
launch.json文件如下:
{
    "configurations": [
        {
            "name": "(gdb) Launch",
            "type": "cppdbg",
            "request": "launch",
            "program": "${fileDirname}/${fileBasenameNoExtension}",
            "args": [],
            "stopAtEntry": false,
            "cwd": "${workspaceFolder}",
            "environment": [],
            "externalConsole": false,
            "MIMode": "gdb",
            "setupCommands": [
                {
                    "description": "Enable pretty-printing for gdb",
                    "text": "-enable-pretty-printing",
                    "ignoreFailures": true
                },
                {
                    "description": "Set Disassembly Flavor to Intel",
                    "text": "-gdb-set disassembly-flavor intel",
                    "ignoreFailures": true
                }
            ],
            "preLaunchTask": "g++ build active file",
            "miDebuggerPath": "C:/mingw64/bin/gdb.exe"
        }
    ],
    "version": "2.0.0"
}
配置OpenCV
opencv版本:4.6.10。配置OpenCV的工作原理:对OpenCV的源码进行编译,然后在VSCode上进行配置。
(1)源码编译
编译安装的环境:
- cmake version 3.9.0-rc3
- mingw 5.3.0
设置好源码路径已经生成路径,点击configure按钮,注意:选择生成MinGW Makefiules,选择Specify native compilers,最后配置你的编译器路径。


点击Generate按钮。
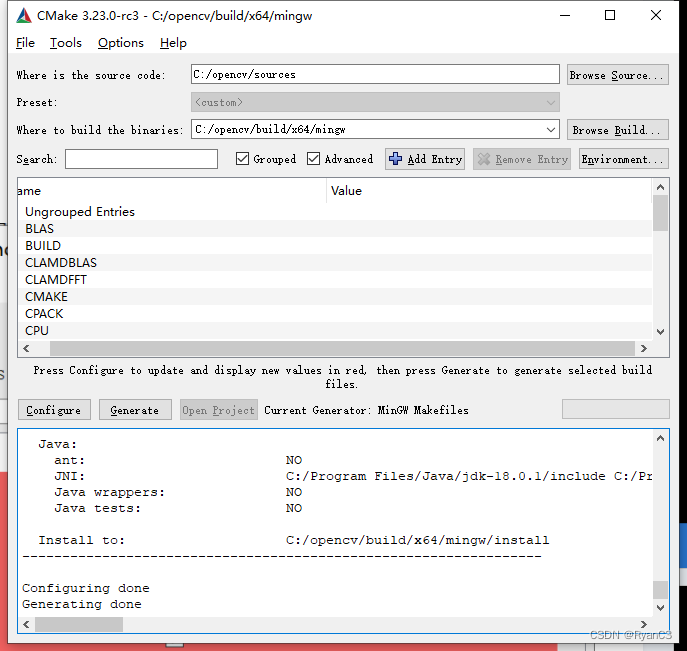
到设置的路径,这里是:C:\opencv\build\x64\mingw下执行:minGW32-make -j8
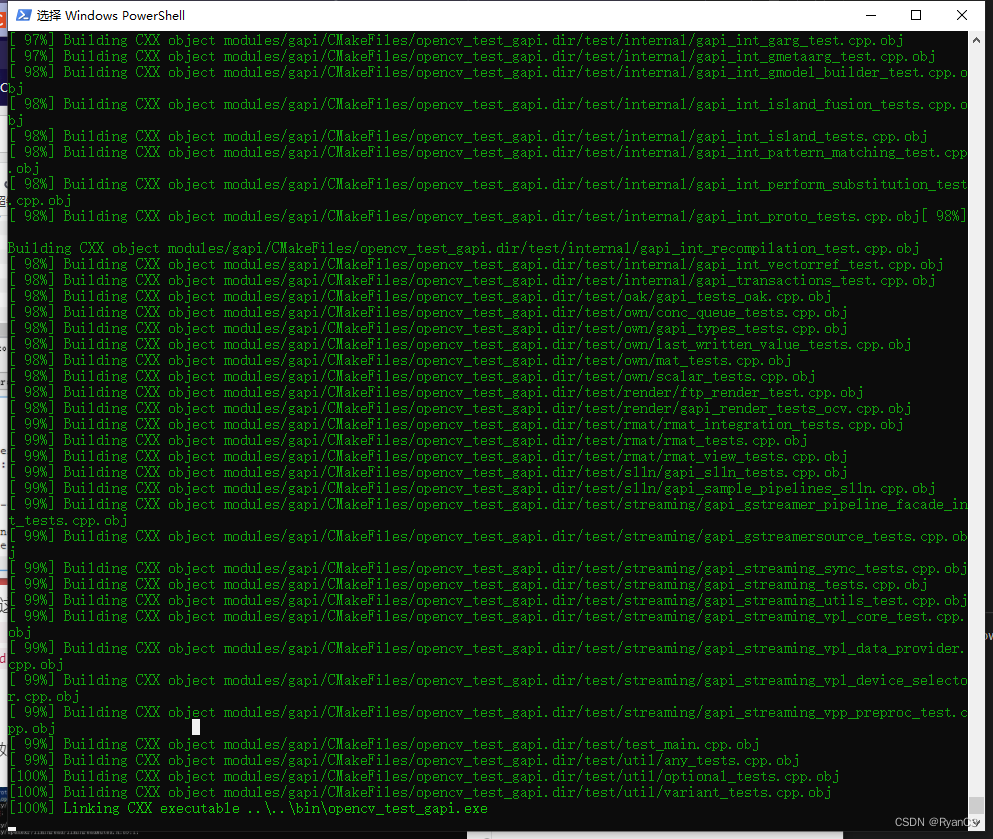
执行minGW32-make install
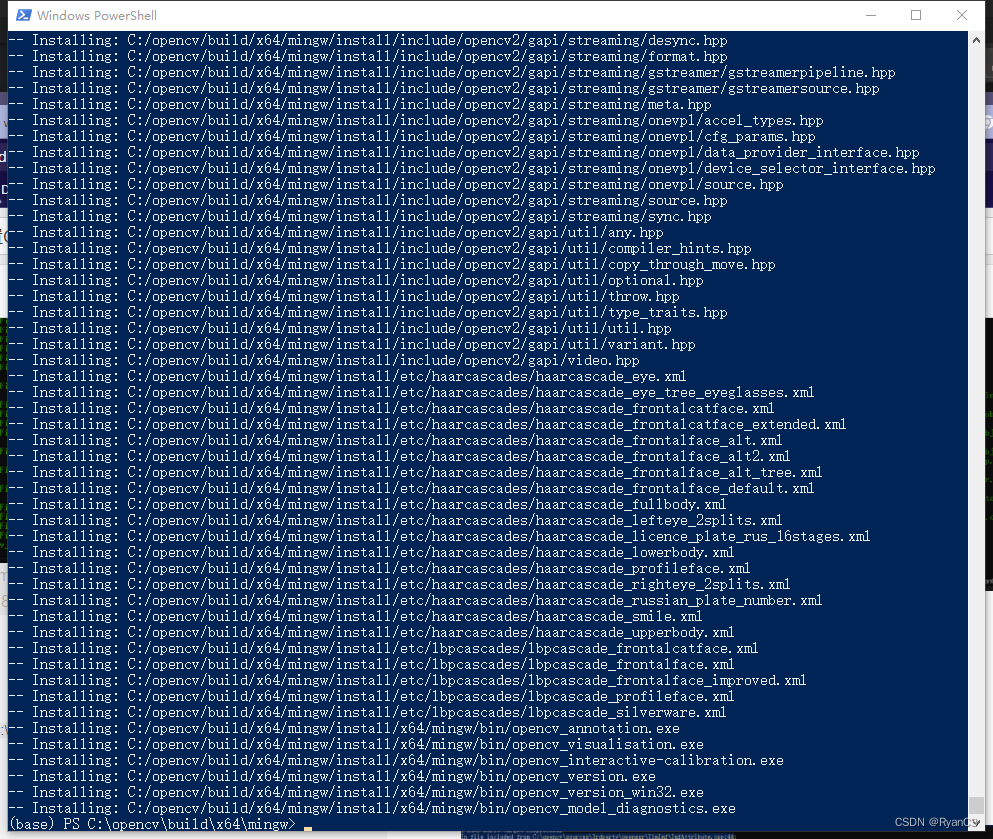
最后在bin下生成结果,并将C:\opencv\build\x64\mingw\bin配置到环境路径下。
遇到的问题:
- 编译生成报如图下的错,因为OpenCV版本太old了。最终更新至4.6.10。
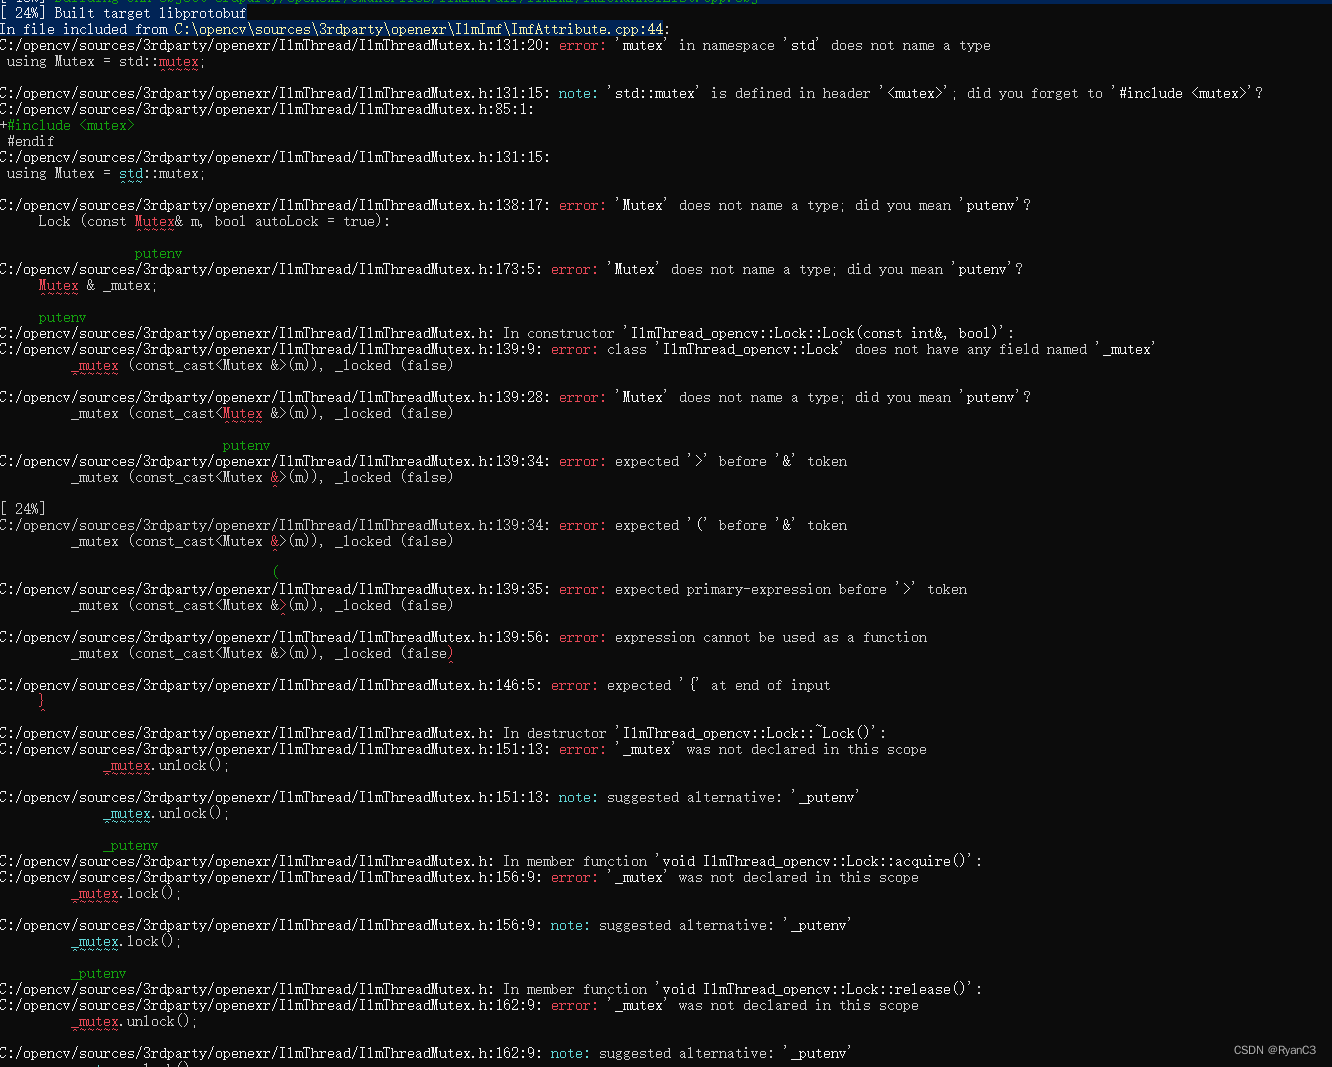
解决方案:OpenCV + CLion在windows环境下使用CMake编译, 出现Mutex相关的错误的解决办法
- 出现“Unexpected GDB output from command “-exec-run”.”
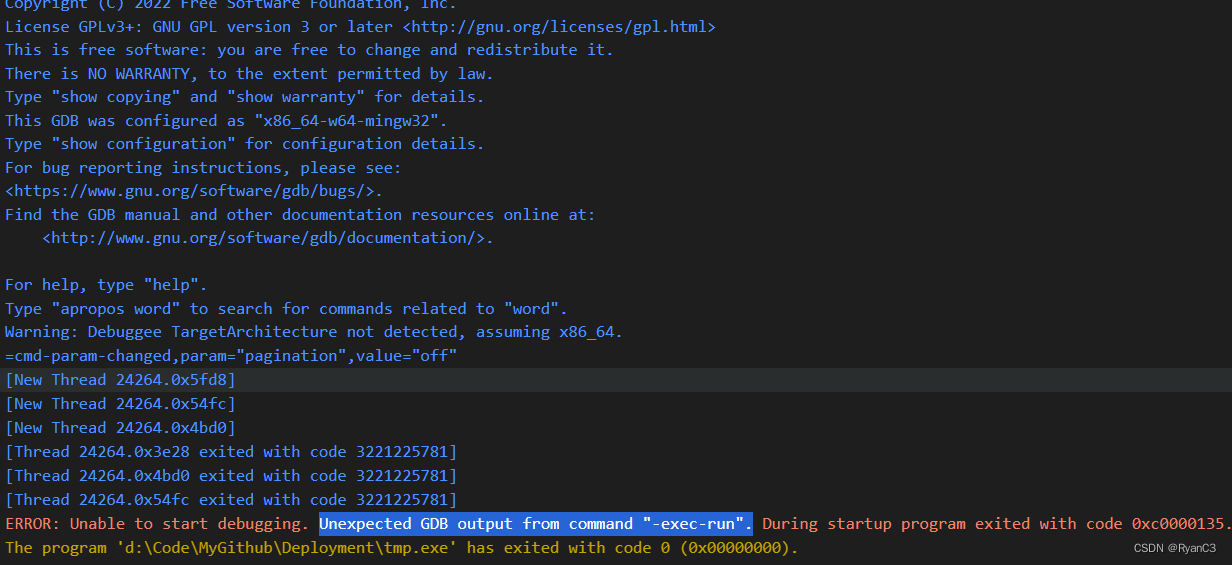
StackOverFlow上的解决方案:ERROR: Unable to start debugging. Unexpected GDB output from command “-exec-run”. Unable to find Mach task port for process-id 1401
参考
- 如何在 Linux 系统中的 VS Code 上配置 C/C++ 环境
- VSCode+Opencv(C++)+Win10
- VScode搭建OpenCV环境⭐️⭐️⭐️,推荐。
- OpenCV使用CMake和MinGW-w64的编译安装⭐️⭐️⭐️,推荐
- OpenCV-MinGW-Build:已经编译好的OpenCV库


