概述
相信你在使用ArcGIS Pro的时候已经发现了一个问题,那就是ArcGIS Pro没有ArcScan,确实在ArcGIS Pro中Esri移除了ArcScan,没有了ArcScan我们如何自动矢量化地图,从地图中提取建筑等要素呢,这里为大家介绍另外一种方法,希望能对你有所帮助。
添加数据
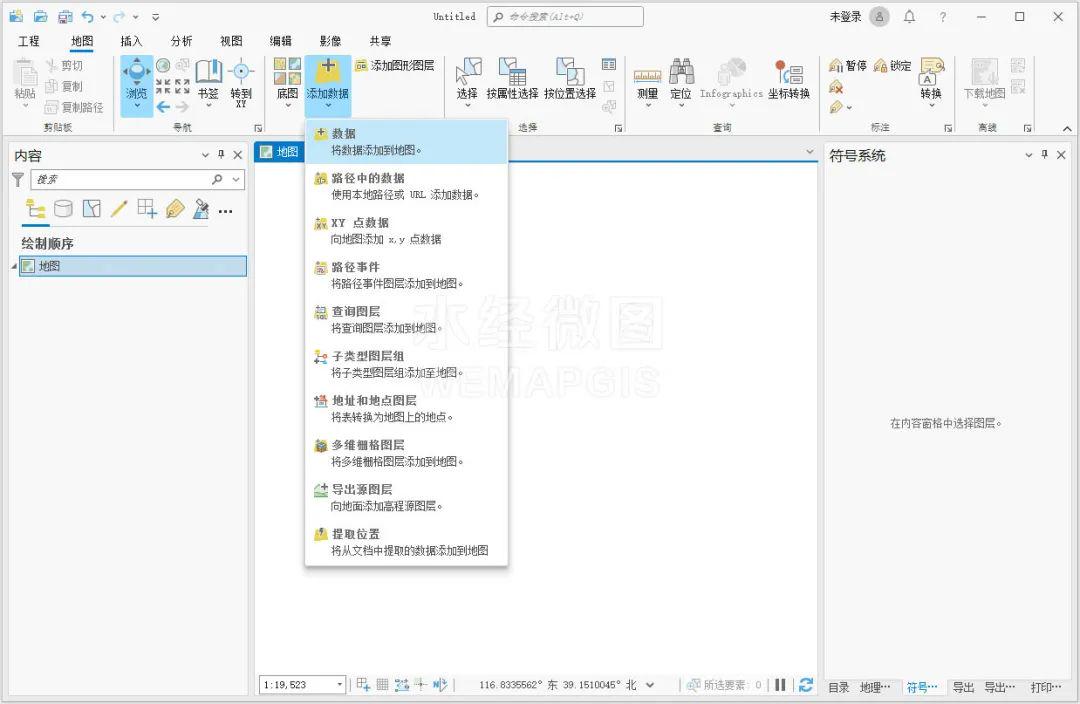
在菜单栏上点击地图菜单,点击添加数据,选择数据,如下图所示。
选择数据
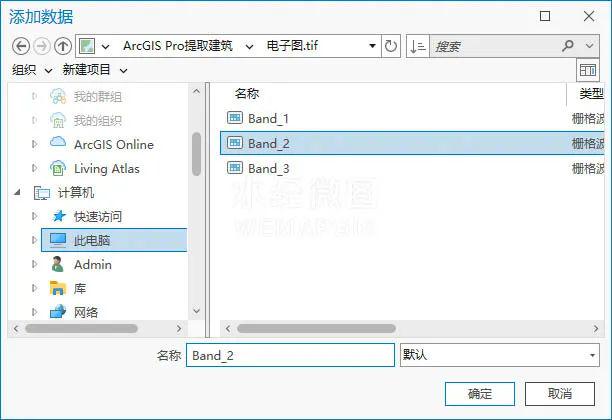
找到数据所在的文件夹,选择Band_2进行加载,如下图所示。
选择Band_2
栅格计算
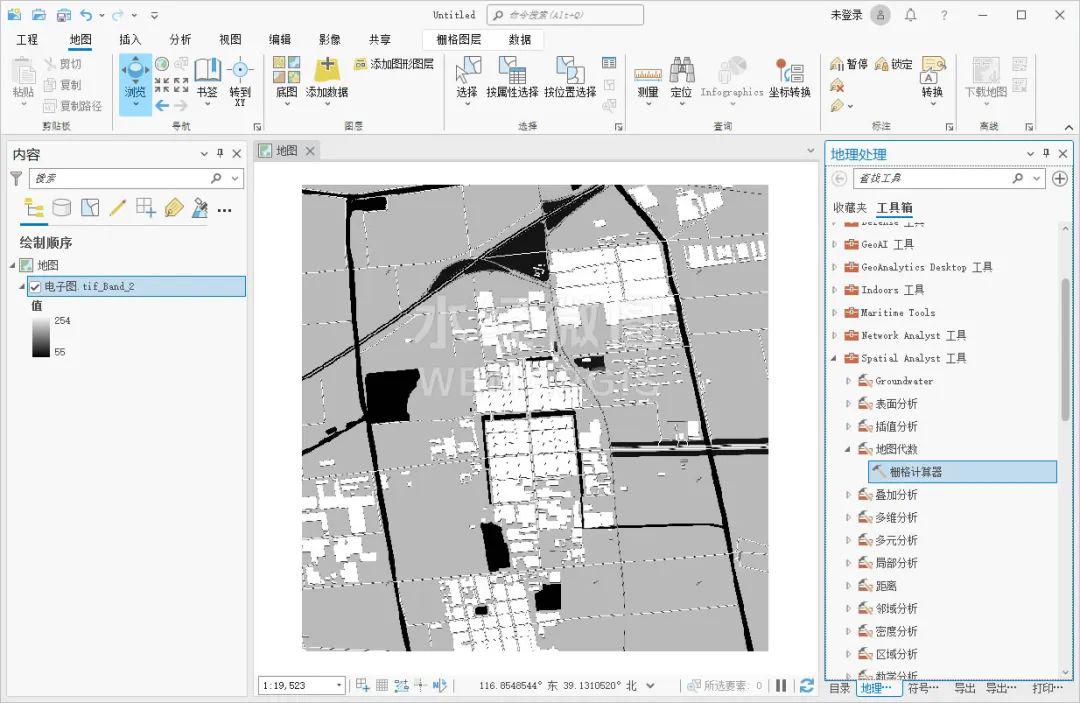
在工具箱中点击“Spatial Analyst工具\地图代数\栅格计算器”,调用栅格计算器工具,如下图所示。
调用栅格计算器工具
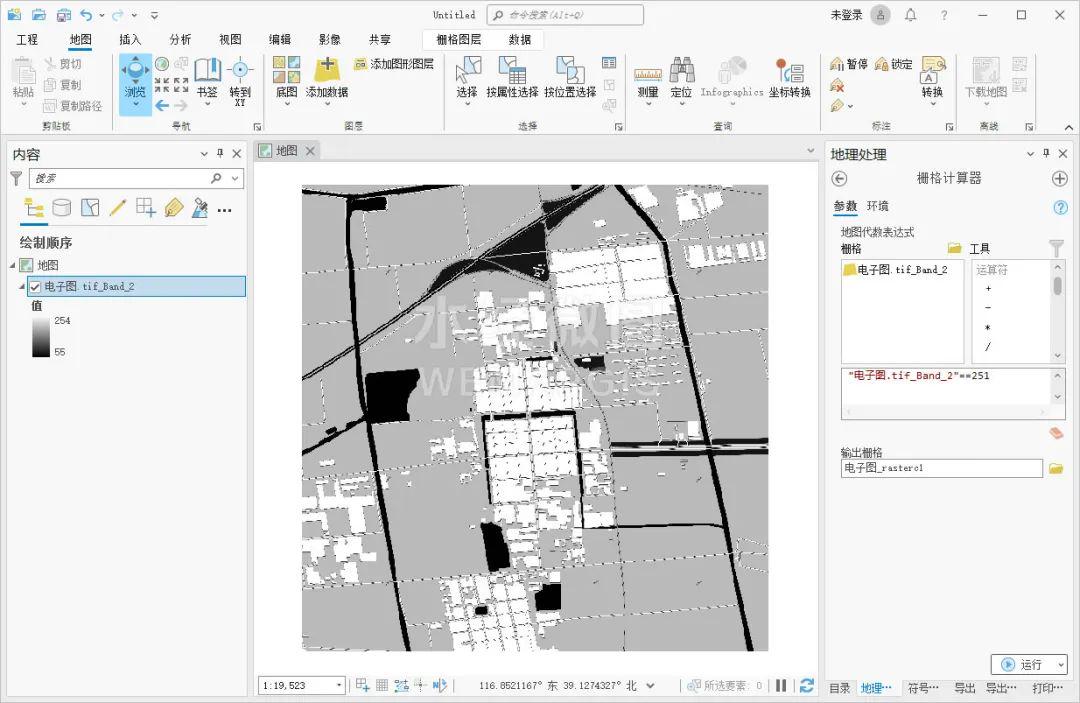
在显示的栅格计算器对话框内输入公式"电子图.tif_Band_2"==251,点击运行按钮进行栅格计算,如下图所示。
栅格计算器设置
栅格转面
在工具箱内点击“转换工具\由栅格转出\栅格转面”,调用栅格转面工具,如下图所示。
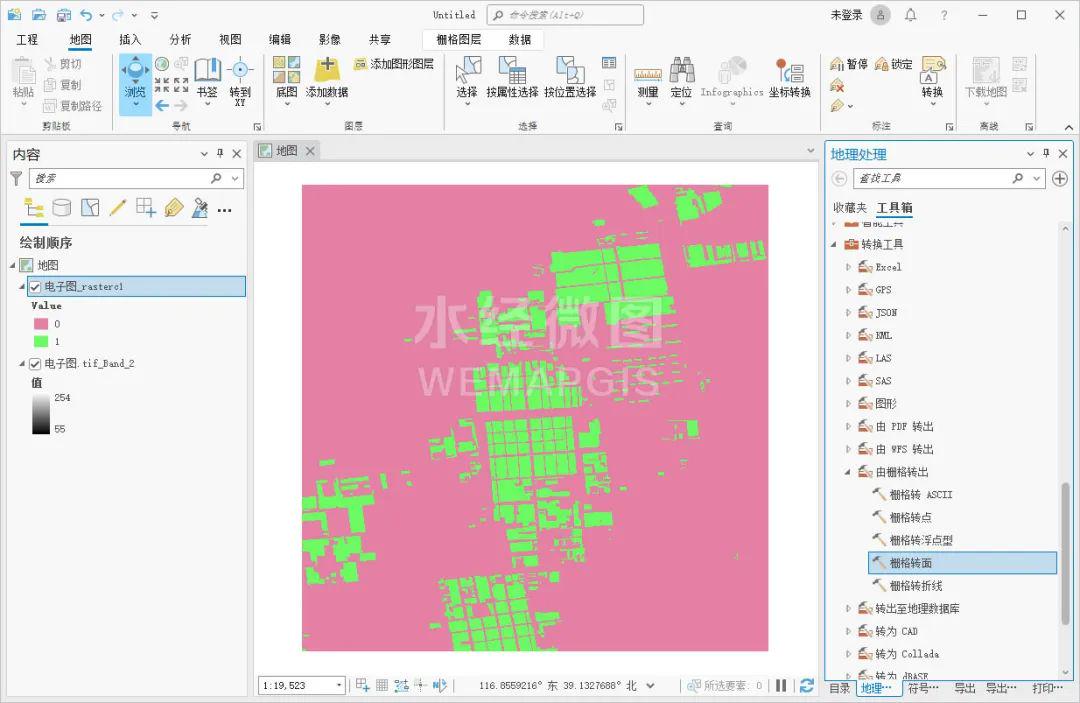
调用栅格转面工具
在显示的栅格转面对话框内,输入栅格为栅格计算后的栅格图,字段选择Value,设置输出面要素,点击运行完成栅格转面,如下图所示。
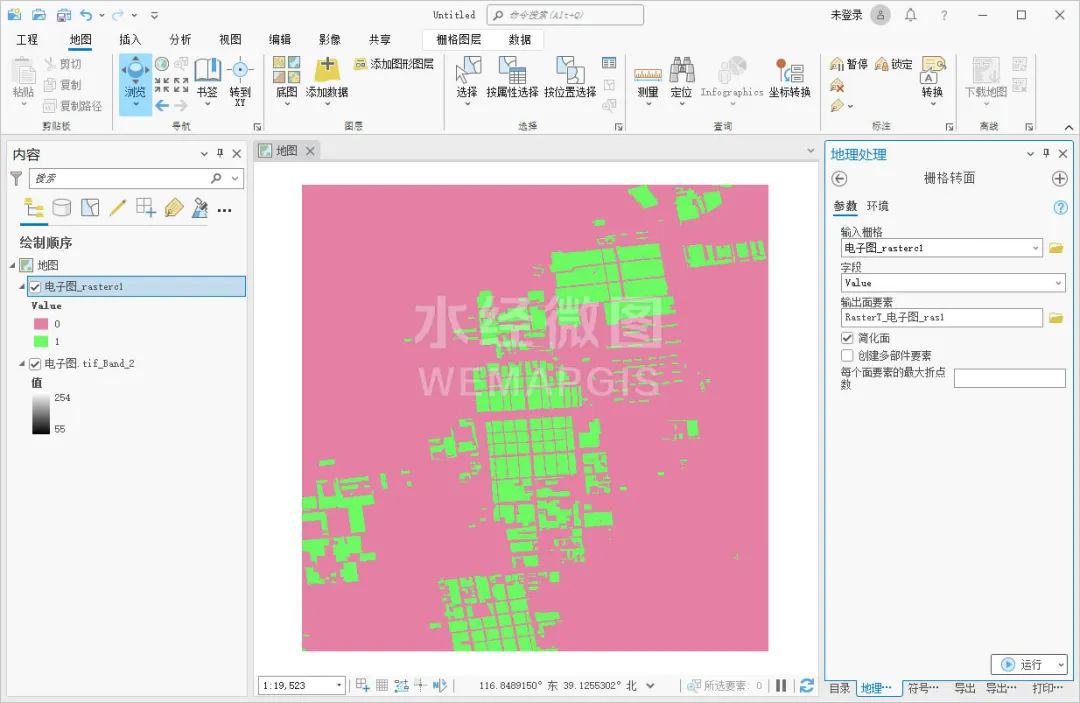
栅格转面设置
筛选建筑
选择地图菜单,点击按属性选择,如下图所示。
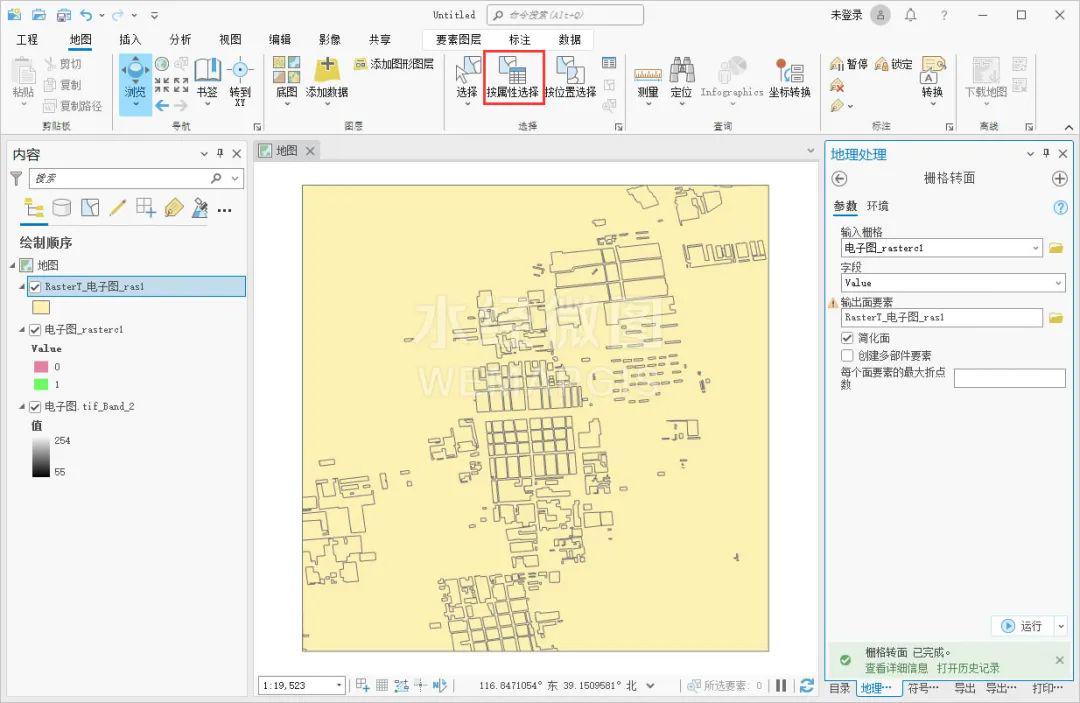
点击按属性选择
在显示的按属性选择对话框内,输入行设置为栅格转面后的图层,下面的公式设置为Where gridcode 等于 0,点击确定完成数据的筛选,如下图所示。
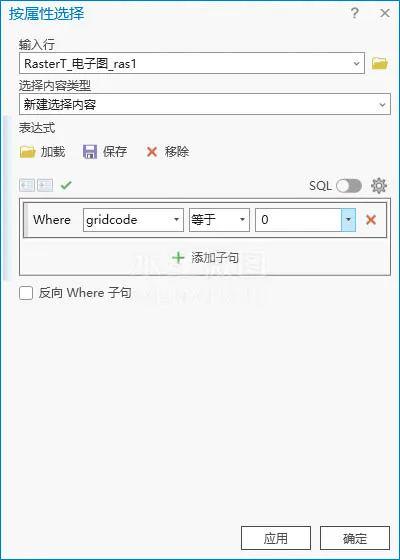
按属性选择设置
在菜单栏上点击编辑菜单,点击删除按钮,将选中的要素删除,如下图所示。
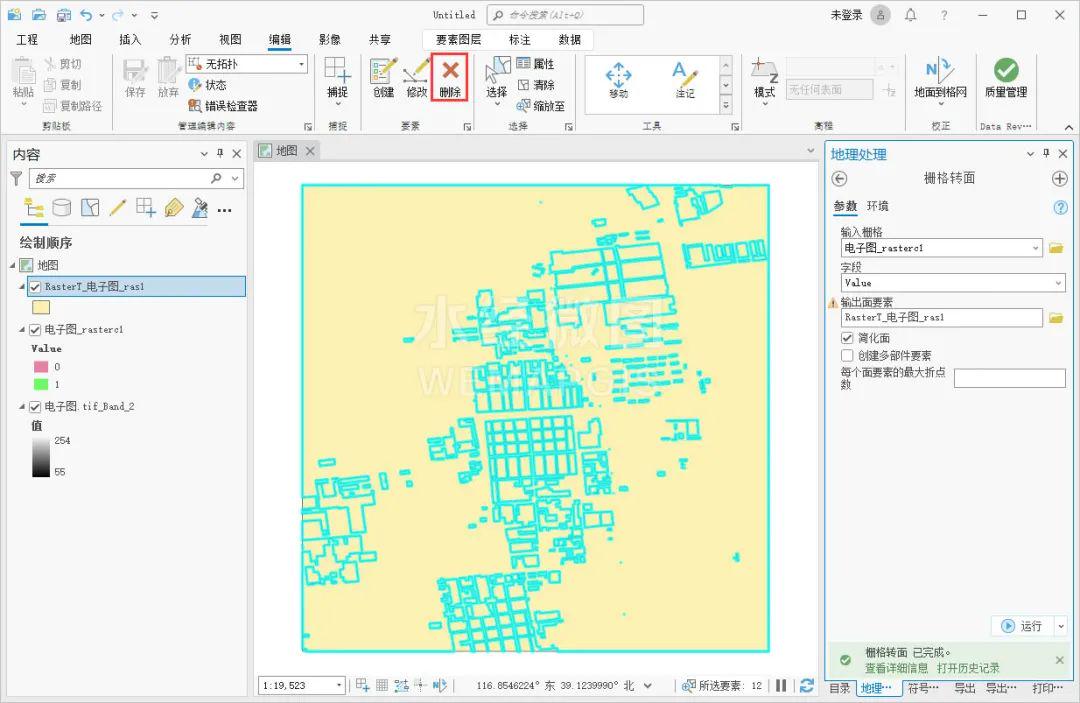
点击删除按钮
点击保存按钮将数据保存,最终得到的建筑如下图所示。
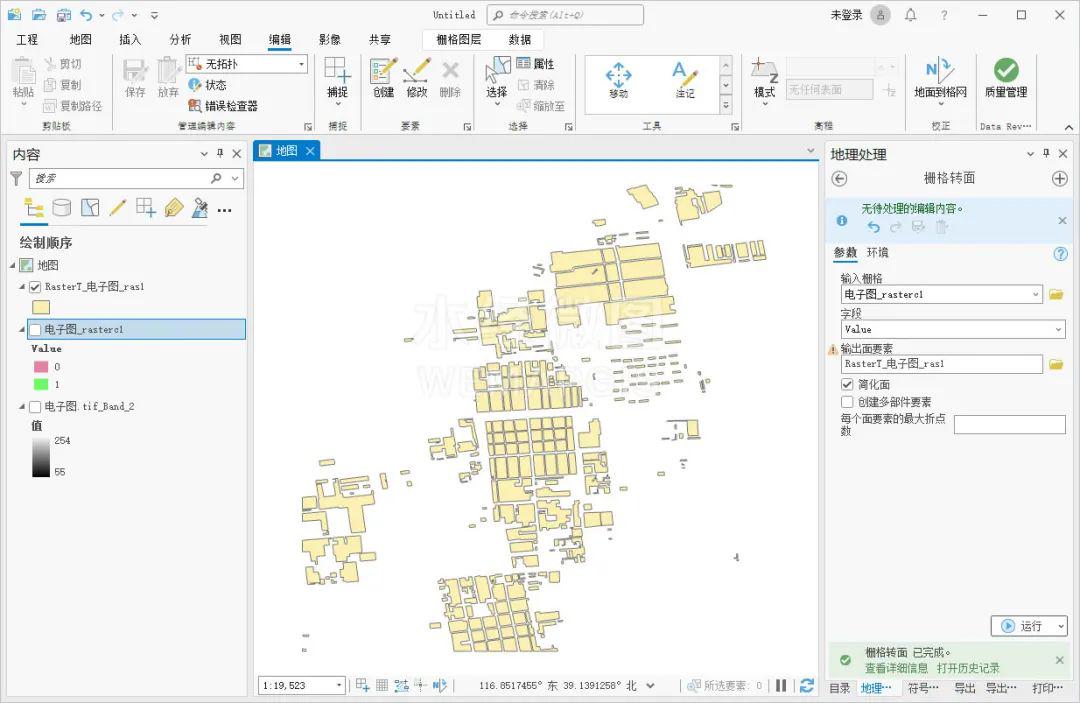
最终得到的建筑
结语
以上就是如何使用ArcGIS Pro自动矢量化建筑的详细说明,主要包括了添加数据、栅格计算、栅格转面和筛选建筑等功能。