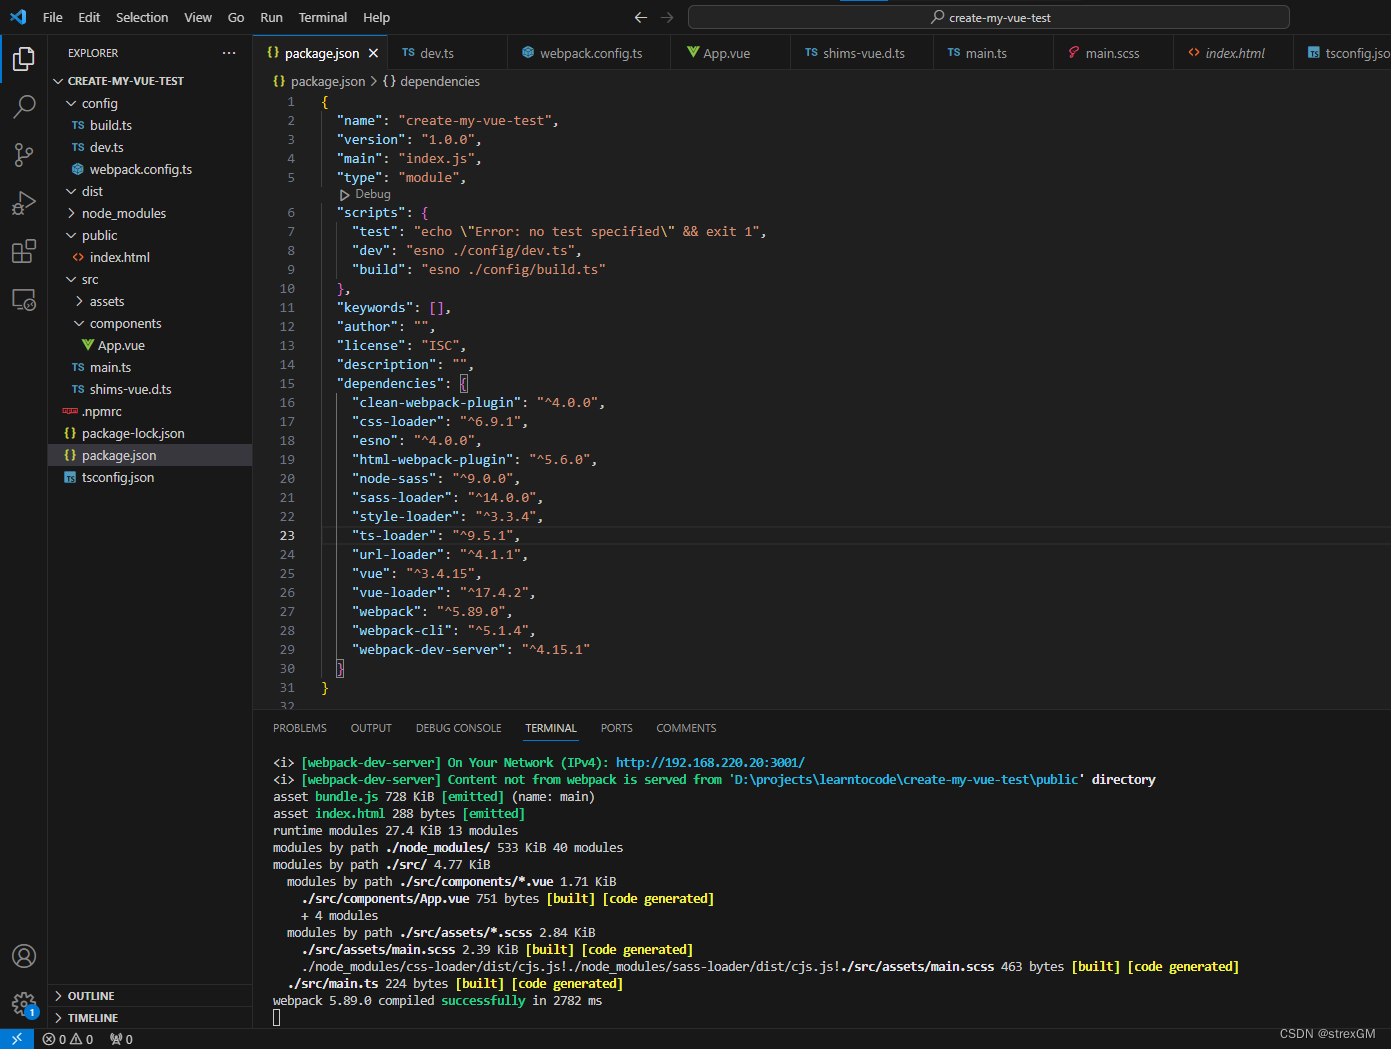
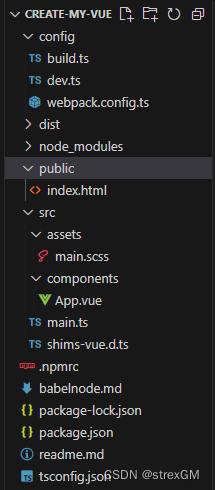
先看看我的目录结构(我全局使用TS):
一、安装配置webpack打包
安装esno
npm install esno
esno 是基于 esbuild 的 TS/ESNext node 运行时,有了它,就可以直接通过esno *.ts的方式启动脚本,package.json中添加 type:“module”,使用esm的模块管理方式。
{
  "name": "create-my-vue-test",
  "version": "1.0.0",
  "main": "index.js",
  "scripts": {
    "test": "echo \"Error: no test specified\" && exit 1",
    "build": "esno ./config/build.ts"
  },
  "type": "module",
  "keywords": [],
  "author": "",
  "license": "ISC",
  "description": "",
  "dependencies": {
    "esno": "^4.0.0"
  }
}
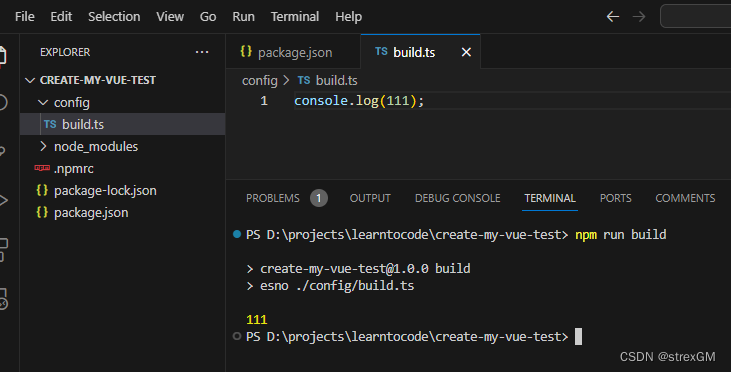
创建build.ts,执行npm run build
安装webpack、webpack-cli
npm install webpack
npm install webpack-cli
webpack必须安装webpackcli
build.ts中编写打包代码
import webpack, { Stats } from "webpack";
import config from "./webpack.config"

//我直接使用webpack,不使用webpck-cli,vue的脚手架
const compiler = webpack(config, (err, stats) => {
    if (err) {
        console.error(err.stack || err)
    } else if ((stats as Stats).hasErrors()) {
        console.log(stats);
    } else {

    }
})
编写打包配置文件webpack.config.ts
import path from "path";//nodejs里面的基本包,用来处理路径
const parentDir = path.resolve(process.cwd());

//我们先打个基本的包
export default {
    mode: "development" as "development",
    entry: "./src/main.ts",
    output: {
        path: path.join(parentDir, 'dist'),
        filename: "bundle.js",
    },
    module: {
        // 指定要加载的规则
        rules: [],
    },
    // 模块配置:让webpack了解哪些方法可以被当作模块引入
    resolve: {
		extensions: ['.ts', '.js']
    },
    plugins: []
};
创建业务代码入口文件main.ts
let test: string = '';
console.log(test);
执行一下打包npm run build
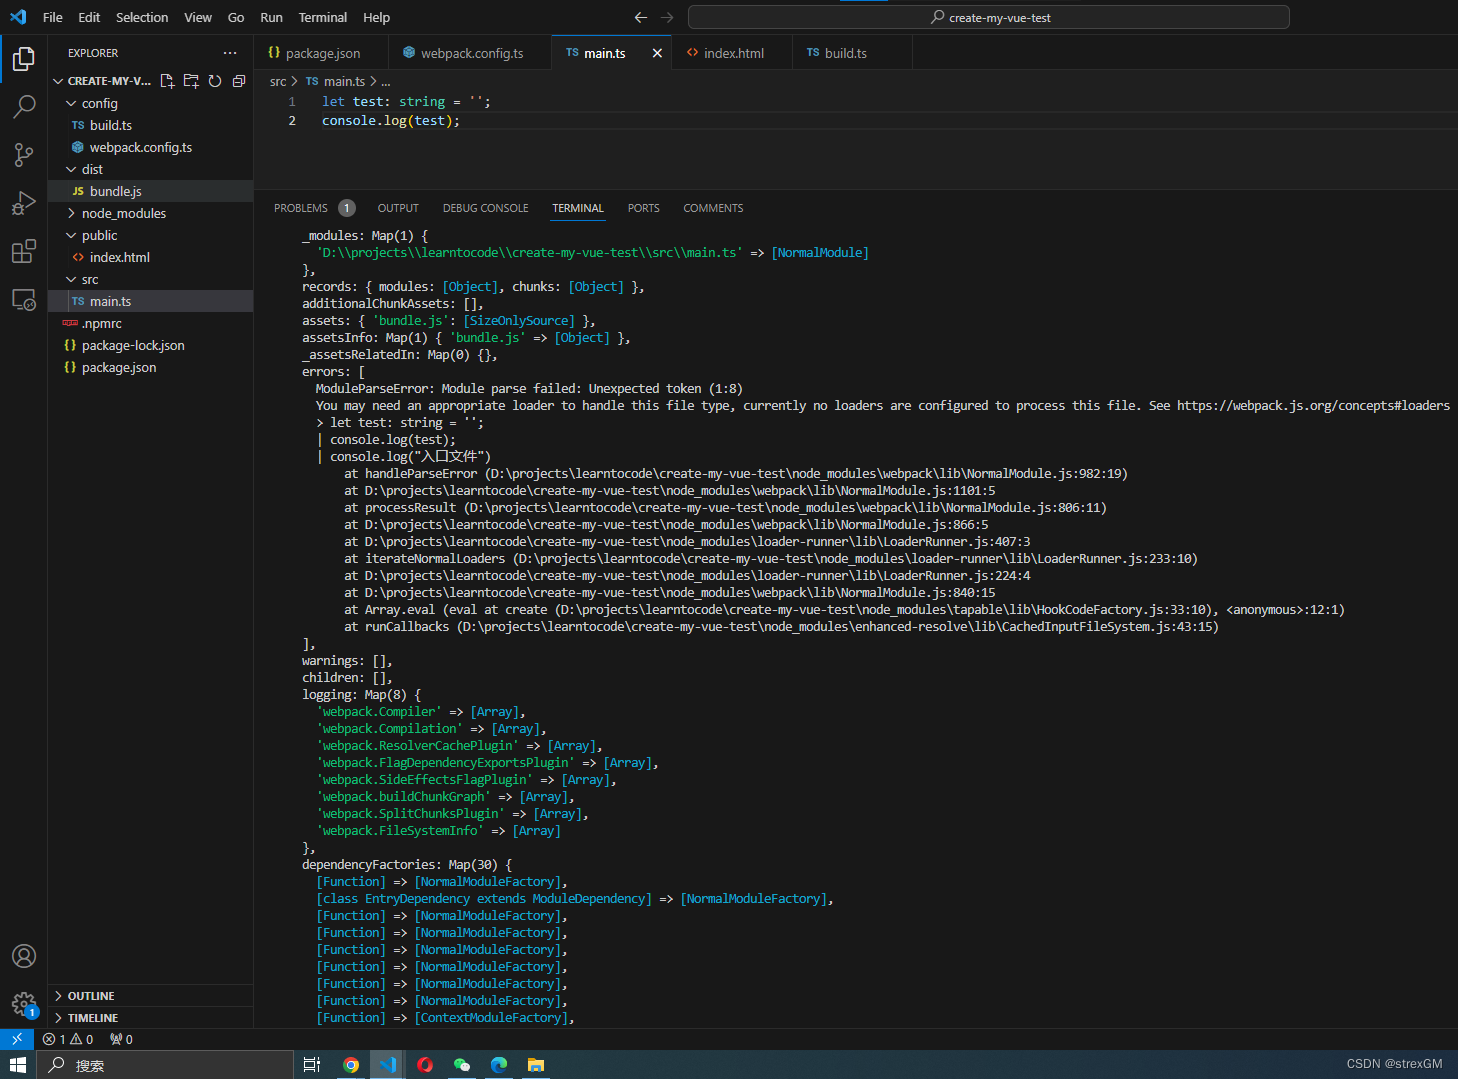
报错了,说需要个loader来处理ts,我们安装ts-loader,并在webpack.config.ts中添加相关配置
npm install ts-loader
import path from "path";//nodejs里面的基本包,用来处理路径
const parentDir = path.resolve(process.cwd());

//我们先打个基本的包
export default {
    mode: "development" as "development",
    entry: "./src/main.ts",
    output: {
        path: path.join(parentDir, 'dist'),
        filename: "bundle.js",
    },
    module: {
        // 指定要加载的规则
        rules: [
            {
                test: /\.ts$/, // 解析 ts
                loader: "ts-loader"
            }
        ],
    },
    // 模块配置:让webpack了解哪些方法可以被当作模块引入
    resolve: {
		extensions: ['.ts', '.js']
    },
    plugins: [

    ]
};
再次执行npm run build
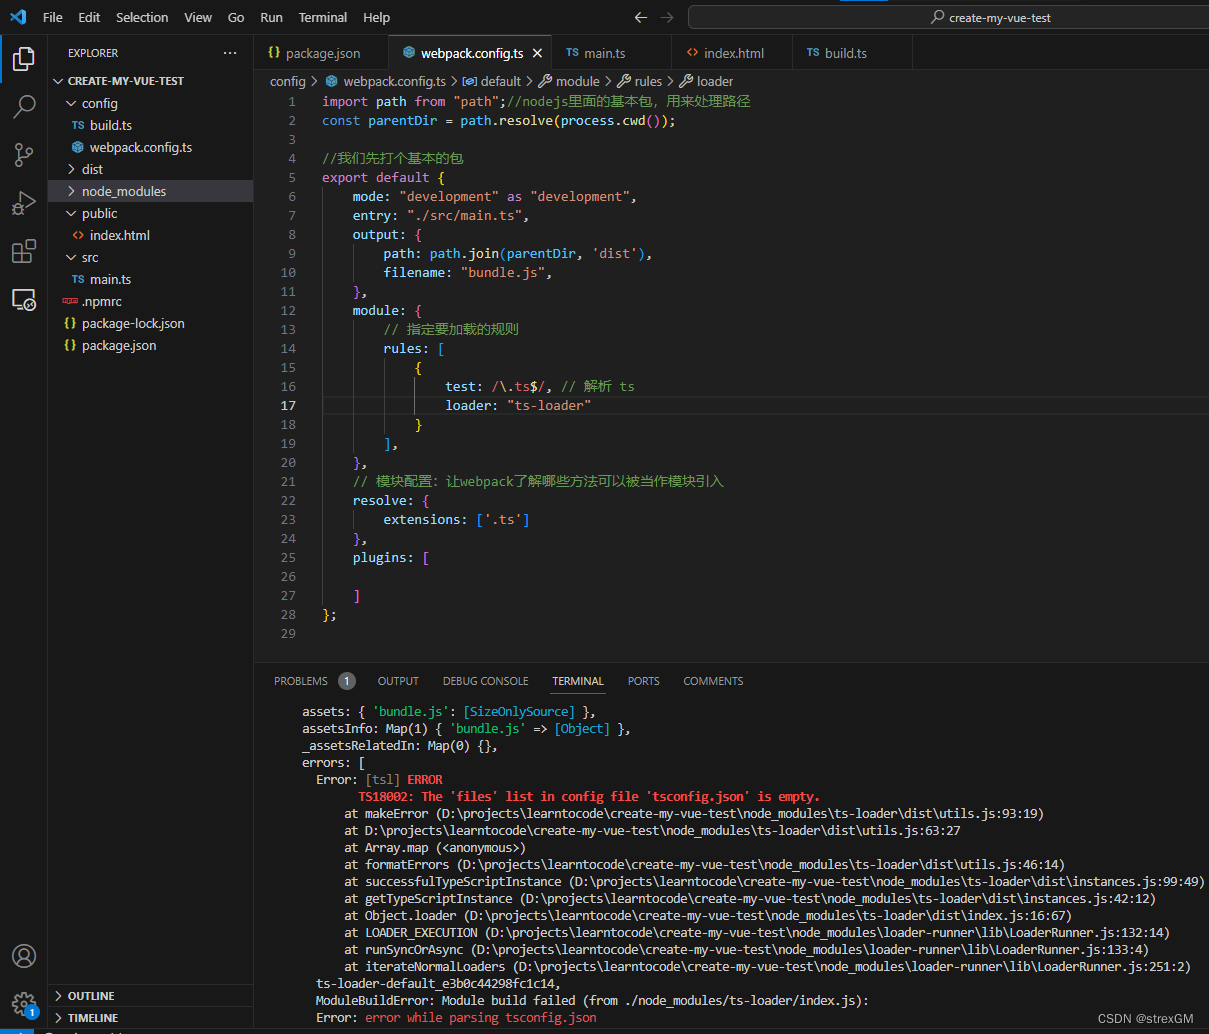
有报错了,说没有tsconfig.json文件
创建tsconfig.ts
{
    "compilerOptions": {
      "target": "esnext",
      "module": "esnext",
      "strict": true,
      "jsx": "preserve",
      "importHelpers": true,
      "moduleResolution": "node",
      "skipLibCheck": true,
      "esModuleInterop": true,
      "allowSyntheticDefaultImports": true,
      "sourceMap": true,
      "baseUrl": ".",
      "paths": {
        "@/*": [
          "src/*"
        ]
      },
      "lib": [
        "esnext",
        "dom",
        "dom.iterable",
        "scripthost"
      ]
    },
    "include": [
      "src/*.ts",
      "src/**/*.ts",
      "src/**/*.tsx",
      "src/**/*.vue",
      "tests/**/*.ts",
      "tests/**/*.tsx"
    ],
    "exclude": [
      "node_modules"
    ]
  }
再次打包,打包成功了
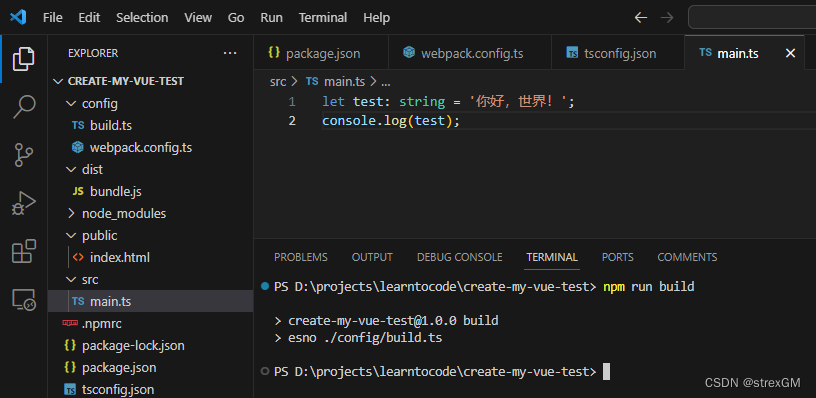
手动拷贝到index.html里面试试,运行也没有问题
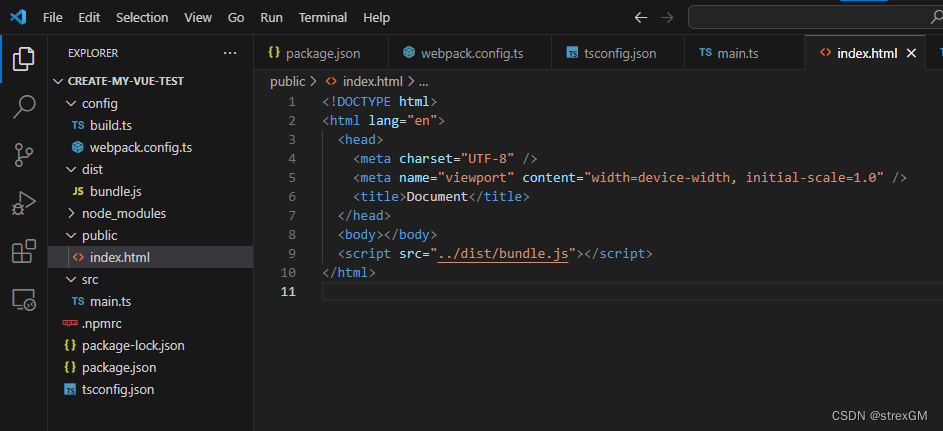

安装HtmlWebpackPlugin自动拷贝打包文件到index.html中,安装CleanWebpackPlugin,自动清除dist目录,并更新webpack.config.ts
import path from "path";//nodejs里面的基本包,用来处理路径
import { CleanWebpackPlugin } from "clean-webpack-plugin";
import HtmlWebpackPlugin from 'html-webpack-plugin';
const parentDir = path.resolve(process.cwd());

//我们先打个基本的包
export default {
    mode: "development" as "development",
    entry: "./src/main.ts",
    output: {
        path: path.join(parentDir, 'dist'),
        filename: "bundle.js",
    },
    module: {
        // 指定要加载的规则
        rules: [
            {
                test: /\.ts$/, // 解析 ts
                loader: "ts-loader"
            }
        ],
    },
    // 模块配置:让webpack了解哪些方法可以被当作模块引入
    resolve: {
		extensions: ['.ts', '.js']
    },
    plugins: [
        new HtmlWebpackPlugin({
            title: '你好,世界',
            template: './public/index.html'
        }),
        new CleanWebpackPlugin()
    ]
};
现在就可以自动将打包js文件插入到index.html中
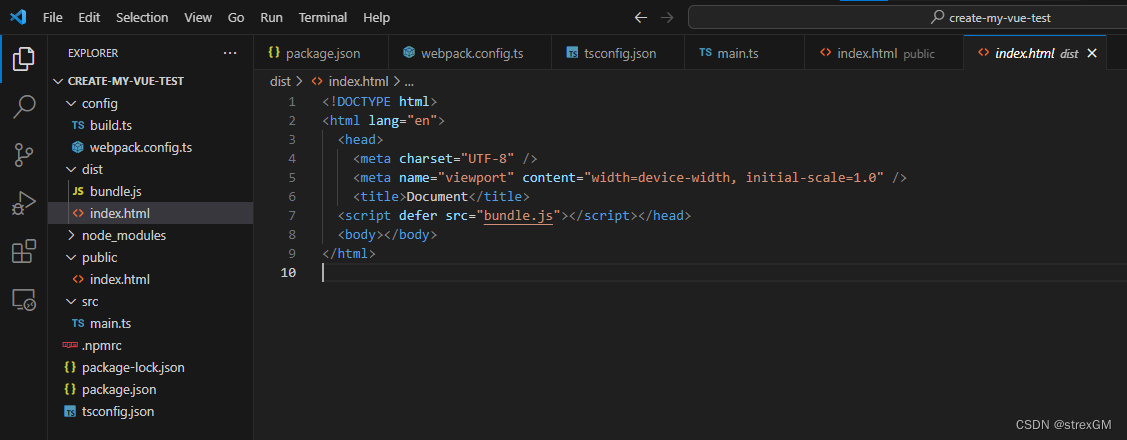
增加开发服务并热更新,安装webpack-dev-server
npm install webpack-dev-server
创建dev.ts
import path from "path";//nodejs里面的基本包,用来处理路径
import webpack, { Stats } from "webpack";
import WebpackDevServer from "webpack-dev-server";
import config from "./webpack.config"

const parentDir = path.resolve(process.cwd());

const compiler = webpack(config)

const server = new WebpackDevServer({
    port: 3000,
    static: {
        directory: path.join(parentDir, 'public'),
    },
}, compiler);

const runServer = async () => {
    console.log('Starting server...');
    await server.start();
};

runServer();
在package.json中增加dev的脚本
"scripts": {
    "build": "esno ./config/build.ts",
    "dev": "esno ./config/dev.ts"
  },
执行npm run dev,就启动起来了
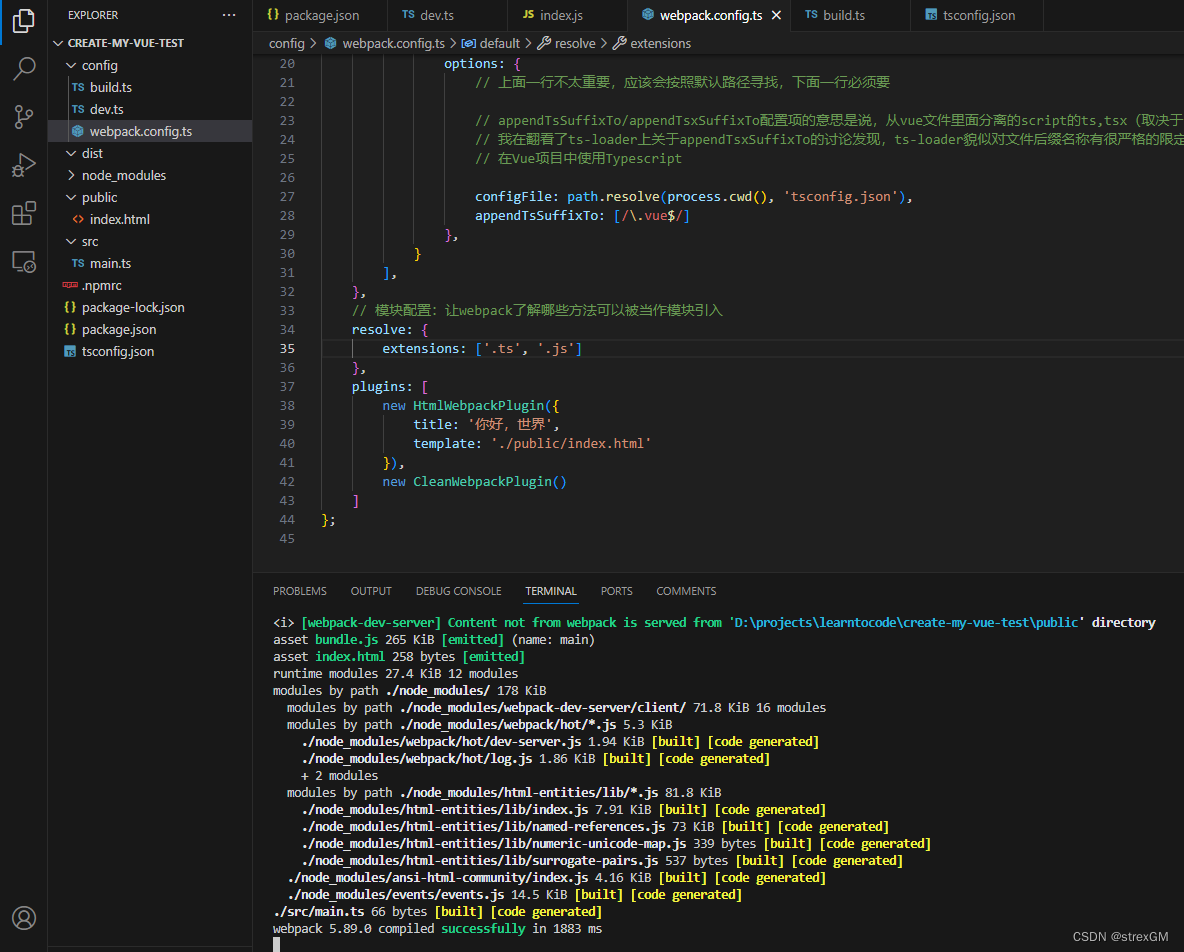
二、集成Vue
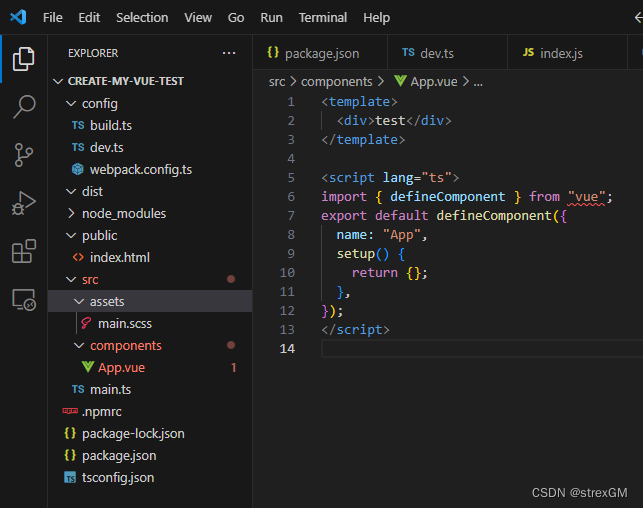
增加App.vue、更改main.ts、main.scss
App.vue
<template>
  <div>test</div>
</template>

<script lang="ts">
import { defineComponent } from "vue";
export default defineComponent({
  name: "App",
  setup() {
    return {};
  },
});
</script>
main.ts
import { createApp } from 'vue'
import App from './components/App.vue'
import "./assets/main.scss"

// 注意:这里的 #app,需要在 public/index.html 中,写一个 id 为 app 的 div
createApp(App).mount('#app');
main.scss
* {
  background-color: red;
}
安装依赖
npm i --save-dev vue vue-loader url-loader style-loader css-loader node-sass sass-loader
更改webpack.config.ts
import path from "path";//nodejs里面的基本包,用来处理路径
import { CleanWebpackPlugin } from "clean-webpack-plugin";
import HtmlWebpackPlugin from 'html-webpack-plugin';
import { VueLoaderPlugin } from "vue-loader"

const parentDir = path.resolve(process.cwd());

//我们先打个基本的包
export default {
    mode: "development" as "development",
    entry: "./src/main.ts",
    output: {
        path: path.join(parentDir, 'dist'),
        filename: "bundle.js",
    },
    module: {
        // 指定要加载的规则
        rules: [
            {
                test: /\.vue$/,
                loader: 'vue-loader',
            },
            {
                test: /\.scss$/,
                use: [
                    'style-loader',//https://github.com/vuejs/vue-style-loader/issues/42
                    'css-loader',
                    'sass-loader'
                ]
            },
            {
                test: /\.css$/i,
                use: ["style-loader", "css-loader"],
            },
            {
                test: /\.(woff|woff2|eot|ttf|svg)$/,
                use: [
                    {
                        loader: 'url-loader',
                        options: {
                            limit: 10000,
                            name: './font/[hash].[ext]',
                            publicPath: 'dist'
                        }
                    }
                ]
            },
            {
                test: /\.(png|jpg|gif)$/i,
                use: [
                    {
                        loader: 'url-loader',
                        options: {
                            limit: 8192,
                        },
                    },
                ],
            },
            {
                test: /\.ts$/, // 解析 ts
                loader: "ts-loader",
                options: {
                    // 上面一行不太重要,应该会按照默认路径寻找,下面一行必须要

                    // appendTsSuffixTo/appendTsxSuffixTo配置项的意思是说,从vue文件里面分离的script的ts,tsx(取决于<script lang="xxx"></script>)内容将会被加上ts或者tsx的后缀,然后交由ts-loader解析。
                    // 我在翻看了ts-loader上关于appendTsxSuffixTo的讨论发现,ts-loader貌似对文件后缀名称有很严格的限定,必须得是ts/tsx后缀,所以得在vue-loader extract <script>中内容后,给其加上ts/tsx的后缀名,这样ts-loader才会去处理这部分的内容。
                    // 在Vue项目中使用Typescript

                    configFile: path.resolve(process.cwd(), 'tsconfig.json'),
                    appendTsSuffixTo: [/\.vue$/]
                },
            }
        ],
    },
    // 模块配置:让webpack了解哪些方法可以被当作模块引入
    resolve: {
        extensions: [
            '.tsx',
            '.ts',
            '.mjs',
            '.js',
            '.jsx',
            '.vue',
            '.json']
    },
    plugins: [
        new HtmlWebpackPlugin({
            title: '你好,世界',
            template: './public/index.html'
        }),
        new CleanWebpackPlugin(),
        // make sure to include the plugin for the magic
        new VueLoaderPlugin()
    ]
};
创建shims-vue.d.ts
/* eslint-disable */
declare module '*.vue' {
    import type { DefineComponent } from 'vue'
    const component: DefineComponent<{}, {}, any>
    export default component
}
最终的package.json
{
  "name": "create-my-vue-test",
  "version": "1.0.0",
  "main": "index.js",
  "type": "module",
  "scripts": {
    "test": "echo \"Error: no test specified\" && exit 1",
    "dev": "esno ./config/dev.ts",
    "build": "esno ./config/build.ts"
  },
  "keywords": [],
  "author": "",
  "license": "ISC",
  "description": "",
  "dependencies": {
    "clean-webpack-plugin": "^4.0.0",
    "css-loader": "^6.9.1",
    "esno": "^4.0.0",
    "html-webpack-plugin": "^5.6.0",
    "node-sass": "^9.0.0",
    "sass-loader": "^14.0.0",
    "style-loader": "^3.3.4",
    "ts-loader": "^9.5.1",
    "url-loader": "^4.1.1",
    "vue": "^3.4.15",
    "vue-loader": "^17.4.2",
    "webpack": "^5.89.0",
    "webpack-cli": "^5.1.4",
    "webpack-dev-server": "^4.15.1"
  }
}
再次运行,基础搭建好了
