EventBus使用小案例
文件目录结构

MainActivity.java
package com.example.myeventbus;

import androidx.appcompat.app.AppCompatActivity;

import android.content.Intent;
import android.os.Bundle;
import android.view.View;
import android.widget.Button;
import android.widget.ProgressBar;
import android.widget.TextView;

import org.greenrobot.eventbus.EventBus;
import org.greenrobot.eventbus.Subscribe;
import org.greenrobot.eventbus.ThreadMode;


//参考: https://www.cnblogs.com/upwgh/p/6394901.html
//参考: https://wenku.baidu.com/view/450ba942986648d7c1c708a1284ac850ac020453.html?_wkts_=1668663664745
//参考: https://www.jianshu.com/p/a040955194fc
public class MainActivity extends AppCompatActivity {
    public ProgressBar progressBar = null;
    public int time = 0;

    @Override
    protected void onCreate(Bundle savedInstanceState) {
        super.onCreate(savedInstanceState);
        setContentView(R.layout.activity_main);


        findViewById(R.id.button).setOnClickListener(new View.OnClickListener() {
            @Override
            public void onClick(View v) {
                new Thread(new Runnable() {
                    @Override
                    public void run() {
                        while (time < 100) {
                            time += 15;

                            //发送EventBus事件
                            //① 普通事件
                            // EventBus.getDefault().post(new TestEvent(time));

                            //② 粘性事件
                            EventBus.getDefault().postSticky(new TestEvent(time));

                            try {
                                Thread.sleep(200);
                            } catch (InterruptedException e) {
                                e.printStackTrace();
                            }
                        }
                    }
                }).start();
            }
        });

        progressBar = (ProgressBar) findViewById(R.id.progressbar);

        //注册 EventBus
        EventBus.getDefault().register(this);

        findViewById(R.id.goto_second_activity).setOnClickListener(new View.OnClickListener() {
            @Override
            public void onClick(View v) {
                startActivity(new Intent(MainActivity.this, SecondActivity.class));
            }
        });
    }

    @Override
    protected void onDestroy() {
        super.onDestroy();
        //注销 EventBus
        EventBus.getDefault().unregister(this);
    }

    //事件处理函数, 注解方式(使用注解方式的时候,函数名称可以任意取,不在局限于下面的这个4个函数了),注解分为 ThreadMode.MAIN, ThreadMode.BACKGROUND, ThreadMode.POSTING, ThreadMode.ASYNC
    @Subscribe(threadMode = ThreadMode.MAIN)
    public void onEventMainThread(TestEvent event) {
        progressBar.setProgress(event.getMsg());
    }

    /*
    public void onEventMainThread(param)
    {
    //如果使用onEventMainThread作为订阅函数,那么不论事件是在哪个线程中发布出来的,onEventMainThread都会在UI线程中执行,接收事件就会在UI线程中运行,
    //这个在Android中是非常有用的,因为在Android中只能在UI线程中跟新UI,所以在onEvnetMainThread方法中是不能执行耗时操作的。
    }

    public void onEventPostThread(param)
    {
     //如果使用onEvent作为订阅函数,那么该事件在哪个线程发布出来的,onEvent就会在这个线程中运行,也就是说发布事件和接收事件线程在同一个线程。
     //使用这个方法时,在onEvent方法中不能执行耗时操作,如果执行耗时操作容易导致事件分发延迟。
    }

    public void onEventBackgroundThread(param)
    {
     //如果使用onEventBackgrond作为订阅函数,那么如果事件是在UI线程中发布出来的,那么onEventBackground就会在子线程中运行,如果事件本来就是子线程中发布出来的,那么onEventBackground函数直接在该子线程中执行。
    }

    public void onEventAsync(param)
    {
   //使用这个函数作为订阅函数,那么无论事件在哪个线程发布,都会创建新的子线程在执行onEventAsync.
    }
     */
}
SecondActivity.java
package com.example.myeventbus;

import android.os.Bundle;
import android.util.Log;
import android.widget.TextView;

import androidx.appcompat.app.AppCompatActivity;

import org.greenrobot.eventbus.EventBus;
import org.greenrobot.eventbus.Subscribe;
import org.greenrobot.eventbus.ThreadMode;

// EventBus 粘性事件
public class SecondActivity extends AppCompatActivity {
    private TextView textView = null;

    @Override
    protected void onCreate(Bundle savedInstanceState) {
        super.onCreate(savedInstanceState);
        setContentView(R.layout.activity_second);

        textView = (TextView) findViewById(R.id.test);
        EventBus.getDefault().register(this);
    }

    @Override
    protected void onDestroy() {
        super.onDestroy();
        EventBus.getDefault().unregister(this);
    }

    //处理粘性事件
    @Subscribe(threadMode = ThreadMode.MAIN, sticky = true)
    public void wgh2(TestEvent event) {
        Log.e("AAA", "" + event.getMsg());
        textView.setText("同样接收到了msg" + event.getMsg());
        textView.setTextSize(25f);//调整字体大小
    }
}
TestEvent.java
package com.example.myeventbus;


public class TestEvent {
    private int mMsg;

    public TestEvent(int msg) {
        this.mMsg = msg;
    }

    public int getMsg() {
        return this.mMsg;
    }
}
activity_main.xml
<?xml version="1.0" encoding="utf-8"?>
<LinearLayout xmlns:android="http://schemas.android.com/apk/res/android"
    xmlns:tools="http://schemas.android.com/tools"
    android:id="@+id/activity_main"
    android:layout_width="match_parent"
    android:layout_height="match_parent"
    android:orientation="vertical">

    <ProgressBar
        android:id="@+id/progressbar"
        style="@style/Widget.AppCompat.ProgressBar.Horizontal"
        android:layout_width="match_parent"
        android:layout_height="wrap_content"
        android:layout_marginTop="150dp"
        android:max="100" />

    <Button
        android:id="@+id/button"
        android:layout_width="match_parent"
        android:layout_height="wrap_content"
        android:layout_marginTop="10dp"
        android:text="开始下载" />

    <Button
        android:id="@+id/goto_second_activity"
        android:layout_width="wrap_content"
        android:layout_height="wrap_content"
        android:text="跳转到第二个Activity" />
</LinearLayout>
activity_second.xml
<?xml version="1.0" encoding="utf-8"?>
<LinearLayout xmlns:android="http://schemas.android.com/apk/res/android"
    xmlns:tools="http://schemas.android.com/tools"
    android:id="@+id/activity_main"
    android:layout_width="match_parent"
    android:layout_height="match_parent"
    android:orientation="vertical">


    <TextView
        android:id="@+id/test"
        android:layout_width="wrap_content"
        android:layout_height="wrap_content"
        android:text="默认default..." />

</LinearLayout>
AndroidManifest.xml
<?xml version="1.0" encoding="utf-8"?>
<manifest xmlns:android="http://schemas.android.com/apk/res/android"
    package="com.example.myeventbus">

    <application
        android:allowBackup="true"
        android:icon="@mipmap/ic_launcher"
        android:label="@string/app_name"
        android:roundIcon="@mipmap/ic_launcher_round"
        android:supportsRtl="true"
        android:theme="@style/Theme.MyEventBus">
        <activity android:name=".MainActivity">
            <intent-filter>
                <action android:name="android.intent.action.MAIN" />

                <category android:name="android.intent.category.LAUNCHER" />
            </intent-filter>
        </activity>
        <activity android:name=".SecondActivity"/>
    </application>

</manifest>
build.gradle
plugins {
    id 'com.android.application'
}

android {
    compileSdkVersion 31
    buildToolsVersion "30.0.3"

    defaultConfig {
        applicationId "com.example.myeventbus"
        minSdkVersion 24
        targetSdkVersion 31
        versionCode 1
        versionName "1.0"

        testInstrumentationRunner "androidx.test.runner.AndroidJUnitRunner"
    }

    buildTypes {
        release {
            minifyEnabled false
            proguardFiles getDefaultProguardFile('proguard-android-optimize.txt'), 'proguard-rules.pro'
        }
    }
    compileOptions {
        sourceCompatibility JavaVersion.VERSION_1_8
        targetCompatibility JavaVersion.VERSION_1_8
    }
}

dependencies {

    implementation 'androidx.appcompat:appcompat:1.1.0'
    implementation 'com.google.android.material:material:1.1.0'
    implementation 'androidx.constraintlayout:constraintlayout:1.1.3'
    testImplementation 'junit:junit:4.+'
    androidTestImplementation 'androidx.test.ext:junit:1.1.1'
    androidTestImplementation 'androidx.test.espresso:espresso-core:3.2.0'

    //主要是添加该选项: EventBus
    implementation('org.greenrobot:eventbus:3.0.0')
}
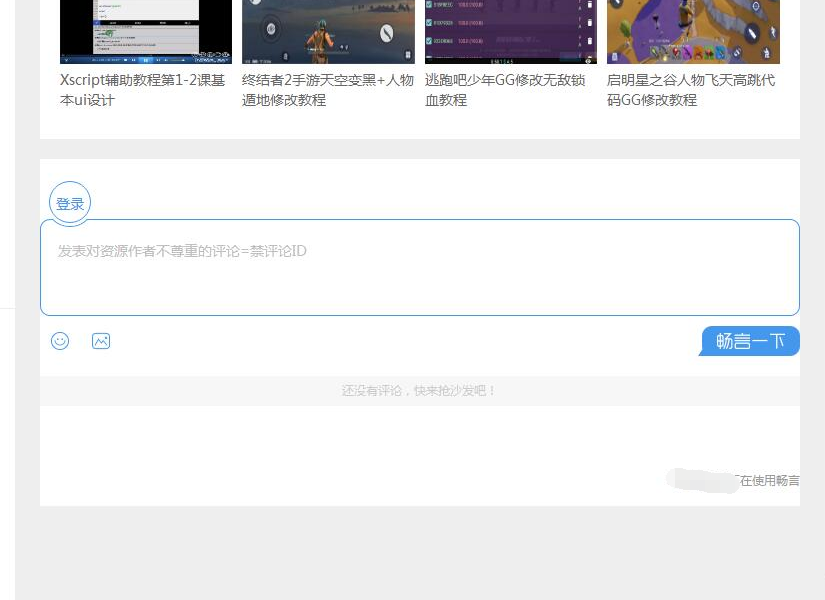
效果截图
| 普遍EventBus事件 | 粘性事件 |
|---|---|
 |  |







![[附源码]java毕业设计流浪动物领养系统](https://img-blog.csdnimg.cn/972a4a69e134405bb5fc491f8d1dd54c.png)


